
Nội dung
In the process of using the website, if you want to transfer your website from one hosting to another or switch providers, there are many ways to transfer, like transferring by Plugin, Restore Full backup… And AZDIGI will guide you to perform the transfer traditionally, which is to compress the source and upload it to hosting via FTP protocol, please see the steps below.
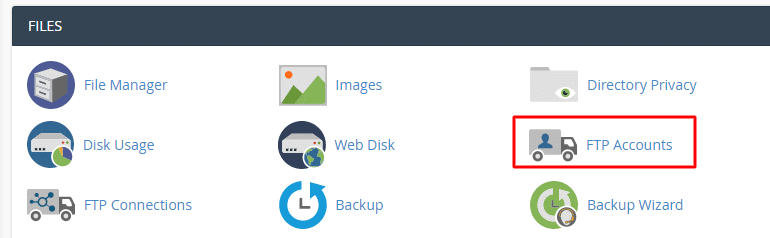
Step 1: Create an FTP account
You go to the FTP Accounts section.
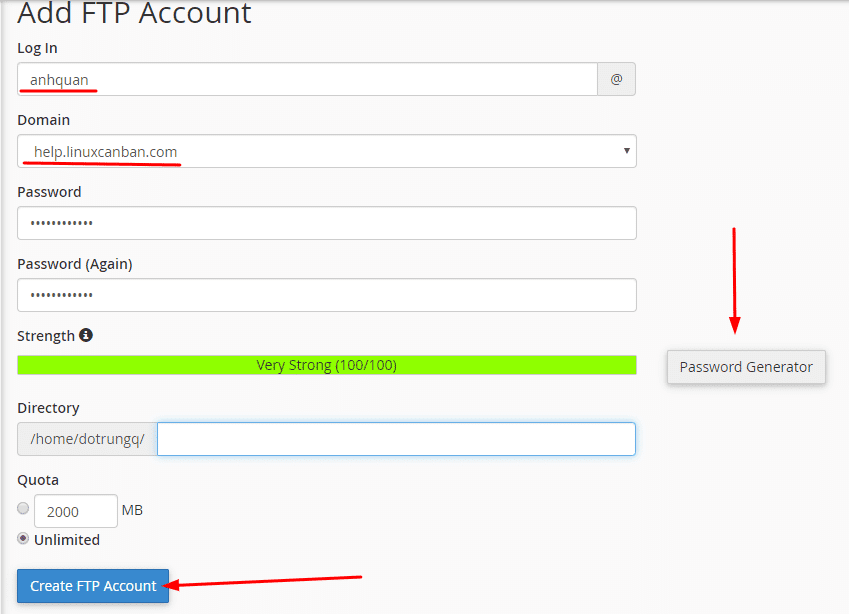
Next, you select the website to create an FTP account for that website and enter the following information:
- Log in: Enter the user name to create
- Domain: Select a domain to create an account for that domain
- Password: Enter your password or you can click Password Generator
- Directory: Access directory for users, I leave it blank to have the highest access
- Quota: Unlimited
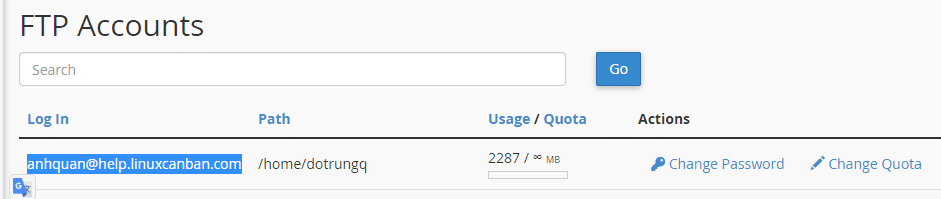
After successful creation, the screen will show as follows:
Step 2: Create a database
You can refer to how to create a database by following the instructions below:
Step 3: Import Database
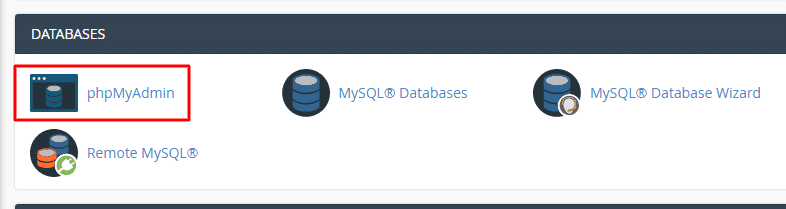
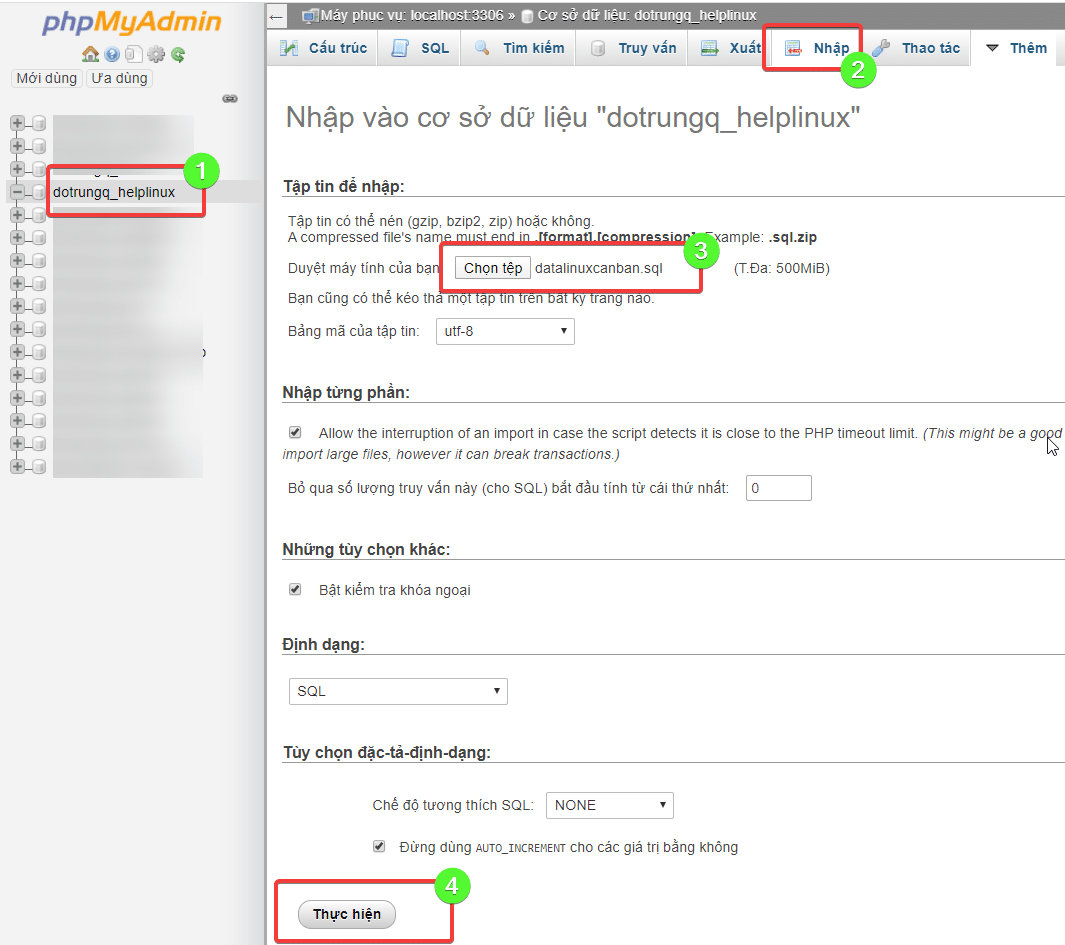
After successfully creating the database, you need to import the database, I will use phpMyAdmin to import it.
In Table Database, select phpMyADmin
At the interface below, you select the database to import and find the local database and import it.
- Select the database to import
- Select the function Import database
- Select the database on your local computer
- Import database
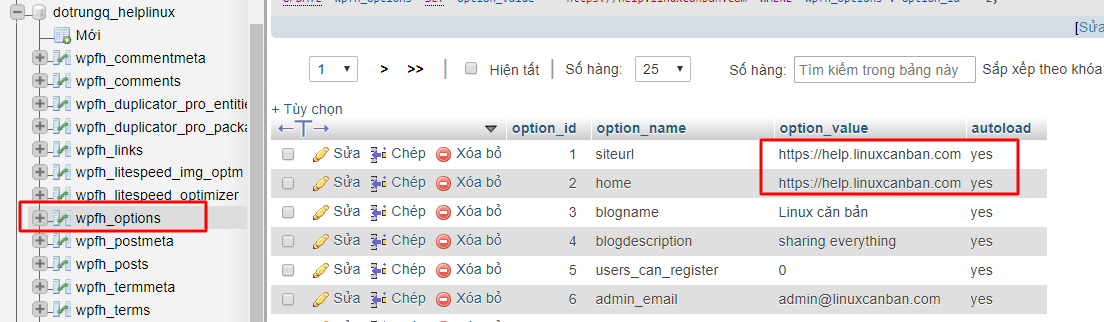
After completing the import, go to the table named *_option and change the URLSITE/HOME with the corresponding name.
Step 4: Upload the source code
This is the step to put all the local source code on the host, with the FTP protocol with many supporting tools such as Xftp, WinSCP, CuteFTP… And I will introduce you to FileZilla, a popular tool many users use.
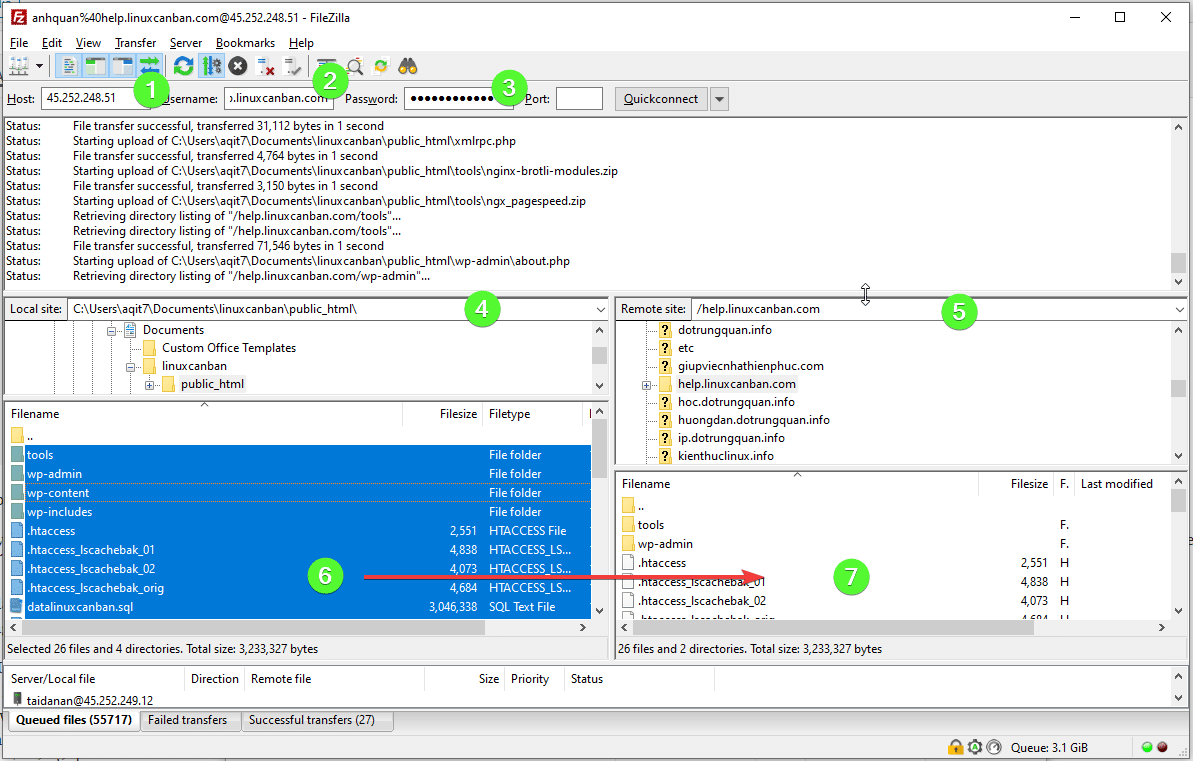
You open the FileZilla application and do as shown below:
- Enter the server’s IP
- Enter the FTP user created in the above step
- Enter the FTP password created in the above step
- The path of the folder without the source code on the computer
- Website directory path in hosting
- Source code files on the computer
- The website directory in the hosting contains the source code
=> You select all files in (6) (ctrl + A), then drag/drop to (7). This is a very simple drag-and-drop step, right?
The size of the data and the internet upload speed will determine the completion time fast or slow.
Step 5: Connect the database with the source code
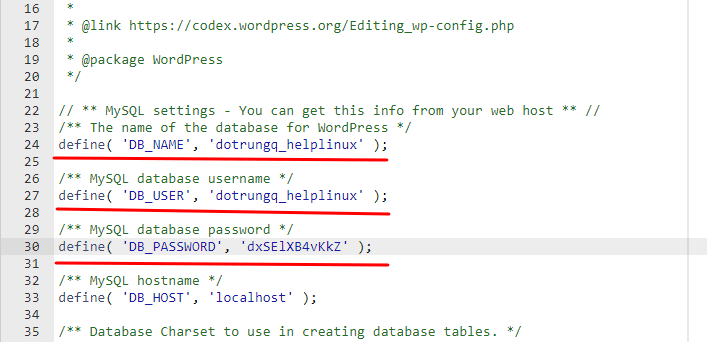
After uploading the source code is complete, the next step is to connect the database name and database to the configuration file. The database connection file is the wp-config.php file in the source code.
You notice the 3 lines that are:
- Line 1 – Database name: You enter the previously created database name
- Line 2 – Database User: You enter the previously created database user
- Line 3 – Password: You enter the previously created password
After configuring the database, check your website.
Note: Your domain name must be pointed to the server/hosting server’s IP for it can work.
Note: If you get a 404 Not Found error on subsites, you can refer to the instructions below:
- Hotline 247: 028 888 24768 (Ext 0)
- Ticket/Email: You can use your email to register for the service and send it directly to: support@azdigi.com
