
Nội dung
What is 2-factor security?
Two-Factor Security, or 2FA for short, is an extra step in your regular login activity. Without 2FA, you will only enter your username and password to log into the system, your account. The password section will be the only layer of protection for the account. Meanwhile, the added second layer of security will help you better protect your account.
Why should you use 2-factor security?
Two-factor security is the best way to protect yourself from attacks that steal sensitive user account information, spoof login pages, and other account-hijacking methods. With 2-factor security, you can be more assured if your account information is accidentally exposed In addition, it will be difficult for others to access your accounts because there will be obstacles in the 2-factor security step.
So how can you enable this feature on the hosting service at AZDIGI? In this article, AZDIGI will guide you in detail, follow the steps below.
Implementation guide
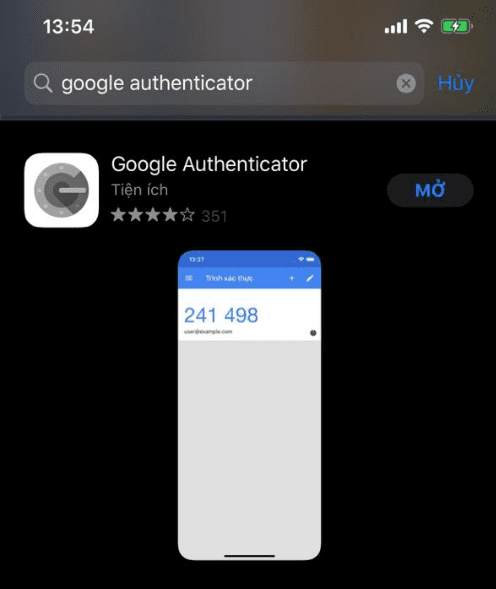
Step 1: Install the Google Authenticator Application
To use the 2-factor authentication feature, you first need to install it on your mobile device or computer software that can scan QR codes. I will use the most popular app, Google Authenticator.
Or, if you want to install it directly on the Google Chrome browser, you can install this Extension here.
Step 2: Set up 2-factor authentication on CyberPanel
To enable 2-factor authentication (2FA) on CyberPanel, go to CyberPanel by following the link: https://IP:8090/ and login with your CyberPanel admin account.
After successful login, you continue to access as follows:
User (1) => Modify User (2) => Select Account (3), and select the user to enable 2FA => Additional Features (4), (tick the box 2FA), now you need to use the Google Authenticator app set in Step 1 to scan the displayed QR code.
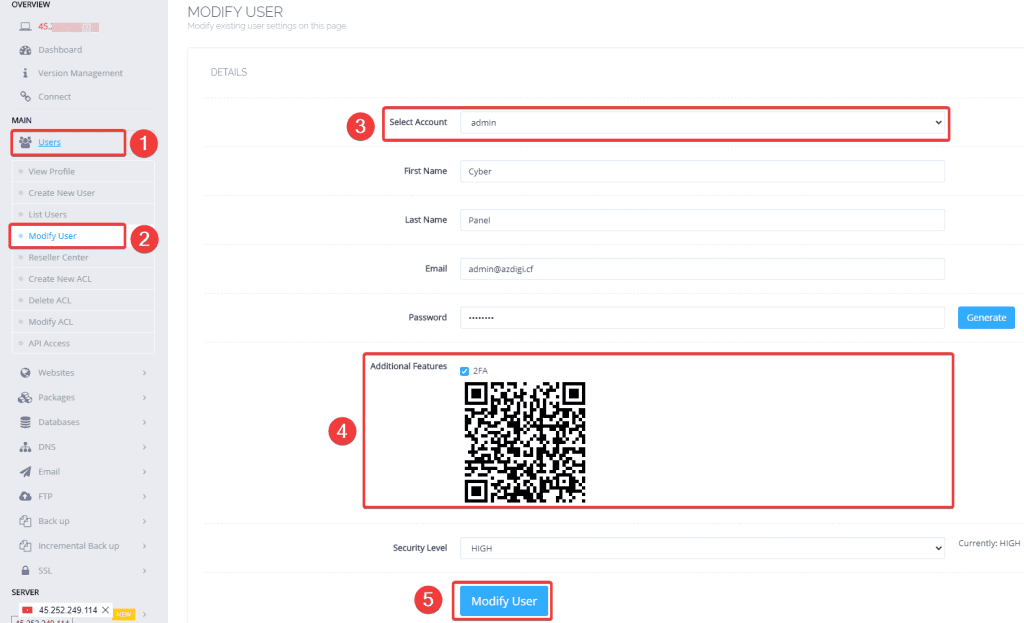
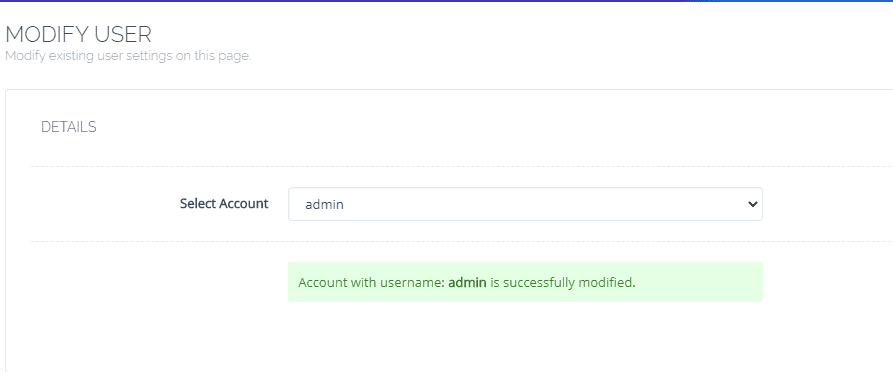
When activating 2-factor authentication and scanning the QR code is complete, click Modify User (5) to modify. If you receive the message as shown, it is successful.
Step 3: Check the operation of 2-factor authentication
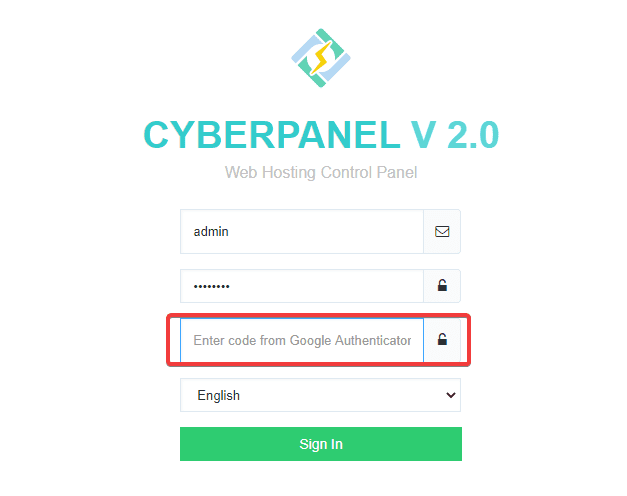
After the configuration is complete, exit the CyberPanel admin page and re-login to check if 2FA is working or not.
As I checked, after logging in again, CyberPanel asked to enter the 2-factor authentication code as shown below:
Now you check the Google Authenticator app to get the authentication code, the code will be in the form of 6 digits as shown below:
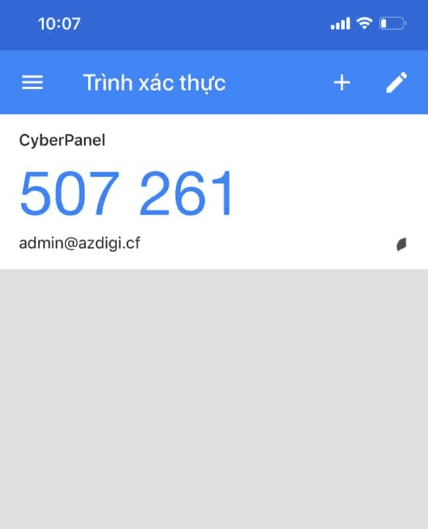
You can enter the code above into the Google Authenticator section when logging into CyberPanel to be able to log in.
Summary
Thus, AZDIGI has complete instructions on installing 2-factor authentication for the admin account to enhance security and reduce the risk of password detection attacks. With 2-factor authentication, you can rest assured that even if your information is accidentally leaked, other people will not be able to login to the admin without the 2-factor authentication code. If you find this article interesting and useful, you can share it widely.
