
Nội dung
In today’s tutorial, I will help you install Java 8 on CentOS 7 in an understandable and fastest way possible.
I. Introduction
In this guide, AZDIGI will show you how to install Oracle’s Java 8 programming language specifically on CentOS 7 server. Java is a simple object-oriented language designed with classes to have as few execution dependencies as possible.
Java is commonly used for many applications and websites that you use today.
And in the process of using Linux in general and CentOS 7 in particular, you will need to install many software that require Java to be installed on your server.
II. How to install Java 8 on CentOS 7
To install Java 8 on CentOS 7, we need to perform the following 3 steps.
Step 1: SSH into your server
To install Java 8 on CentOS 7, we first need to SSH or access your VPS/server with root privileges. If you don’t know how to SSH into your VPS/Server, you can refer to the following tutorial:
After successfully SSHing, we continue with step 2 to check if our CentOS 7 server has Java installed previously.
Step 2: Check if the server has Java installed
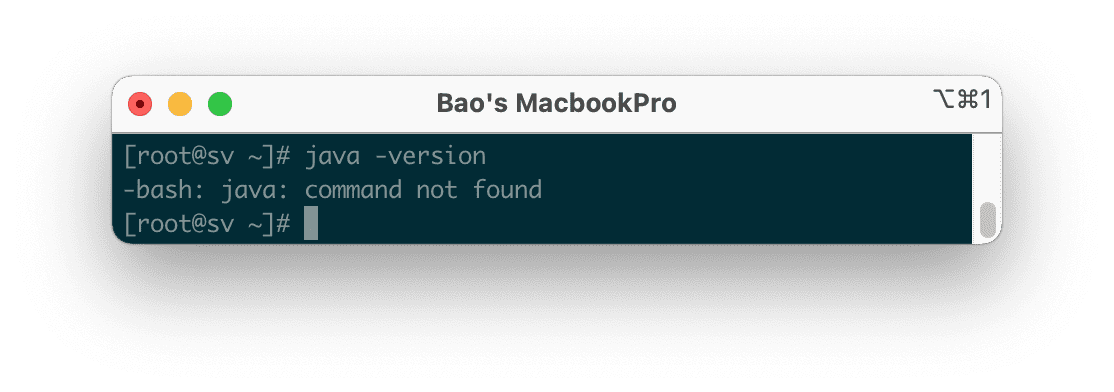
To check if the server has Java installed, we just need to execute the following command:
java -version
If the result is -bash: java: command not found, your server doesn’t have Java installed.
We will proceed to step 3 to execute commands to install Java 8 on CentOS 7.
Step 3: Commands to install Java 8 on CentOS 7
Before executing commands to install Java, we should update our CentOS 7 operating system with the following command:
yum -y update
After everything is updated, we use the following command to install Java 8:
yum -y install java-1.8.0-openjdk
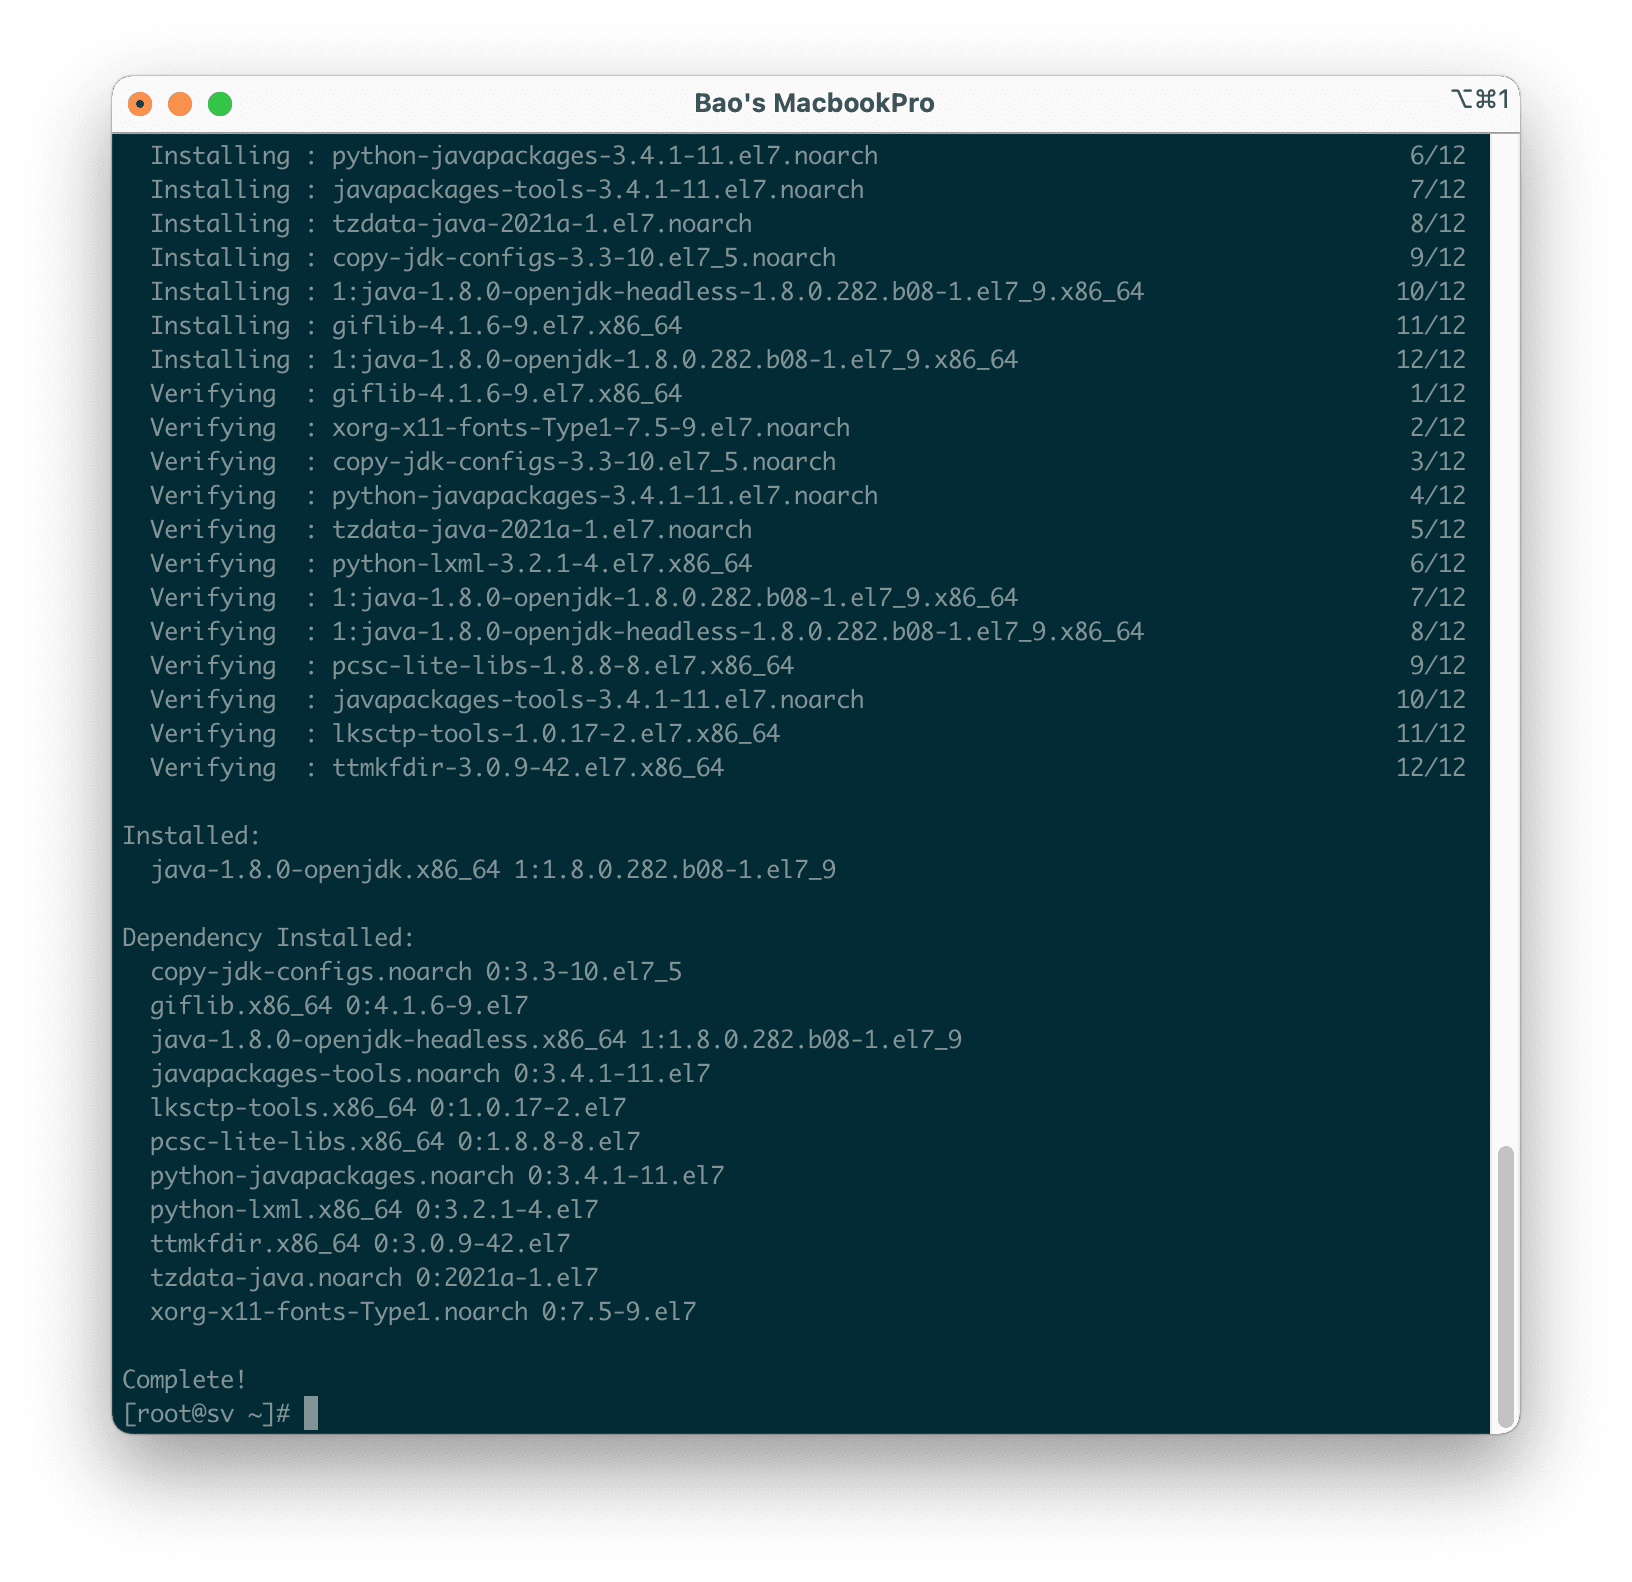
After the installation is complete, we can use the command in step 2 again to recheck.
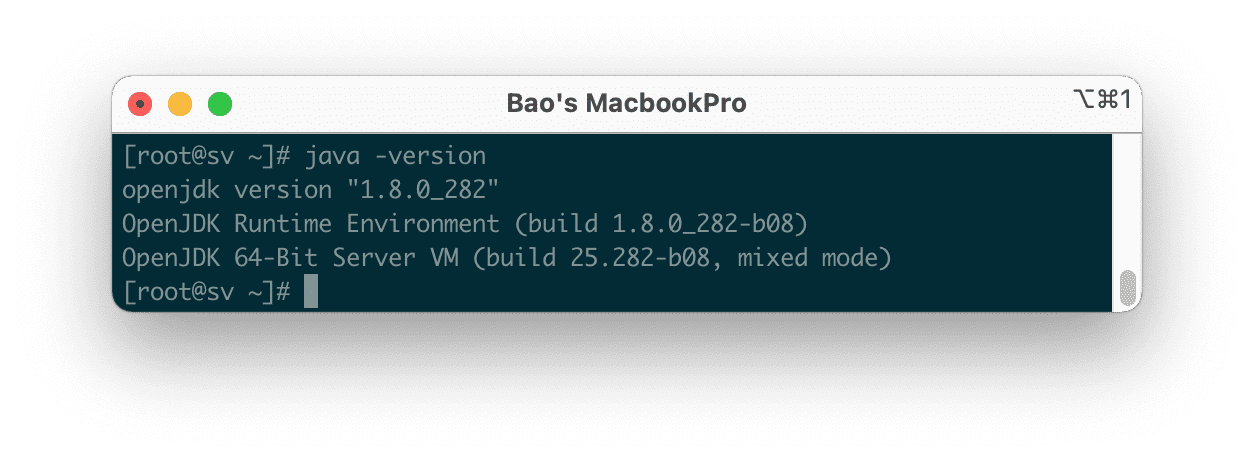
java -version
If you get the following results, then we have successfully installed Java 8.
[root@sv ~]# java -version
openjdk version "1.8.0_282"
OpenJDK Runtime Environment (build 1.8.0_282-b08)
OpenJDK 64-Bit Server VM (build 25.282-b08, mixed mode)
[root@sv ~]#
III. Summary
So with only 3 basic steps, we have successfully installed Java 8 on CentOS 7. Having Java pre-installed on your server will help when you install software that requires Java to be used, you will no longer be required to install Java.
Wishing you success! See more useful articles about Linux at the following link:
If you need assistance, you can contact support in the ways below:
- Hotline 247: 028 888 24768 (Ext 0)
- Ticket/Email: You use the email to register for the service and send it directly to: support@azdigi.com .
