

Nội dung
I. Introduction
Continuing on the Webinoly series, then in the following article, AZDIGI will guide you to install SSL on Webinoly with a free Let’s Encrypt SSL certificate and a paid SSL certificate (import an existing certificate on the server). In this article, I will divide it into 2 parts: Installing Let’s Encrypt SSL and Installing an available SSL certificate, please follow along.
II. Install SSL on Webinoly
1. Install Let’s Encrypt SSL on Webinoly
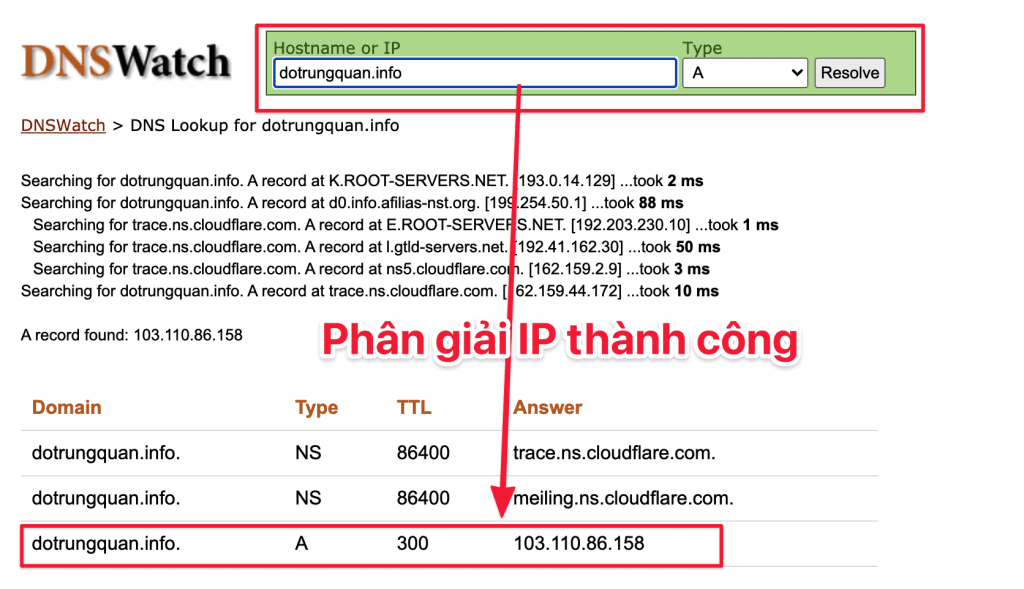
Step 1: Configure DNS records
To install SSL, the first condition is that you must point the domain name to the Hosting/VPS IP. I have a domain dotrungquan.info and pointed to the VPS IP to install Webinoly. To check if the domain name has been pointed to the server, you can check it online at dnswatch.info
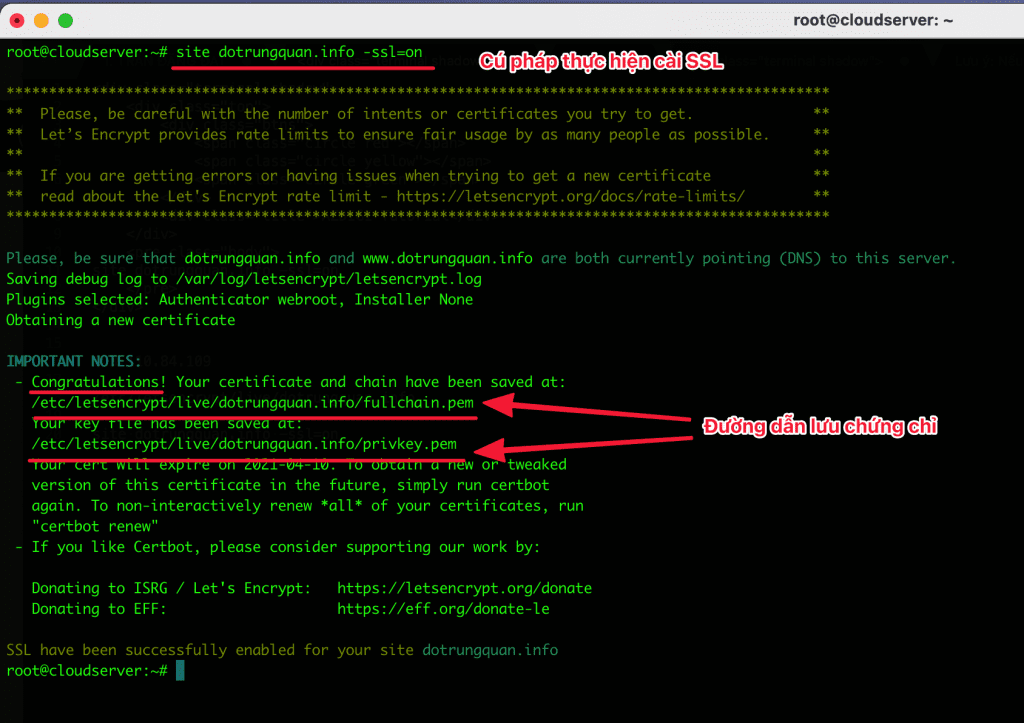
Step 2: Install Let’s Encrypt SSL
With Webinoly, installing Let’s Encrypt SSL is extremely easy use the command below and replace dotrungquan.info with your website’s domain name.
site dotrungquan.info -ssl=on
When the system displays the Congratulations message, your SSL certificate has been successfully issued.
Note: If you cannot access the website, please restart nginx and check.
2. Install an existing SSL certificate on Webinoly
Currently, AZDIGI provides SSL of all kinds, such as GOGETSSL, SECTIGO, DIGICERT with extremely attractive prices and supports free certificate verification with SSL DVs, you can refer to register at the following link:
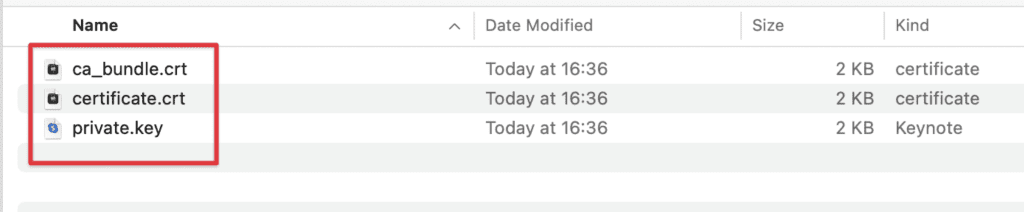
Step 1: Prepare the SSL certificate file
After registering for SSL, verifying and being issued SSL, you will have 3 files as below. These are the 3 necessary files that are linked together.
- Certificate: *.crt
- Private Key: *.key
- CACertificate *.crt
Step 2: Find the SSL certificate configuration path
After you have a full SSL certificate for the domain name, the next step is to determine where the certificate configuration path is. With the NGINX server, you can determine by typing nginx -t and you will see the nginx.conf configuration path.
Note: Since I have Let’s Encrypt installed, I should use the default path of Let’s Encrypt.
root@cloudserver:~# nginx -t
nginx: the configuration file /etc/nginx/nginx.conf syntax is ok
nginx: configuration file /etc/nginx/nginx.conf test is successful
root@cloudserver:~#
Once you have located the nginx.conf file, open this file because the vhost domain configuration will be include.
I use the command cat /etc/nginx/nginx.conf to read the file and find the Virtual Host Configs line. Here you will see the line include /etc/nginx/sites-enabled/*;. So the vhosts of all the websites you add will be in this directory.
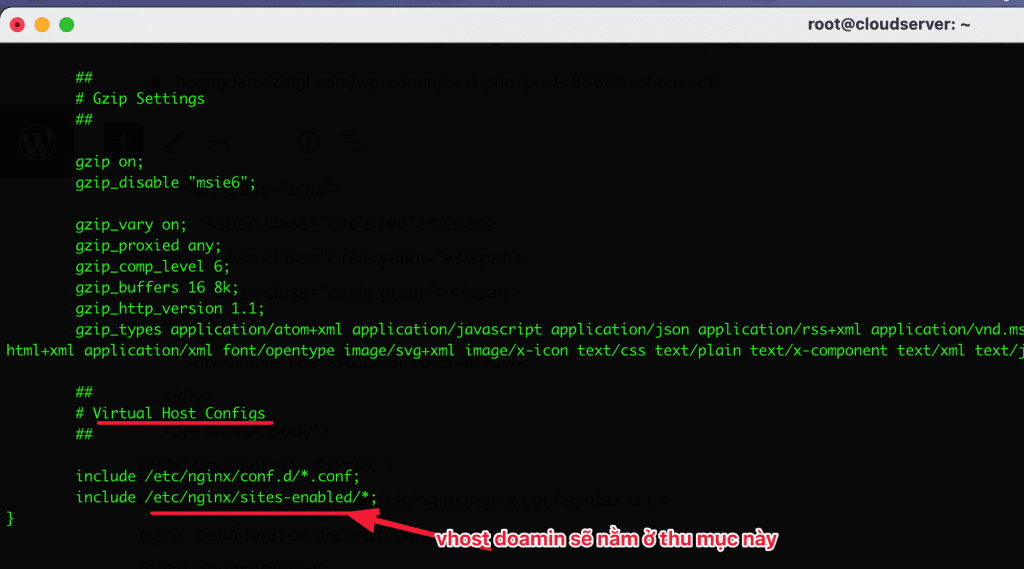
You can access this directory with the cd command. Once you enter the directory, the command ll hoặc ls -l, it will list the files inside. Here you will see the domain configuration files, open the corresponding domain file to check the paths to save the SSL certificate.
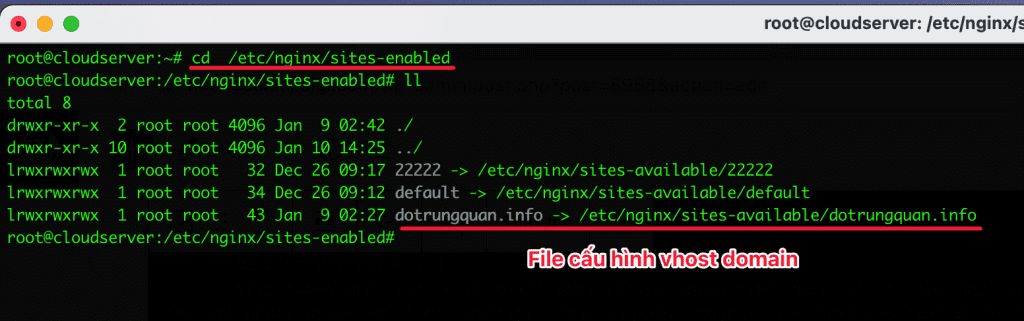
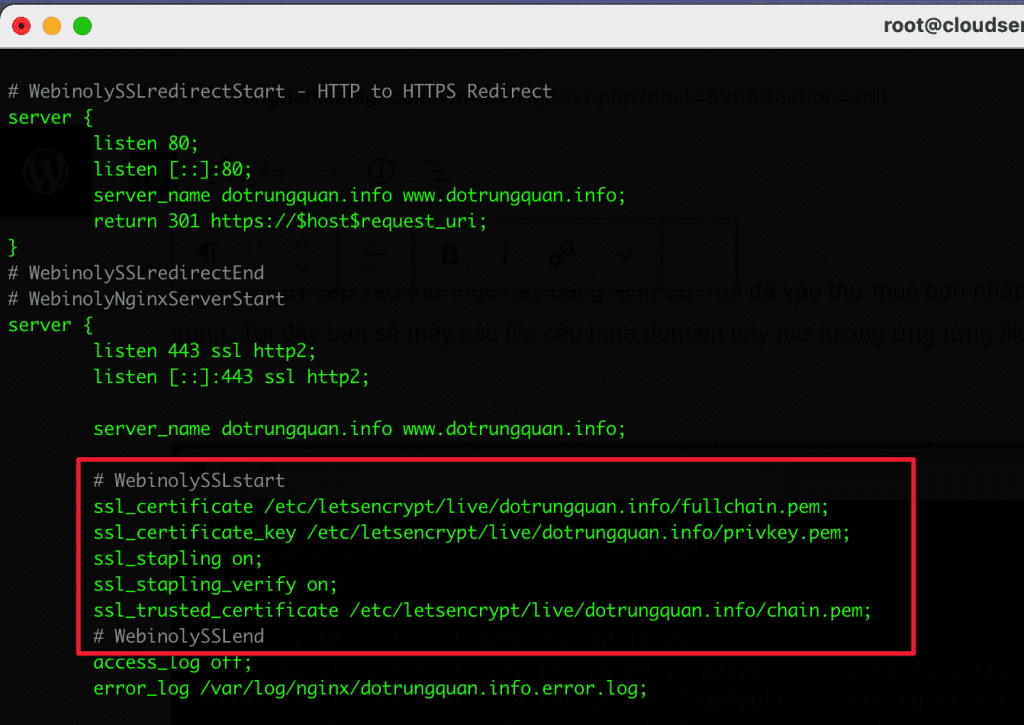
Open the file /etc/nginx/sites-available/domain and you will see files ending in *.pem. These are the files that you will import your certificate into.
- File including crt and CAcrt: /etc/letsencrypt/live/my-domain/fullchain.pem;
- File containing privkey: /etc/letsencrypt/live/my-domain/privkey.pem;
- File containing CAcrt: /etc/letsencrypt/live/my-domain/chain.pem;
Step 3: Configure SSL Certificate
Now delete all the content in the *.pem files and replace it with your SSL certificate.
- fullchain.pem: this file will include
certificate.crtandca_bundle.crtmerged into one file - chain.pem: you enter the contents of the file
ca_bundle.crtinto this file - privkey.pem: you enter the content of the file private.key into this file
After successfully importing, please test the nginx file to see if there are any errors. If there is no error, please restart nginx service to apply.
- Check nginx
root@cloudserver:~# nginx  -t
nginx: the configuration file /etc/nginx/nginx.conf syntax is ok
nginx: configuration file /etc/nginx/nginx.conf test is successful
root@cloudserver:~#
Restart nginx
service nginx restart
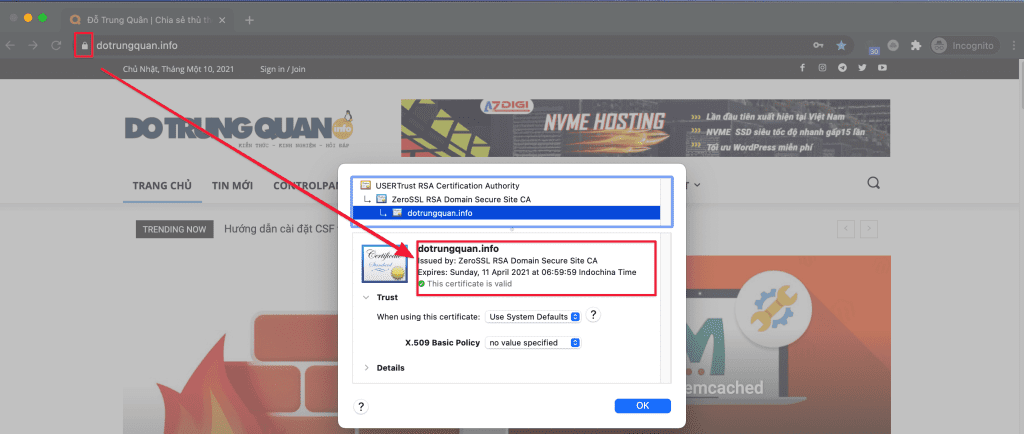
Step 4: Check SSL Certificate
- Check directly in the browser
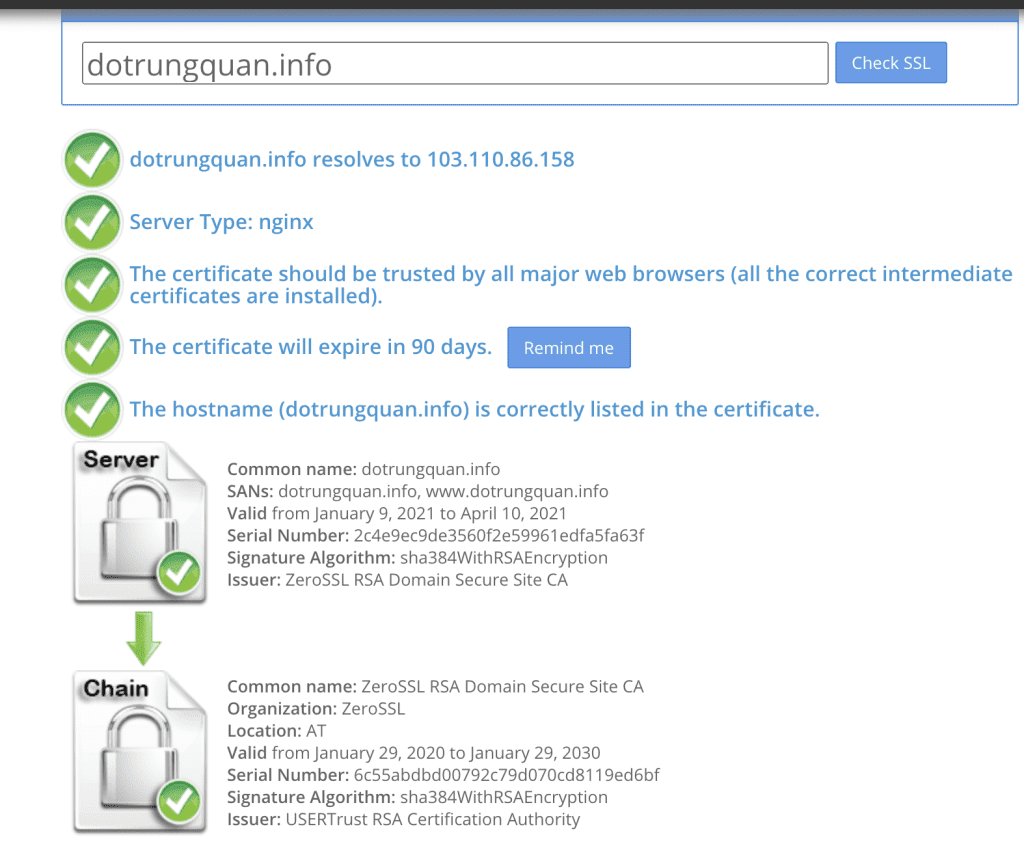
- Check with the tool
You can use the online tool sslshopper.com to check it. Please enter the domain name to check.
III. Summary
Hopefully, this article brings a lot of helpful information to you so that you can install an SSL certificate for your website for higher information security.
If you need assistance, you can contact support in the ways below:
- Hotline 247: 028 888 24768 (Ext 0)
- Ticket/Email: You use the email to register for the service and send it directly to: support@azdigi.com .
