
Nội dung
Overview
Surely in the process of using, there will come a time when the Services on your VPS become outdated and old. With today’s technology power, vendors are constantly releasing new versions to update new features and fix bugs that remain in previous versions. So how can you quickly update your services to new versions for a better experience, when you don’t have much knowledge in managing and manipulating VPS?
If you are using aaPanel, in this article, AZDIGI will guide you on how to upgrade and change the version of some important services on VPS with just a few clicks.
Implementation guide
Note: Before going into the operation to change the server configuration, you should back up your data first to avoid unexpected errors.
Step 1: Check the version of the services you are using
To quickly check the services in use on your VPS, go to aaPanel’s administrator, navigate to AppStore (1) => Installed (2) Here you will know the exact versions. of each service being used.
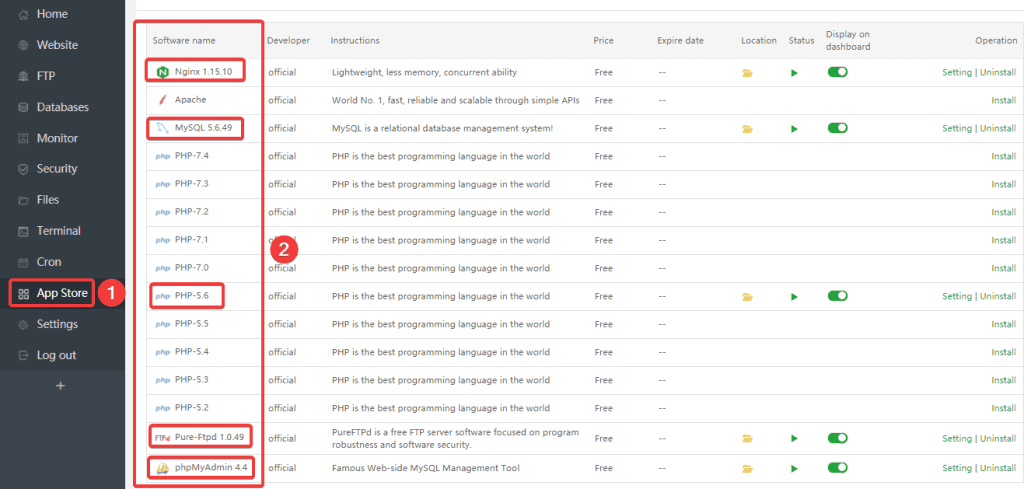
As in this VPS, the services are currently in the following versions:
- Nginx (version 1.15.10)
- Mysql (Mysqld version 5.6.49)
- PHP (version 5.6)
- phpMyadmin (Version 4.4)
Currently, the versions of the services are old, and newer updates are available now. So we will go to step 2 to upgrade these services.
Step 2: Upgrade the service
I will do each service in turn, you first access the Appstore section on aaPanel.
Nginx
To upgrade Nginx, at service Nginx 1.15.10 (1), you click Setting (2).

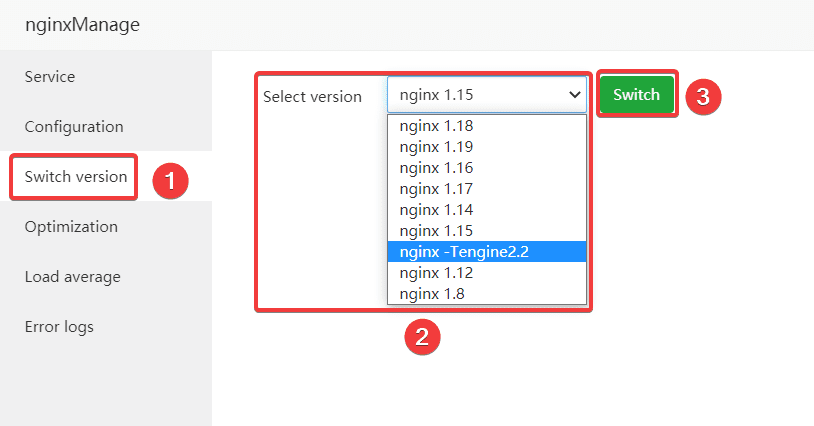
At the nginxManage interface, you select the Switch version (1) tab => at the Select version (2) section, select the new Nginx version to install => and click Switch (3) to complete. (Here I changed to nginx – Tengine2.2)
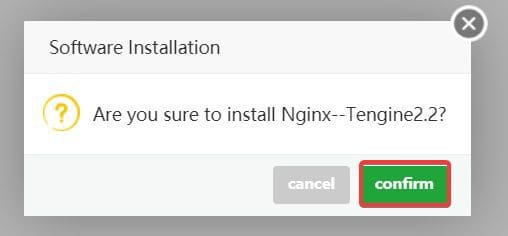
At this point, the system will display a message for you to confirm again, click the confirm button.
Now you need to wait for the system to complete the installation.
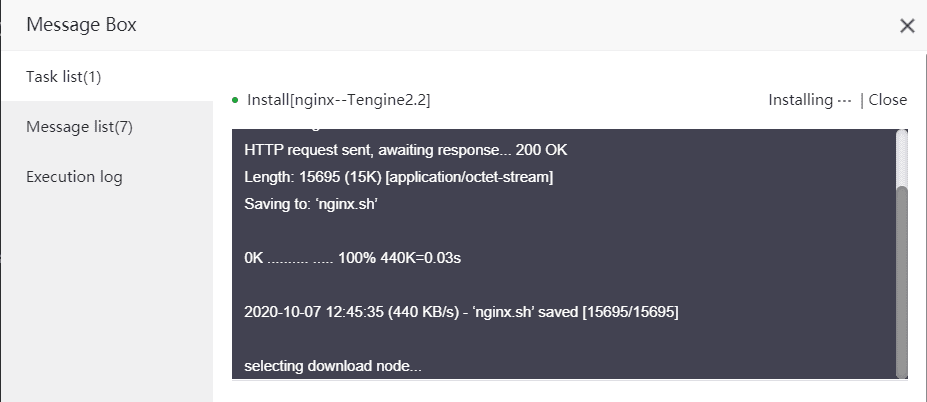
So I have successfully changed the Nginx version from Nginx 1.15.10 => nginx – Tengine2.2.

Mysql
To upgrade Mysql, at service Mysql version 5.6.49 (1), you select Setting (2).

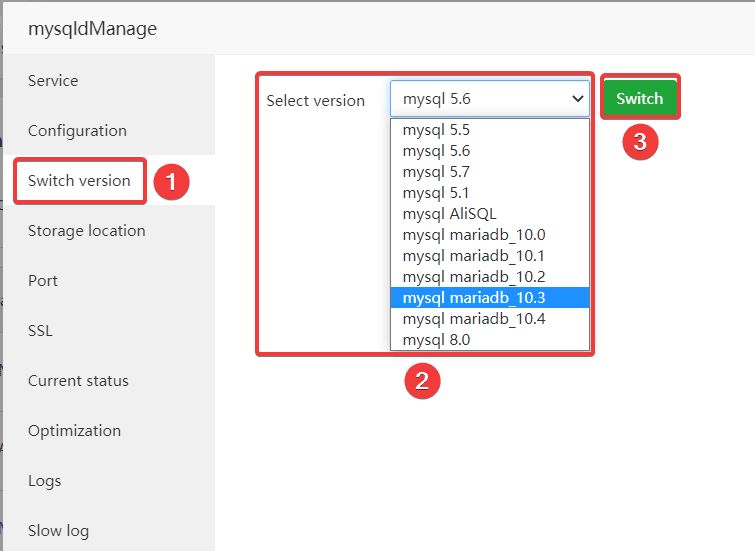
At the mysqldManage interface, select the Switch version (1) tab => at the Select version (2) section, select the new Mysql version to install => and press Switch (3) to complete. (Here I changed to mysql mariadb_10.3)
Then the system will display a warning as shown below:
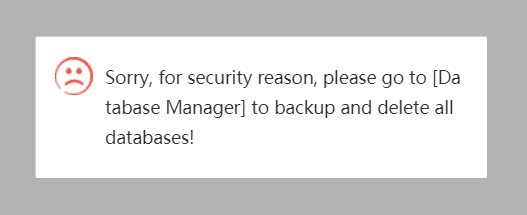
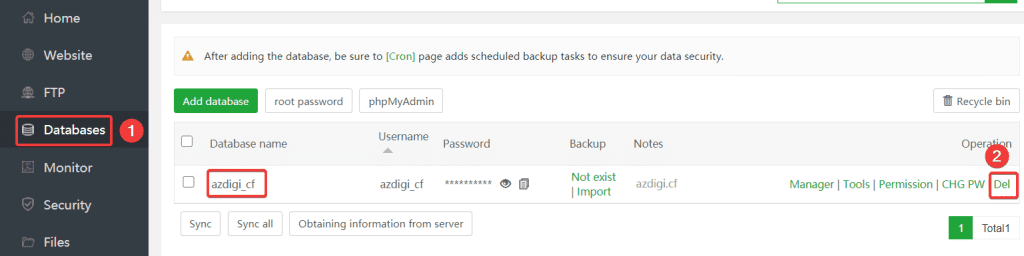
Because reinstalling Mysql will directly affect your data. So the system requires you to access Database (1) => proceed Bakcup to run out of Database data => Then delete all Databases by clicking Del (2).
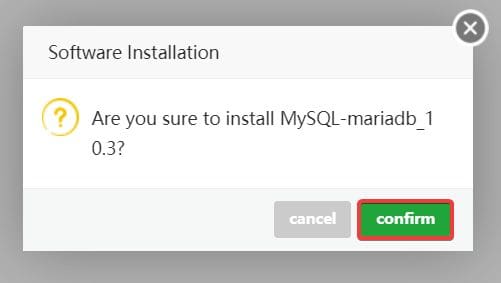
After you have backed up and deleted all the databases on the VPS, you can access and reinstall Mysql. Click the confirm button.
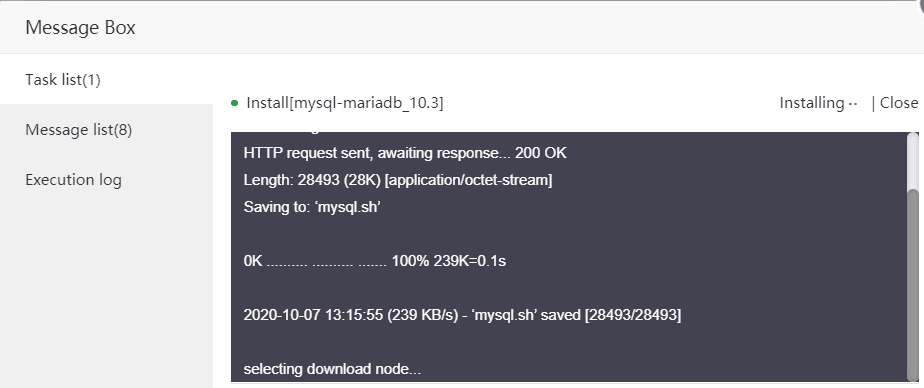
Now you need to wait for the system to complete the installation.
So I have successfully changed the version of Mysql from Mysqld 5.6 => Mysql Mariadb 10_3

PHP
With PHP on VPS, we will make it simpler, because with PHP we can install more versions. If you want to install more PHP versions, you don’t have to delete the old version but you can still install the new version. To install PHP, you do the following:
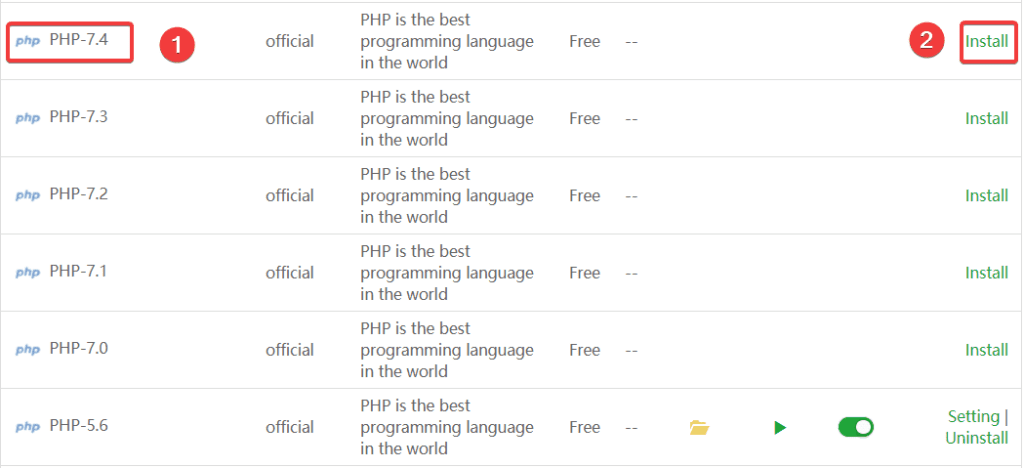
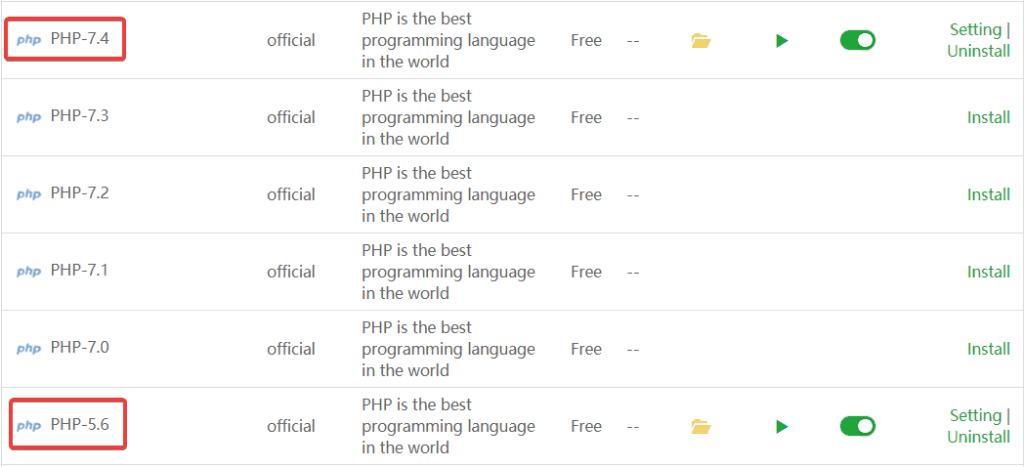
To upgrade PHP, at the PHP service, select (1) => Install (2).
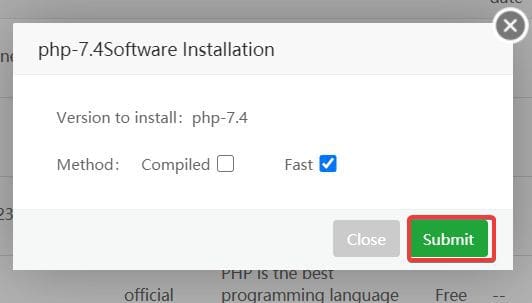
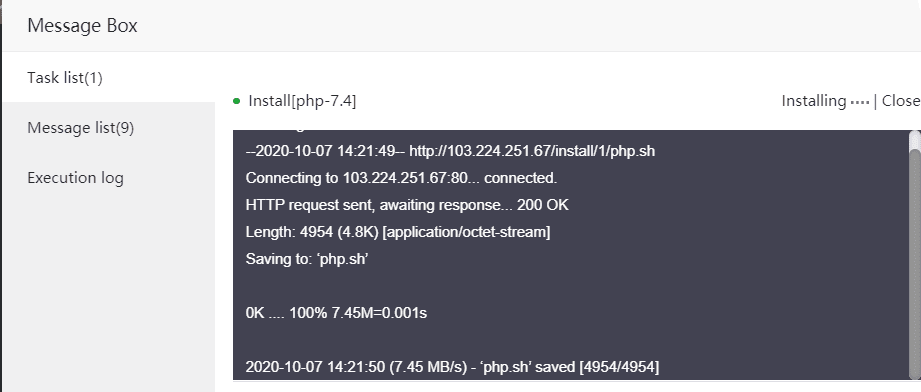
Continue to click Submit.
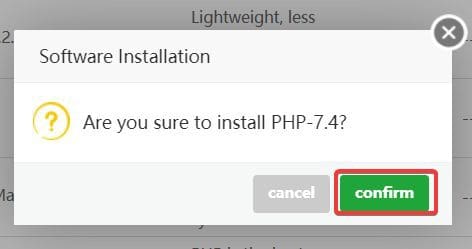
Continue to press Confirm to confirm the request.
Now you need to wait for the system to complete the installation.
So I have successfully installed PHP version 7.4, with the old PHP version you can delete it or leave it and it won’t affect anything.
phpMyAdmin
With phpMyAdmin to be able to upgrade, you need to delete the current version before you can install another version. The steps are as follows:
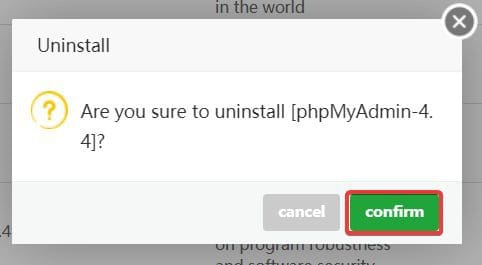
At phpMyAdmin 4.4 service (1), click Uninstall (2).

Click Confirm to confirm the request.
After the uninstall is complete, proceed to reinstall phpMyAdmin by clicking Install.

Next, in the Version to install (1) section, select the new version to install, then select Submit (2) to submit the request.
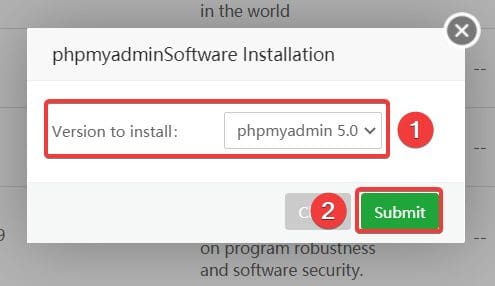
Click Confirm to confirm the request.
Now you just need to wait for the system to complete the installation.
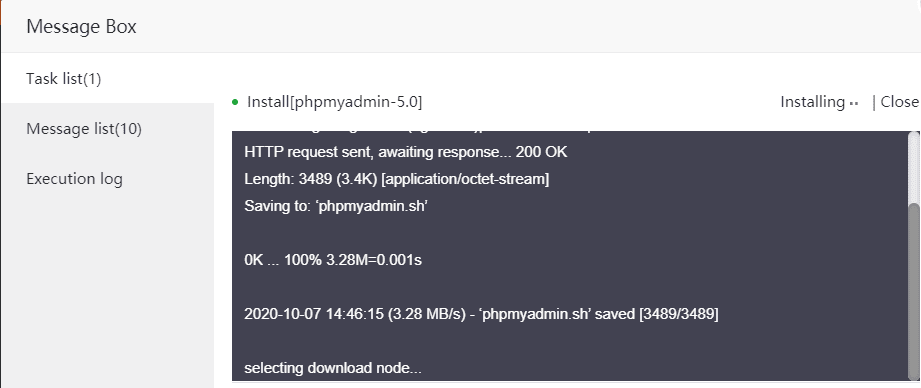
So I have successfully changed the phpMyAdmin version from 4.4 => 5.0 successfully.

Summary
So AZDIGI has shown you how to install and upgrade some important services on VPS using aaPanel with just a few mouse clicks. With this operation, you can easily upgrade your services even if you do not have much knowledge about VPS administration. If you find the article useful, please share it widely.
You can refer to some other useful aaPanel articles below:
Wishing you success!
If you need assistance, you can contact support in the ways below:
- Hotline 247: 028 888 24768 (Ext 0)
- Ticket/Email: You use the email to register for the service and send it directly to: support@azdigi.com
