
Nội dung
Overview
What is an SSL certificate?
An SSL certificate is a small encrypted file containing information about a website or an organization/company. When a certificate is installed on the website server (webserver), it will allow the website to use a secure connection (also known as the HTTPS Protocol) when communicating between the webserver and the user’s browser. When data is transmitted via HTTPS protocol, the data will be encrypted and only the web server containing the private key can decrypt this data.
Details about SSL types and how to authenticate SSL from the company, you can check out the detailed article below:
- What is an SSL certificate and what you need to know.
- How to install SSL OV/EV and authentication.
- How is the free SSL different from the paid SSL?
In this article, AZDIGI will show you how to install an SSL certificate on a website using cPanel, please see the steps below.
Implementation guide
Step 1: Prepare the necessary certificate files
To install a complete SSL for a website, you need to have all the certificate files below, if any of the files are missing, you will not be able to install the SSL certificate on the website.
- Certificate.crt
- Private.key
- CA.crt (Intermediate/Chain files)
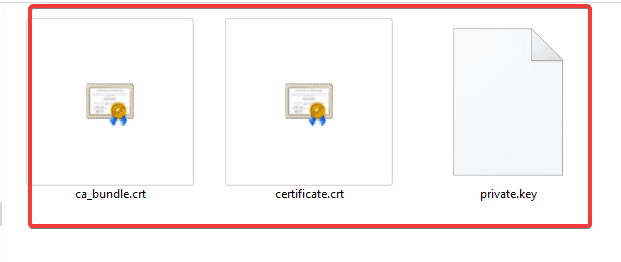
Once we have all the certificate files as above, we continue to step 2.
Step 2: Install the certificate on cPanel
Once you have prepared all the certificate files, proceed to add the certificate to the website via cPanel as follows:
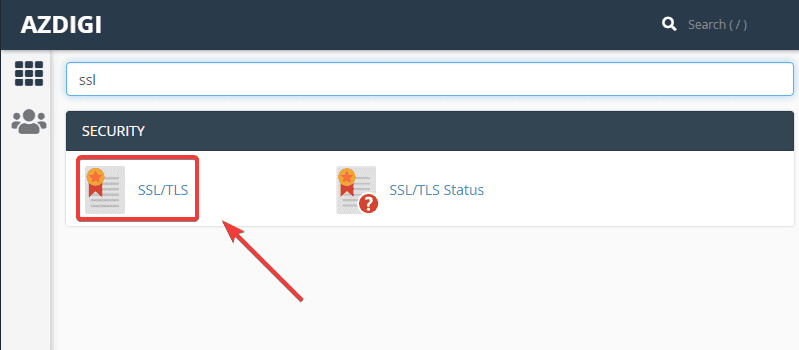
You log into your cPanel and go to SSL/TLS section.
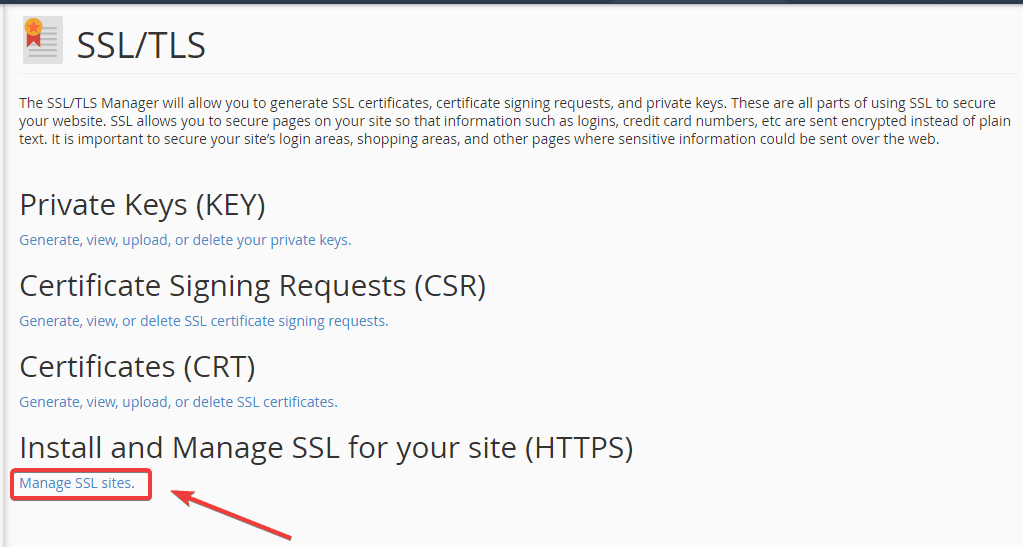
Next, select Manage SSL sites.
At the installation interface, select the correct domain to install the SSL certificate in the Domain section. Next in (1) – (2) – (3), you need to paste the contents of the corresponding files in Step 1.
As follows:
- Certificate: (CRT) (1) <=> Certificate.crt
- Private Key (KEY) (2) <=> Private.key
- Certificate Authority Bundle: (CABUNDLE) (3) <=> CA.crt
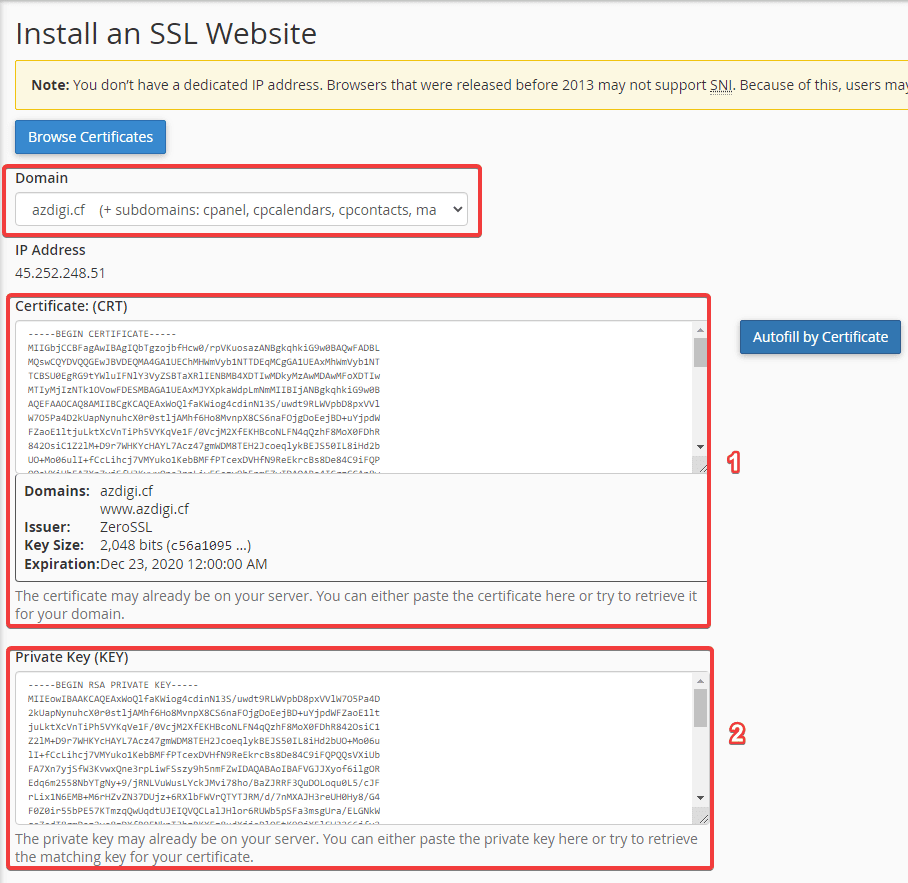
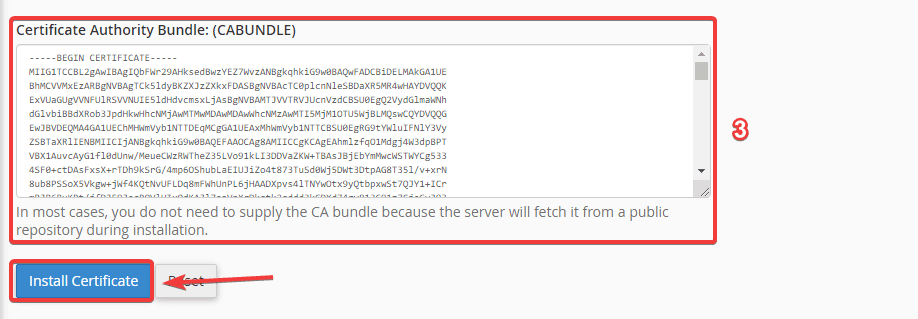
Once you have filled in all the information, click Install Certificate to proceed with the installation.
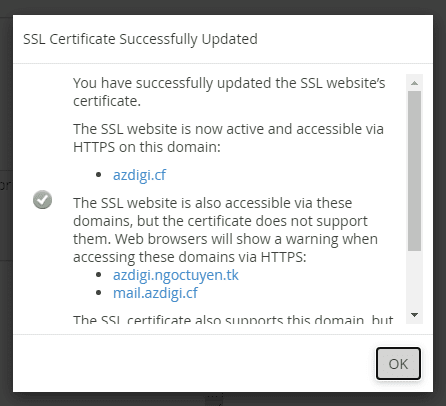
Receive the message as shown below that you have succeeded.
Step 3: Check SSL Status
Method 1: Check directly on the website
You access the website in a browser, click on the padlock icon (1) => here will display the website’s SSL certificate expiration date (2).

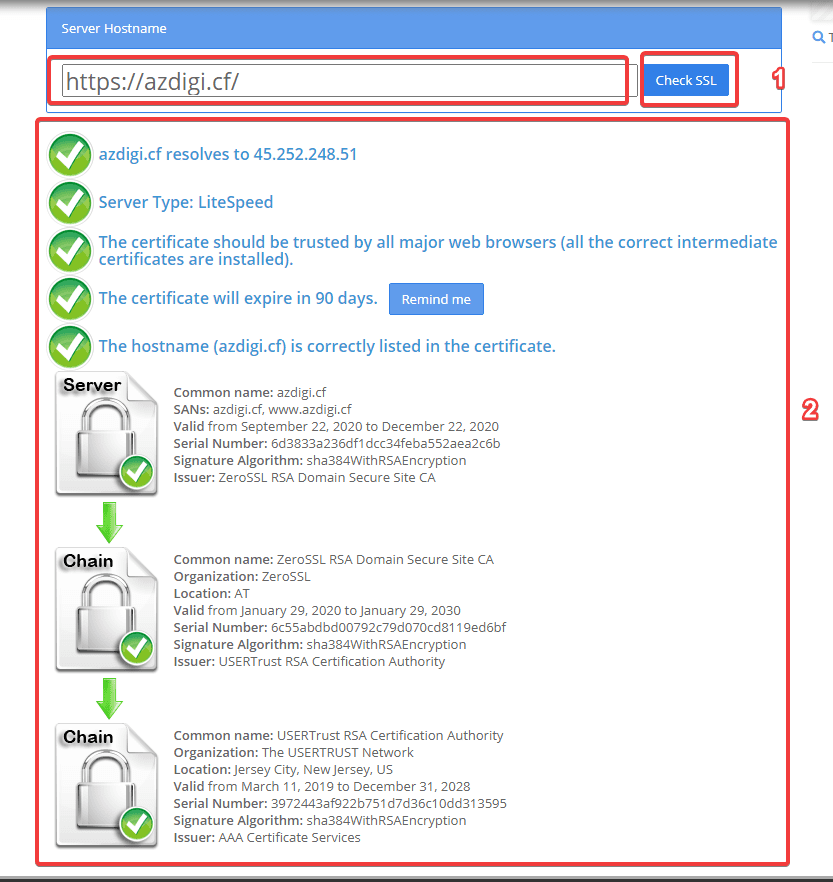
Method 2: Check on SSL Shopper
You access https://www.sslshopper.com/ssl-checker.html, enter your domain and click Check SSL (1) => it will display detailed information about the website’s certificate (2).
Summary
So in this article, AZDIGI has shown you how to add an SSL Certificate to a website through cPanel most straightforwardly and simply. If you find this helpful article, please share it widely.
Wishing you success!
If you need assistance, you can contact support in the ways below:
- Hotline 247: 028 888 24768 (Ext 0)
- Ticket/Email: You use the email to register for the service and send it directly to: support@azdigi.com
