
Nội dung
In this article, AZDIGI will show you how to simply transfer mail data on cPanel, available on cPanel, without using 3rd party tools (Outlook). Let’s find out and do it together.
I. OVERVIEW
AZDIGI currently provides mail hosting services at extremely attractive prices to users. Using email hosting helps your personal and business become more professional. Assuming you are a large company when sending mail to a partner, you cannot use the @gmail.com extension but must be @domain của bạn.
Like AZDIGI, a technology company providing server infrastructure and mail services… When sending emails to partners and customers, the email extension must be @azdigi.com. This is an indispensable necessity.
Continuing with the issue of transferring email data on cPanel, AZDIGI will guide you through transferring email data from the old provider to the new provider on the condition that both must use cPanel.
II. HOW TO TRANSFER MAIL DATA ON CPANEL
To transfer mail data on cPanel, you follow these 3 steps:
Step 1: Backup old email data
Back-up data mail
You log in to the mail host at the old provider on cPanel and go to File Manager => Mail => My-Domain as shown below:

After access to the mail archive, please back it up by compressing the entire mail account or certain accounts.
You click on Select All to back up all and select Compress.
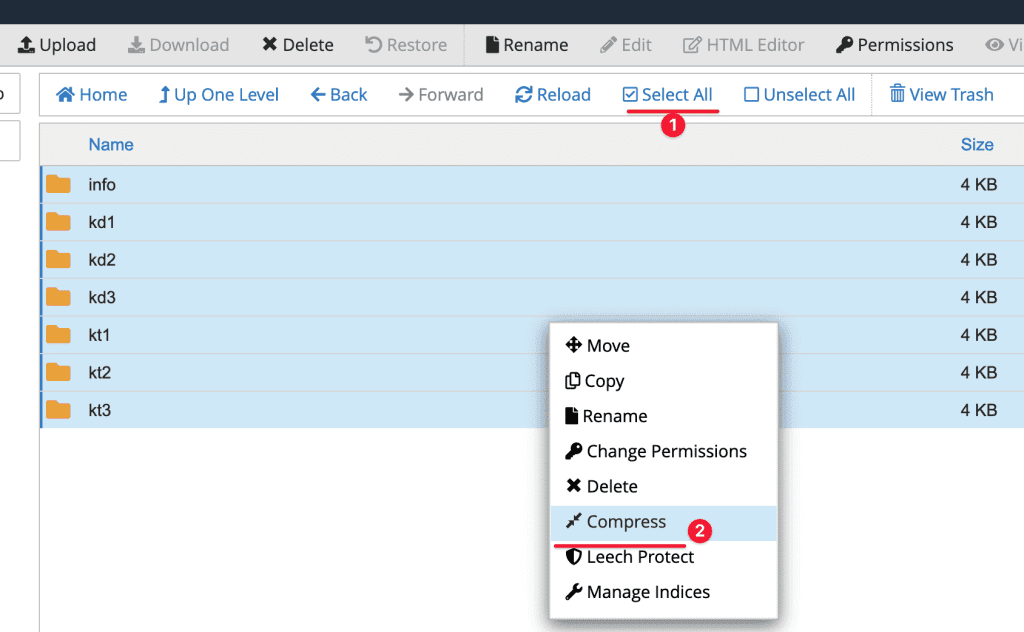
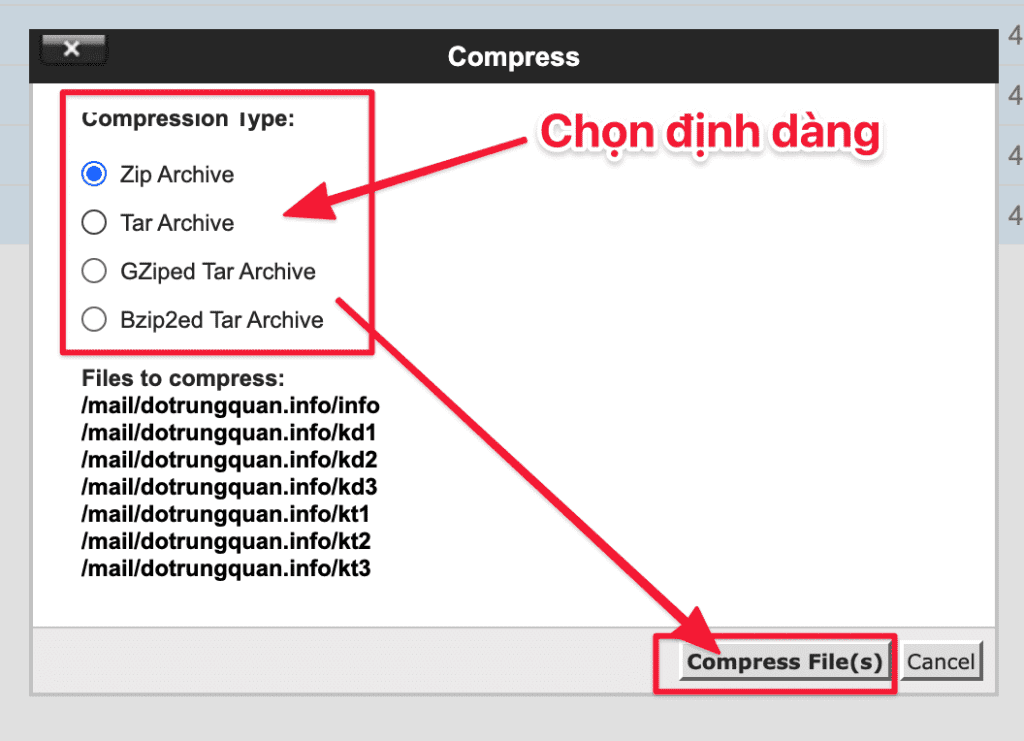
When the Compress dialog box appears, you choose the compression type, I will choose zip Archive => click Compress to complete. Depending on the amount of data, the compression time will be fast or slow.
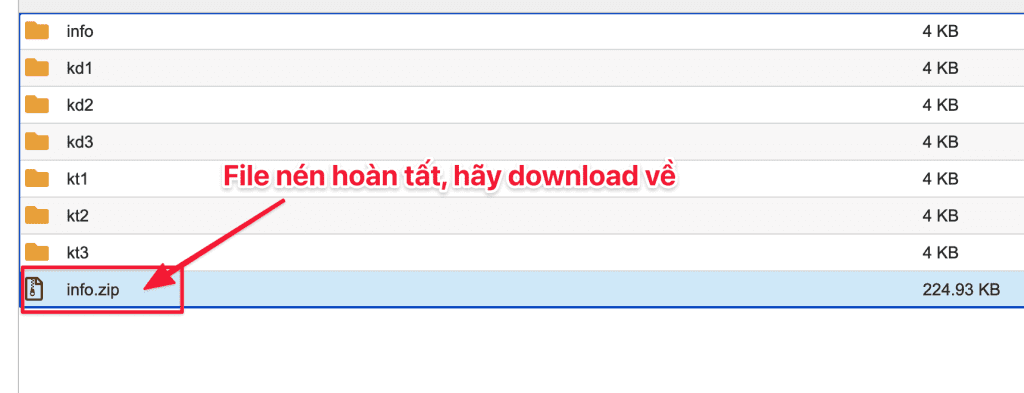
After the zip is completed, the system will display a .zip file as shown below. Please click it to download.
Backup mail configuration
Next, you access the etc/domain/ folder and then compress all the files inside the domain.
Step 2: Upload the file to Host Mail on cPanel
Upload data mail
In this step, please upload the uploaded file to the new mail host to complete the transfer of mail data on cPanel.
You log into the mail host cPanel at the new provider => go to File Manager => Mail => My-Domain => Upload and select the file to upload.

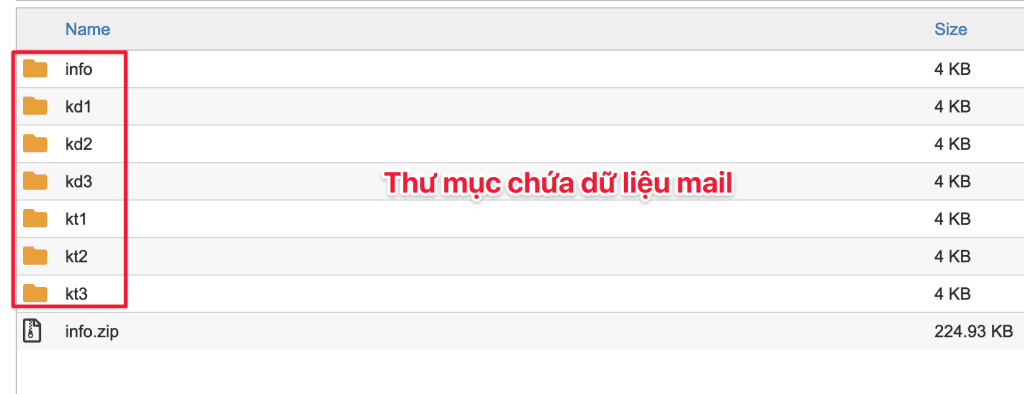
When you’re done extracting, you’ll see the folders corresponding to the mail accounts.
Upload mail configuration
Now download the code configuration file you compressed into /etc/domain and extract it.
After moving the mail data folders, the system will automatically connect to the email data for you. If you don’t know how to create mail on cPanel, please refer to the following article to follow the steps to create a mail account.
How to create a mail account on cPanel.
III. Summary
Hopefully, this article will help you to transfer email data safely and effectively. If you need support, you can contact or send a ticket to AZDIGI’s Technical Department for the fastest support.
