
Nội dung
Surely in the process of operating and using the website, the data backup is always the top issue that needs to be noted. Backing up your website data regularly helps you always have the best backup plan in case something bad can happen to your website.
In the process of using, your wrong manipulation of data deletion or error or passive error from the service provider can cause your data to be lost and cannot be restored. For ShareHoting services, most service providers will have a backup of the last 7 days so that users can easily restore it if needed. However, in VPS service, you will be limited to this problem because often providers will only support weekly backups. So if the case that you update your data continuously, and unfortunately, the website needs to be restored, but the backup from the provider is back from a few days ago, then the problem begins to be difficult.
So how can you proactively backup website data quickly and simply without depending on service providers? This is a question that many people wonder about and are looking for a solution to.
So in this article, AZDIGI will guide you on how to backup and restore website data on VPS using CyberPanel for administration with just a few simple steps, please follow along.
Backup data
Step 1: Create a backup file
First, you need to log in to your CyberPanel admin page, if you don’t know how to log in, you can check out the article below:
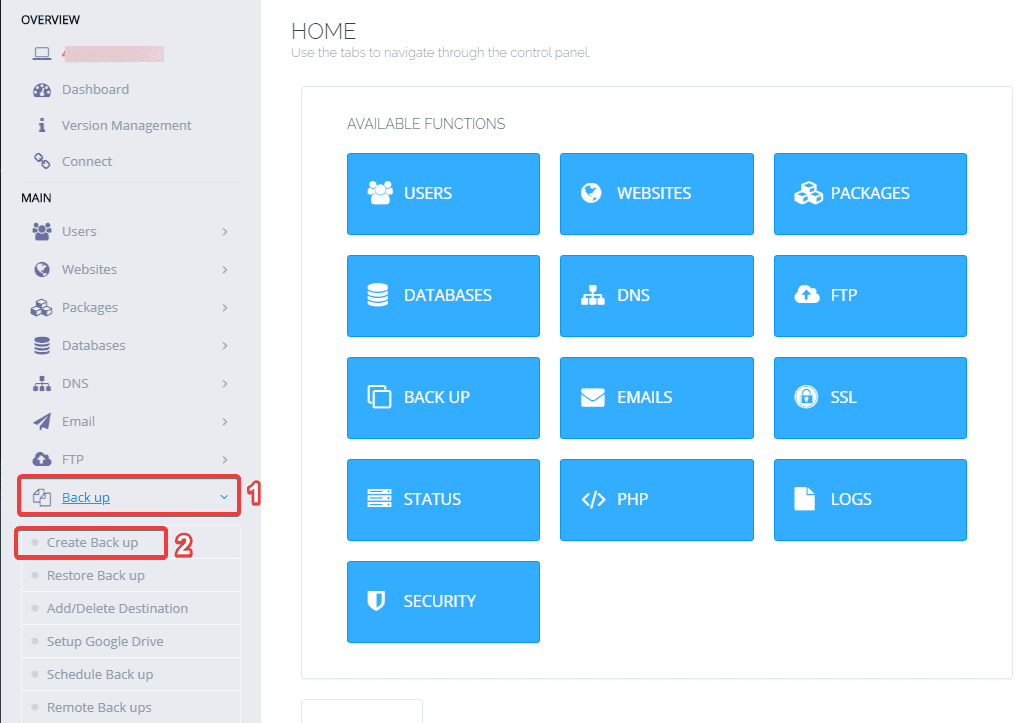
After successfully logging in, you access Back up => Create Back up
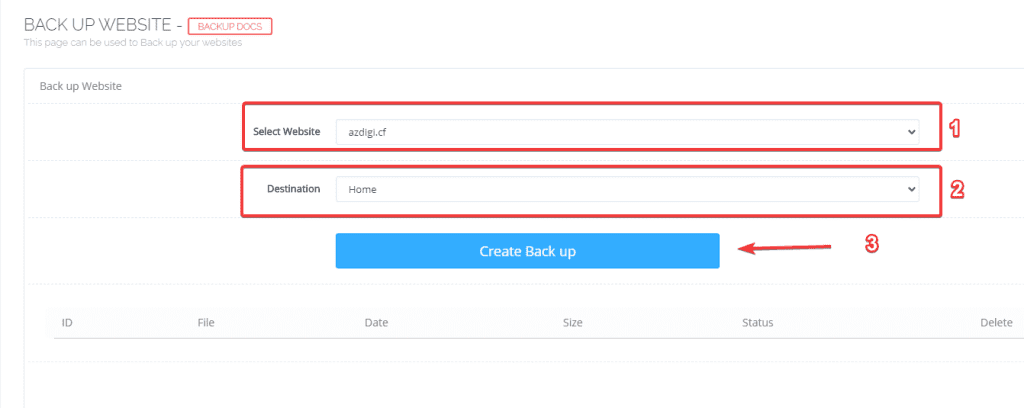
At the next interface, you customize it as follows:
- Select Website (1): Select the website to be backed up.
- Destination (2): Where will save the backup file (here, only the customization is saved at Home).
- Create Backup (3): Create a backup file.
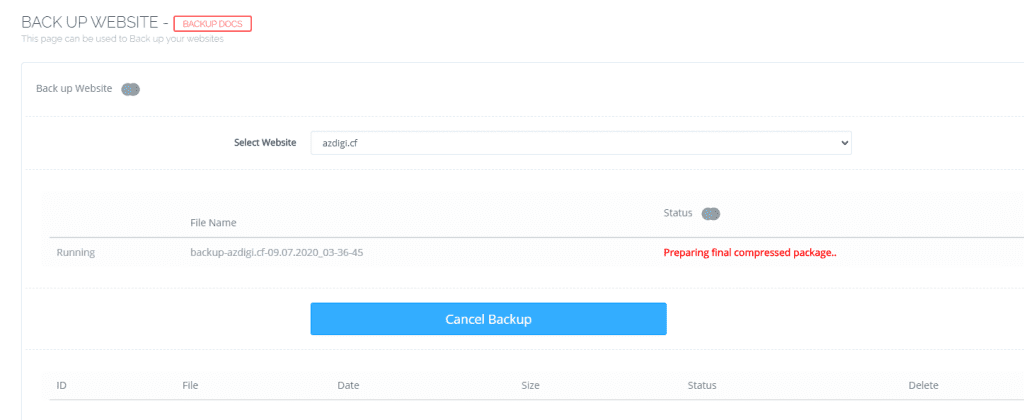
The backup process will run as shown below:
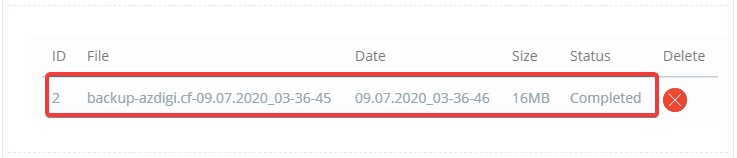
The process of creating a backup file is fast or slow depending on the data part of the website you are backing up, when the backup file is completed, you will receive a Completed message. Here will be displayed full information such as the backup file name, the time the backup file was created, backup file size so you can easily check.
The path containing the backup file will be saved at: Websites (1) => List Website (2) => Select the website just backup (3) => Backup.

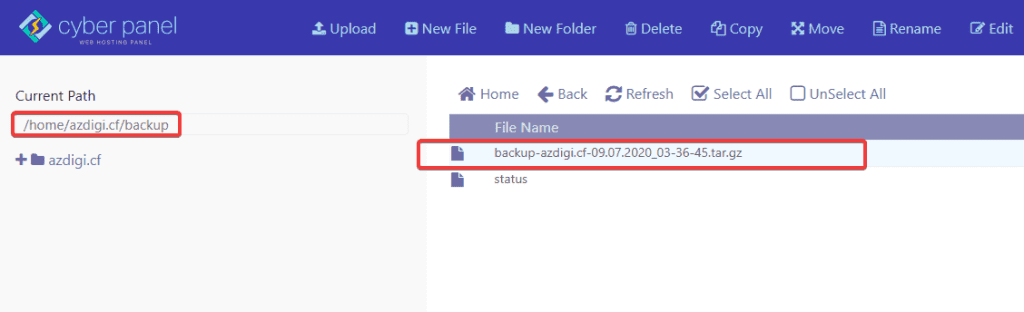
If you need to download the backup file to your computer for storage, right-click the backup file and select Download.
Step 2: Move the backup file to /home/backup
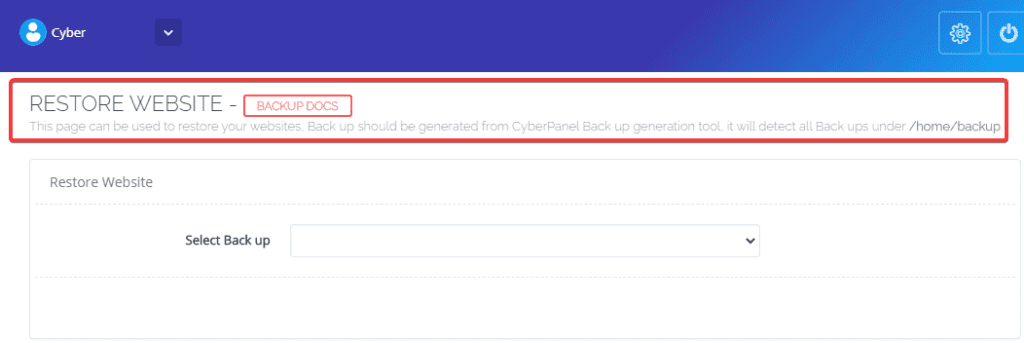
Before restoring, you need to take an extra step to move the backup file to the correct /home/backup path that Cyber Panel requires because by default when creating a backup, the file will be saved at /home/azdigi.cf/backup. Because if you do not do this extra step, you will not find the backup file to perform Restore and will receive a warning as shown below:
To move the backup file, you need to SSH into the VPS as root, if you don’t know how to SSH, you can see the instructions below.
After successfully SSH into the VPS, run the following commands in turn:
mkdir /home/backup
mv /home/azdigi.cf/backup/backup-azdigi.cf-09.07.2020_03-36-45.tar.gz /home/backup/
cd /home/backup/
Command annotation:
- Create a backup folder at /home
- Move the backup file from /home/azdigi.cf/backup/ to /home/backup
- Go to /home/backup to check if the backup file has been successfully moved.
Note: Remember to change azdigi.cf to your domain.
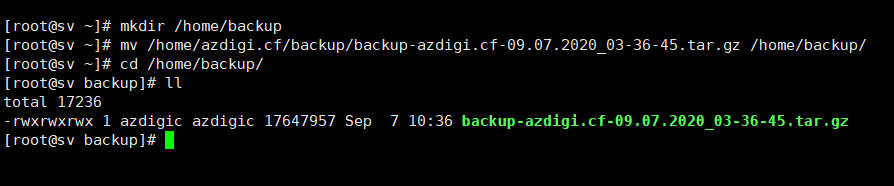
So the backup file has been moved to /home/backup successfully.
Restore data from the backup file
Step 1: Delete website data to restore
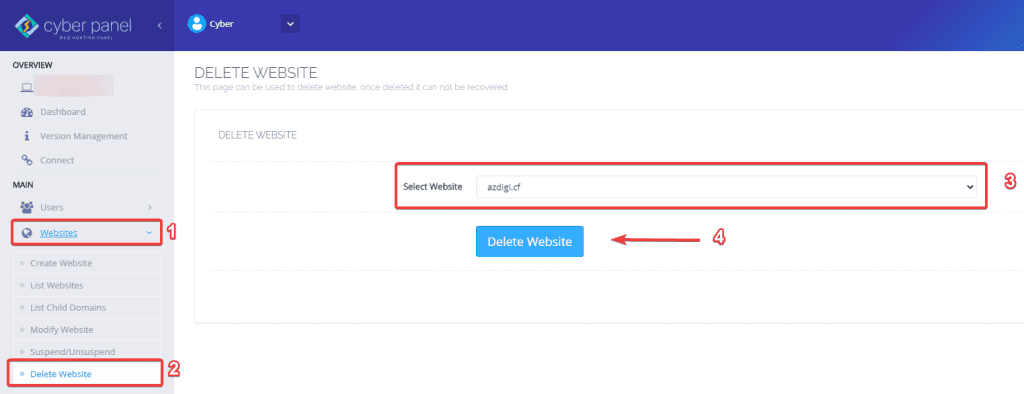
For CyberPanel, when you want to restore website data, you need to delete that website before performing Restore (it seems this mechanism is not very convenient).
To delete a website, go to CyberPanel, select Websites (1) => Delete Website (2) => Select the website to be deleted (3) => Delete Website (4).
Step 2: Restore
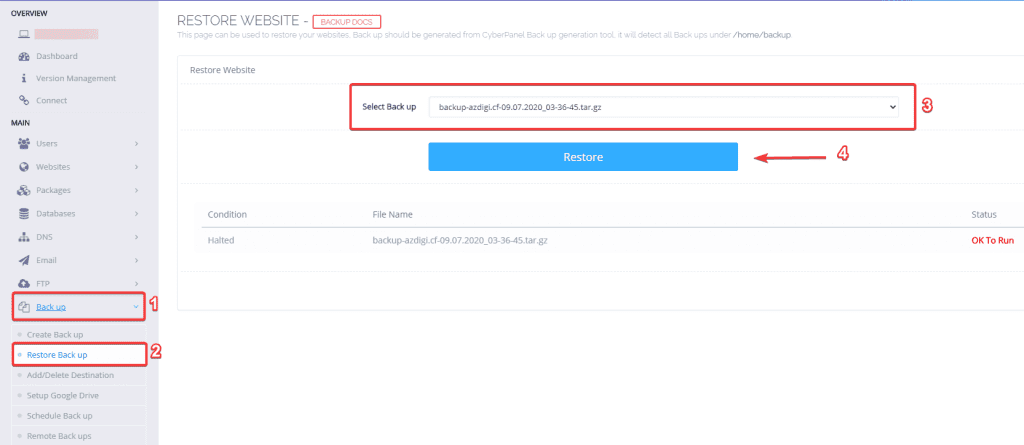
You access Back up (1) => Restore Back up (2) => Select Back up (you choose the correct backup to perform Restore) (3) => select Restore (4).
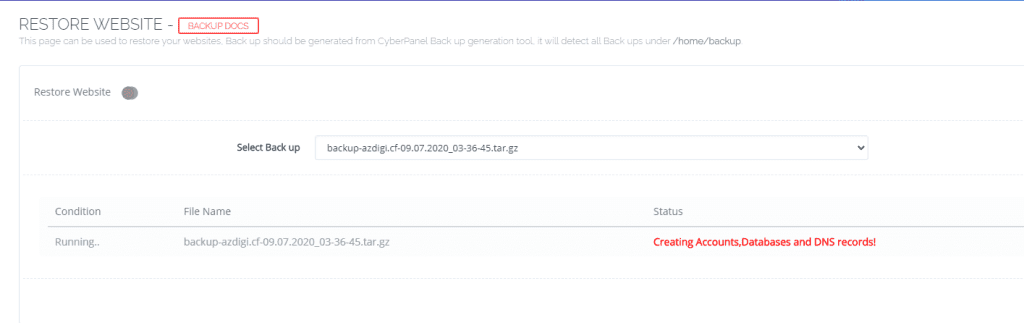
The restore process is fast or slow depending on the data part of the backup file, when you receive the Completed message, it’s done.

Summary
So in this article, AZDIGI has shown you how to create a Backup file for a website and restore data from the backup file in the simplest way. Regular backup helps you always have a backup plan for risks to your website. If you find the article useful, you can share it widely!
