
Nội dung
This tutorial will guide you through installing mod_pagespeed on Nginx in DirectAdmin servers if your Webserver is running as a reverse-proxy Nginx_Apache, which would not be applicable.
I. Introduction
Mod_pagespeed is an open-source Apache HTTP (or Nginx) Server module that automatically applies selected filters to pages and related content such as style sheets, JavaScript and HTML files, as well as images and related site cache requirements.
A key advantage of this module is that it requires no modification of existing content or workflow, which means all internal optimizations and file changes are done on the server, showing modified files directly to users accessing the website.
Note: This tutorial only applies to Nginx; if you are running Nginx_Apache, it will not apply.
II. Install mod_pagespeed into Nginx on the DirectAdmin server
To install mod_pagespeed into Nginx on the DirectAdmin server, we need to do the following 2 steps.
Step 1: SSH into your server
To install mod_pagespeed into Nginx on the DirectAdmin server, we first need to SSH or access your VPS/server with root privileges. Or at least log in to the server with a user with sudo privileges. If you don’t know how to SSH into your VPS/Server, you can refer to the following tutorial:
After successfully SSH, we continue with step 2 to execute the Install mod_pagespeed commands into Nginx.
Step 2: Commands to install mod_pagespeed into Nginx on DirectAdmin server
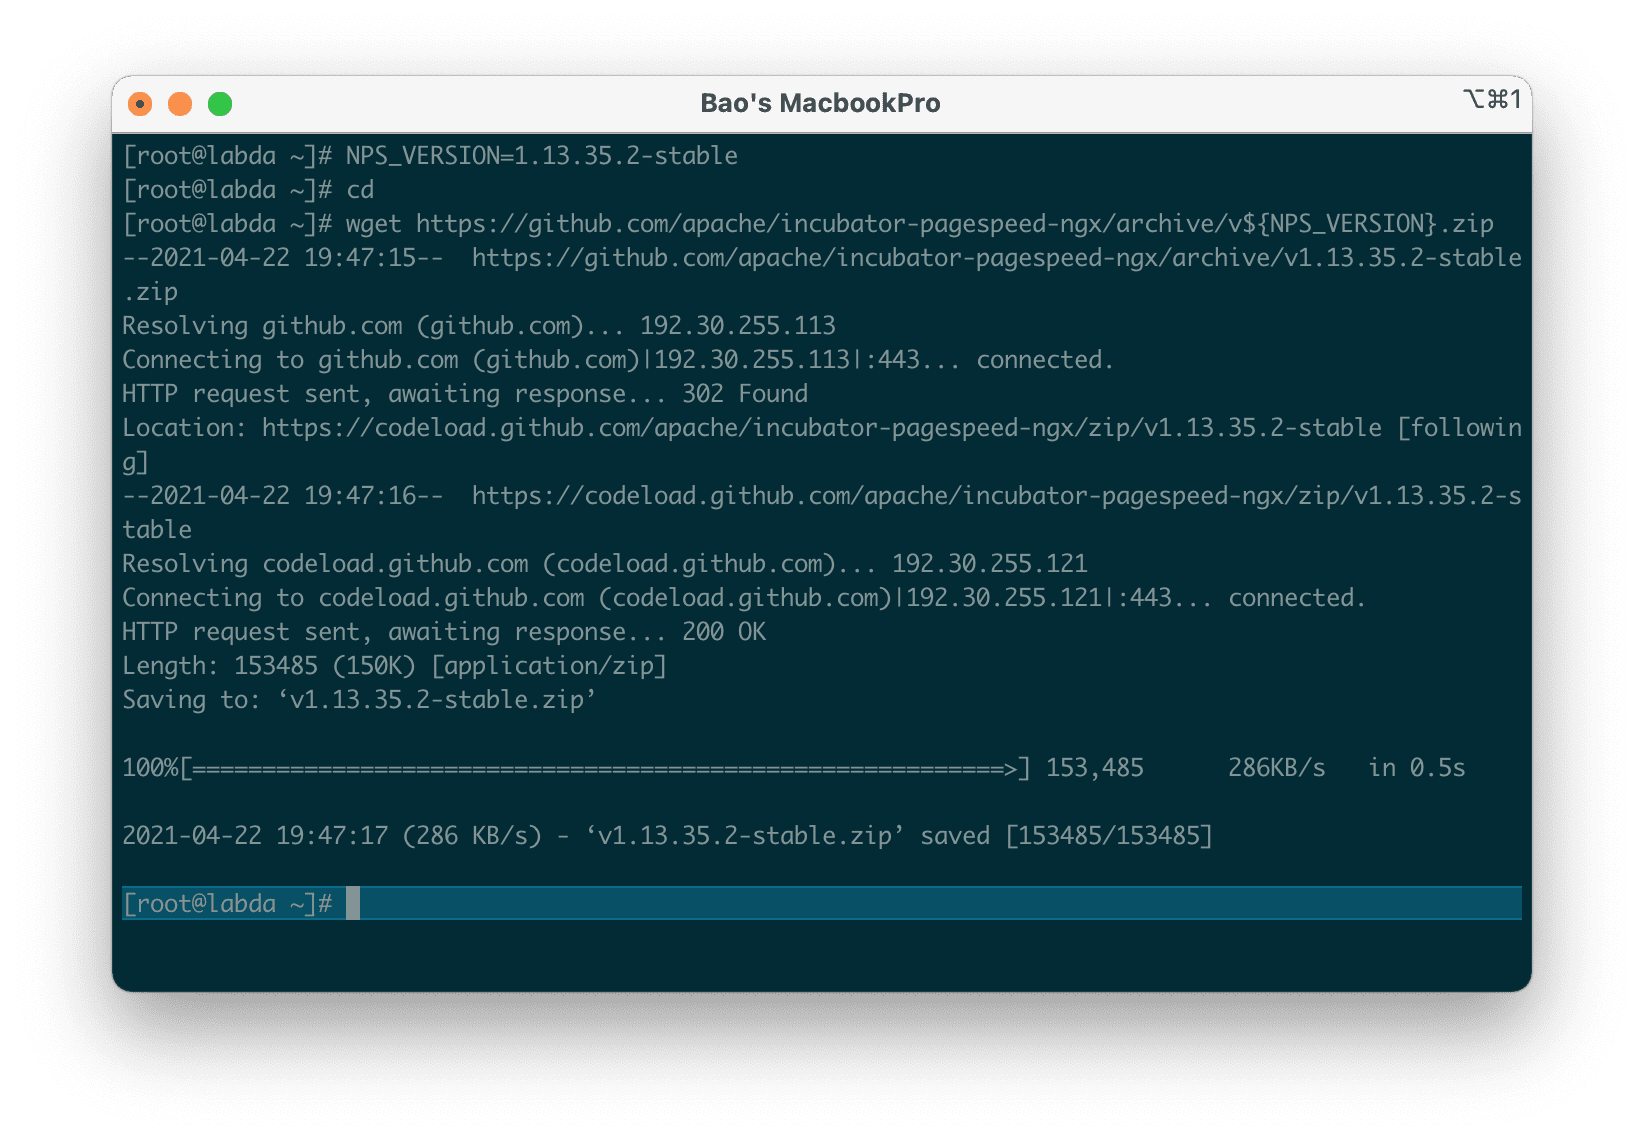
We will download the source code of page-speed with the following commands:
# NPS_VERSION=1.13.35.2-stable
# cd
# wget https://github.com/apache/incubator-pagespeed-ngx/archive/v${NPS_VERSION}.zip
# unzip v${NPS_VERSION}.zip
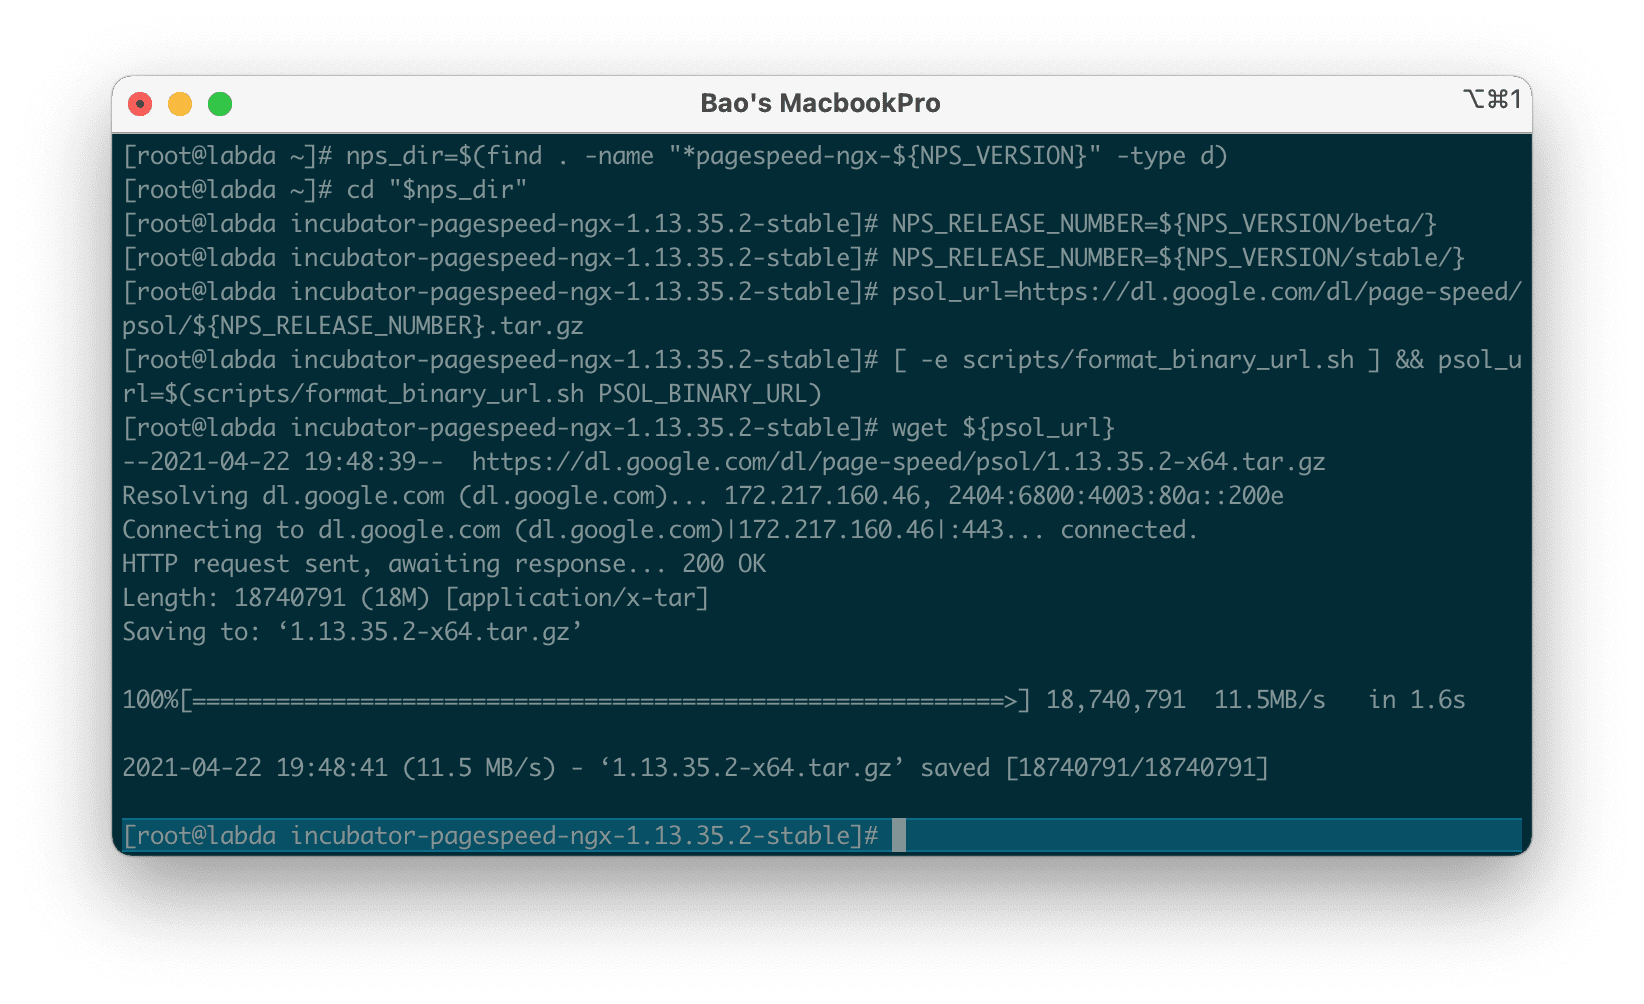
# nps_dir=$(find . -name "*pagespeed-ngx-${NPS_VERSION}" -type d)
# cd "$nps_dir"
# NPS_RELEASE_NUMBER=${NPS_VERSION/beta/}
# NPS_RELEASE_NUMBER=${NPS_VERSION/stable/}
# psol_url=https://dl.google.com/dl/page-speed/psol/${NPS_RELEASE_NUMBER}.tar.gz
# [ -e scripts/format_binary_url.sh ] && psol_url=$(scripts/format_binary_url.sh PSOL_BINARY_URL)
# wget ${psol_url}
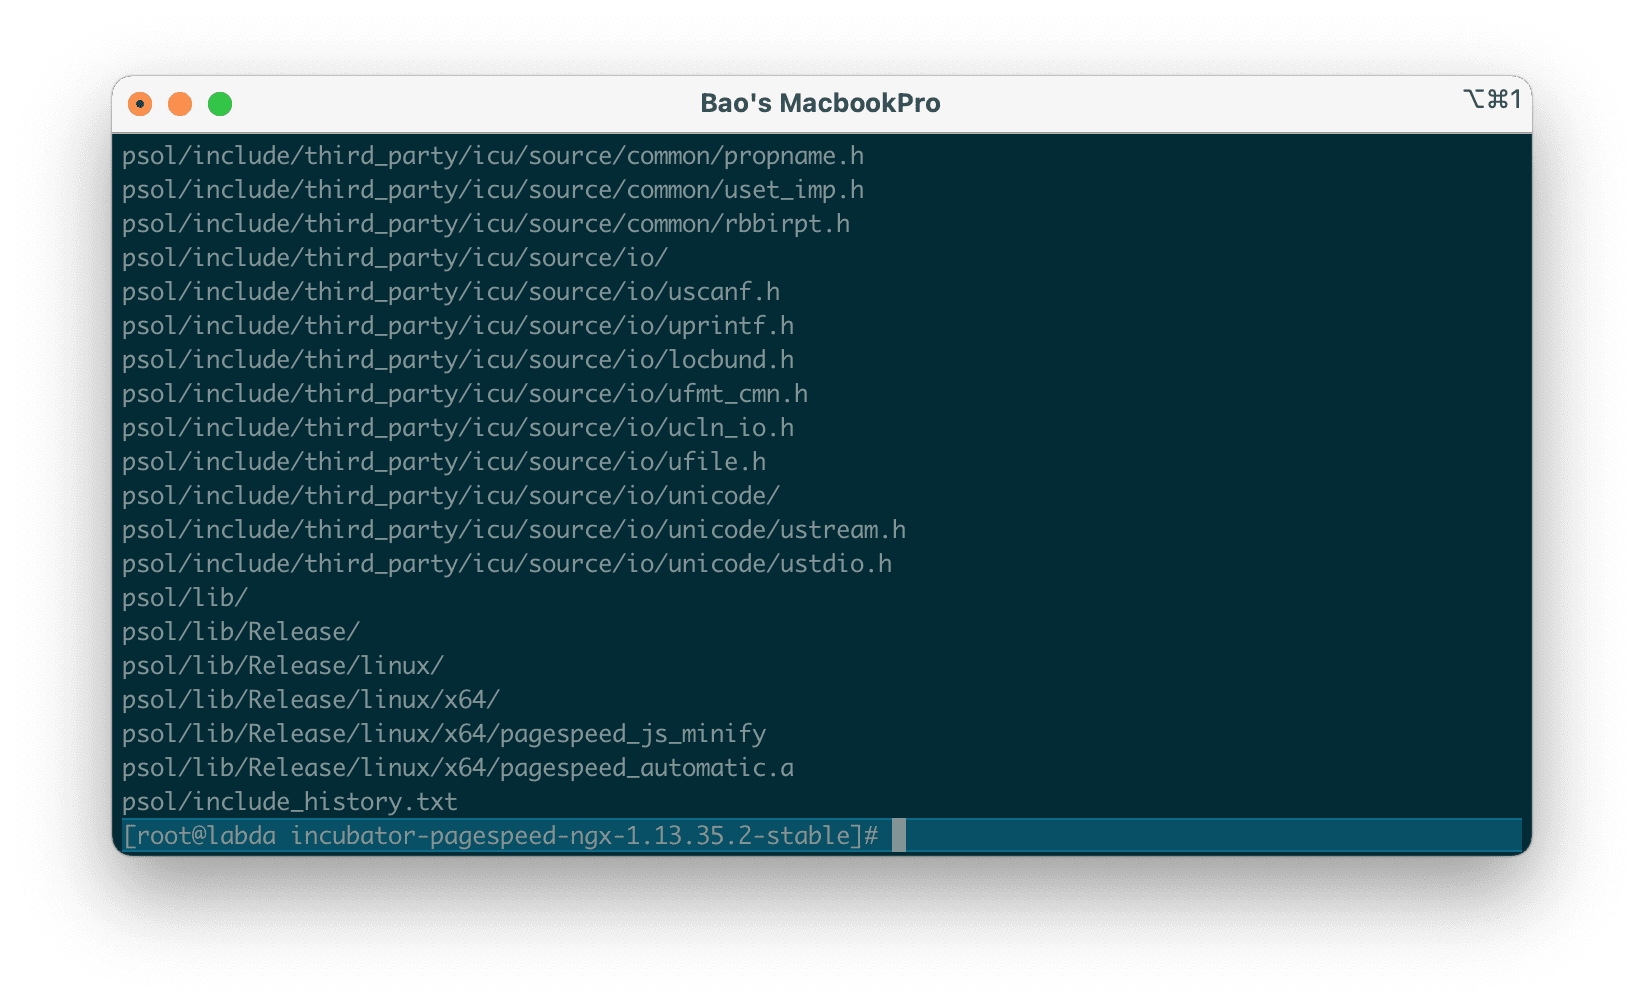
# tar -xzvf $(basename ${psol_url})
Because the number of commands is quite large, I will add # in front for you to easily distinguish the commands.
Here are the images when I run the above commands:

Next, we will customize the Nginx configuration file to add an external module with these 3 commands:
# cd /usr/local/directadmin/custombuild/
# mkdir -p custom/nginx
# cp configure/nginx/configure.nginx custom/nginx/

Once we have copied the Nginx configuration file, we use the following command to start the customization process:
# vi /usr/local/directadmin/custombuild/custom/nginx/configure.nginx
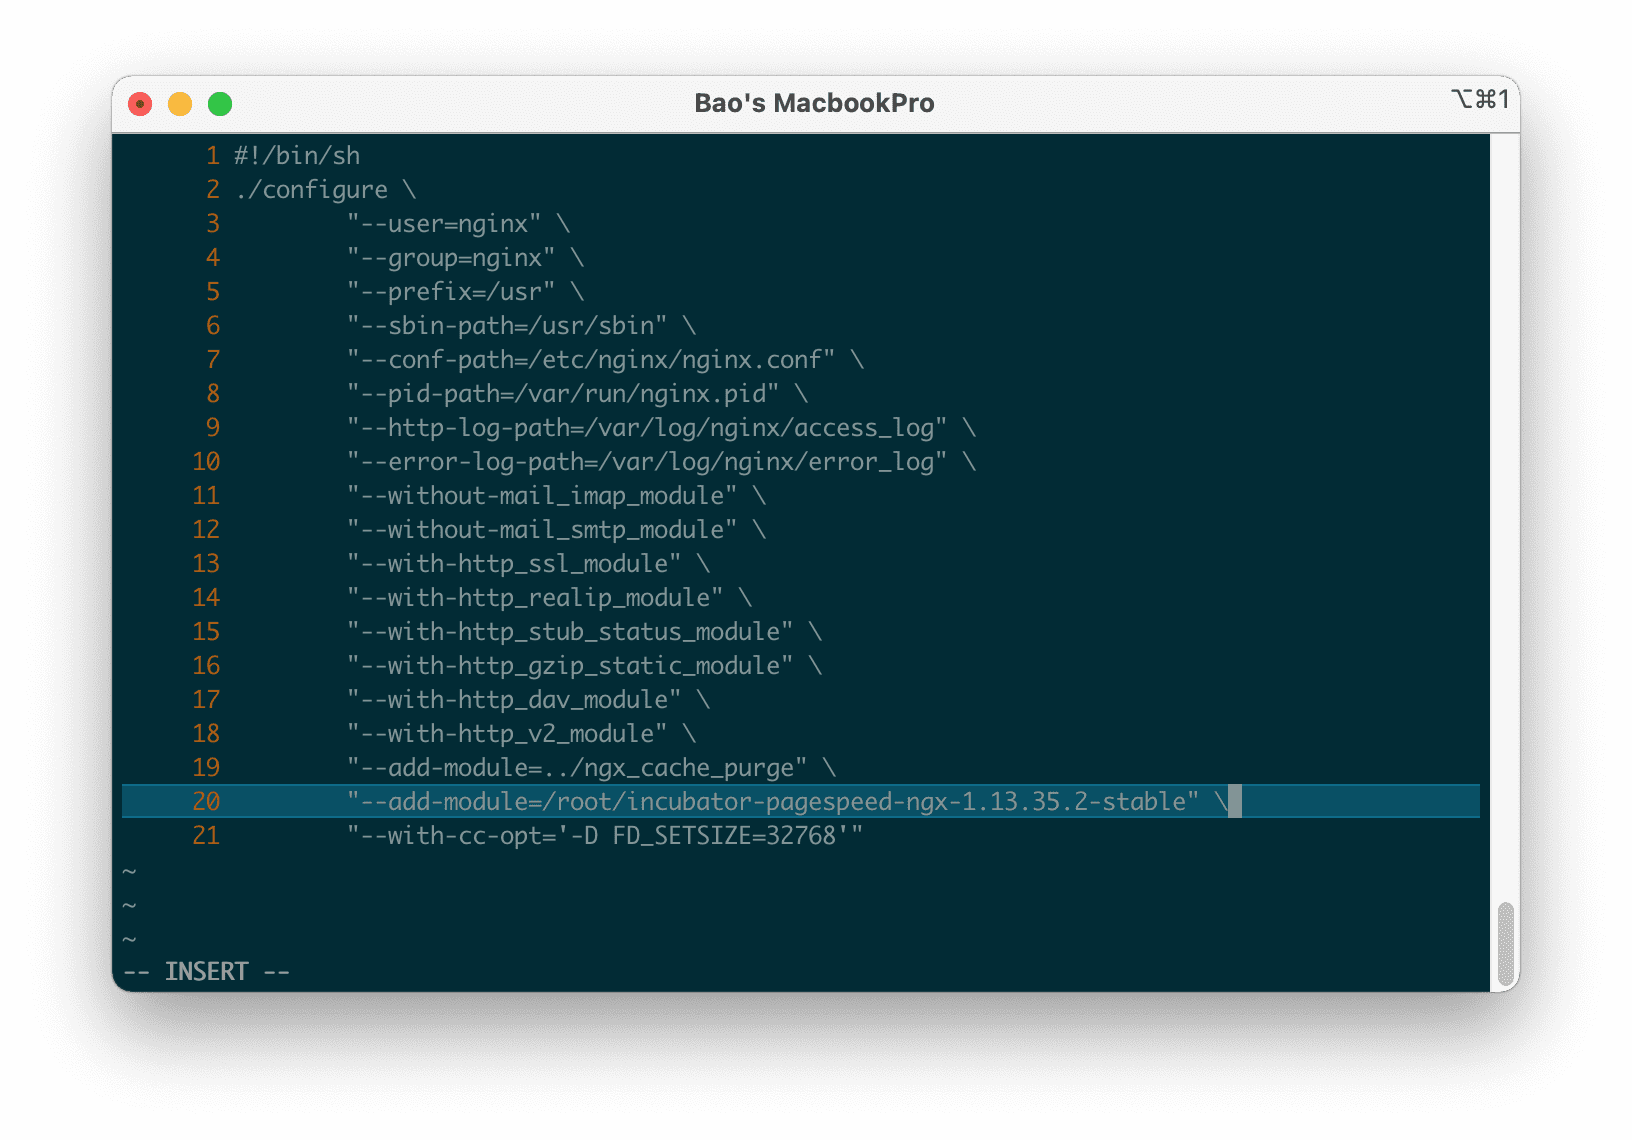
Below is my default configuration file:
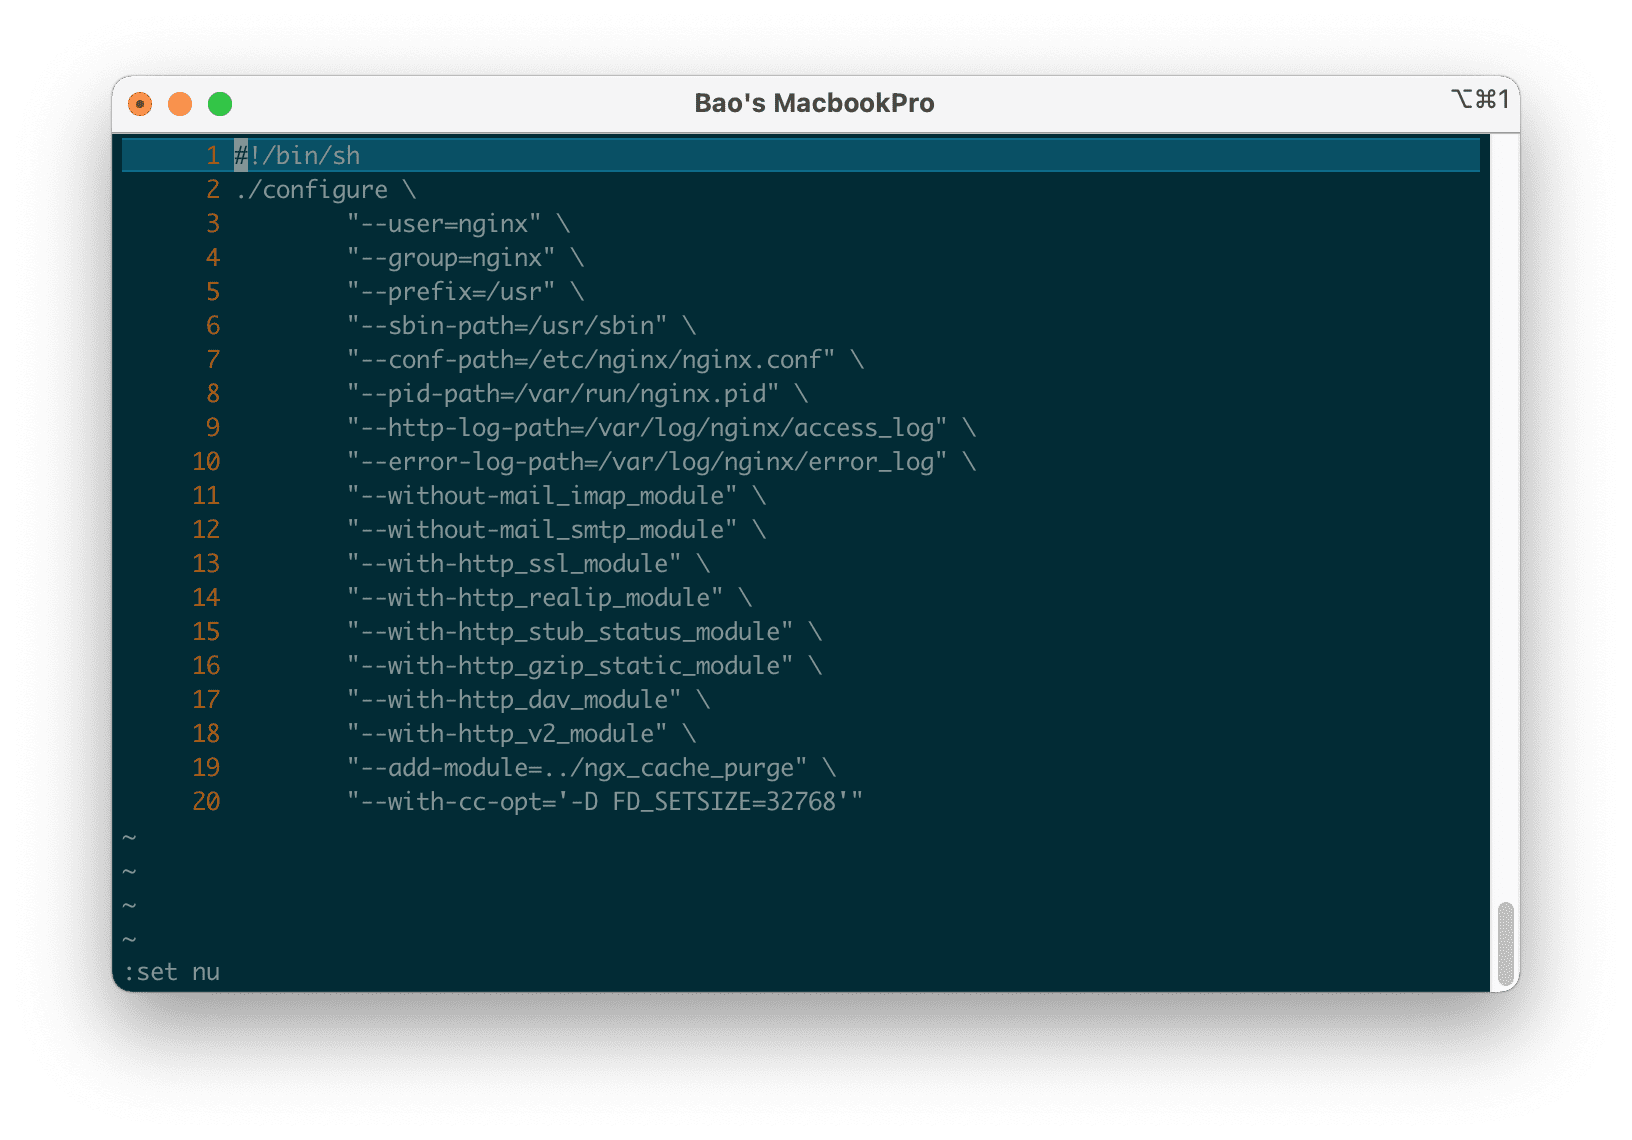
You will need to add the content following next to the last line of this configuration:
# "--add-module=/root/incubator-pagespeed-ngx-1.13.35.2-stable" \
Here is the config file after I added the custom config line above:
Save and start installing Ngix again with the new configuration:
# cd /usr/local/directadmin/custombuild
# ./build update
# ./build nginx
After your server reinstalls Nginx, you need to create a working directory for pagespeed:
# mkdir -p /var/cache/ngx_pagespeed
Next, you need to add the following configuration to the /etc/nginx/nginx-includes.conf file:
pagespeed on;
pagespeed FileCachePath /var/cache/ngx_pagespeed;
pagespeed EnableFilters flatten_css_imports;
Finally, you just need to restart Nginx with the following command:
service nginx restart
You can now use the following command to check with a domain on your server:
curl -Is domain.com | grep X-Page-Speed
Remember to replace domain.com with a domain name running on your server. The result as shown below is complete.
X-Page-Speed: 1.13.35.2-0
III. Summary
After installing mod_pagespeed into Nginx on the DirectAdmin server, you can see that your website on your server works faster and your Google Page Speed score is much improved. However, if you are operating many websites under development, you should not install Mod_Pagespeed because it will cause many problems with viewing sources and HTML editing/cutting.
Reference article: How to install the Pagespeed Nginx module.
Wishing you success. See more useful articles about DirectAdmin at the following link:
If you need assistance, you can contact support in the ways below:
- Hotline 247: 028 888 24768 (Ext 0)
- Ticket/Email: You use the email to register for the service and send it directly to: support@azdigi.com .
- Website AZDIGI: https://azdigi.com/
