
Nội dung
In this article, AZDIGI will show you how to install OPCache on FASTPANEL to improve PHP performance many times and help reduce CPU load for your VPS/server.
I. Overview
By default, when installing FASTPANEL on your VPS/server, FASTPANEL by default only installs PHP 5.4 version, if you want to install another PHP version, you can refer to the instructions below:
And once you have installed many versions of PHP, the default PHP version on the system when executing is still PHP 5.4, which is still too old, less secure and not very efficient, to change this, you will need to change it. Change the system’s default PHP version in the following way:
However, all the new PHP versions you install do not have the built-in Opcache PHP Extension. So what is Opcache PHP Extension? Please continue reading this article.
II. What is OPcache?
Originally called Zend Optimizer +, OPcache (introduced in PHP 5.5.0) is a powerful PHP extension built to enhance PHP performance, thus increasing overall application performance. It is available as an extension through PECL for PHP versions 5.2, 5.3 and 5.4. It works by storing precompiled script-bytecode in shared memory or RAM, thus eliminating the need for PHP to load and parse the script on each request.
Benefits OPcache brings:
- Helps reduce %CPU usage for the server.
- Reduce TTFB of all PHP sites on the server.
- Increase website loading speed.
So how to integrate Opcache PHP Extension to FASTPANEL, please see the following steps.
III. Install OPCache on FASTPANEL
To install OPCache on FASTPANEL, we do the following 2 steps.
Step 1: SSH into your FASTPANEL system
To install OPCache on FASTPANEL, we first need to SSH or access your VPS or server as root. If you do not know how to SSH into your VPS/Server, you can refer to the following tutorial:
After successfully SSH, we continue with step 2 to perform the command to install OPCache on FASTPANEL.
Step 2: Execute the command to install OPCache on FASTPANEL
To install OPCache onto FASTPANEL, you need to run the following command:
yum install php-opcache -y
After running this command, wait a while for the add-on packages to be installed. Below is a picture of my finished installation:
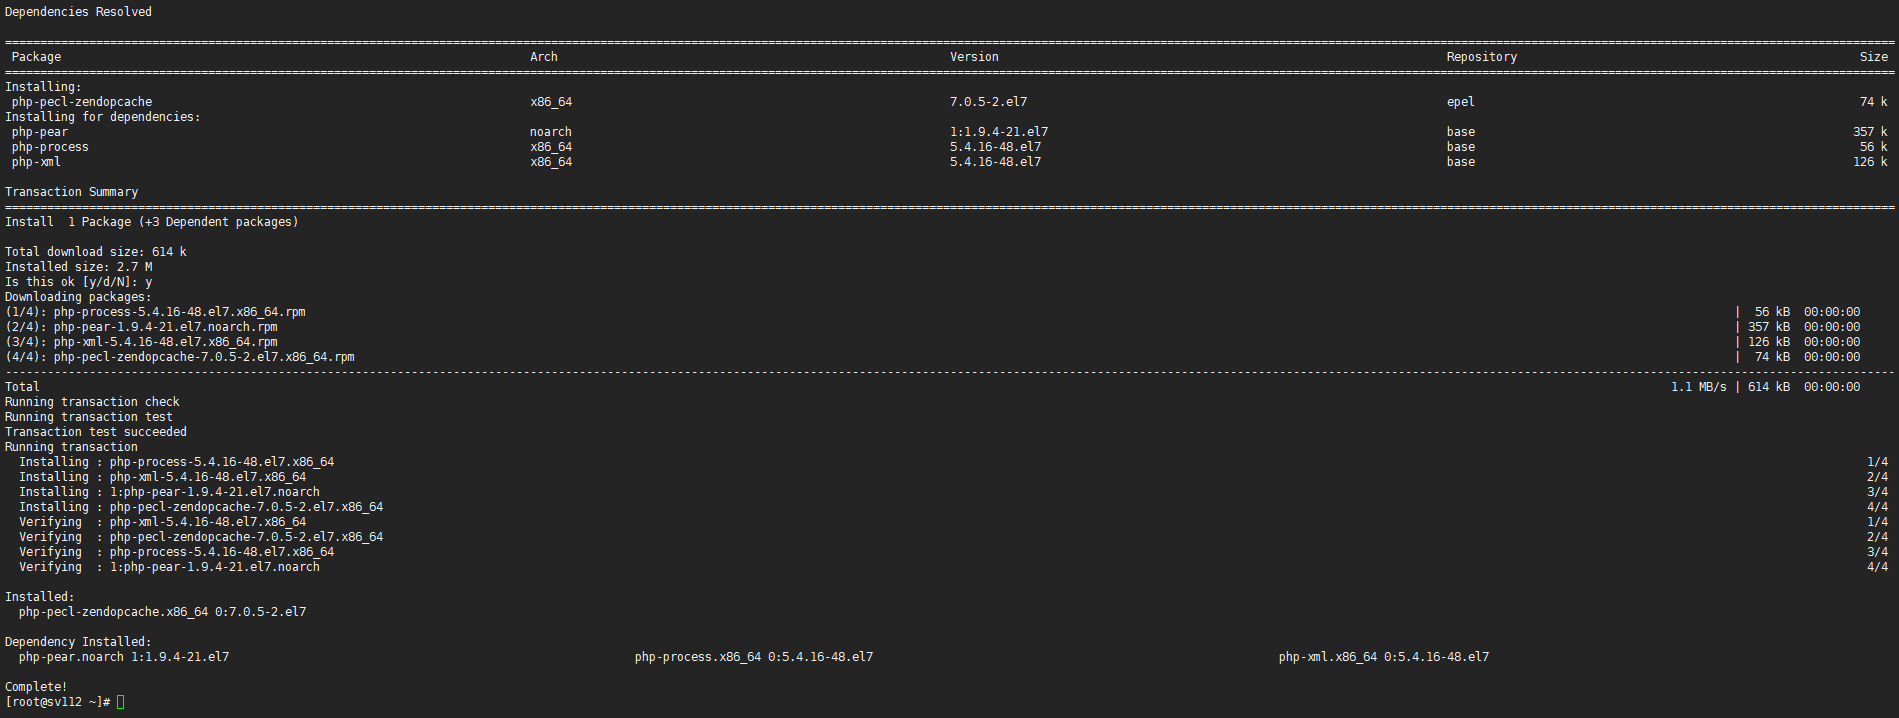
So we have installed OPCache on FASTPANEL, but we need to recheck with one of the following two commands:
php -v
hoặc
php -i | grep opcache
Below is my result when running these two commands:

php -v command, the screen will show the following information: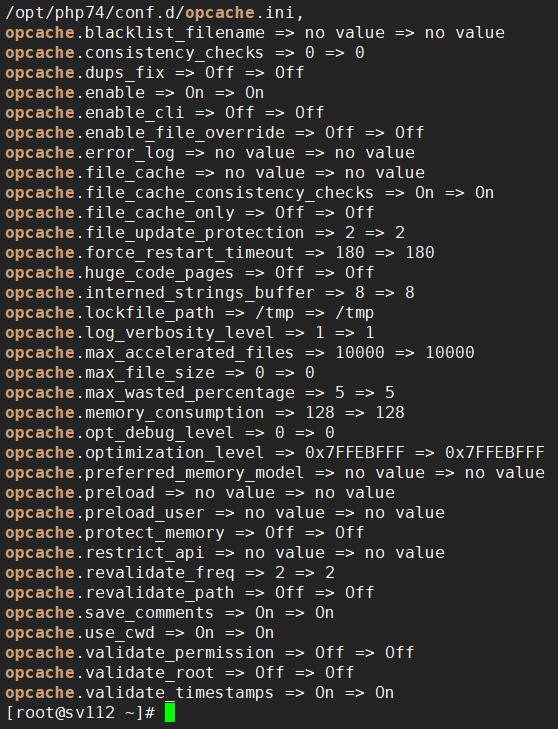
php -i | grep opcache.If your results are similar to mine, you have done it successfully.
IV. Summary
Hopefully, through this article, you have understood how to install OPCache on FASTPANEL in the simplest way. However, if you have a lot of websites on your system, the default RAM parameter allocated to OPCache 128MB is not enough ,
[UPDATE] you can refer to how to change the OPCache parameter on FASTPANEL at the link below:
If you find the article useful, don’t forget to rate it 5 stars!
Wishing you success!
