
Nội dung
In this article, AZDIGI will show you how to create push notifications for WordPress. From there, help your website attract a certain number of customers, this is extremely simple and completely free.
I. What is a push notification for the website?
Push Notification is a notification feature in the browser’s bottom right corner.
Common types of push notifications are:
- Headline
- Small text.
- Square icon image.
- Large image

Recipients can click on the notification to be redirected to a specified page such as a sales page, newly published blog post, updated content, and offers.
Creating push notifications for WordPress will help the website have a large amount of interaction. For example, whenever the website has a new article, new offer, or promotion, the browser will notify users who have registered to receive notifications.
Thereby helping the website always have loyal users.
II. Create push notifications for WordPress with the OneSignal plugin
To create push notifications for WordPress with the OneSignal plugin, we will go through the following two steps:
Step 1: Create a OneSignal account
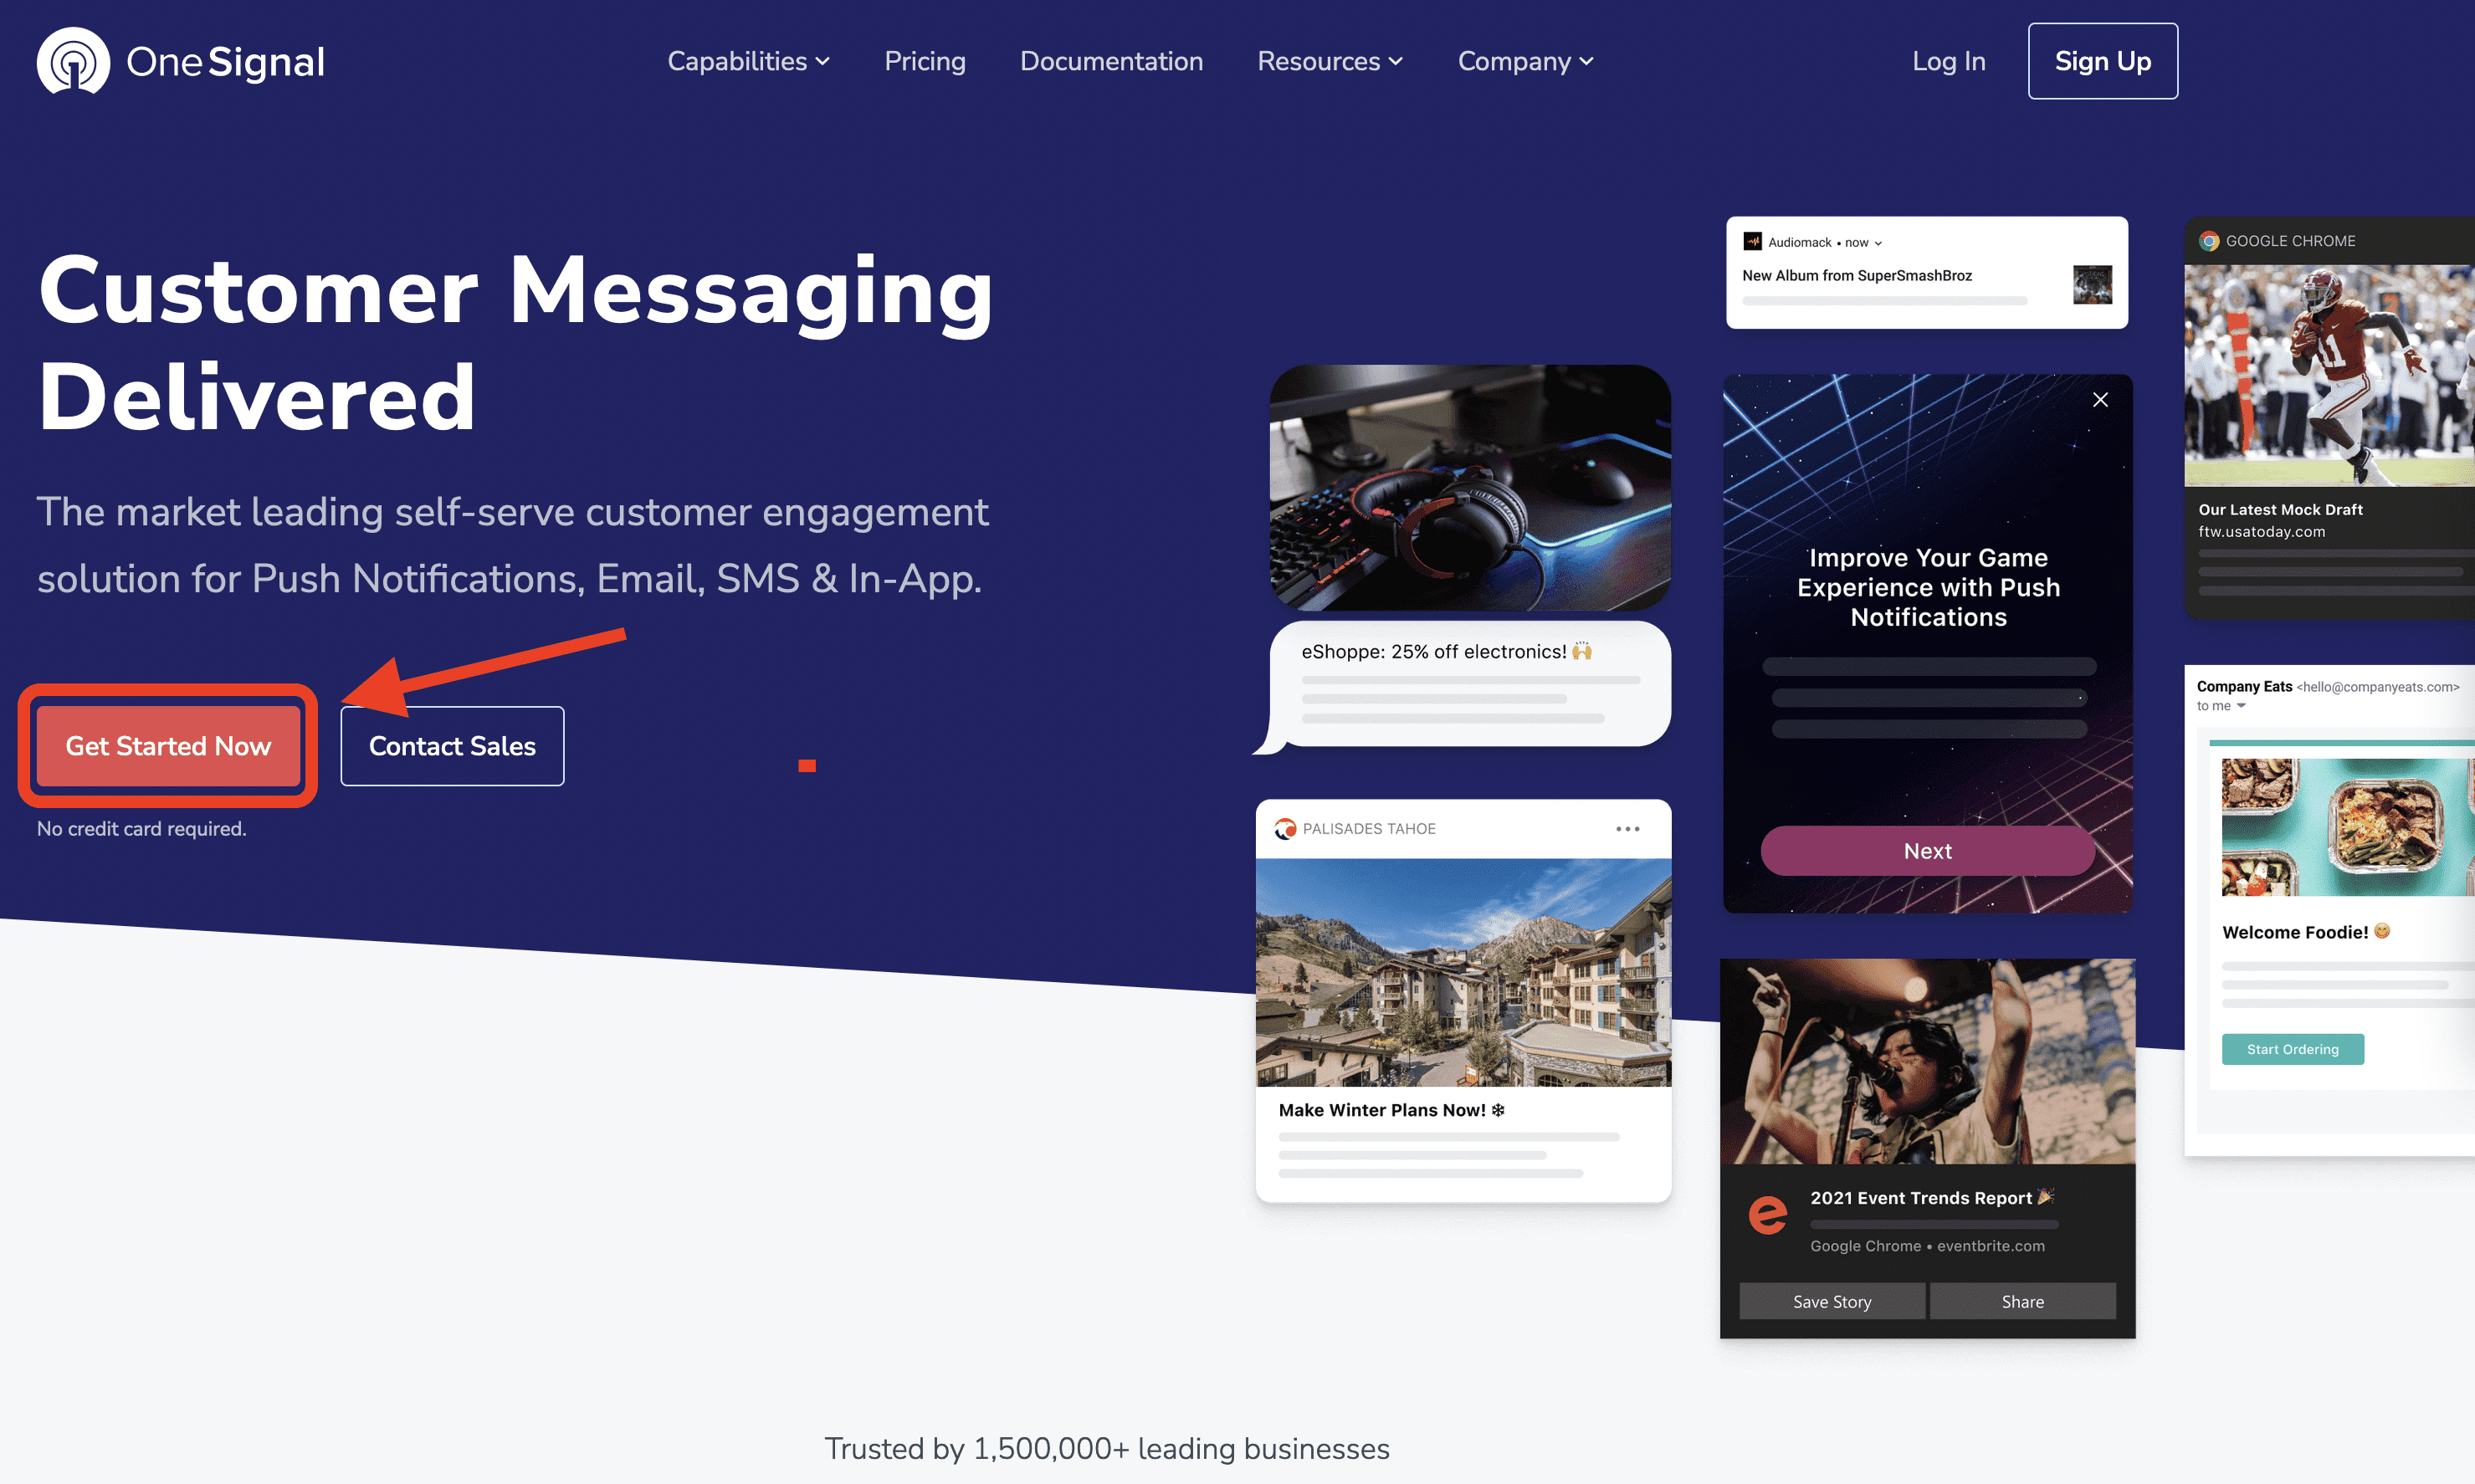
First, we need to create a free OneSignal account. We will need to access the OneSignal homepage and click Get Started Now.
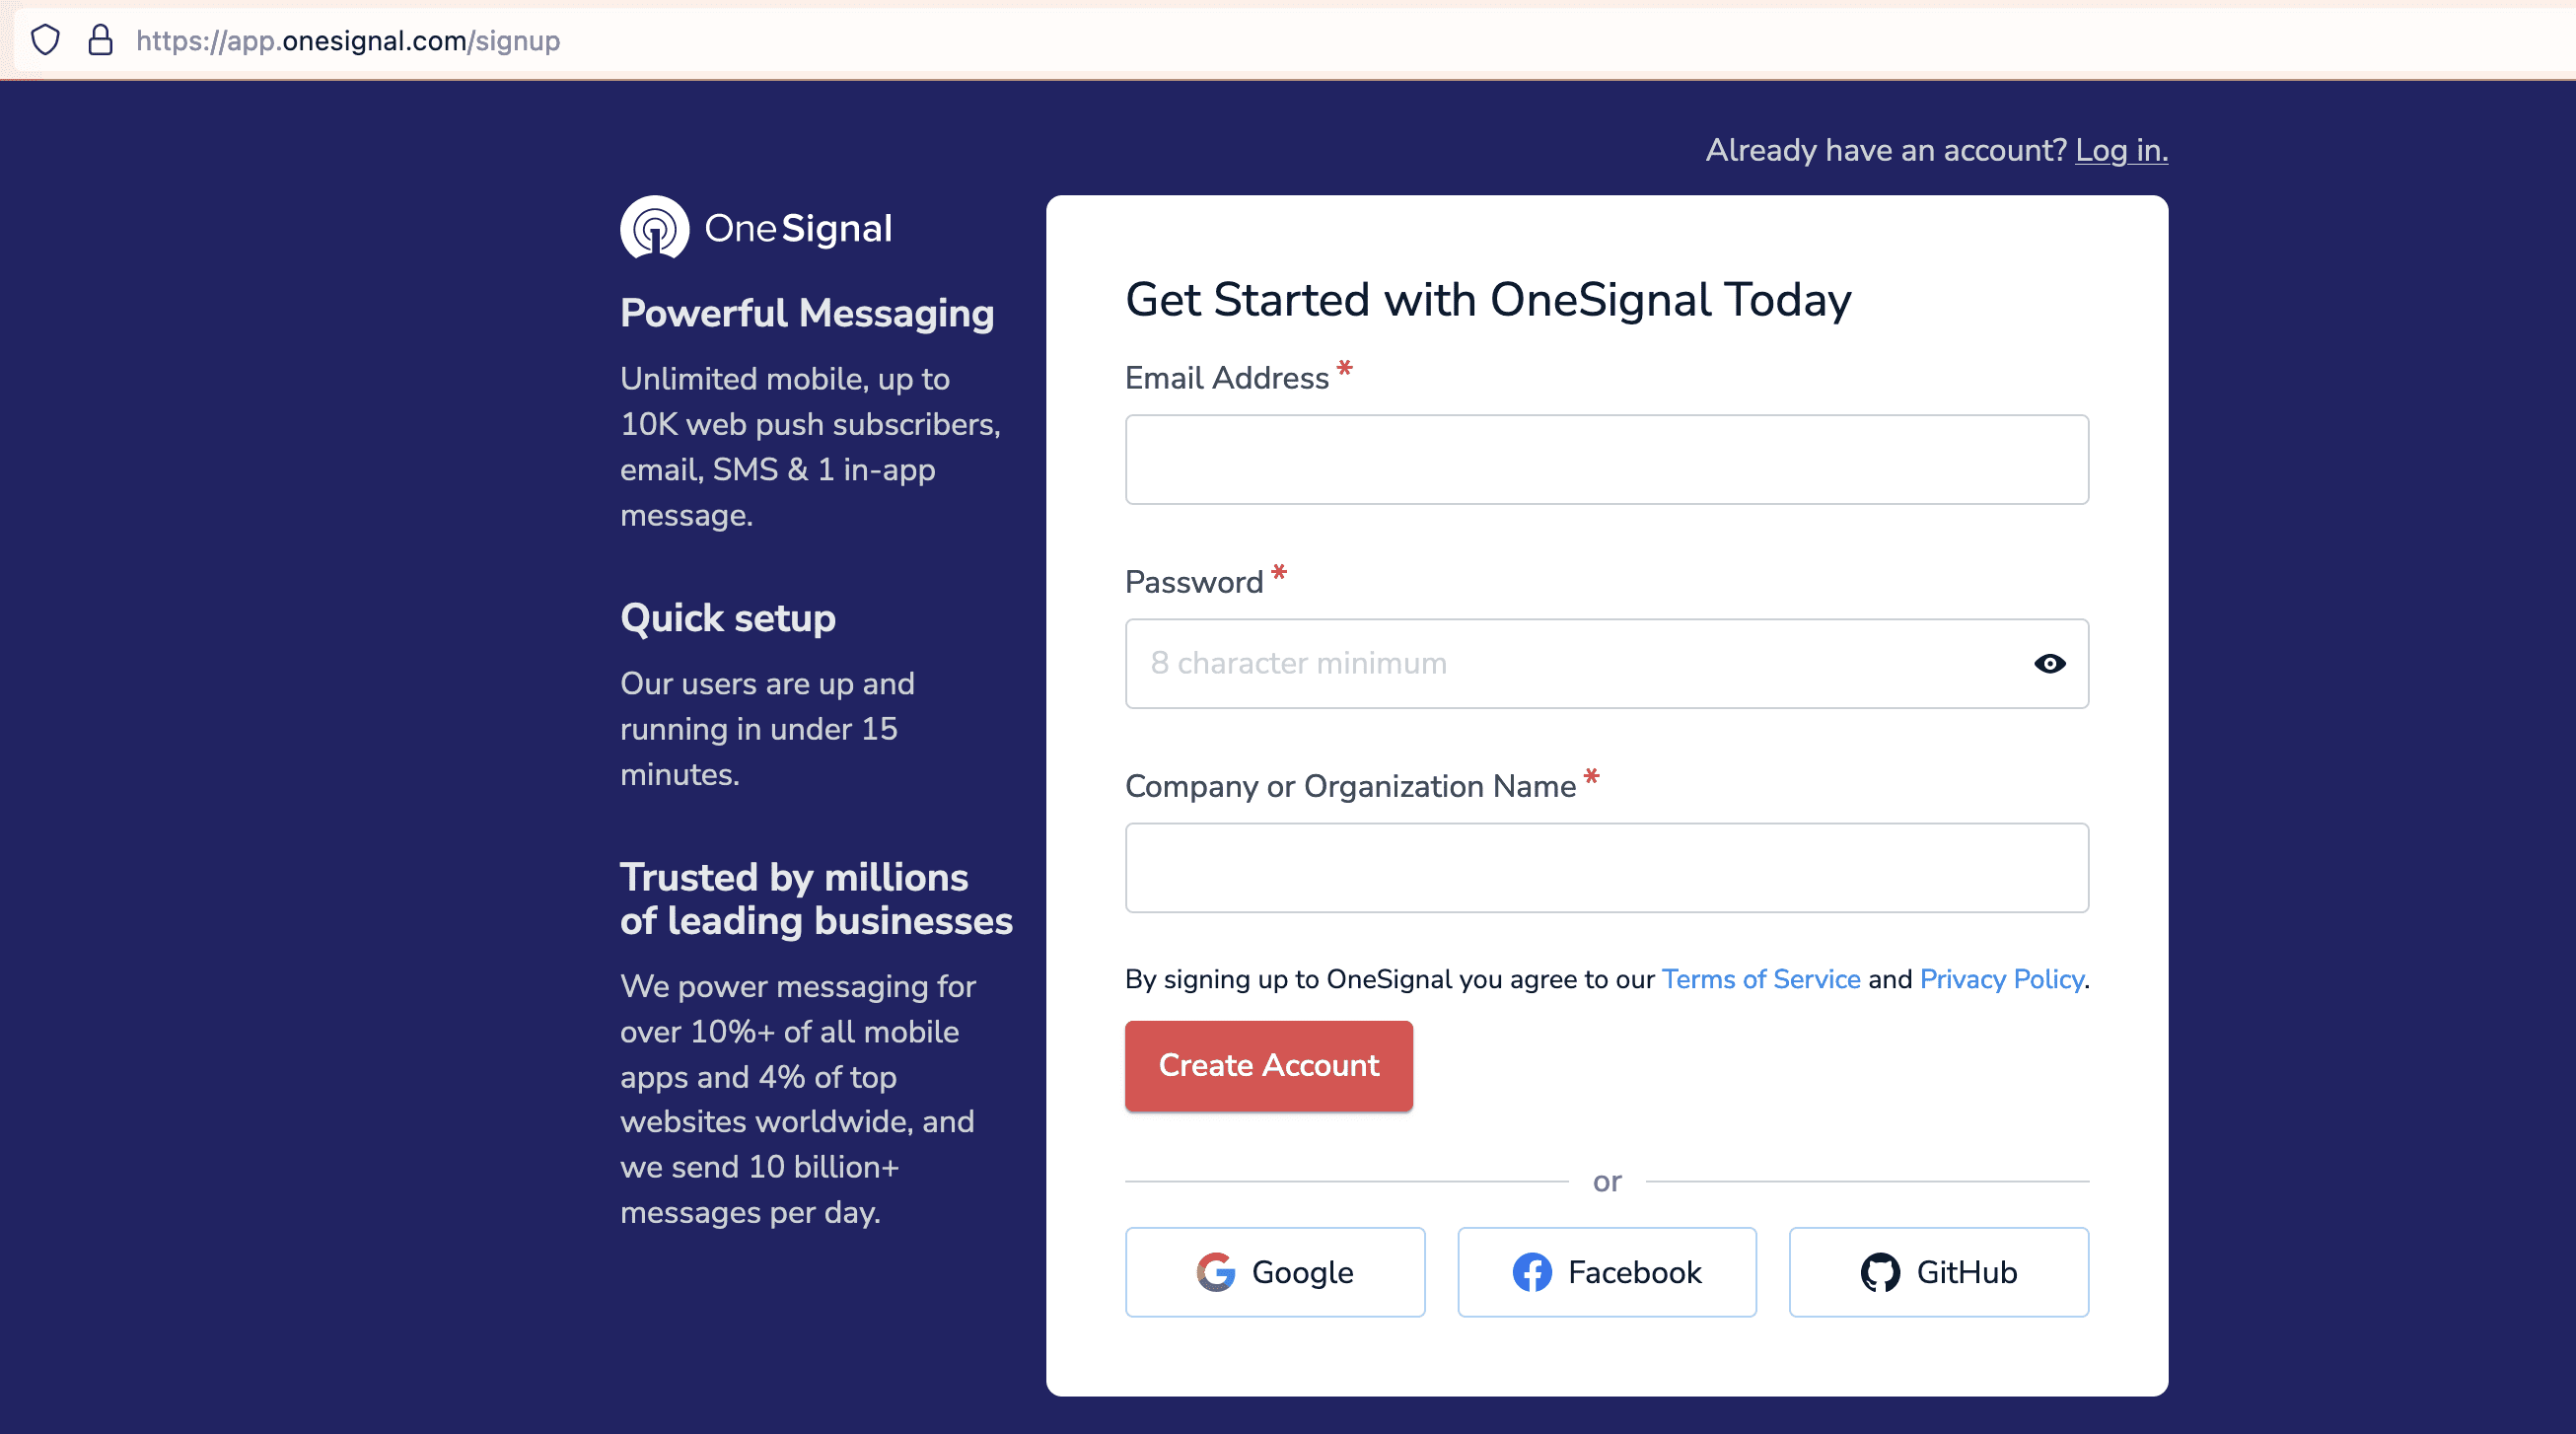
We can register an account by email or quickly register with a Google, Facebook, GitHub account.
After registering for an account, we choose the free package.
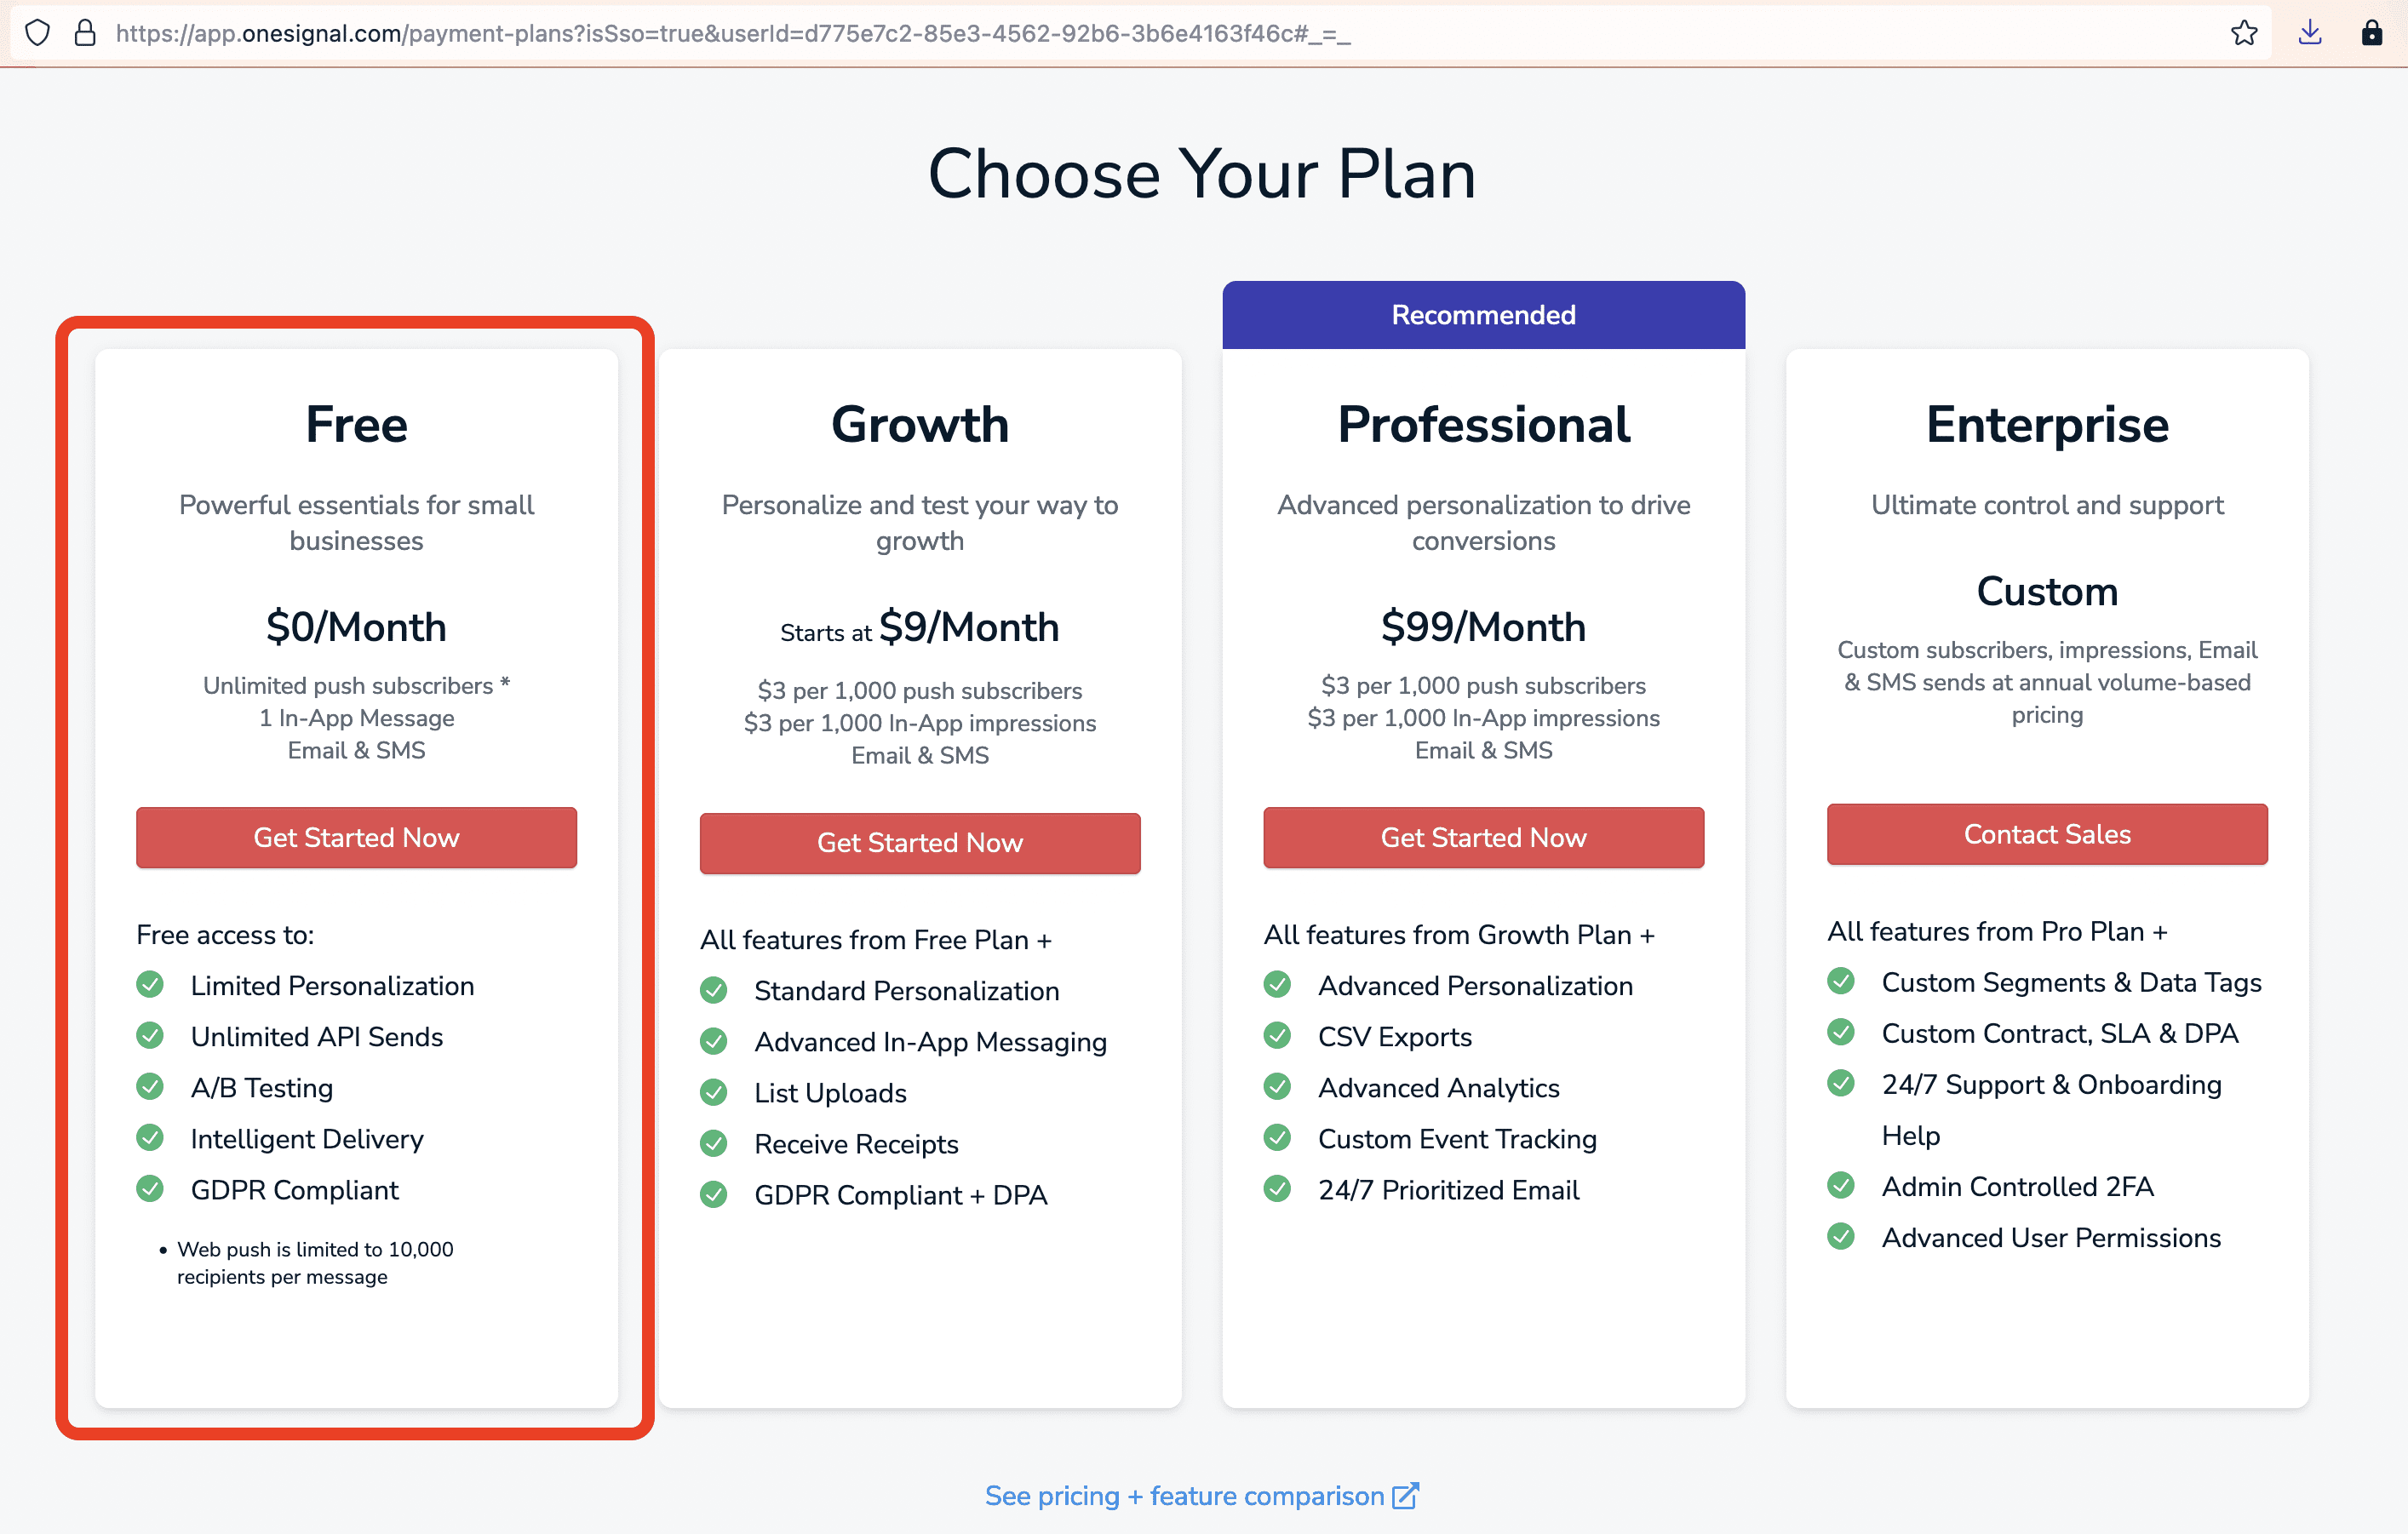
After registering for an account, we choose the free package. Not only creating push notifications for websites, OneSignal also supports creating push notifications for mobile apps and email, you can learn more.
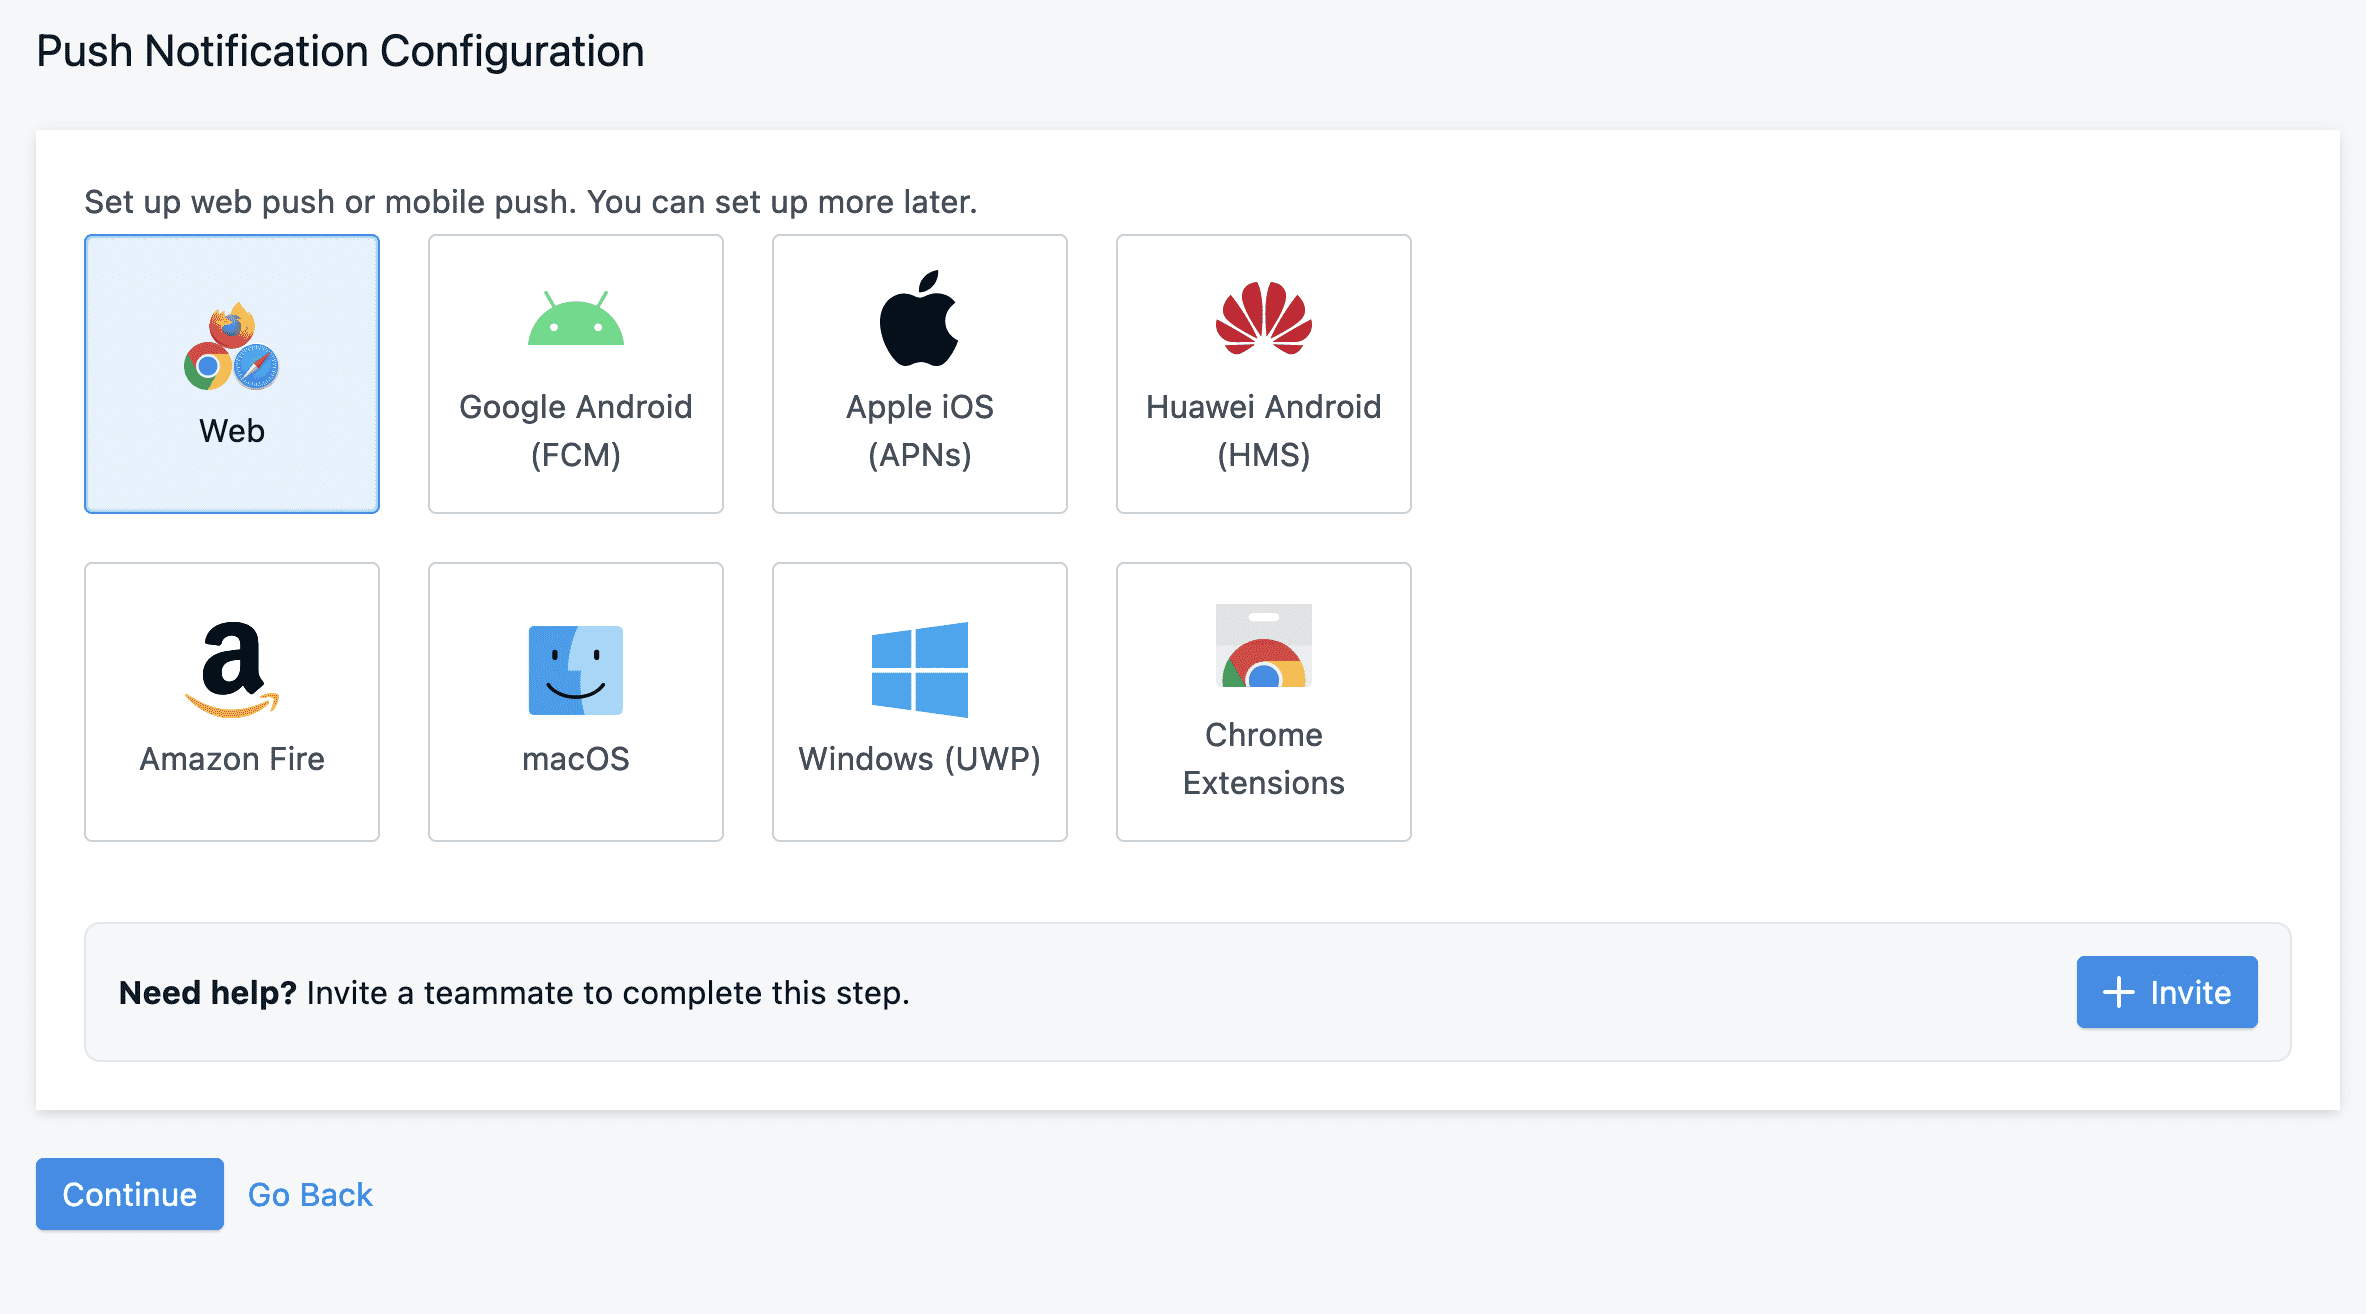
After naming the application, we will choose the type of application, here we will choose Push Notifications.
Continue to select Web.
In this section, we will choose Wordpress Plugin or Website Builder and choose WEBSITE BUILDER/CMS is WordPess.
In addition, we will also enter some information of our website such as website name, website path.
If your website does not have an SSL certificate or the SSL certificate is only available on a few pages but not all, you need to turn on the My site is not fully HTTPS button. If there is a normal SSL, it is not enabled.
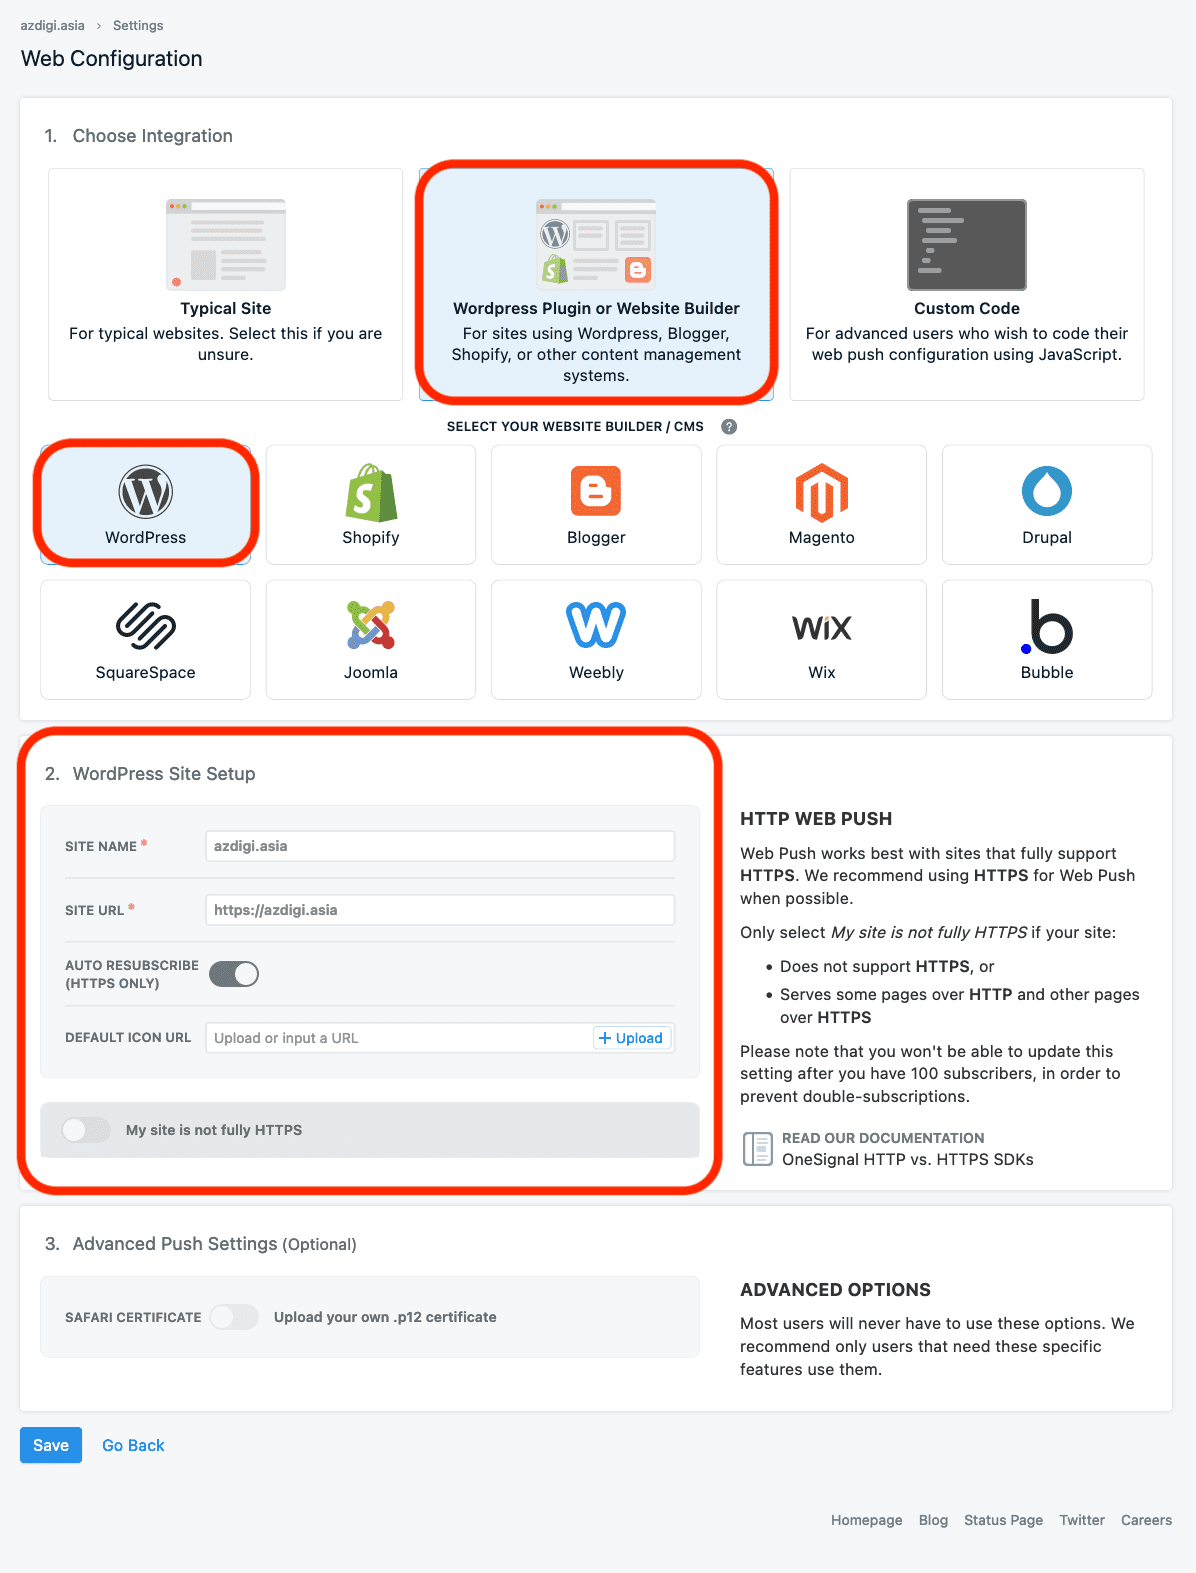
After selecting Save, we will receive information such as APP ID, API KEY. We will use this information when installing the plugin to the website.

Step 2: Install and use OneSignal Push plugin
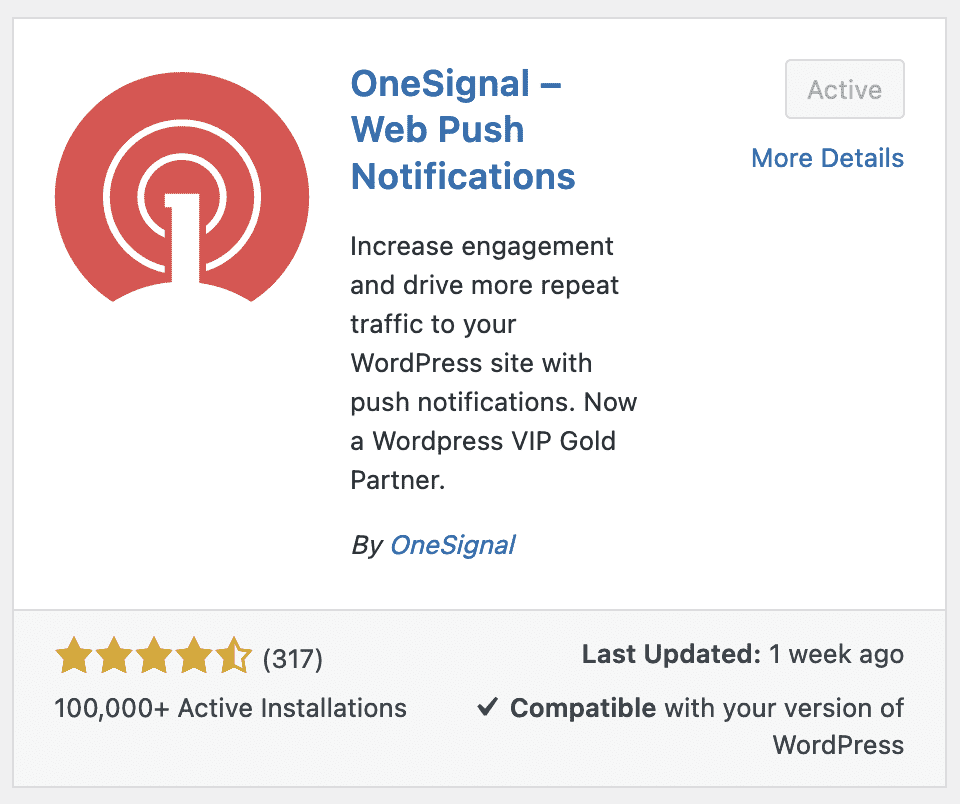
We will install the OneSignal – Web Push Notifications plugin from the WordPress plugin repository.
After installing and activating the plugin, go to WordPress admin > OneSignal Push > Configuration. Here, find the fields: App ID, API Key and copy the 2 information from OneSignal’s website. Then drag to the bottom to save.
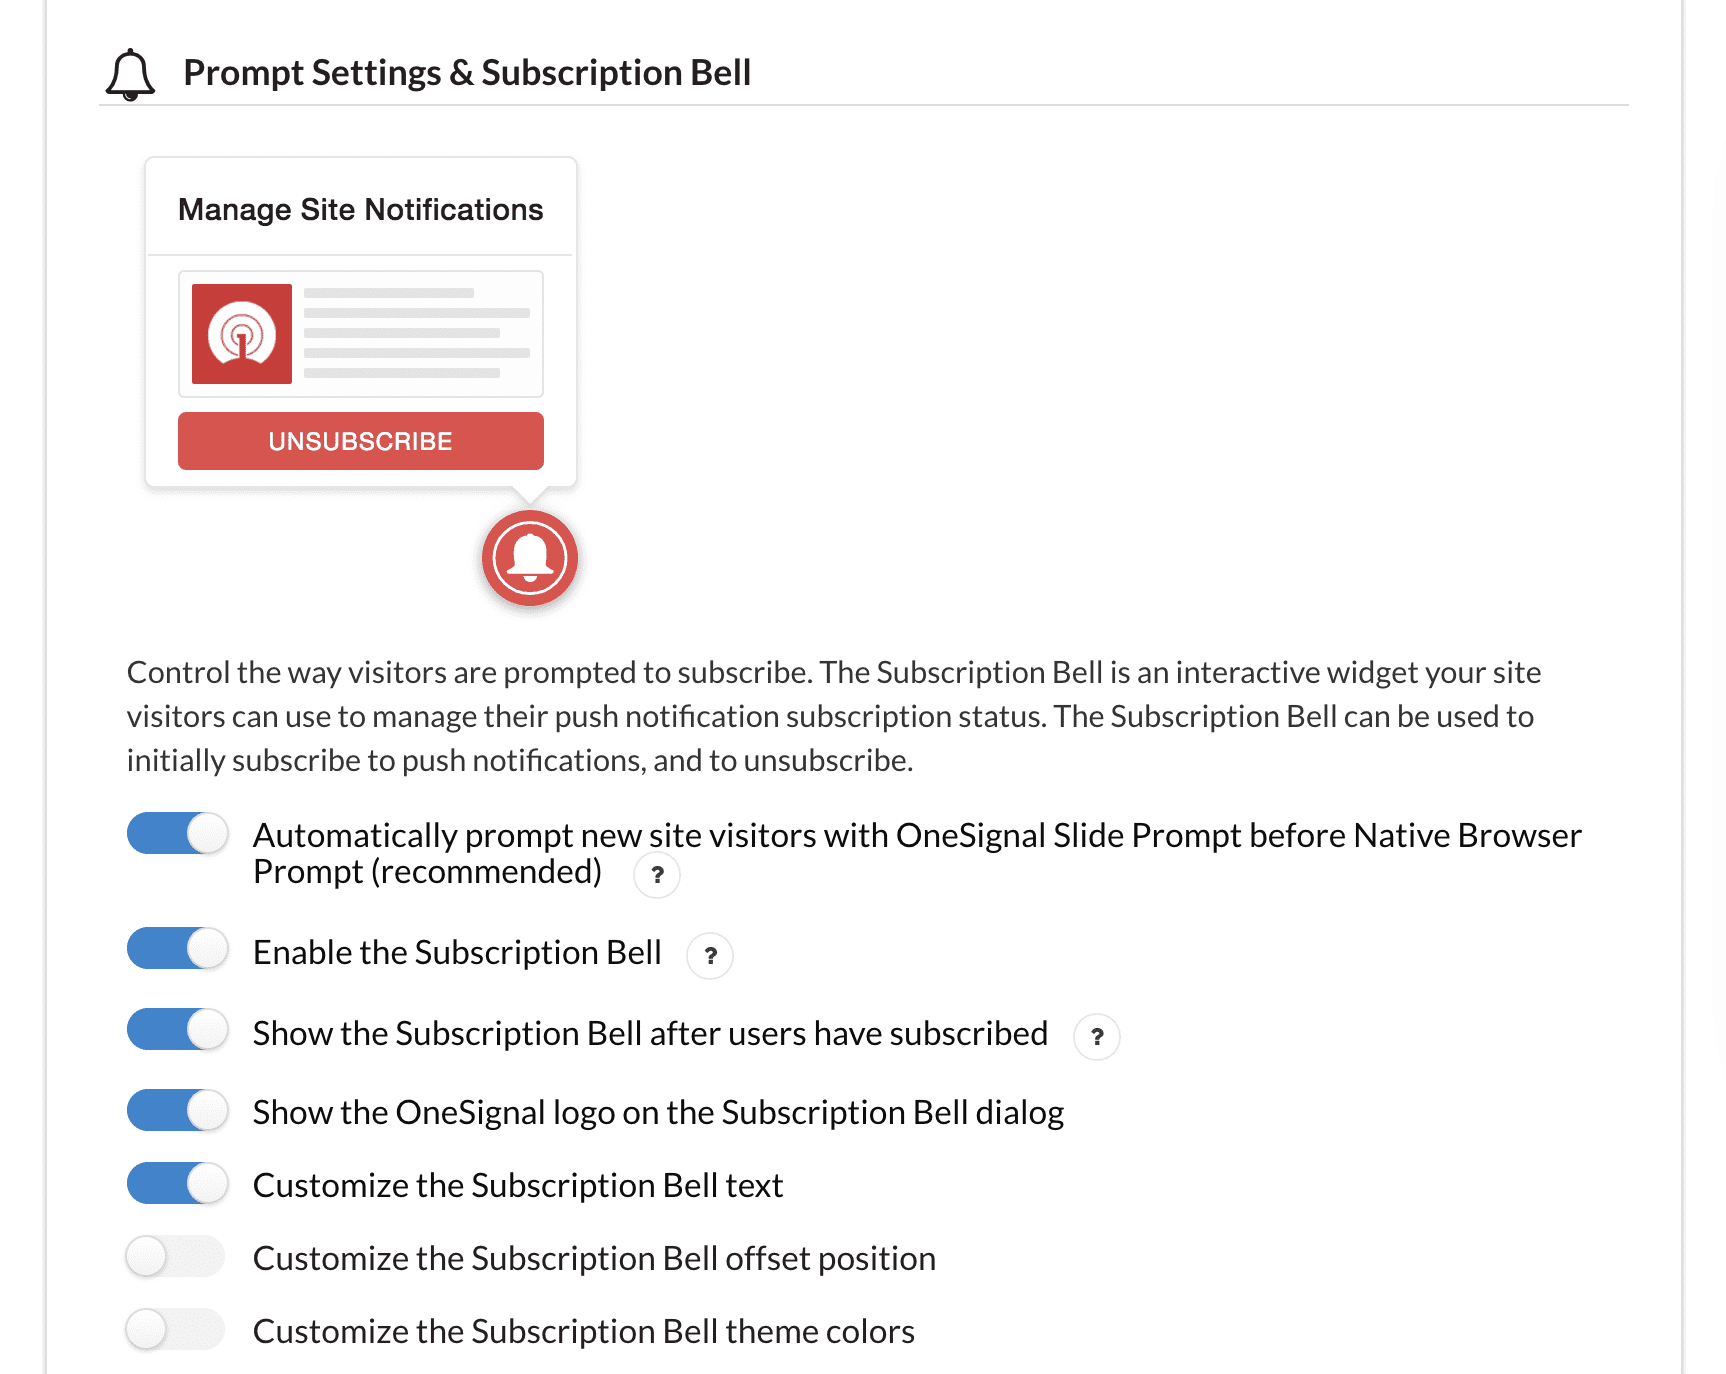
Continue to find the Prompt Settings & Subscription Bell section to turn on the notification asking if the user wants to register, by default this request will not be turned on, but I encourage you to turn it on. In addition, you can also scroll down to change the notification content.
Scroll down near the bottom of the page, you will see the Welcome Notification Settings section. By default, OneSignal will send a ‘Welcome‘ message by push notification to any user registered on your website. In this section, you can disable or customize that message:

Finally the most important part, Automatic Notification Settings. You will configure whether the plugin will send WordPress notifications automatically every time you publish a new post:
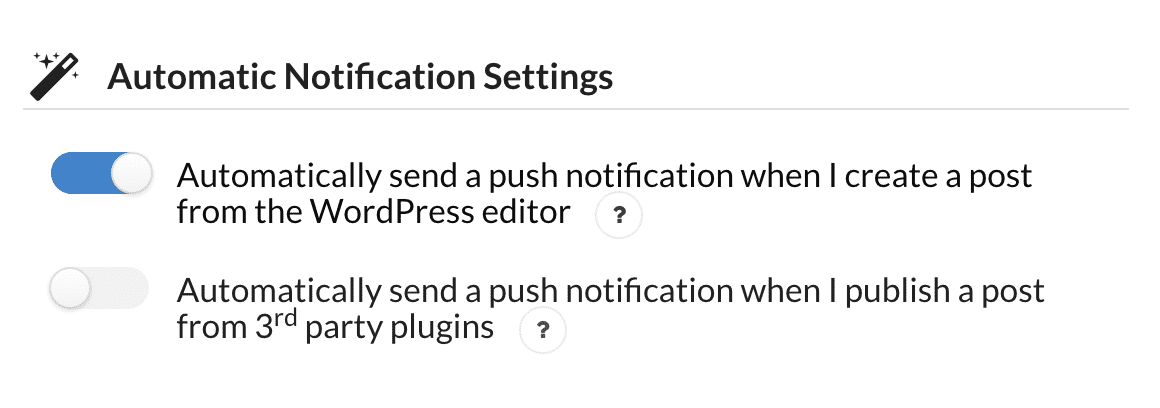
If you only publish 1-2 articles per week, you should set this mode to “On”. However, if you publish articles daily, your push notifications may be seen as spam. Conversely, if you do not enable this mode, every time you write a new post, you can also edit it in the WordPress editor. With this action, you will control of which posts will be pushed to WordPress users.
Finally, we will choose Save to save the entire configuration. From now on, any user who visits your website will see OneSignal showing a screen to subscribe to a push notifications. If they refuse, this message will no longer appear to bother them.

III. Summary
Hopefully, through the above steps, you will understand how to create push notifications for WordPress. Thereby helping the website get more visits from loyal users.
Wishing you success!
See more useful website tutorial articles at the following link:
If you need support, you can contact support in the ways below:
- Hotline 247: 028 888 24768 (Ext 0)
- Ticket/Email: You use the email to register for the service and send it directly to: support@azdigi.com .
- Click on the AZDIGI website to refer to the best Hosting/VPS service in Vietnam.
