
Nội dung
In this article, AZDIGI will show you how to install reCAPTCHA on WordPress. This will help keep your website safe from Brute Force and Spam attacks.
I. Introduction
ReCAPTCHA is a tool to help increase website security trusted by millions of users worldwide for the purpose of preventing Spam, comments and auto bots.
Using reCAPTCHA on WordPress will help the website’s admin page avoid Brute Force attacks, making the website more secure and reducing the server load by these attacks.
II. How to install & use reCAPTCHA on WordPress
To install reCAPTCHA on WordPress, we will perform the following 2 steps:
Step 1: Sign up for Google reCAPTCHA
Before going into installing and using reCAPTCHA on WordPress, you will first access the following link to register for Google reCAPTCHA:
Note: you need to log in to your Gmail account first.
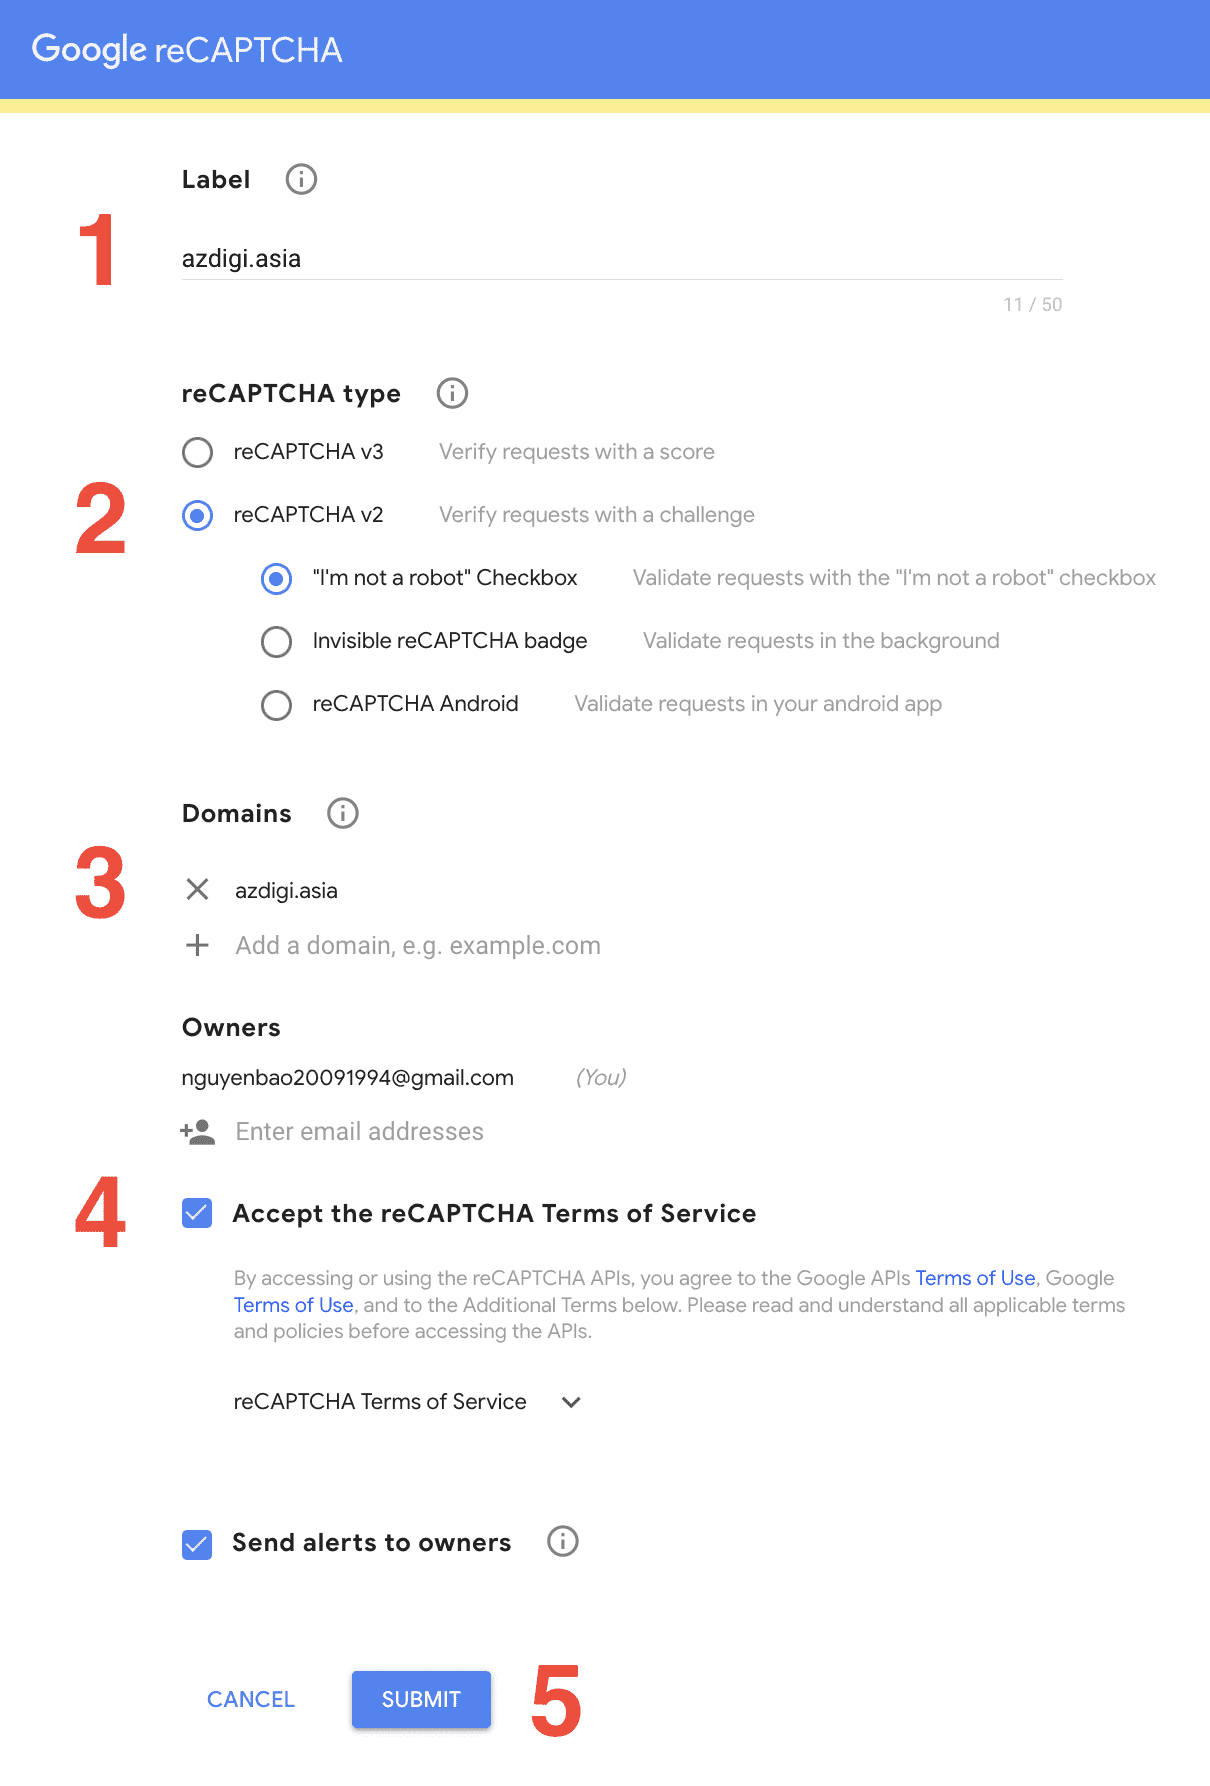
On the registration page, you will see there are options for reCAPTCHA v2 and reCAPTCHA v3, but I will choose reCAPTCHA v2 instead of v3 because reCAPTCHA v3 will rely on user behavior on the browser to determine whether this user is a bot or a real person, this will affect the privacy of the user.
Here are the options you should set:
- Mục 1: Label your reCAPTCHA, this helps you distinguish which reCAPTCHA is on which website.
- Mục 2: Selecting the reCAPTCHA version:
- “I’m not a robot” Checkbox: Ask the user to select the “I am not a Robot” button.
- Invisible reCAPTCHA badge: Doesn’t ask the user to do anything because it authenticates itself implicitly.
- reCAPTCHA Android: Authenticate via Android device.
- Mục 3: The domains that you will put this reCAPTCHA in. You can enter multiple domains, each domain is 1 line.
- Mục 4: Agree to the Google reCAPTCHA terms of use.
- Mục 5: Submit a registration request with SUBMIT button.
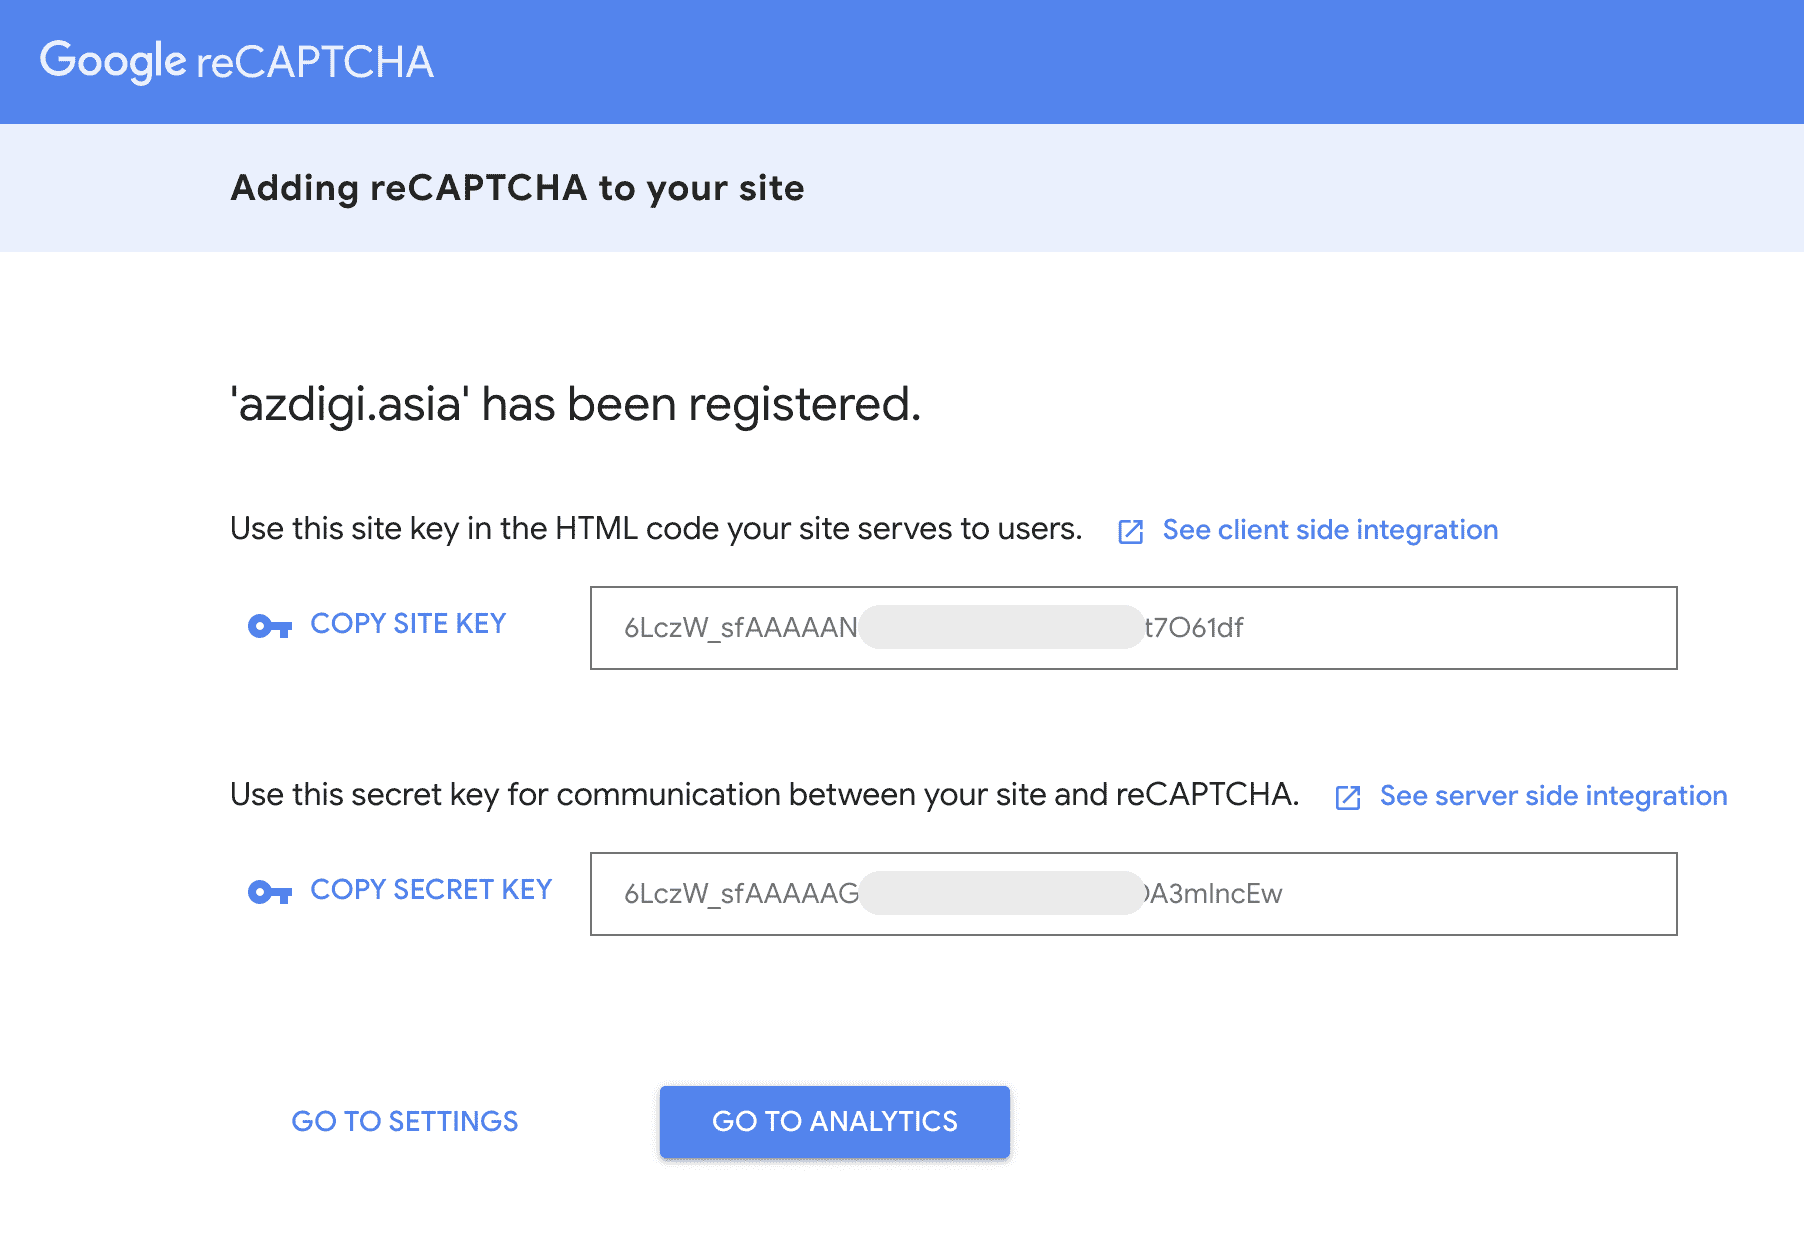
You will receive the Site key, Secret key to proceed with the installation in the next steps.
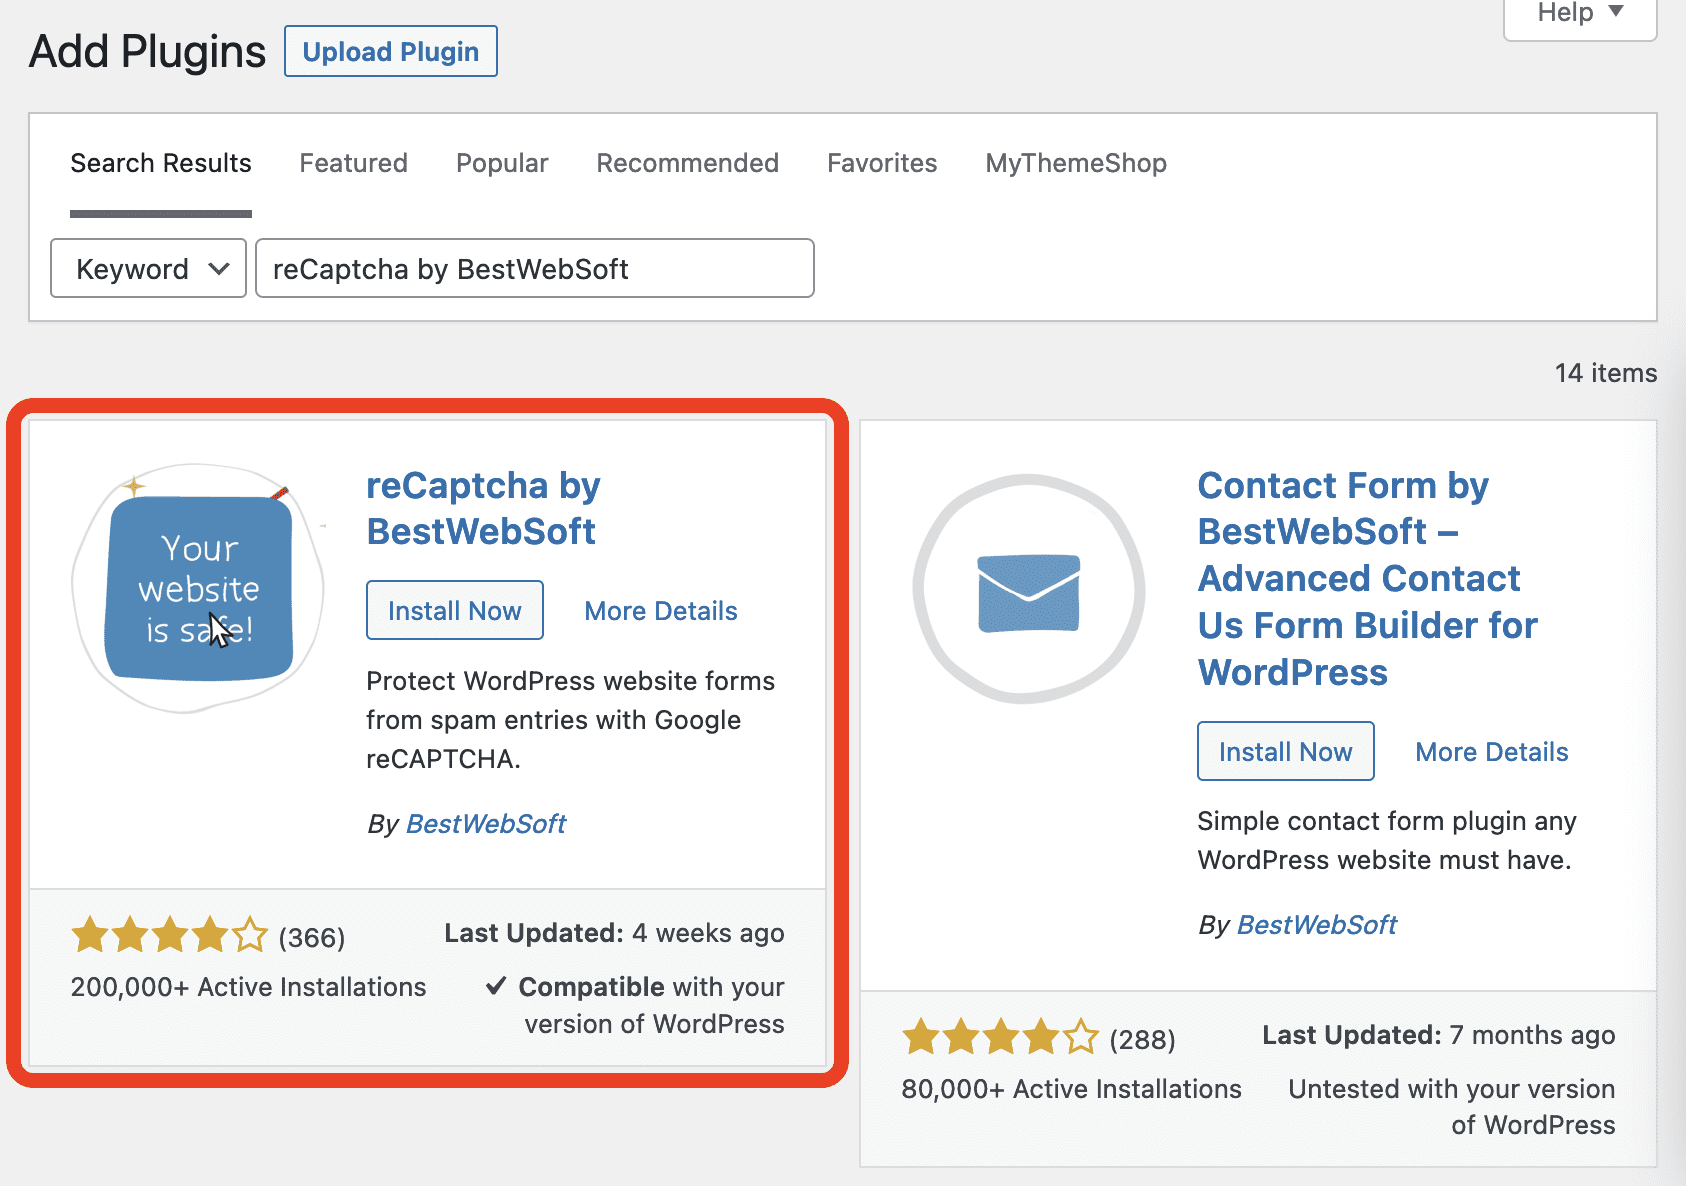
Step 2: Install and use the plugin reCaptcha by BestWebSoft
You need to access the WordPress website administration page and install a new plugin reCaptcha by BestWebSoft.
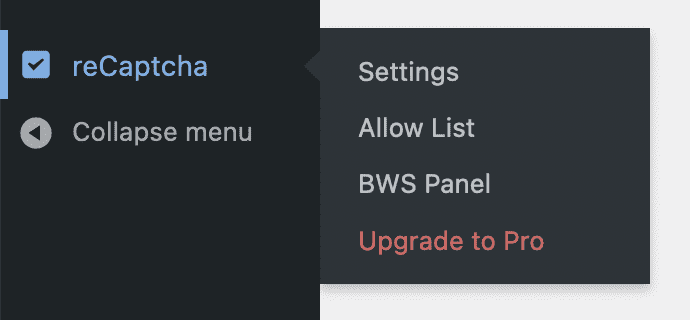
After installing and activating this plugin, go to the settings of this plugin.
At the installation interface, you set up as shown below:

- Section 1: Select the reCAPTCHA version according to step 1.
- Section 2: Enter the Site Key and Secret Key that we got in step 1.
- Section 3: Select the area where the reCAPTCHA appears: Login form, registration form, reset password form, comment form. (Should select all)
Then you scroll down to the bottom and choose to save settings.
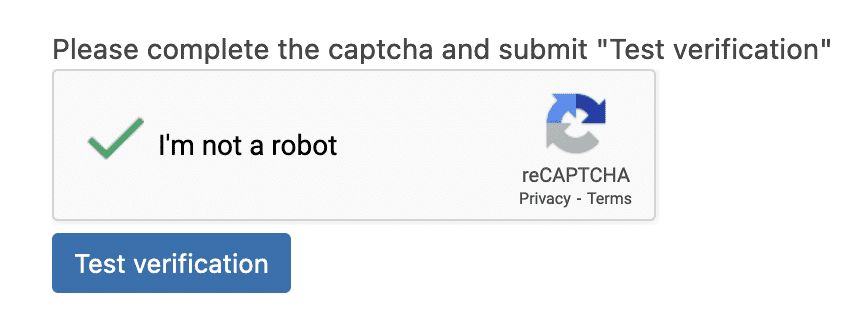
If you want to make sure your reCAPTCHA is working, you can click Test reCaptcha to check. If the reCAPTCHA appears normal, everything is working fine.
Now, when you visit areas where you have enabled reCAPTCHA, you will be asked to complete the reCAPTCHA before continuing your operation.
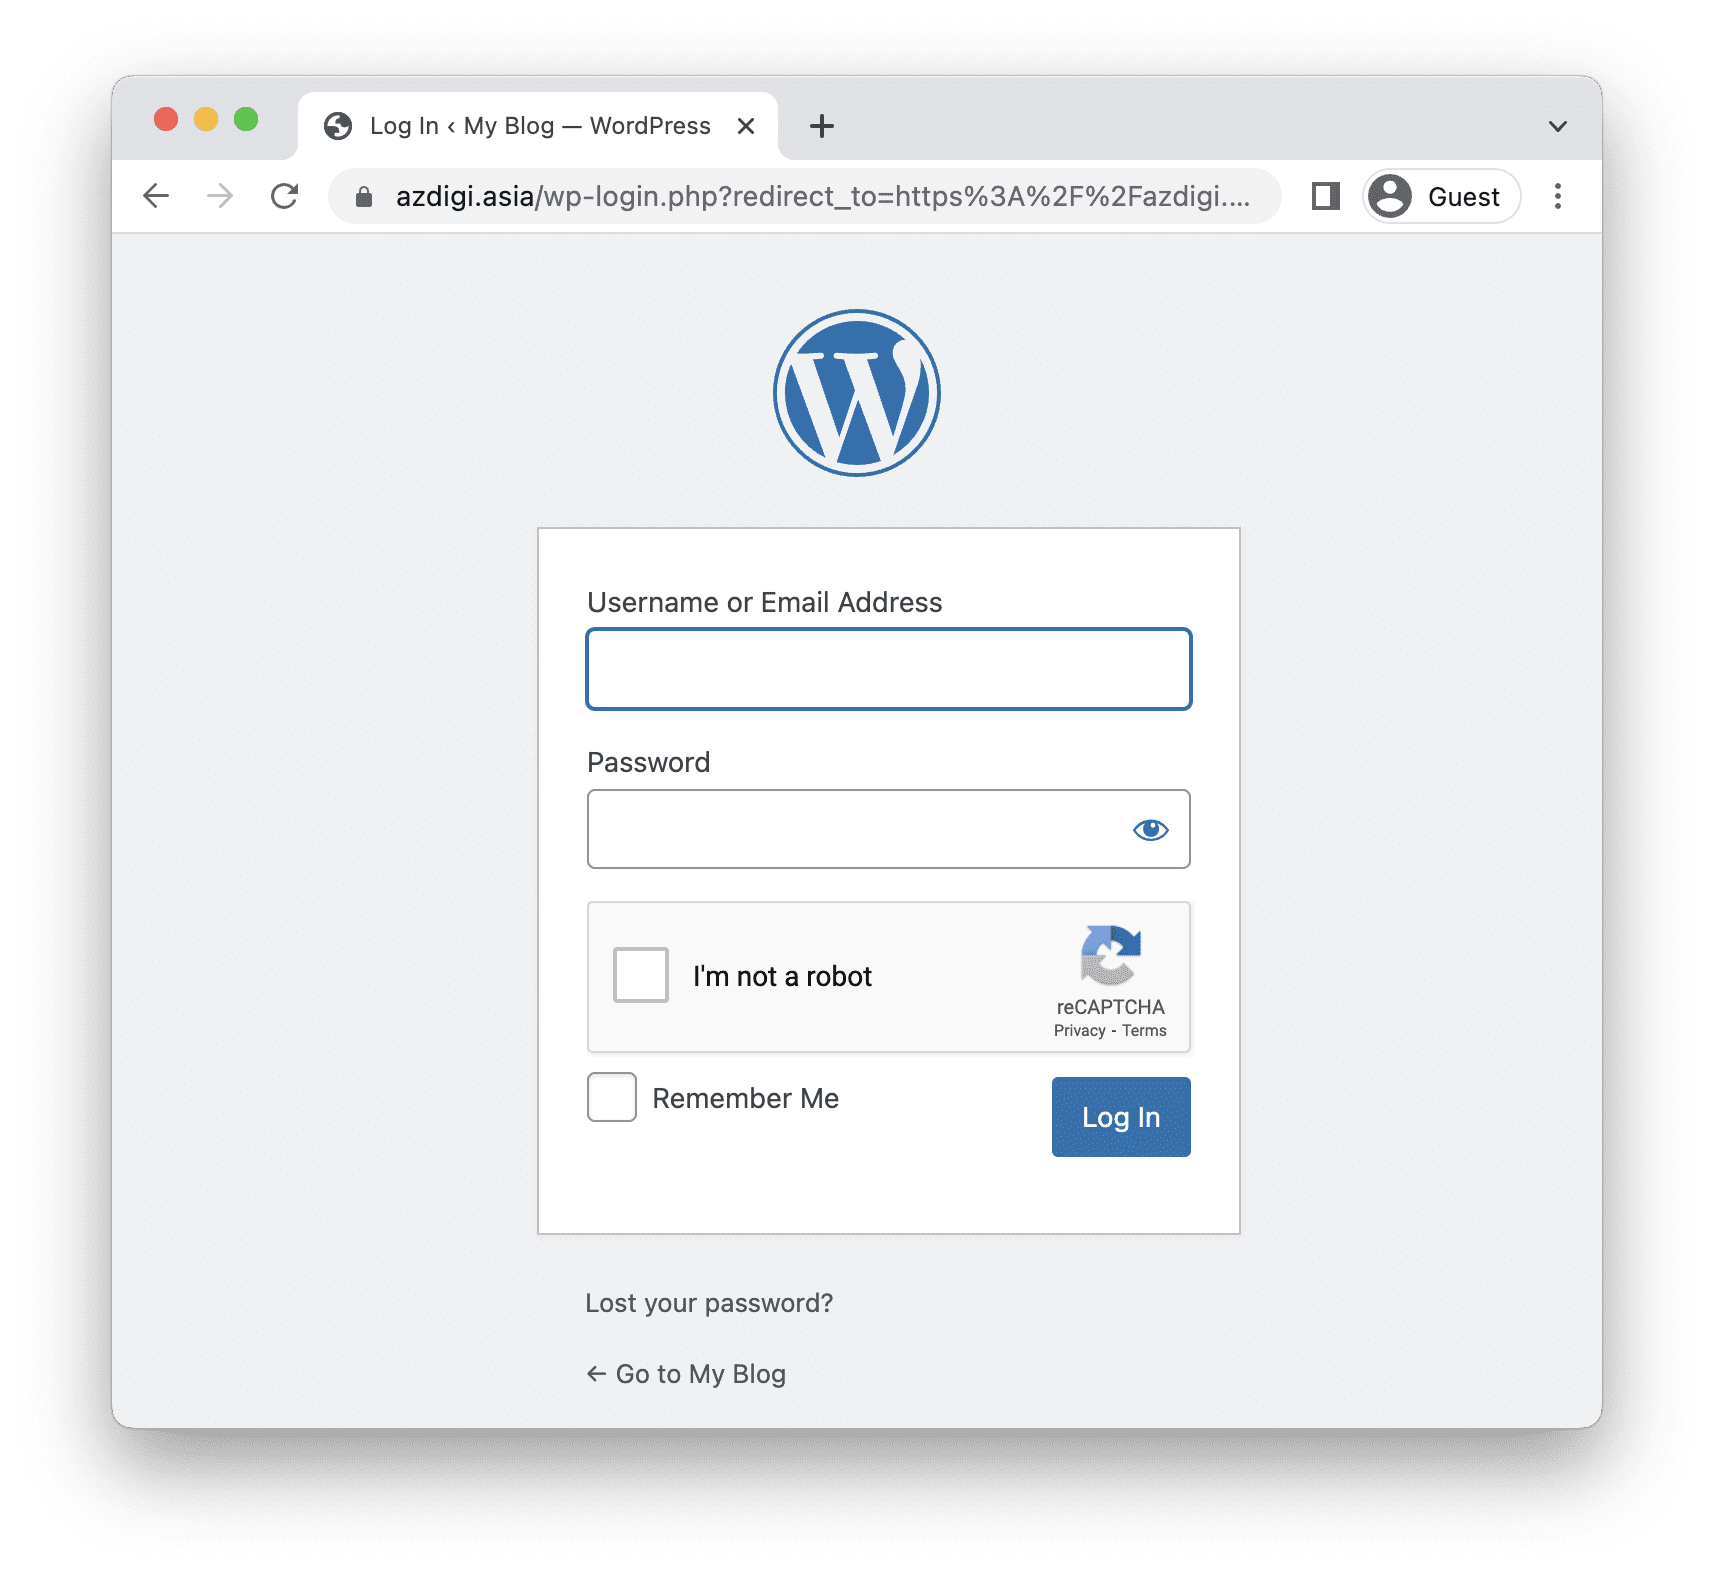
So we have successfully installed reCAPTCHA on WordPress.
III. Summary
Installing and using reCAPTCHA on WordPress is extremely simple, but it helps us secure our website better, so what are you waiting for, do not do it right away.
Wishing you success!
