Installing Zabbix 6.0 on Ubuntu 20.04 with 5 simple steps.
1. Introduction
Zabbix is a powerful enterprise-grade tool used to provide real-time network monitoring, monitoring of applications and systems. Zabbix is written in C and Java with a user interface using PHP. Zabbix will be essential for business or organizational environments because it helps identify errors quickly when they just happen on the system and will send alerts to administrators. Therefore, the operation of the system will be guaranteed and stable.
Zabbix 6.0 provides below features:
- Basic monitoring tool with advanced anomaly detection.
- High availability, performance and scalability – Zabbix 6.0 has the proxy to provide automatic load balancing and HA, native HA setup for Zabbix Servers, scalable history storage, and performance improvements APIs.
- Event correlation and alarm dashboards for business – It has the ability to perform event filtering, deduplication and aggregation using pre-execution rules, hiding and pausing issues manually for a period of time, as well as an optimized crash view for faster problem-solving and collaborative work.
- Business Service Monitoring (BSM) with support for alerts on service state changes, multi-tenancy, impact analysis, service import/export, scalability to hundreds of thousands of business services, etc.
- Advanced visualization and reporting – this includes stacked charts, chart annotations, advanced server state widgets, timed events widgets, geo maps, and more.
- Security improvements with password complexity policy for Zabbix UI and audit logs for all users and API activity have been added.
2. Implementation Guide
To start installing Zabbix, you first need to SSH into your server with Root privileges. And follow the steps below to install all services, as well as Zabbix 6.0.
First, update the packages on the server to the latest version with the command:
sudo apt update && sudo apt upgrade
Some of the services that are required to be installed with Zabbix 6.0 that you need to install are below:
- PHP
- Apache web server
- MySQL/MariaDB database server
Step 1: Install and Configure MariaDB (Database Server)
With Zabbix 6.0, the developer requires a MariaDB version of 10.5 or higher, so I will install the latest version of MariaDB to ensure compatibility and stability.
- Install the MariaDB repository with the command
sudo apt update
sudo apt -y install software-properties-common curl
curl -LsS -O https://downloads.mariadb.com/MariaDB/mariadb_repo_setup
sudo bash mariadb_repo_setup
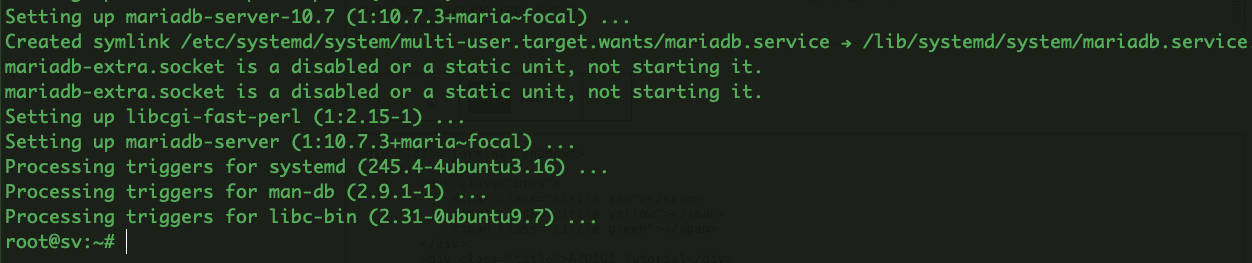
- Update the system and install MariaDB
sudo apt update
sudo apt -y install mariadb-server mariadb-client

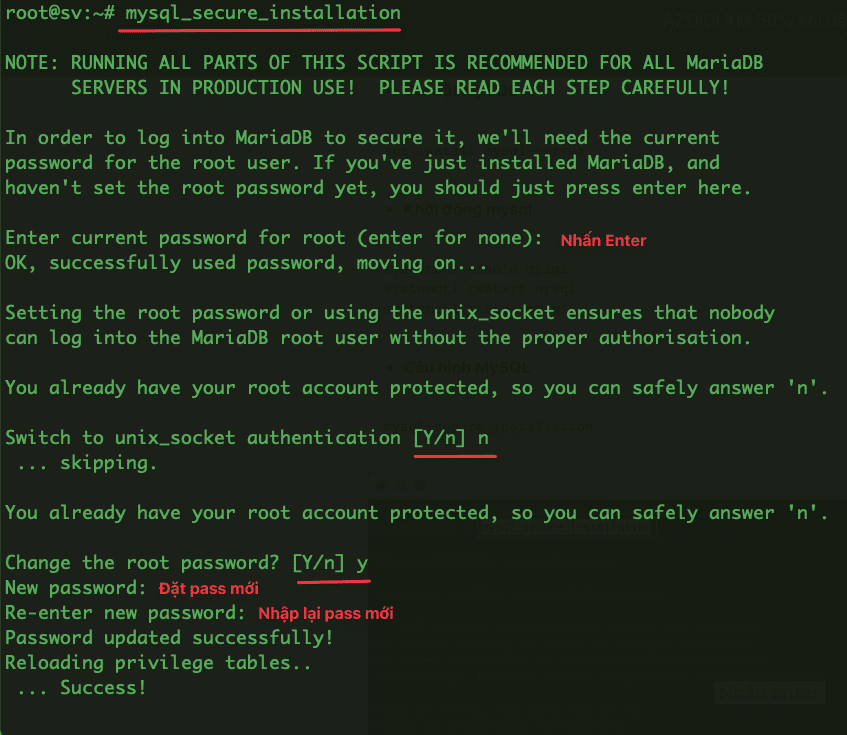
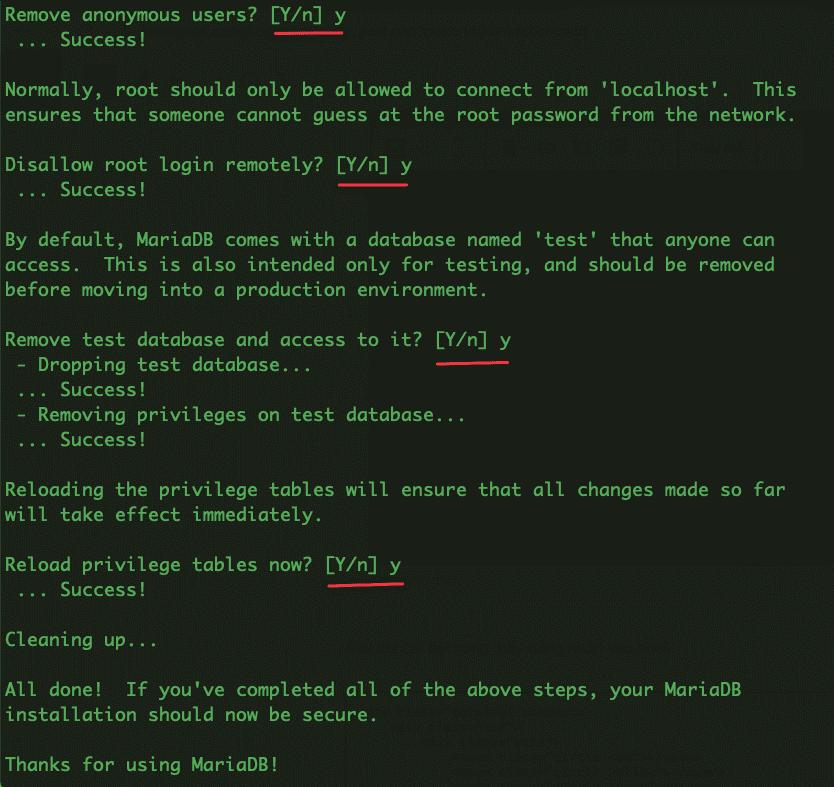
- Configure MariaDB
mysql_secure_installation
- Restart the MariaDB service
systemctl status mariadb
systemctl enable mariadb
systemctl restart mariadb
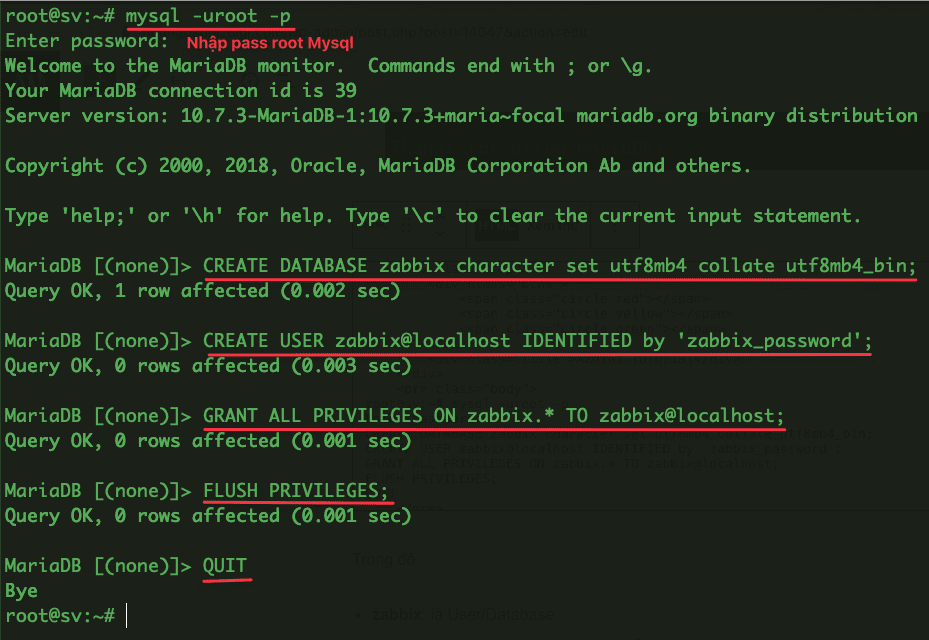
- Create a Database for Zabbix
root@sv:~# mysql -uroot -p
Enter password:
CREATE DATABASE zabbix character set utf8mb4 collate utf8mb4_bin;
CREATE USER zabbix@localhost IDENTIFIED by 'zabbix_password';
GRANT ALL PRIVILEGES ON zabbix.* TO zabbix@localhost;
FLUSH PRIVILEGES;
QUIT
In there:
- zabbix is User/Database
- zabbix_password is the password of the Database
Step 2: Install Zabbix 6.0
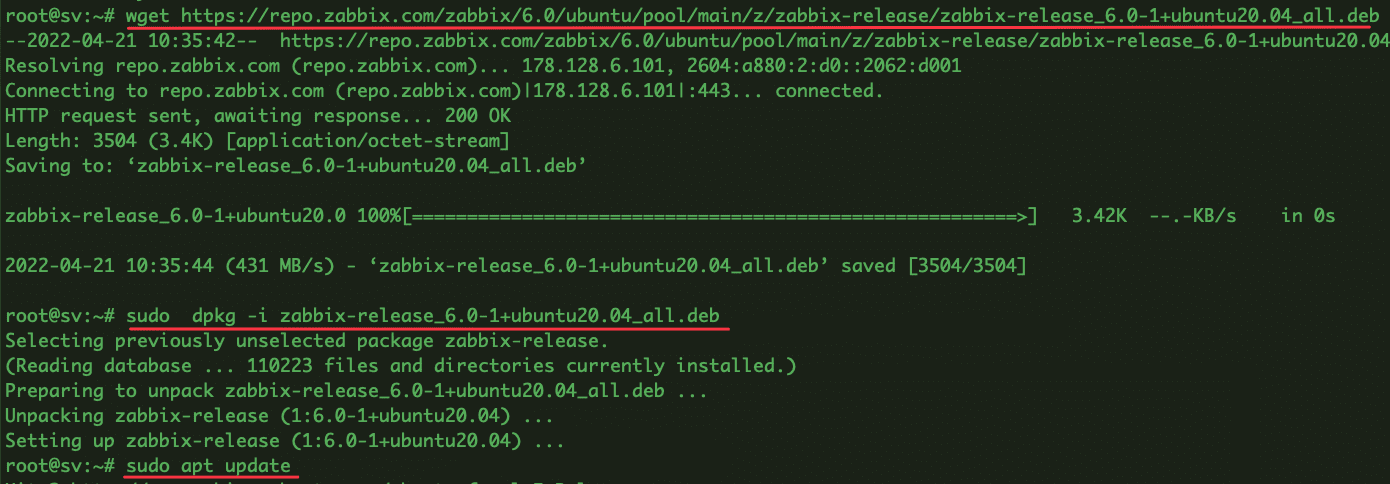
- Before proceeding with the installation, we need to add the Zabbix 6.0 repository to the Ubuntu system.
wget https://repo.zabbix.com/zabbix/6.0/ubuntu/pool/main/z/zabbix-release/zabbix-release_6.0-1+ubuntu20.04_all.deb
sudo  dpkg -i zabbix-release_6.0-1+ubuntu20.04_all.deb
sudo apt update
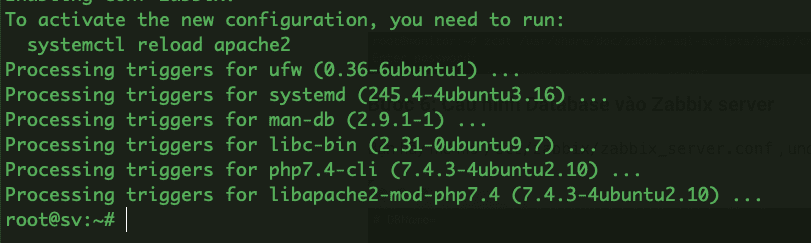
- Next is to install Zabbix 6.0 server, Apache configuration file and PHP for Zabbix.
sudo apt install zabbix-agent zabbix-server-mysql php-mysql zabbix-frontend-php zabbix-sql-scripts zabbix-apache-conf
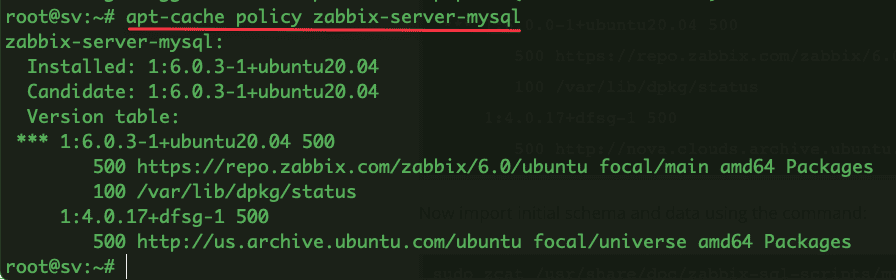
- Once the installation is complete, verify the version of Zabbix is installed as follows:
apt-cache policy zabbix-server-mysql
- Now, import the database into the newly created Database with the command:
sudo zcat /usr/share/doc/zabbix-sql-scripts/mysql/server.sql.gz | mysql -uzabbix -p zabbix

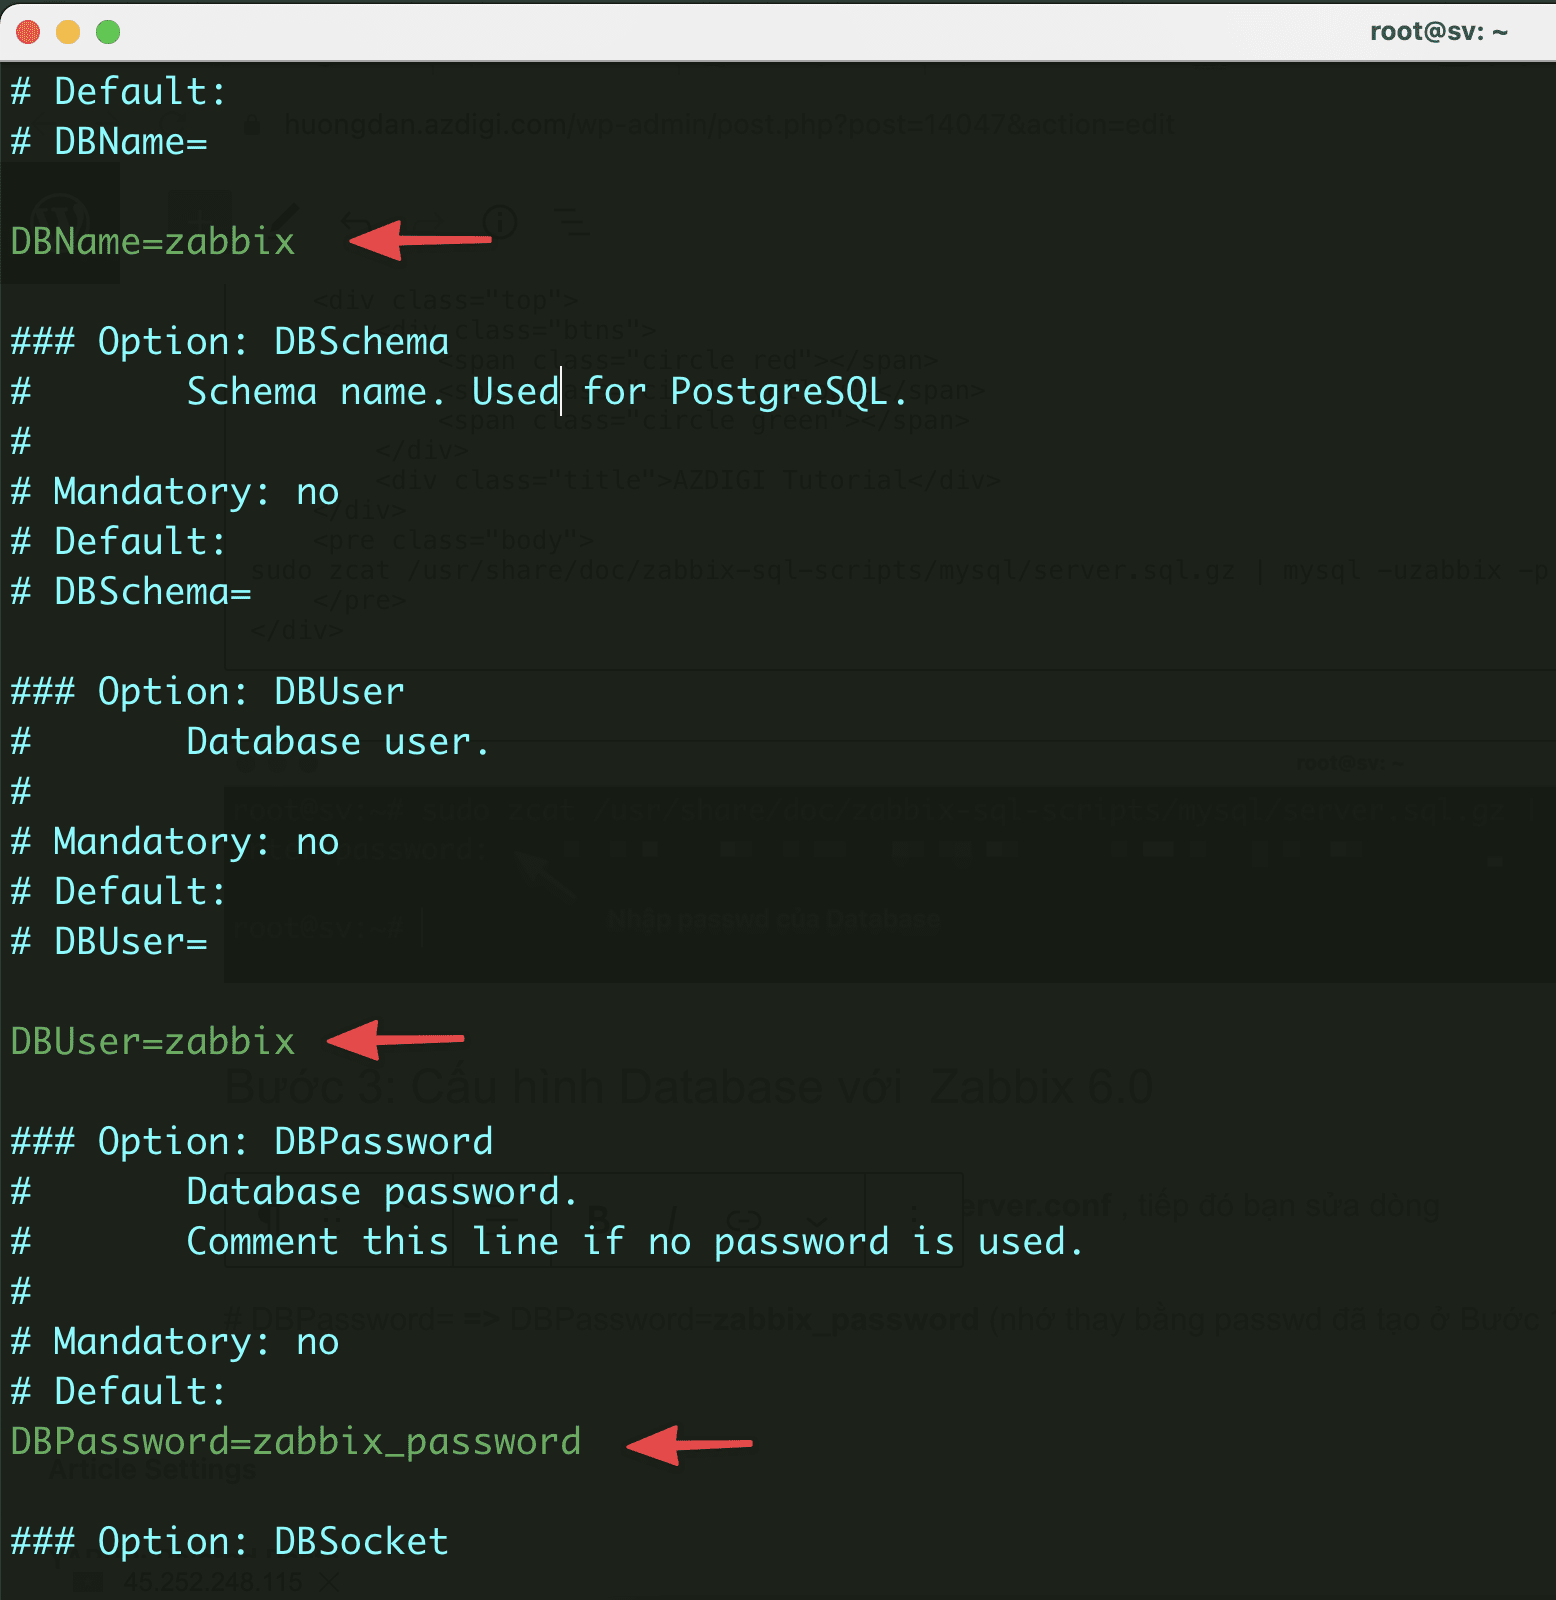
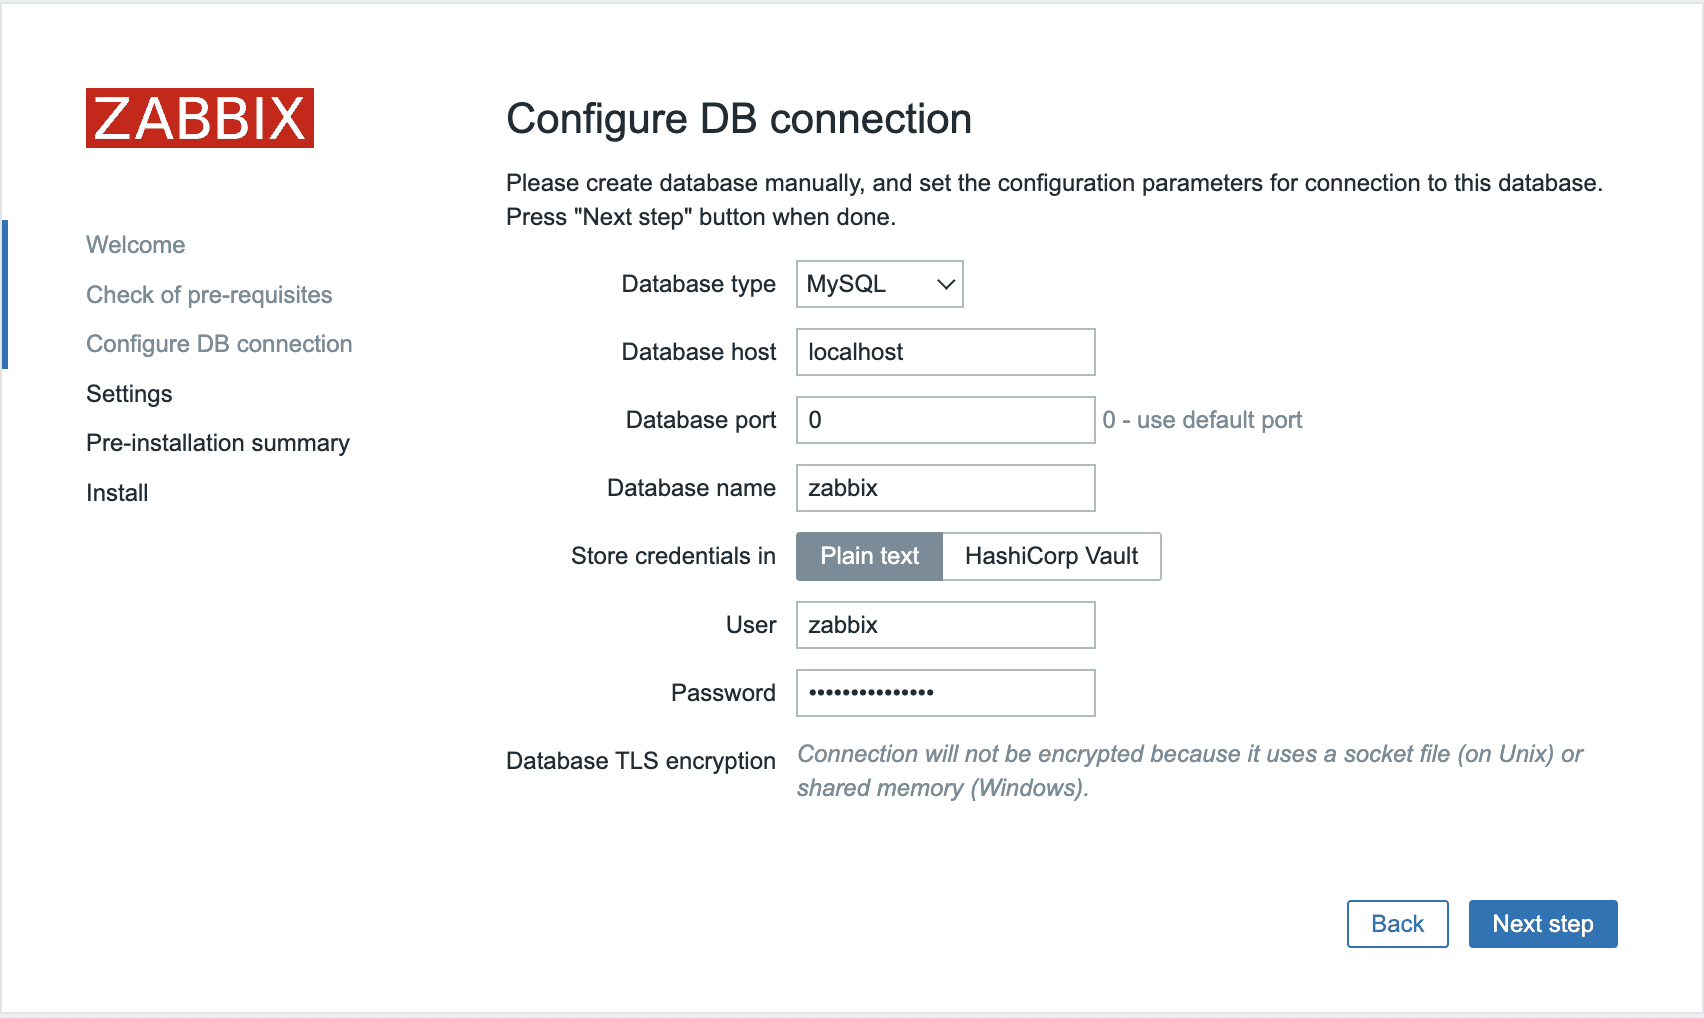
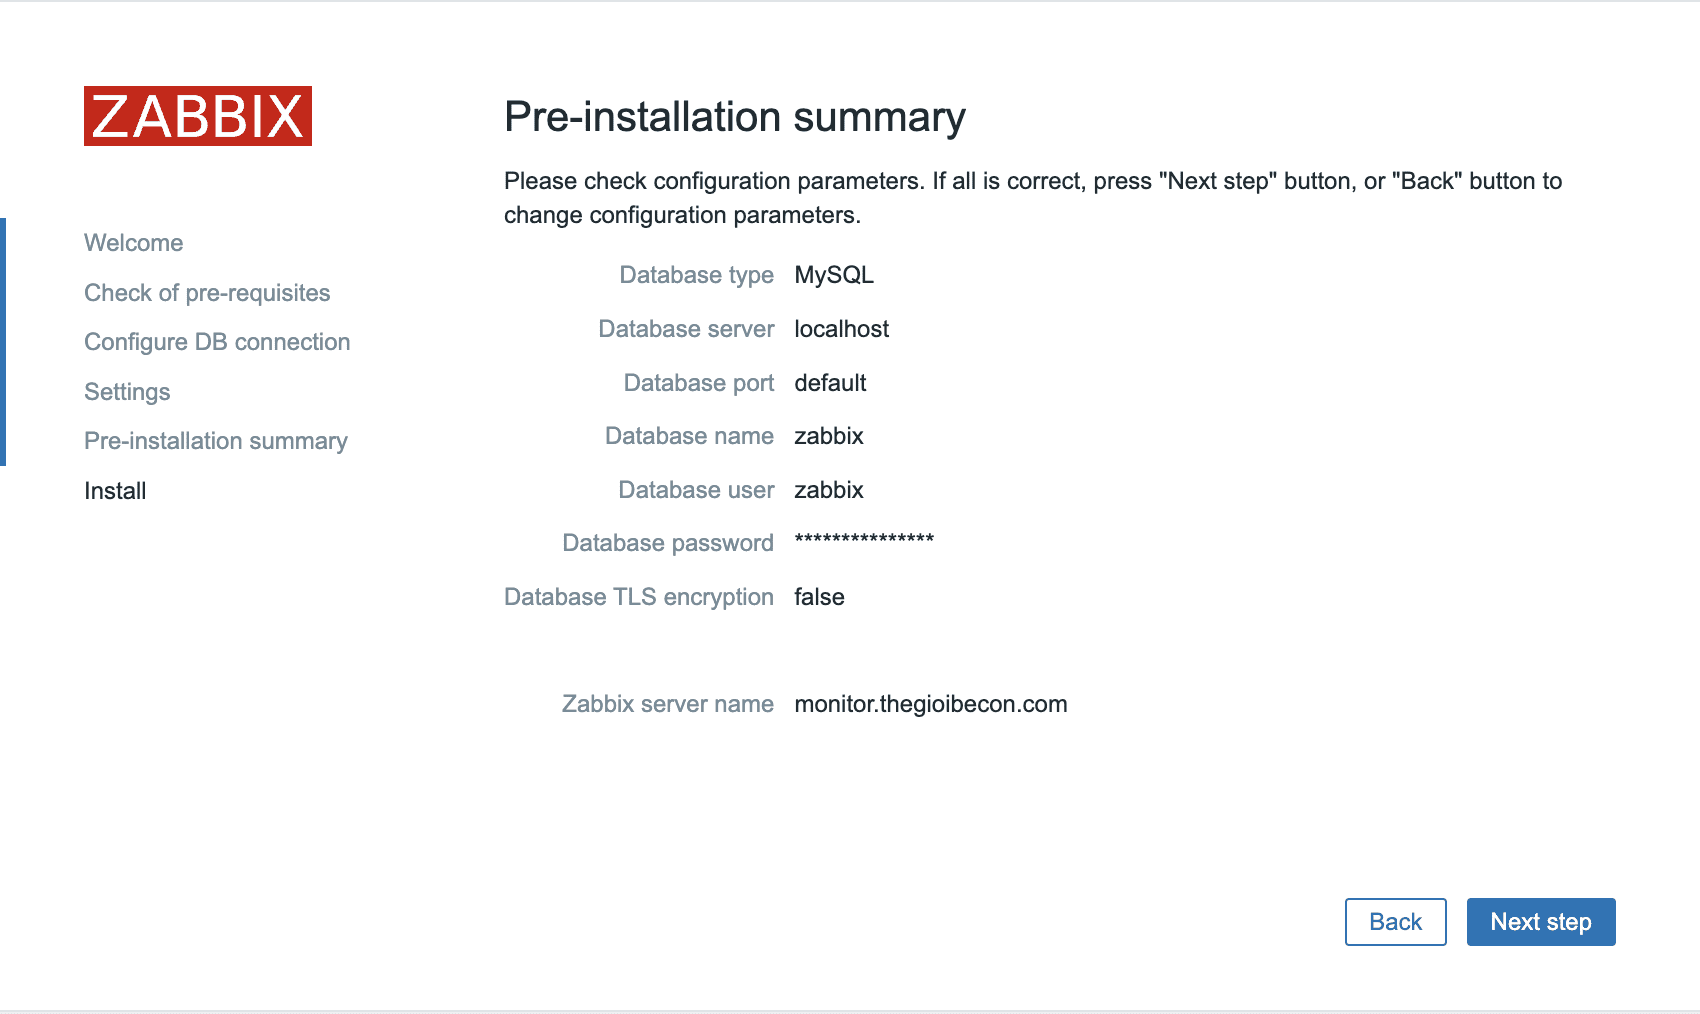
Step 3: Configure Database with Zabbix 6.0
- Please open the file /etc/zabbix/zabbix_server.conf, then edit the following line:
# DBPassword= => DBPassword=zabbix_password (replace it with your password created in Step 1)
- Let’s restart Zabbix to apply the configuration:
sudo systemctl restart zabbix-server
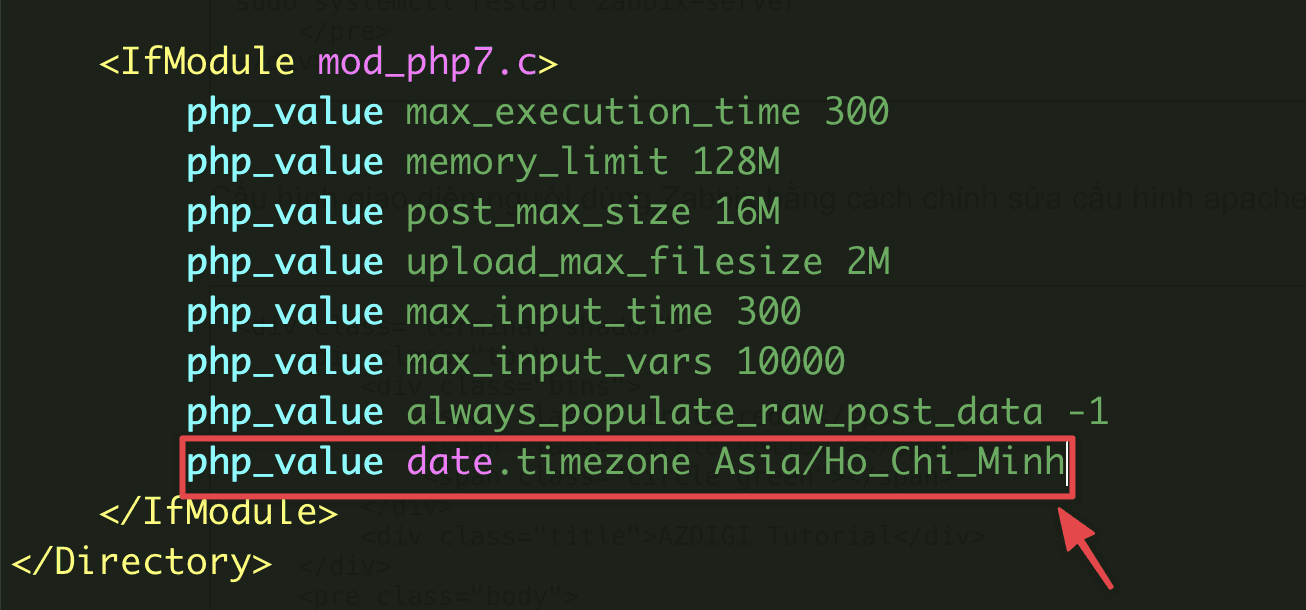
Next, configure the Zabbix user interface by editing the Apache configuration:
sudo vi /etc/zabbix/apache.conf
Find and edit the line php_value date.timezone Asia/Ho_Chi_Minh
- Start and re-enable the services: zabbix-server, zabbix-agent, apache2.
sudo systemctl restart zabbix-server zabbix-agent apache2
sudo systemctl enable zabbix-server zabbix-agent apache2
Step 4: Open Port
If the server uses Firewall, please open the port quickly with the command:
sudo ufw allow proto tcp from any to any port 10050,10051
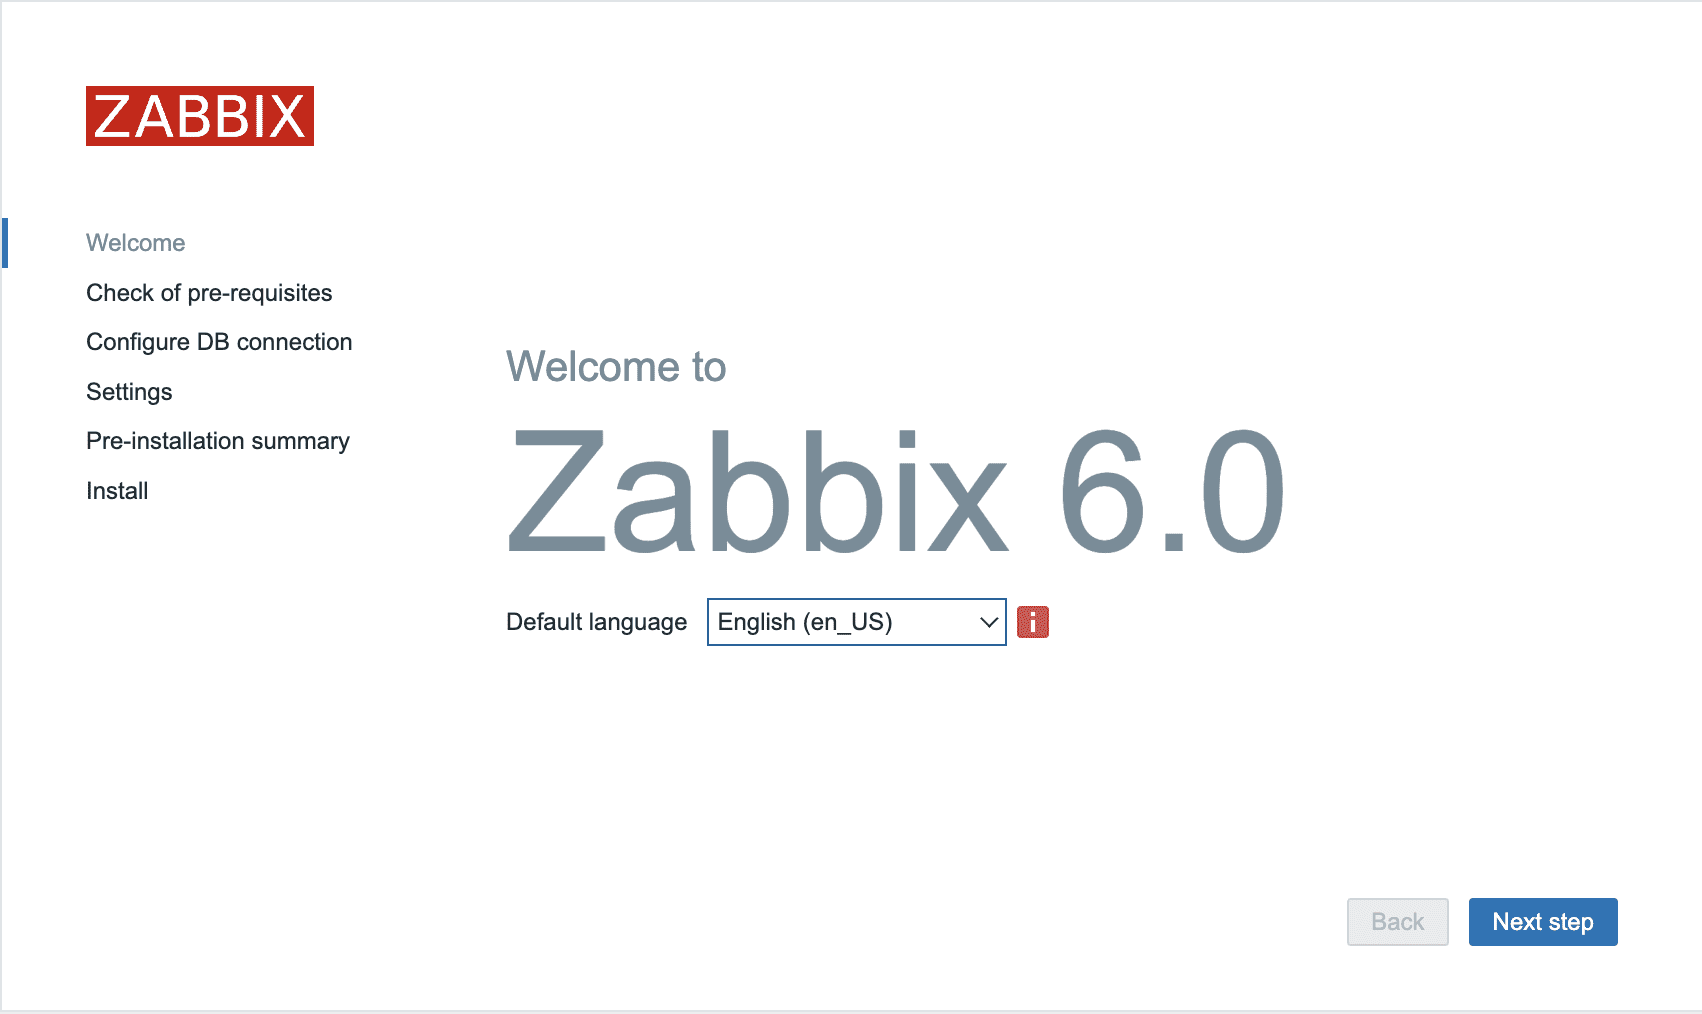
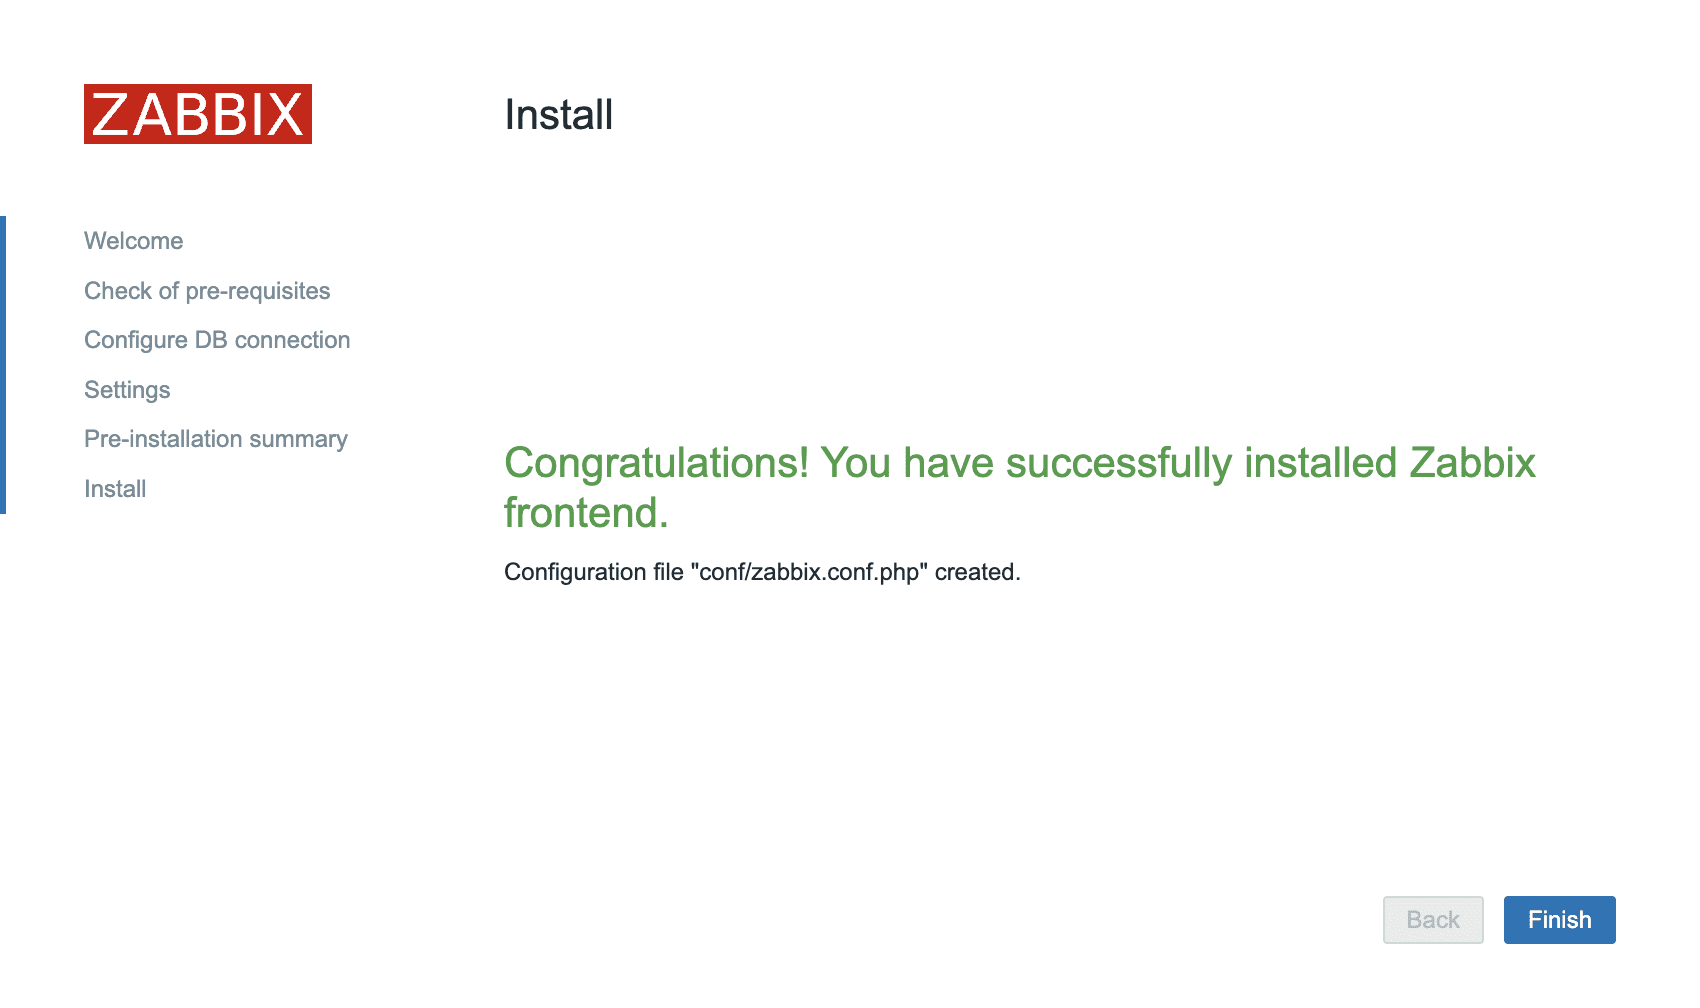
Step 5: Access to Zabbix 6.0
You access the Zabbix web interface by following the path: http://IP_address/zabbix/ or http://domain_name/zabbix/ and Zabbix 6.0 interface will display as shown below:

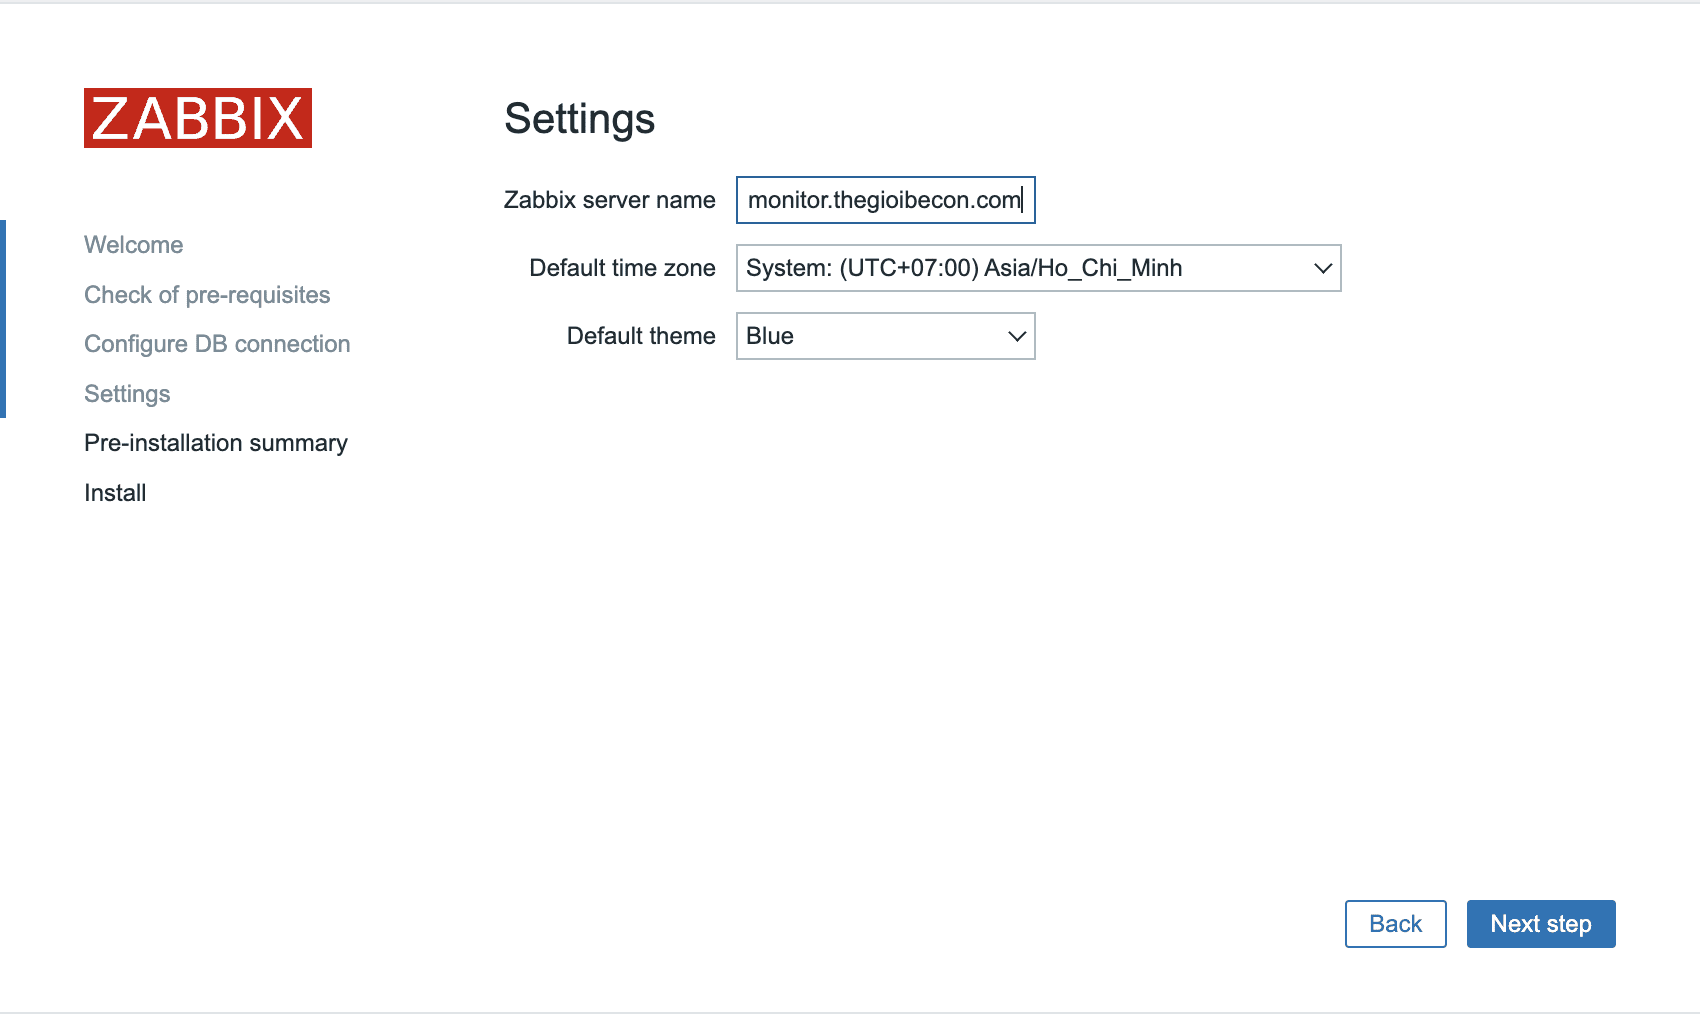
After completing the settings, Zabbix will go to the login page, you just need to use the default information below and log in.
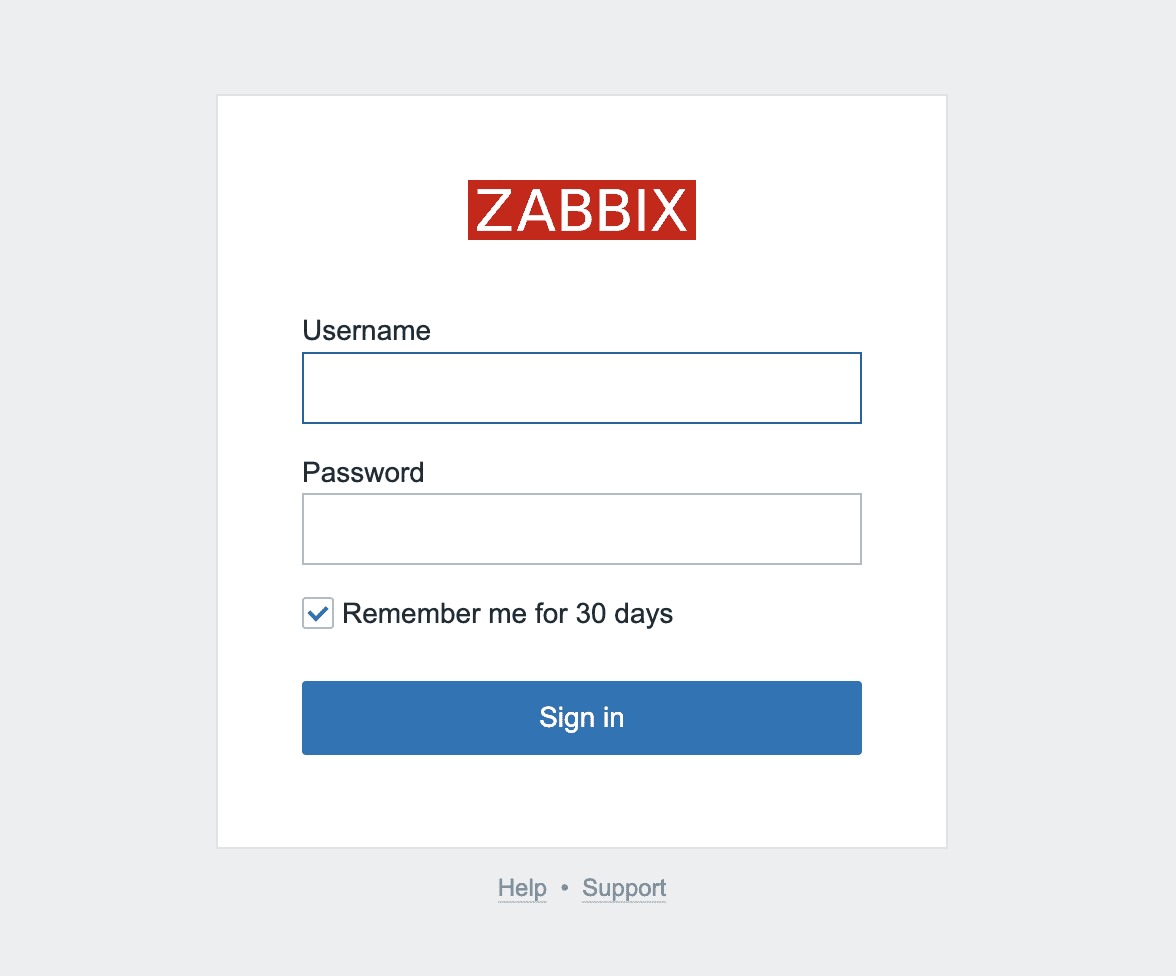
Username: Admin
Password: zabbix
And after successful login, the overview interface of Zabbix will be as shown below:
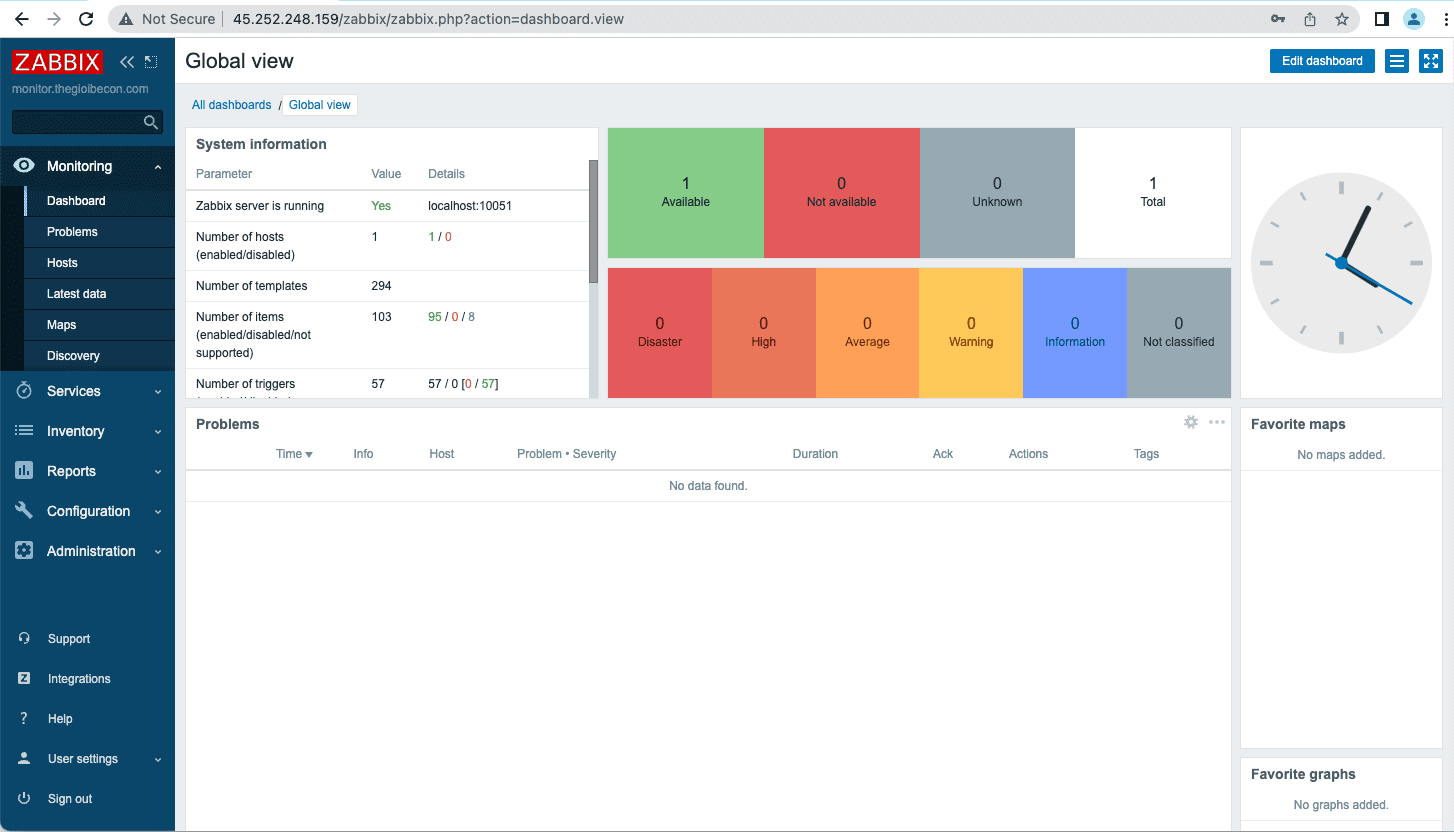
So in this article, AZDIGI has shown you how to completely install Zabbix 6.0 on Ubuntu 20.4 server. Hopefully, you will install it successfully to have more optimal monitoring solutions for your server and your business, bringing higher work efficiency.
You can refer to other instructions at the link below:
If you need assistance, you can contact support in the ways below:
- Hotline 247: 028 888 24768 (Ext 0)
- Ticket/Email: You use the email to register for the service and send it directly to: support@azdigi.com .
About the author

Thạch Phạm
Đồng sáng lập và Giám đốc điều hành của AZDIGI. Có hơn 15 năm kinh nghiệm trong phổ biến kiến thức liên quan đến WordPress tại thachpham.com, phát triển website và phát triển hệ thống.