
Install OpenLiteSpeed, MariaDB and PHP on Centos 7 with a few simple steps with AZDIGI. Please follow the article below.
I. Introduction
What is OpenLiteSpeed?
OpenLiteSpeed is the open-source version of LiteSpeed Web Server, this is a free version created to support individual webservers with a small number of websites. If you are a general user, OpenLiteSpeed is your wise choice because although it is free, it supports most of the essential features found in LiteSpeed Enterprise, including LS cache. You can refer to the features of both versions here.
To use OpenLiteSpeed, you can install it through the two most common ways today:
- 1 – Install CyberPanel control to have OpenLiteSpeed built-in
- 2 – Manually install OpenLiteSpeed WebAdmin GUI
Outstanding Features of OpenLiteSpeed
- High performance, event-driven architecture
- Very light, consumes less RAM and CPU
- Apache-compatible rewrite rules
- There is WebAdmin using the user interface. So many server configuration tasks are simple and intuitive.
- Supports many different PHP versions.
For how to install OpenLiteSpeed through CyberPanel, you can see the instructions here. In this article, AZDIGI will guide you to manually install OpenLiteSpeed WebAdmin GUI, please take a look at the following article.
II. Implementation Guide
Step 1: SSH into your VPS
To install the services, you first need to SSH into the VPS with the highest privilege as root. If you don’t know how to SSH, you can refer to the instructions below:
Step 2: Update the system
Before going into the installation of OpenLiteSpeed, MariaDB and PHP 7.4, you need to update the library and system to the latest version with the following commands:
yum install epel-release -y
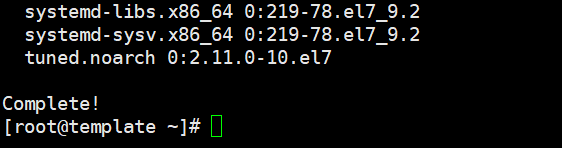
yum update -y
The update time may take a few minutes, you wait until you receive the Complete message as shown below:
Step 3: Install OpenLiteSpeed source code
To install the OpenLiteSpeed open-source code, you need to download and install it with the following commands in turn:
rpm -ivh http://rpms.litespeedtech.com/centos/litespeed-repo-1.1-1.el7.noarch.rpm
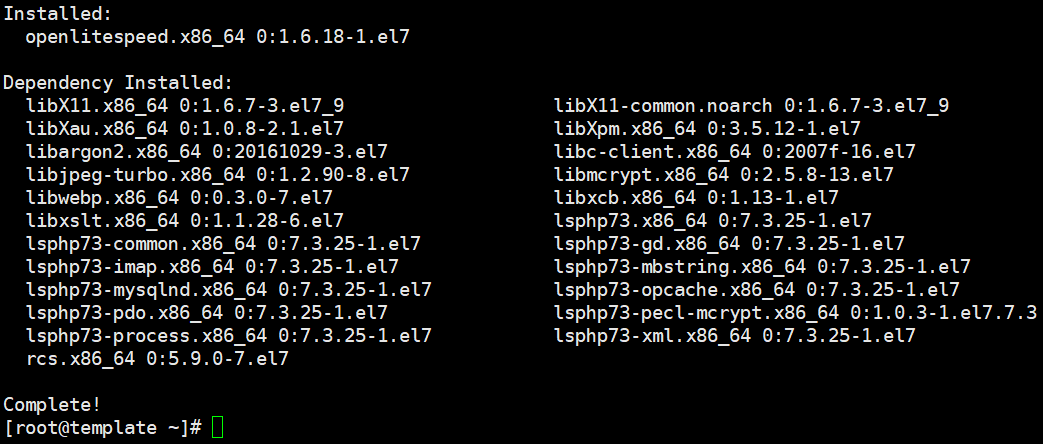
yum install openlitespeed -y
Installation time may take a few minutes, you wait until you receive the Complete message is successful.
Step 4: Install PHP 7.4 for OpenLiteSpeed
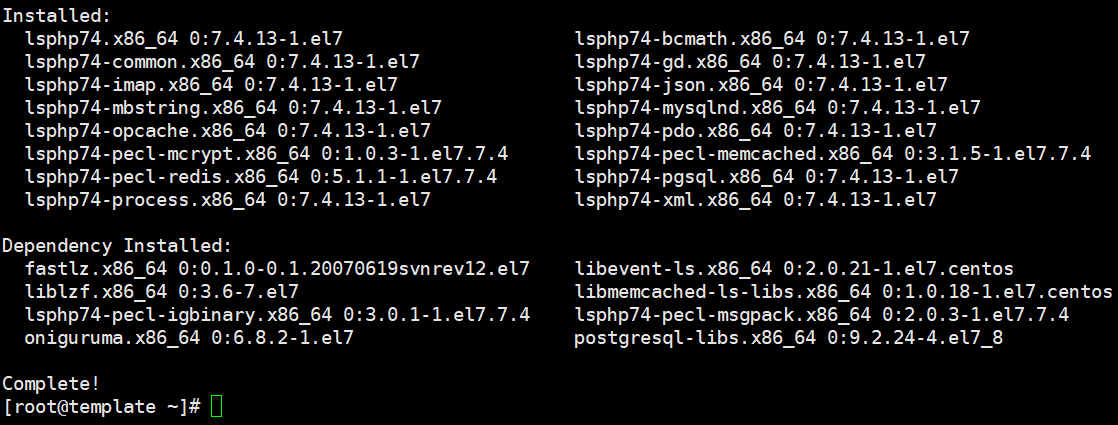
Here you can use the following command to install PHP 7.4, in this command the most necessary and popular extensions have been added.
yum install lsphp74 lsphp74-gd lsphp74-json lsphp74-common lsphp74-process lsphp74-mbstring lsphp74-mysqlnd lsphp74-xml lsphp74-opcache lsphp74-mcrypt lsphp74-pdo lsphp74-imap lsphp74-bcmath lsphp74-pecl-memcache lsphp74-pecl-memcached lsphp74-pecl-redis lsphp74-pgsql lsphp74-zip -y
Step 5: Set up Admin account for OpenLiteSpeed WebAdmin GUI
To create an Admin account, you need to run the following command:
/usr/local/lsws/admin/misc/admpass.sh
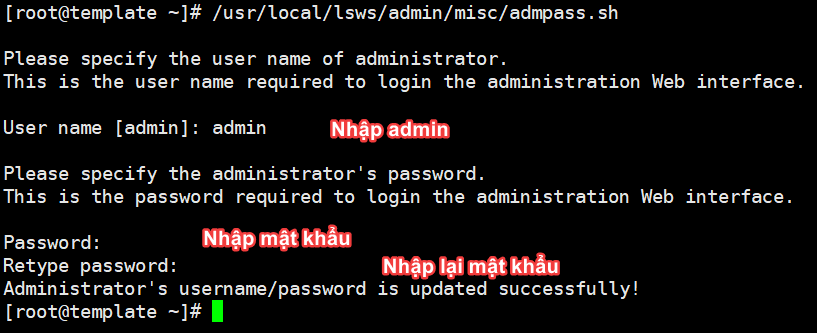
If you receive the message Administrator’s username/password is updated successfully! it’s successful.
Step 6: Open the OpenLiteSpeed port
By default, OpenLiteSpeed will use Port 7080, so to be able to access OpenLiteSpeed with this port, you need to open the port on the VPS’s Firewall. Normally on Centos 7 will use Firewalld, so you need to open the port with the following command:
firewall-cmd --zone=public --add-port=7080/tcp --permanent
Step 7: Install MariaDB
You can see the latest versions of MariaDB here
By default, the CentOS repo only has MariaDB 5 available. To install MariaDB 10.x, you need to create your own repo by doing the following: You open and edit the mariadb.repo file with the command:
vi /etc/yum.repos.d/mariadb.repo
You proceed to paste the content below and save it. (You can replace 10.4 = the version of MariaDB you want)
[mariadb]
name = MariaDB
baseurl = http://yum.mariadb.org/10.4/rhel7-amd64/
gpgkey=https://yum.mariadb.org/RPM-GPG-KEY-MariaDB
gpgcheck=1
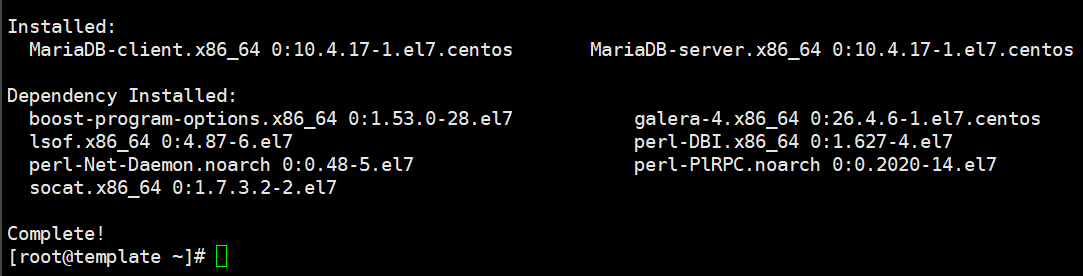
Now you can install MariaDB. You execute the following commands in turn:
yum install MariaDB-server MariaDB-client -y (Cài đặt MariaDB)
systemctl start mariadb   (Khởi động dịch vụ MariaDB)
systemctl enable mariadb  ( Khởi động MariaDB cùng hệ điều hành)
systemctl status mariadb    (Kiểm tra trạng thái dịch vụ)
After installing MariaDB, you need to configure basic security for the MariaDB service by typing the command:
mysql_secure_installation
At the first display, press Enter and follow the same steps below.
[root@template ~]# mysql_secure_installationNOTE: RUNNING ALL PARTS OF THIS SCRIPT IS RECOMMENDED FOR ALL MariaDB SERVERS IN PRODUCTION USE! PLEASE READ EACH STEP CAREFULLY!
In order to log into MariaDB to secure it, we'll need the current password for the root user. If you've just installed MariaDB, and haven't set the root password yet, you should just press enter here.
Enter current password for root (enter for none): OK, successfully used password, moving on...
Setting the root password or using the unix_socket ensures that nobody can log into the MariaDB root user without the proper authorisation.
You already have your root account protected, so you can safely answer 'n'.
Switch to unix_socket authentication [Y/n] y Enabled successfully! Reloading privilege tables.. ... Success!
You already have your root account protected, so you can safely answer 'n'.
Change the root password? [Y/n] y New password: Nhập mật khẩu Re-enter new password: Nhập lại mật khẩu Password updated successfully! Reloading privilege tables.. ... Success!
By default, a MariaDB installation has an anonymous user, allowing anyone to log into MariaDB without having to have a user account created for them. This is intended only for testing, and to make the installation go a bit smoother. You should remove them before moving into a production environment.
Remove anonymous users? [Y/n] y ... Success!
Normally, root should only be allowed to connect from 'localhost'. This ensures that someone cannot guess at the root password from the network.
Disallow root login remotely? [Y/n] n ... skipping.
By default, MariaDB comes with a database named 'test' that anyone can access. This is also intended only for testing, and should be removed before moving into a production environment.
Remove test database and access to it? [Y/n] y - Dropping test database... ... Success! - Removing privileges on test database... ... Success!
Reloading the privilege tables will ensure that all changes made so far will take effect immediately.
Reload privilege tables now? [Y/n] y ... Success!
Cleaning up...
All done! If you've completed all of the above steps, your MariaDB installation should now be secure.
Thanks for using MariaDB! [root@template ~]#
Note:
Switch to unix_socket authentication: authenticate using unix_socket, choose Y to turn on, n to turn off.
Enter current password for root (enter for none): If you have set a password before, enter the current password you are using, if it is the first time, press Enter to go to the next step.
Remove anonymous users: Delete anonymous account, click Y (Yes).
Disallow root login remotely: Turn off remote access. Depends on your needs.
Remove test database and access to it: Delete the database named “test”. It’s only for initial testing, you can delete it. Choose Y (Yes)
Reload privilege tables now: reload authority-related tables.
Now you restart the MariaDB service with the command below is finished.
systemctl restart mariadb
III. Summary
Thus, in this article, AZDIGI has shown you to install OpenLiteSpeed, MariaDB and PHP on Centos 7 quickly and simply. In the next articles, AZDIGI will show you how to install and optimize OpenLiteSpeed for the best performance. Stay tuned!
Wishing you success!
If you need assistance, you can contact support in the ways below:
- Hotline 247: 028 888 24768 (Ext 0)
- Ticket/Email: You use the email to register for the service and send it directly to: support@azdigi.com .
About the author

Thạch Phạm
Đồng sáng lập và Giám đốc điều hành của AZDIGI. Có hơn 15 năm kinh nghiệm trong phổ biến kiến thức liên quan đến WordPress tại thachpham.com, phát triển website và phát triển hệ thống.