
❤️ AZDIGI has officially updated to a new blog system. However, some posts may have incorrect or mismatched images. Please click the Report article button at the bottom of the post so AZDIGI can update as quickly as possible. Thank you!
In this article, AZDIGI will help you create custom error pages with .htaccess so that you can change the default error pages available.
I. Introduction
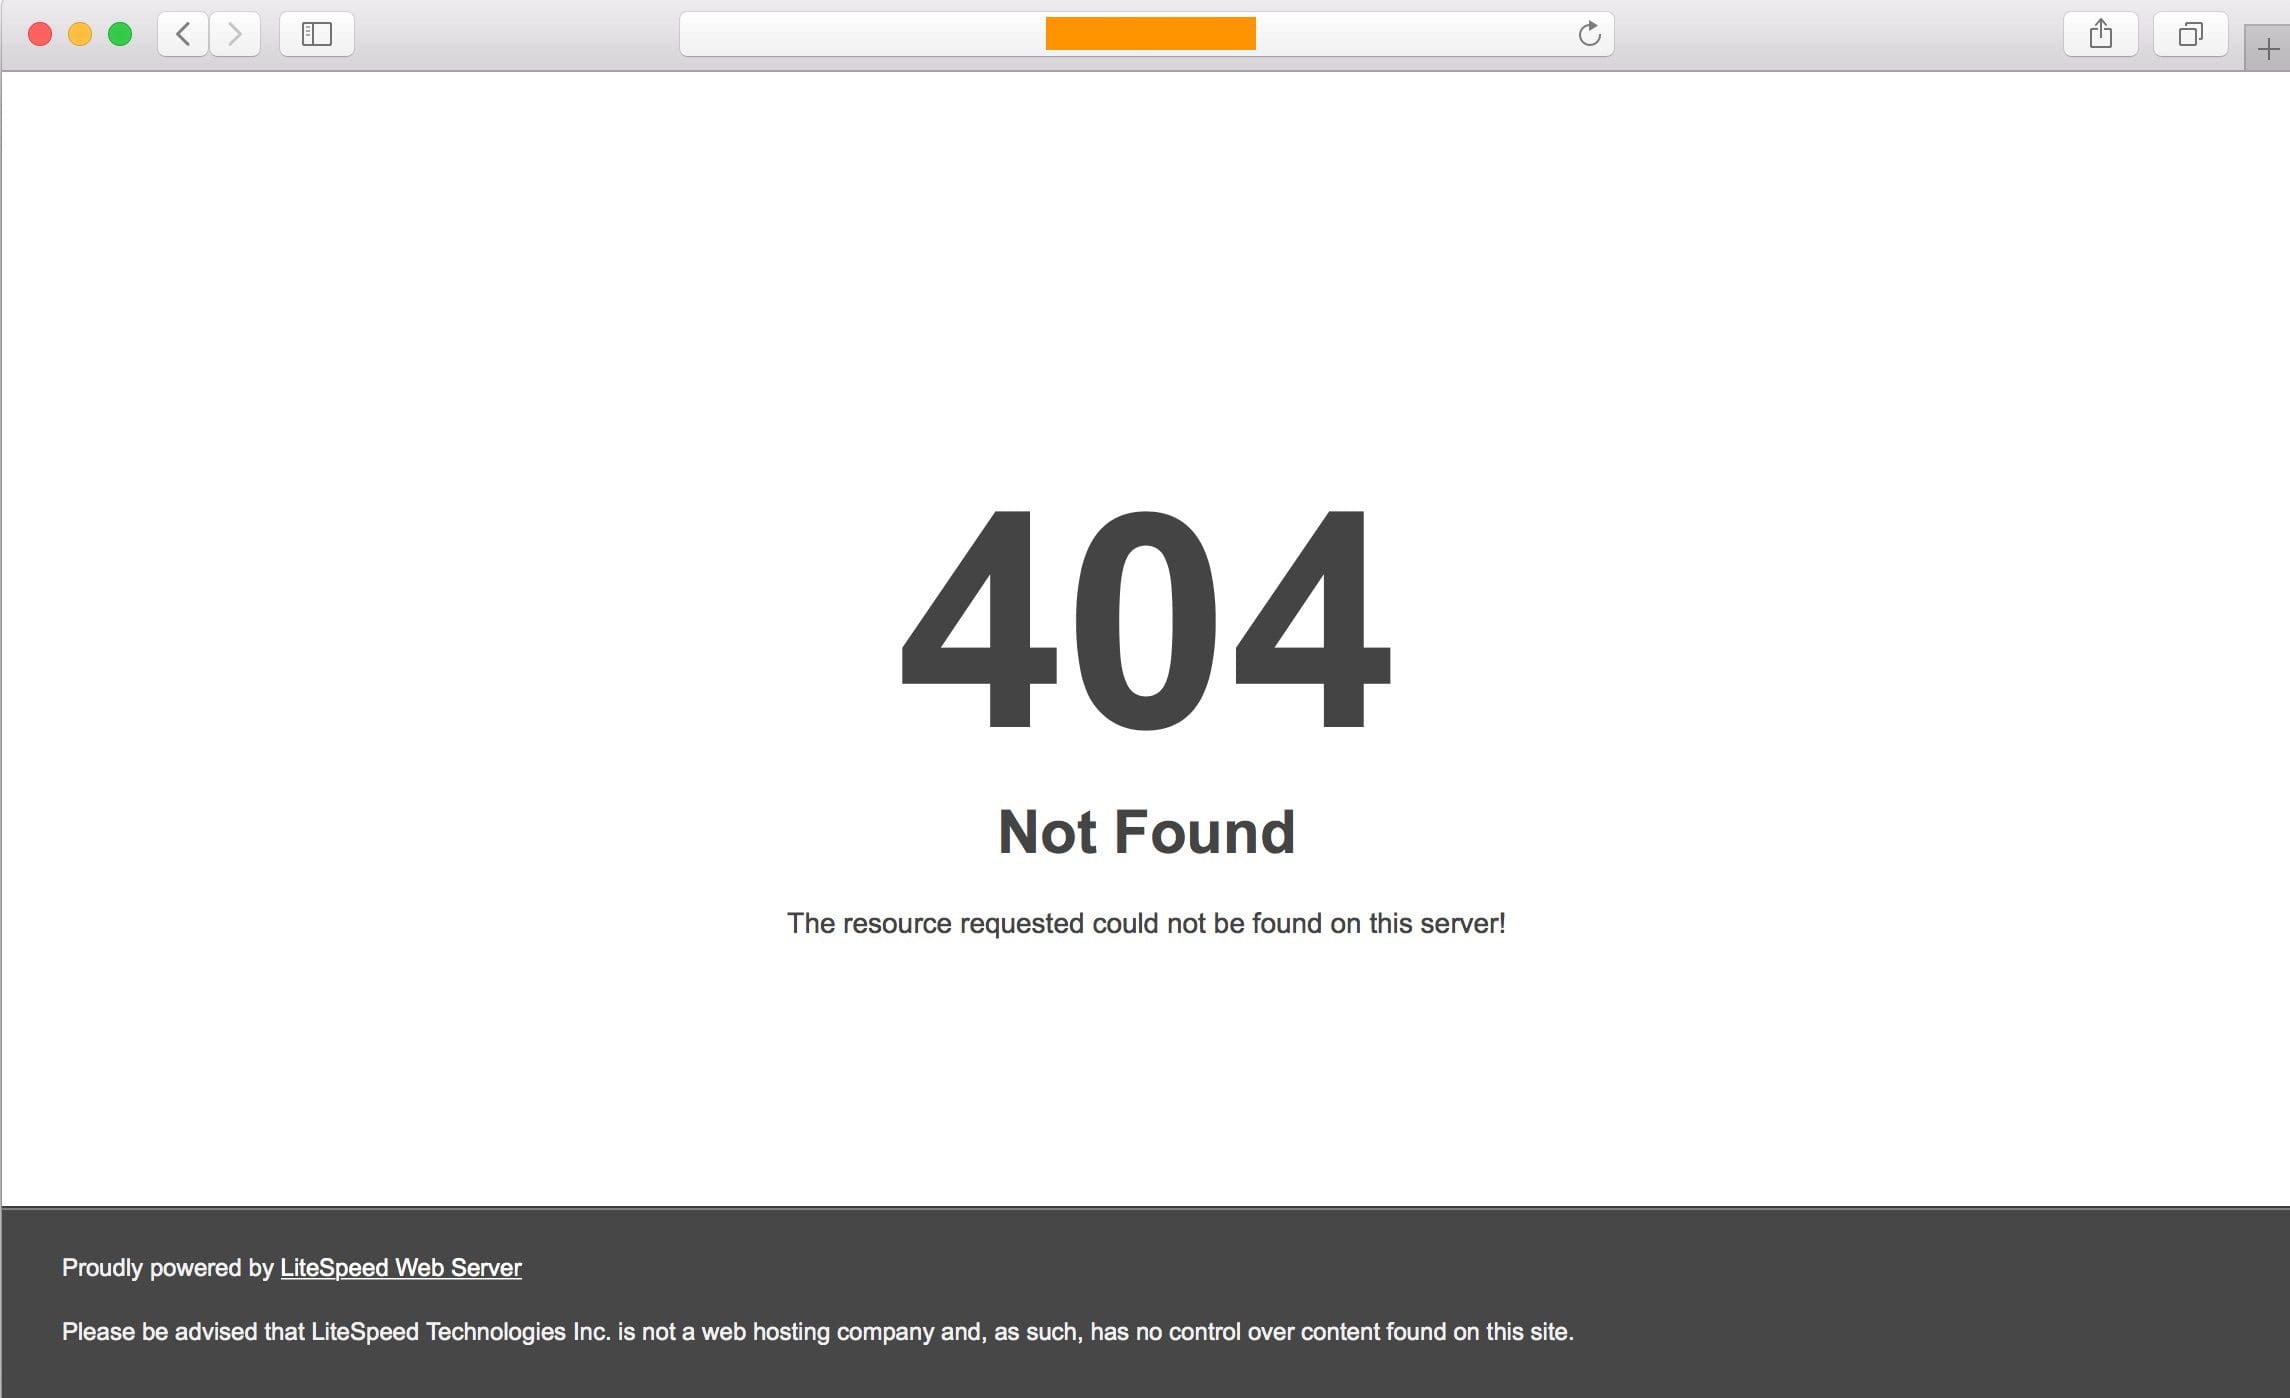
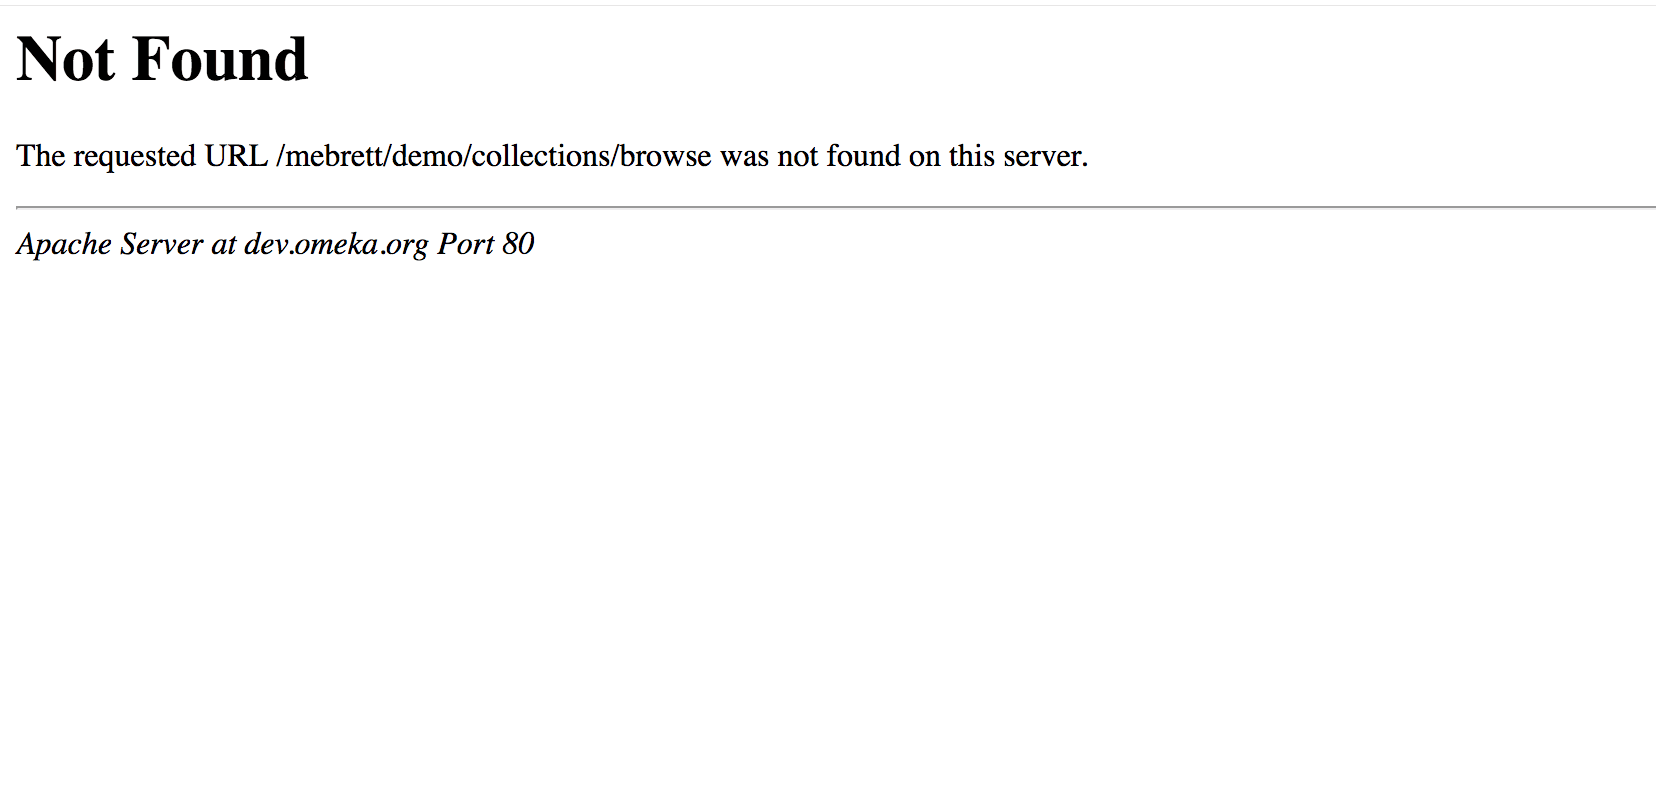
If you don’t know, the default error pages of Web Servers are relatively dull and ugly. Let me show you a few examples of 404 errors on Litespeed and Apache.
LiteSpeed Web Server:
Apache Web Server:
To make things more dynamic, we will create custom error pages with .htaccess. Of course, the .htaccess file won’t be able to generate pretty html pages, but the .htaccess will act as a redirect of these error codes to the html pages we configured earlier.
II. Create custom error pages with .htaccess
To create custom error pages with .htaccess, we will need to do the following 3 steps:
Step 1: Access the File Manager feature on your hosting
(Most of you probably already know this step, so that I won’t go into it)
In this tutorial, I will use File Manager on cPanel because most hosting systems will mainly use cPanel.
Here, I will create files with names like 404.html, 503.html… depending on the custom error codes you want to change. In this article, I will only create a 404 page, from which you can rely and generate other error codes.
If you want to use your 404 page, you can download it with the following link, just download and extract it to the root of the website:
Or you can refer to the html templates available on the following page:
Step 2: Add configuration to .htaccess
After having the html 404 file, I proceed to declare that when the website encounters a 404 error, the .htaccess file automatically redirects to the 404.html page I had before with the following code:
ErrorDocument 404 /404.html
This code you should put this at the beginning of the .htaccess file.
Step 3: Check the result
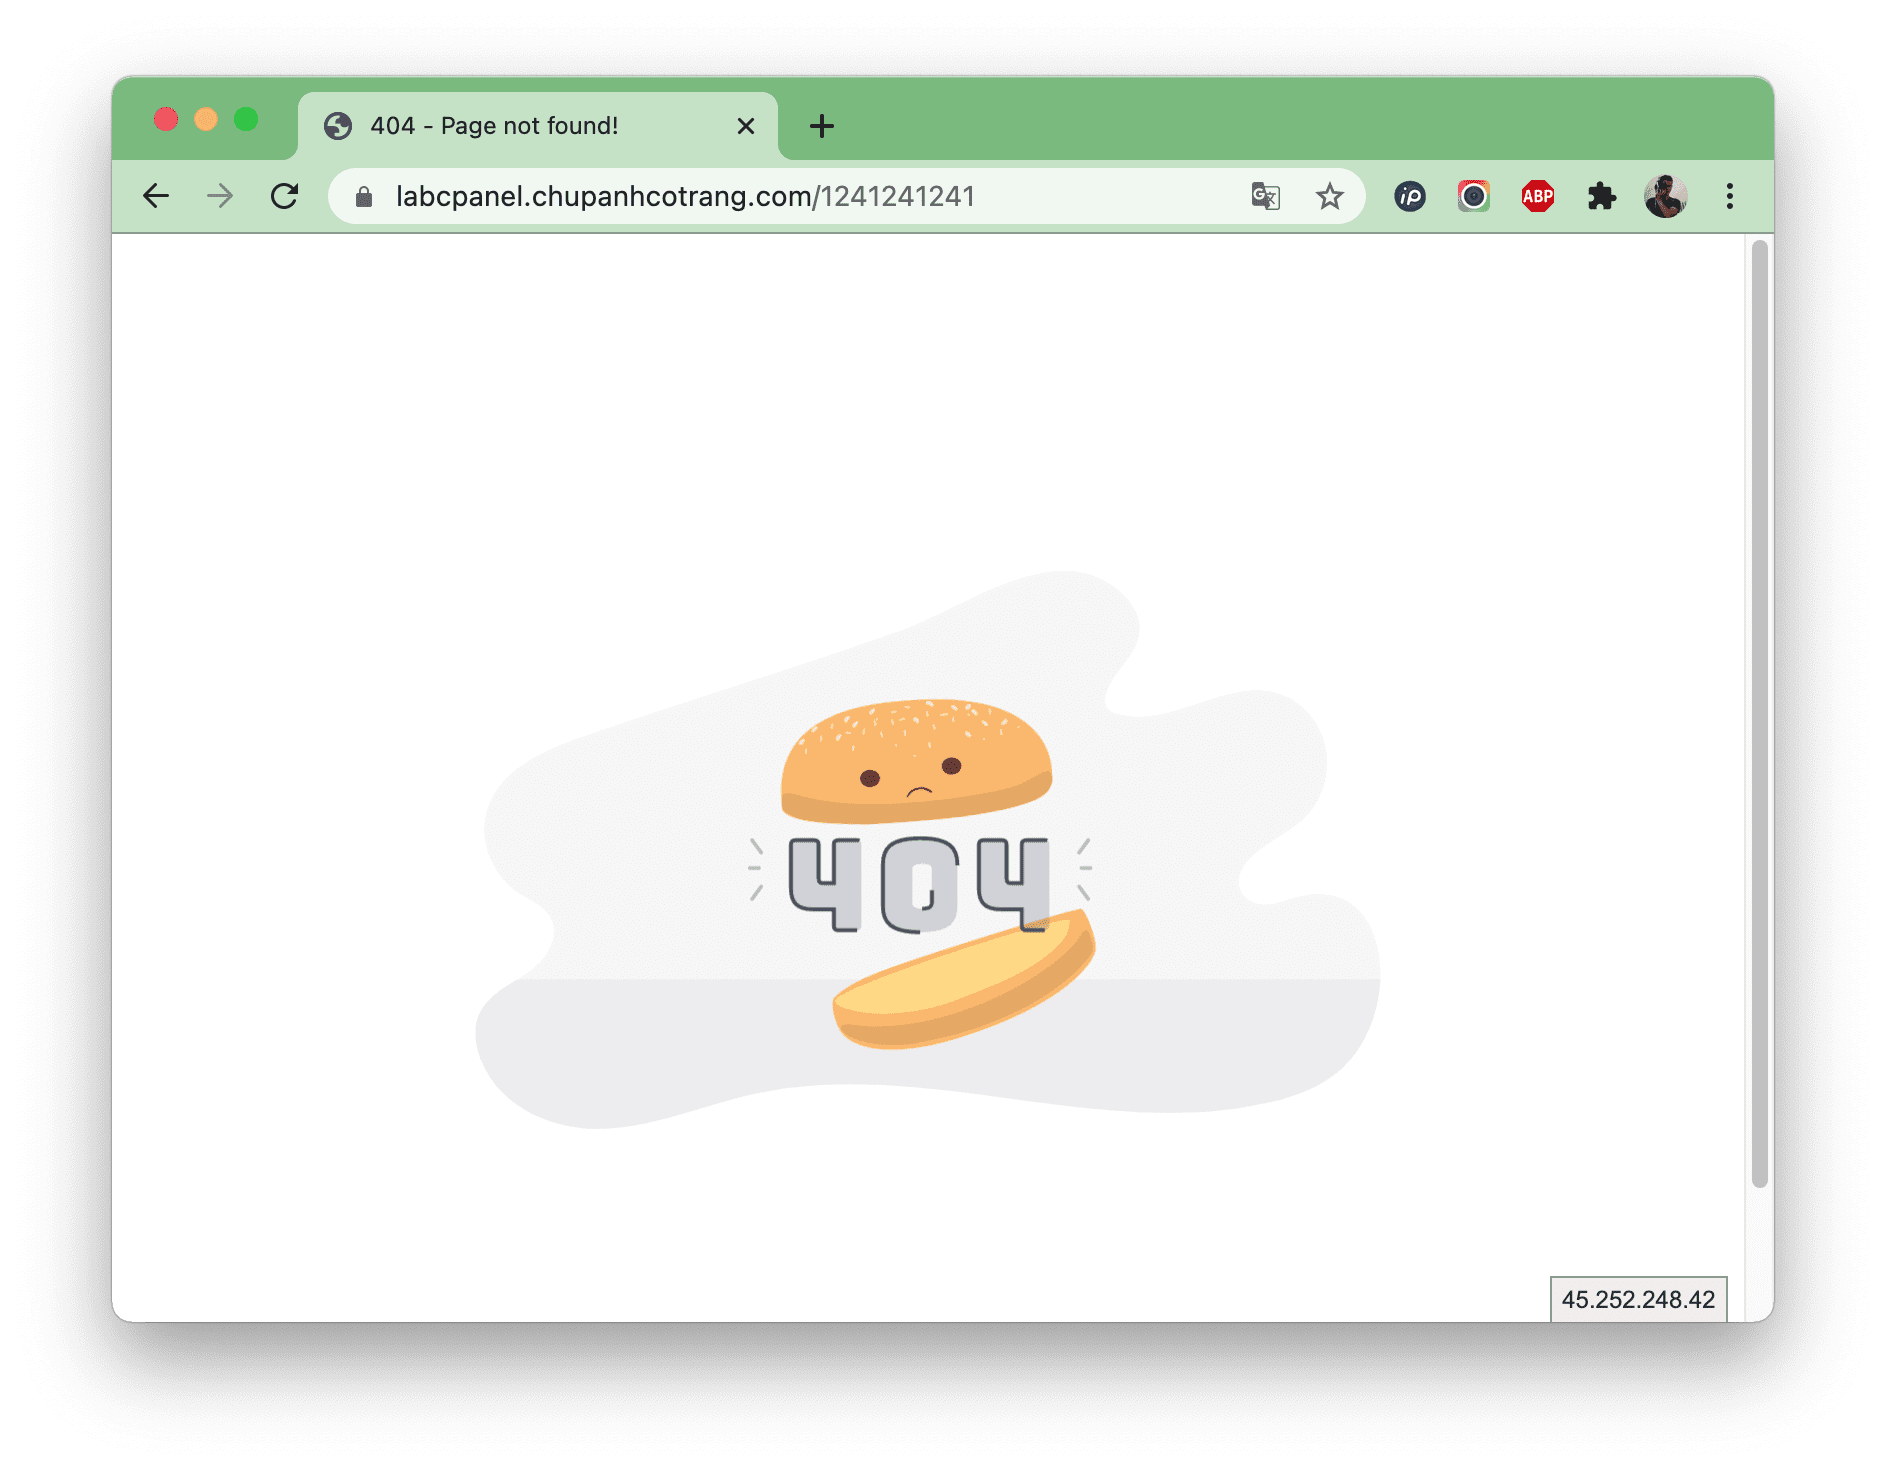
Now you can go to the browser and enter your domain name, then add / a path that doesn’t exist to check if you’ve done it correctly.
For example, here is my page: https://labcpanel.chupanhcotrang.com/1241241241
If your page is as follows, you have successfully created custom error pages with .htaccess.
III. Summary
Hope this article on creating custom error pages with .htaccess will help you decorate your website more vividly and boldly.
You can completely rely on this tutorial and create more error codes like 500, 503, 403, 408, 502, 504…etc.. Wish you success!
See more useful website tutorial articles at the following link:
If you need assistance, you can contact support in the ways below:
- Hotline 247: 028 888 24768 (Ext 0)
- Ticket/Email: You use the email to register for the service and send it directly to: support@azdigi.com .
- Click on the AZDIGI website to refer to the best hosting/VPS service in Vietnam.
About the author

Thạch Phạm
Đồng sáng lập và Giám đốc điều hành của AZDIGI. Có hơn 15 năm kinh nghiệm trong phổ biến kiến thức liên quan đến WordPress tại thachpham.com, phát triển website và phát triển hệ thống.