Nội dung
Besides the One-Click automatic WordPress installation feature on aaPanel, we should also learn how to install the WordPress source code manually to get a deeper understanding of the installation process.
Install WordPress on aaPanel manually
To install WordPress aaPanel manually, we follow these 4 steps.
Step 1: Access your aaPanel interface
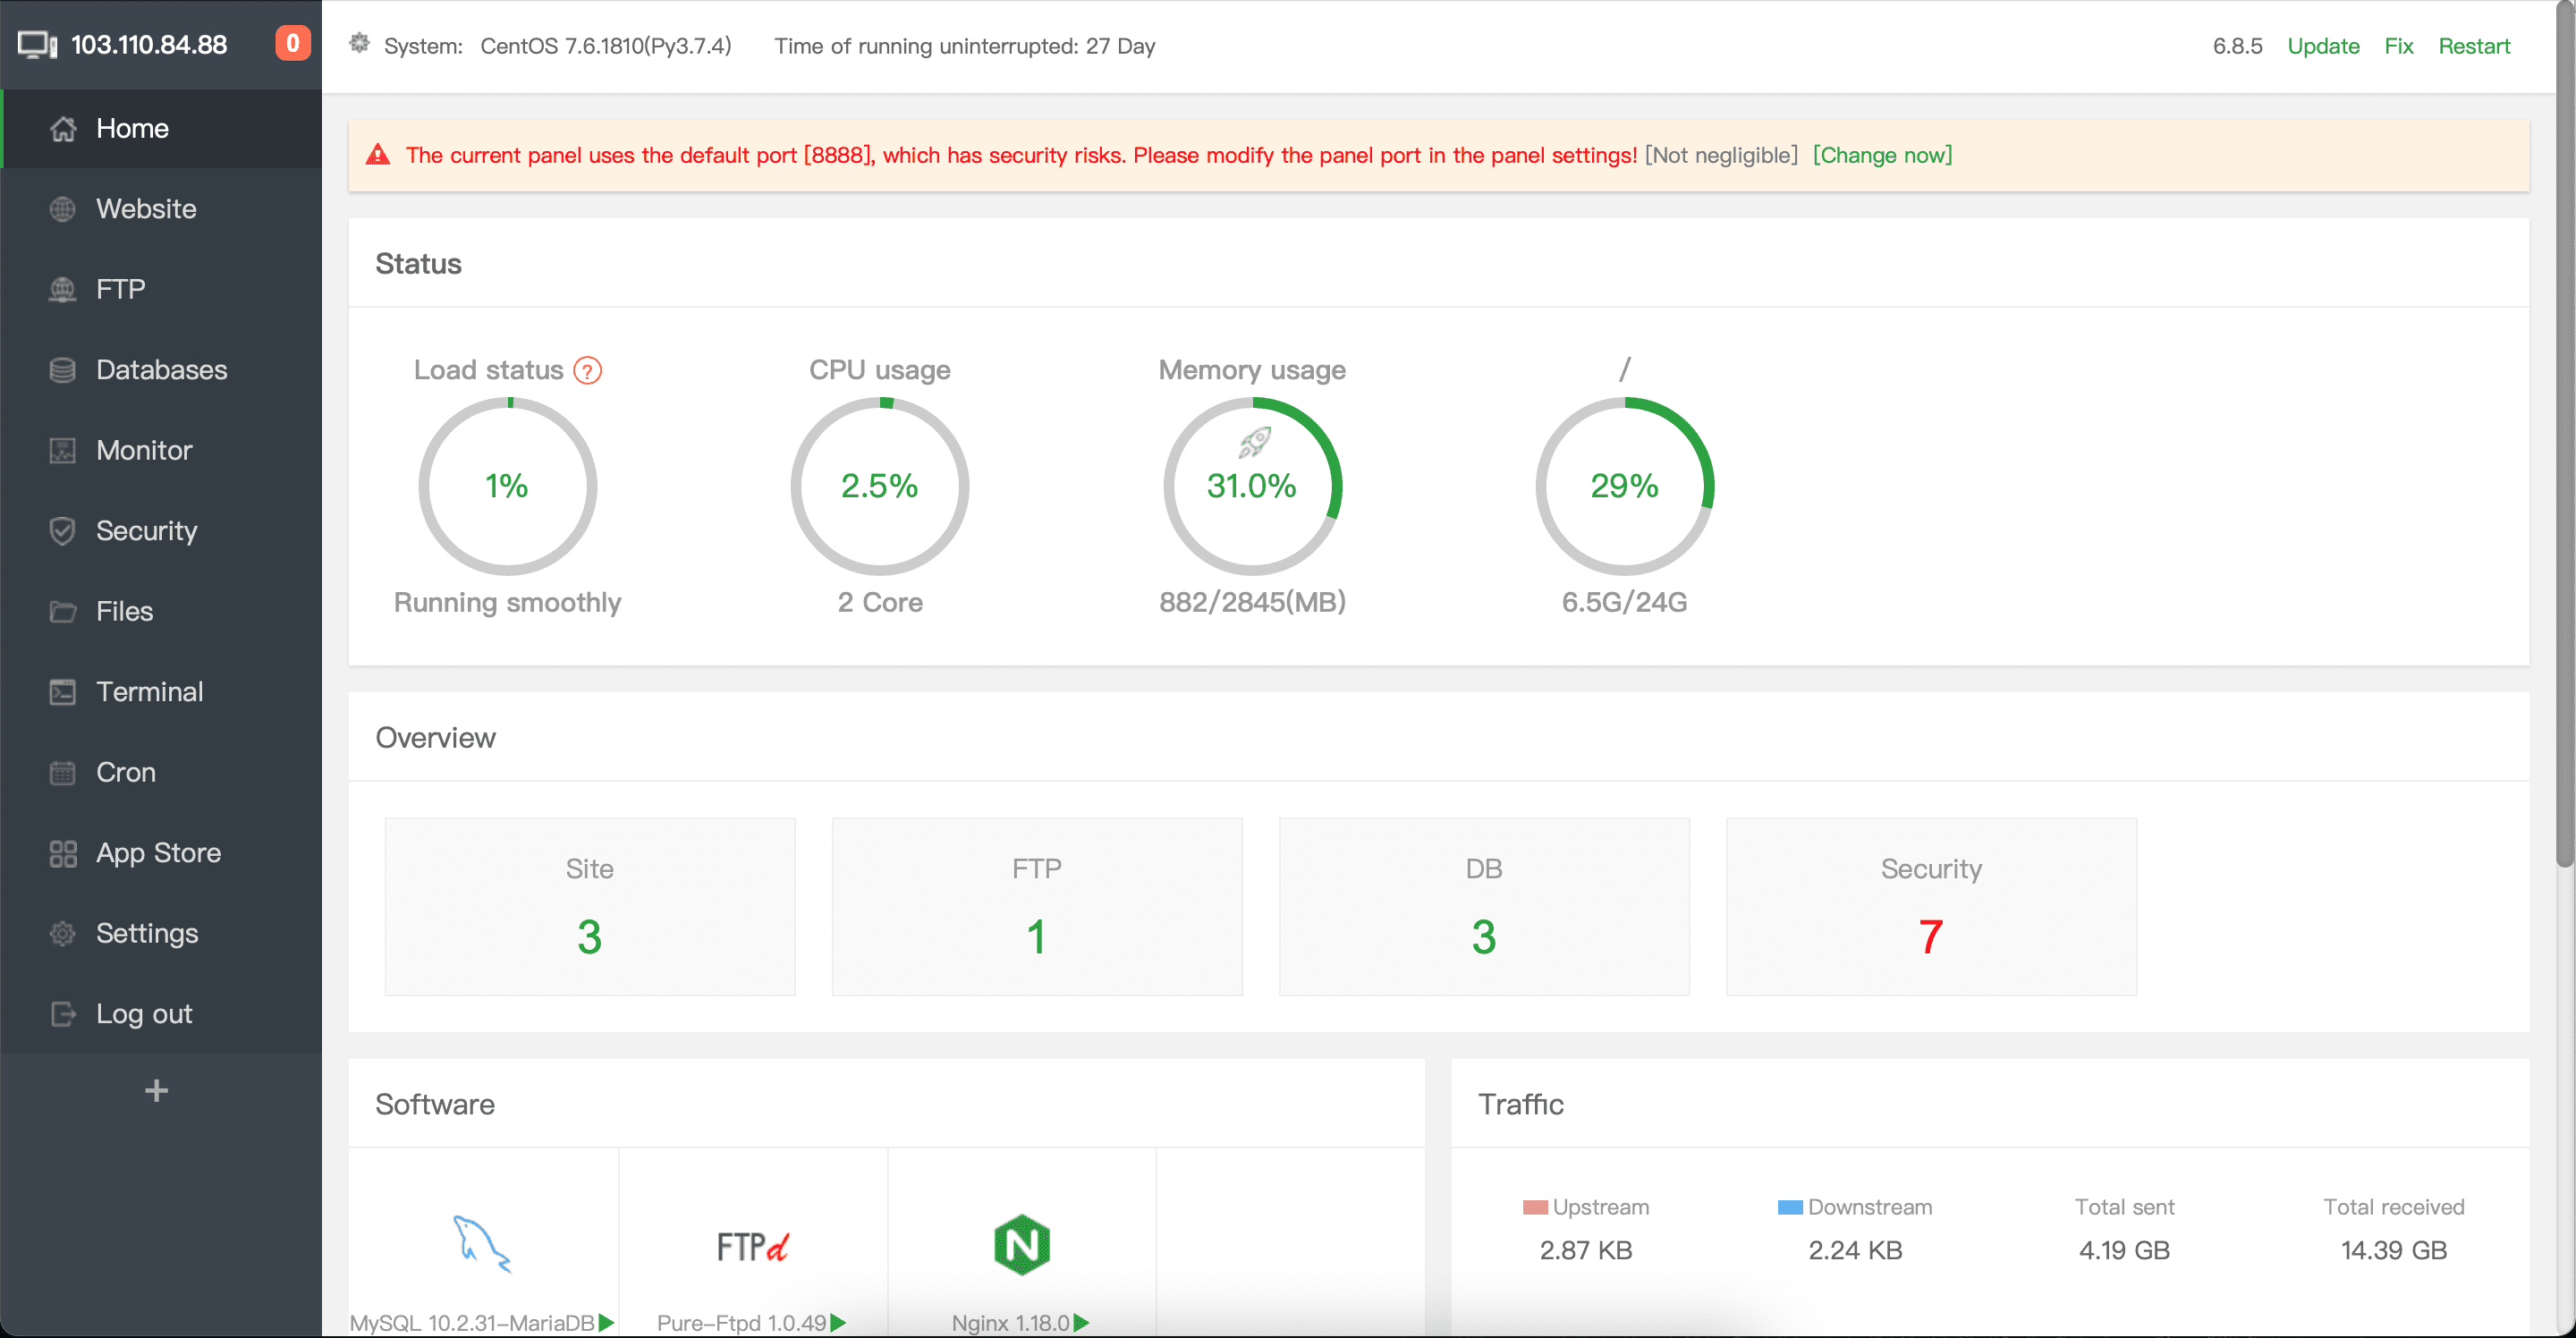
By default, the path to access the aaPanel interface will be https://IP:8888, replace IP as your aaPanel server IP address.
Below is an image of my aaPanel interface:
Step 2: Add a new website
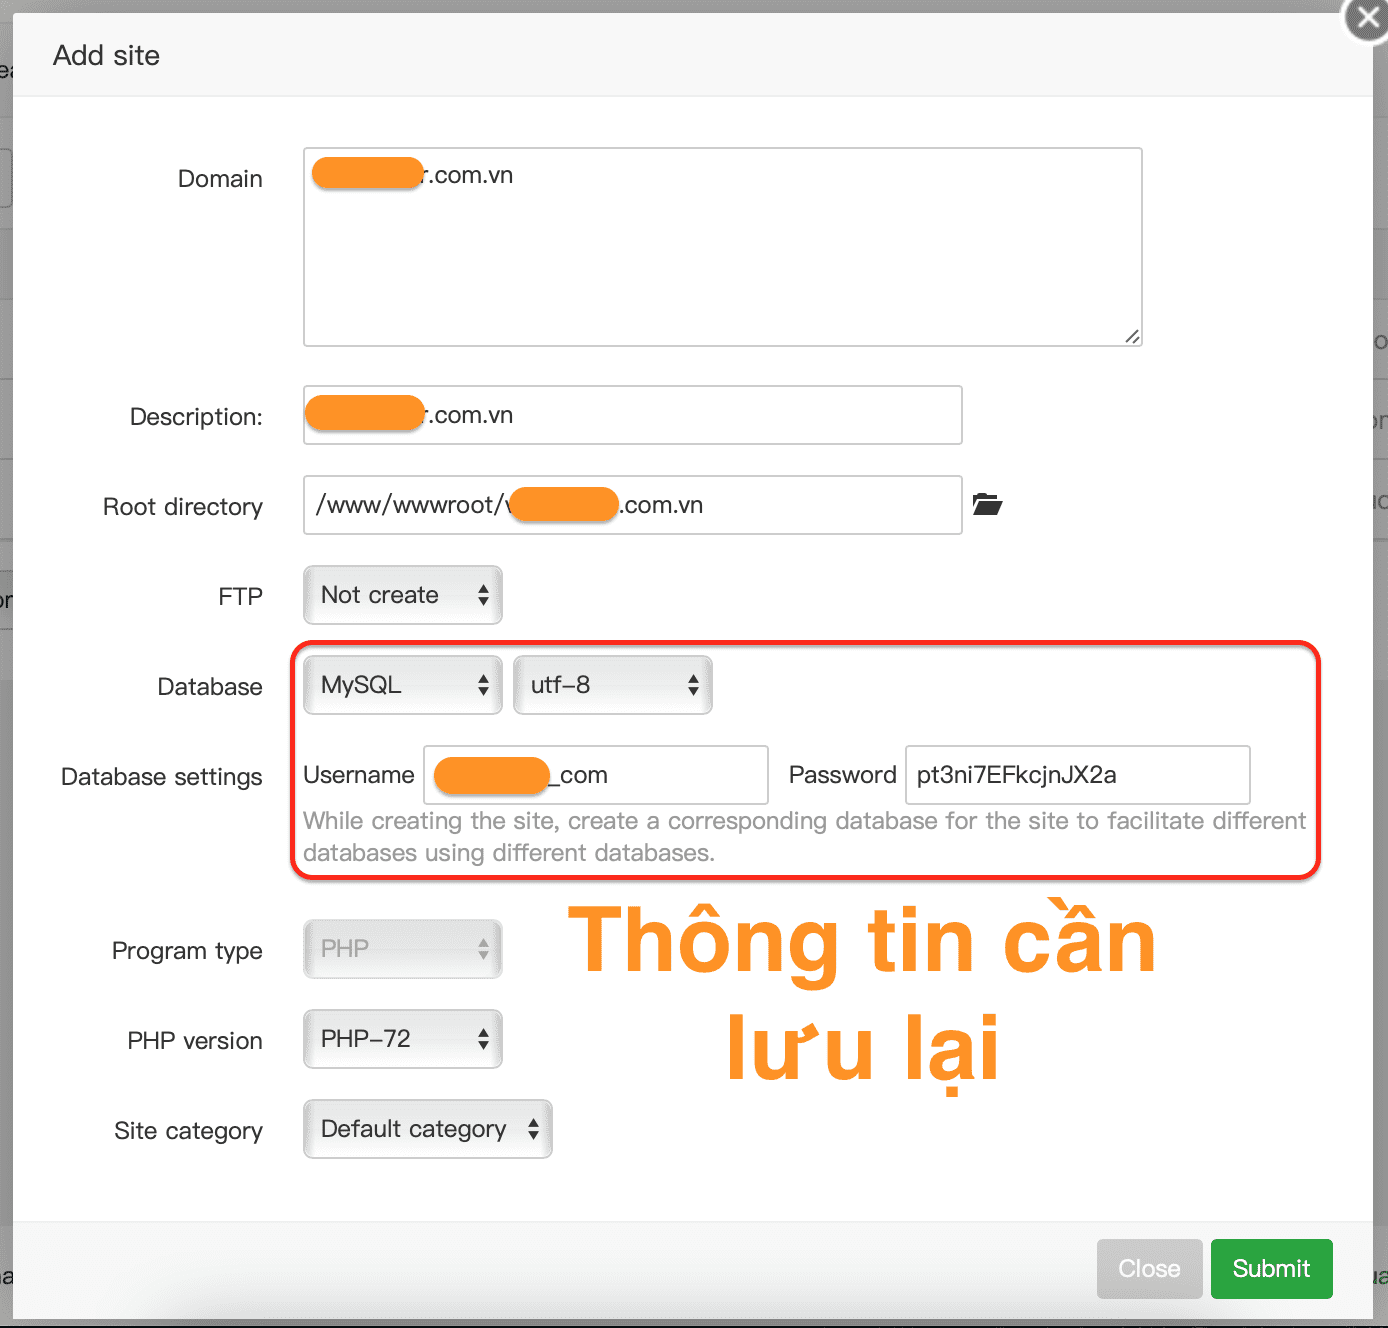
To add a new website, select the Website button in the left toolbar. And then select the Add site button as shown below:

At the pop-up window, you just need to enter the domain name in the first box. he following fields will auto-populate. In the Database section, select MySQL.
You need to save the Username and Password information for the following steps to use => select Submit to add the website.
After submitting, the database information to be saved will be displayed again for you to review. Database name and User will normally be identical.
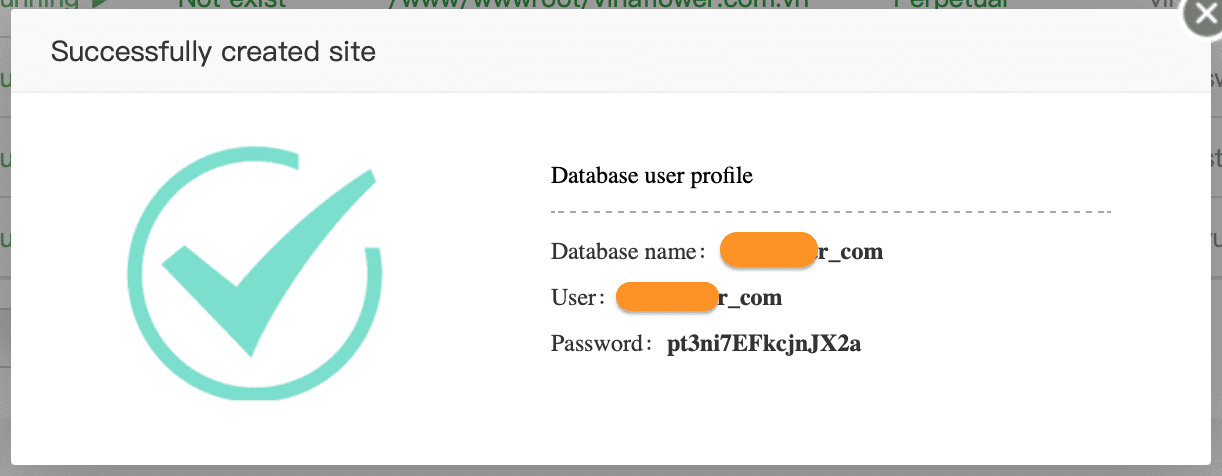
So the step of adding a website is done, now we need to put the WordPress source code on the newly created website.
Step 3: Upload the WordPress source code
You should pre-download the WordPress source code to your computer first by following the link below:
Then you return to the Website feature on the aaPanel interface and select the Root directory of the website you just added, as shown below:

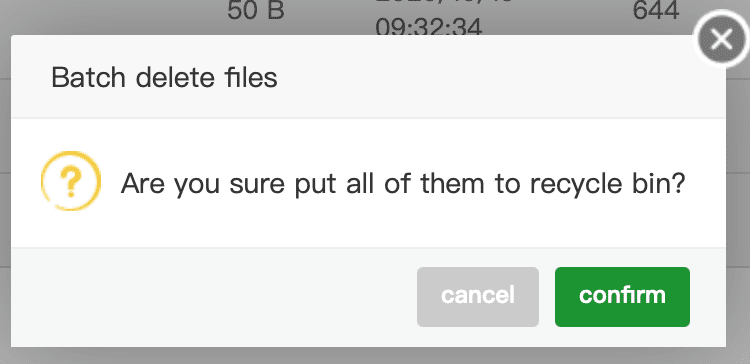
Then we will need to delete all the default files when creating a new website on aaPanel as follows:

Click confirm to confirm consent to delete.
After deleting all, we select Upload to upload the WordPress source code archive => select Start upload to upload.
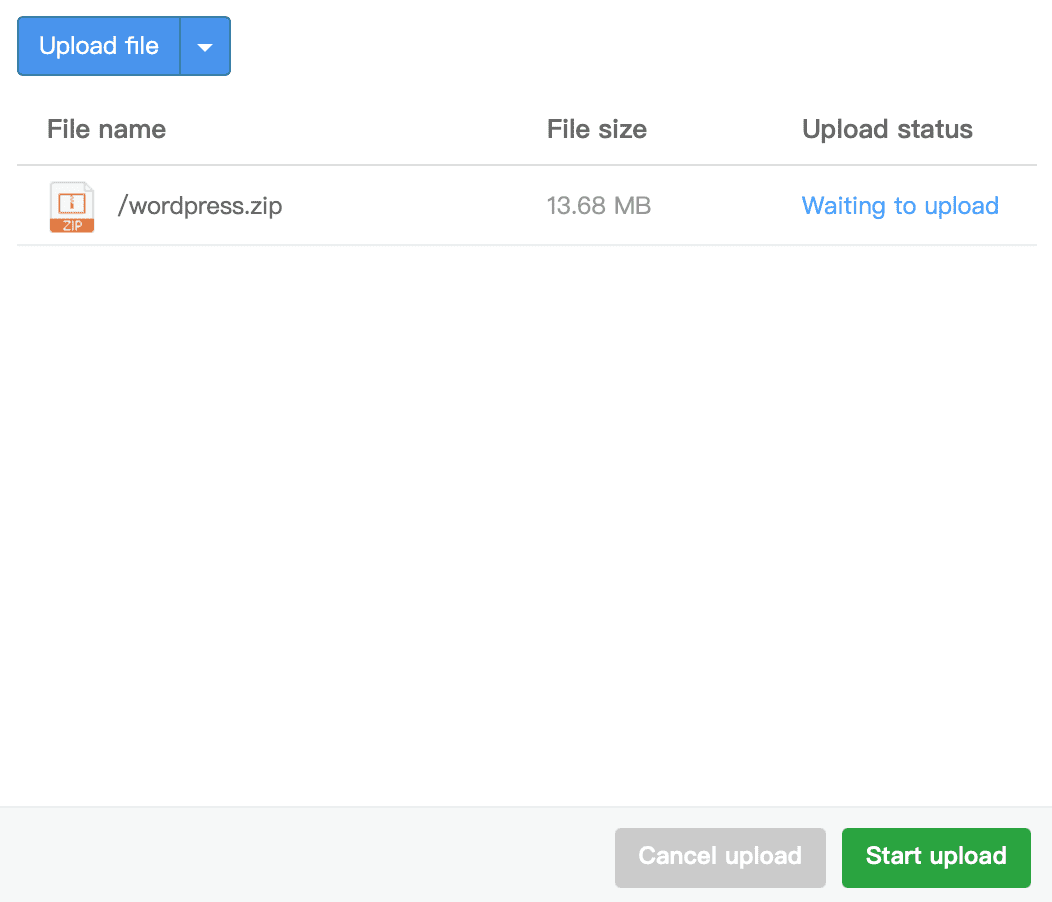
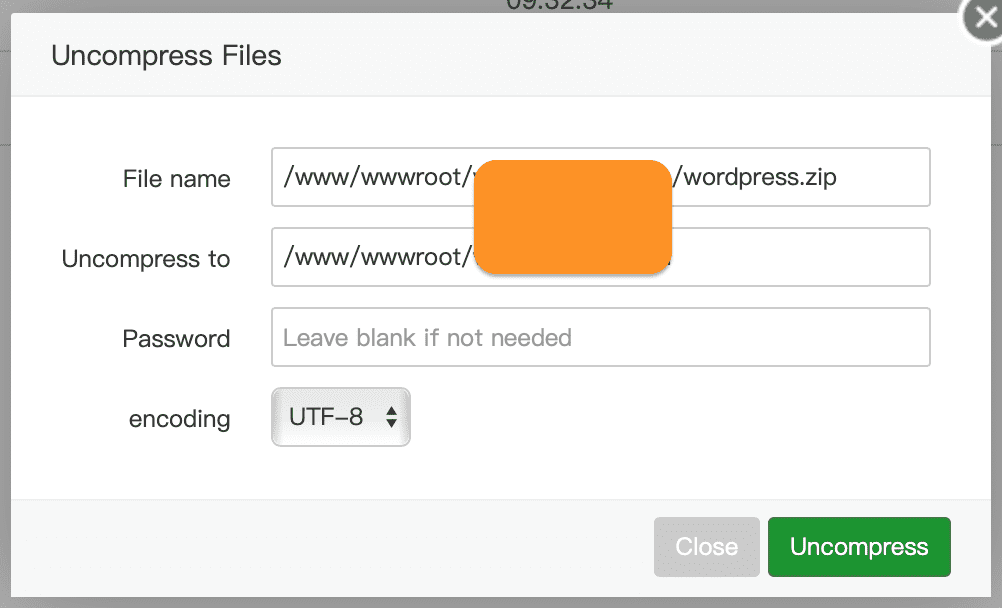
After completing the upload, we choose to Uncompress to extract the source code.

Continue to click Uncompress to start extracting.
Please wait a moment for the system to finish decompressing. You will then see a folder named wordpress created. Access this folder, select all existing files and select Cut as shown below:
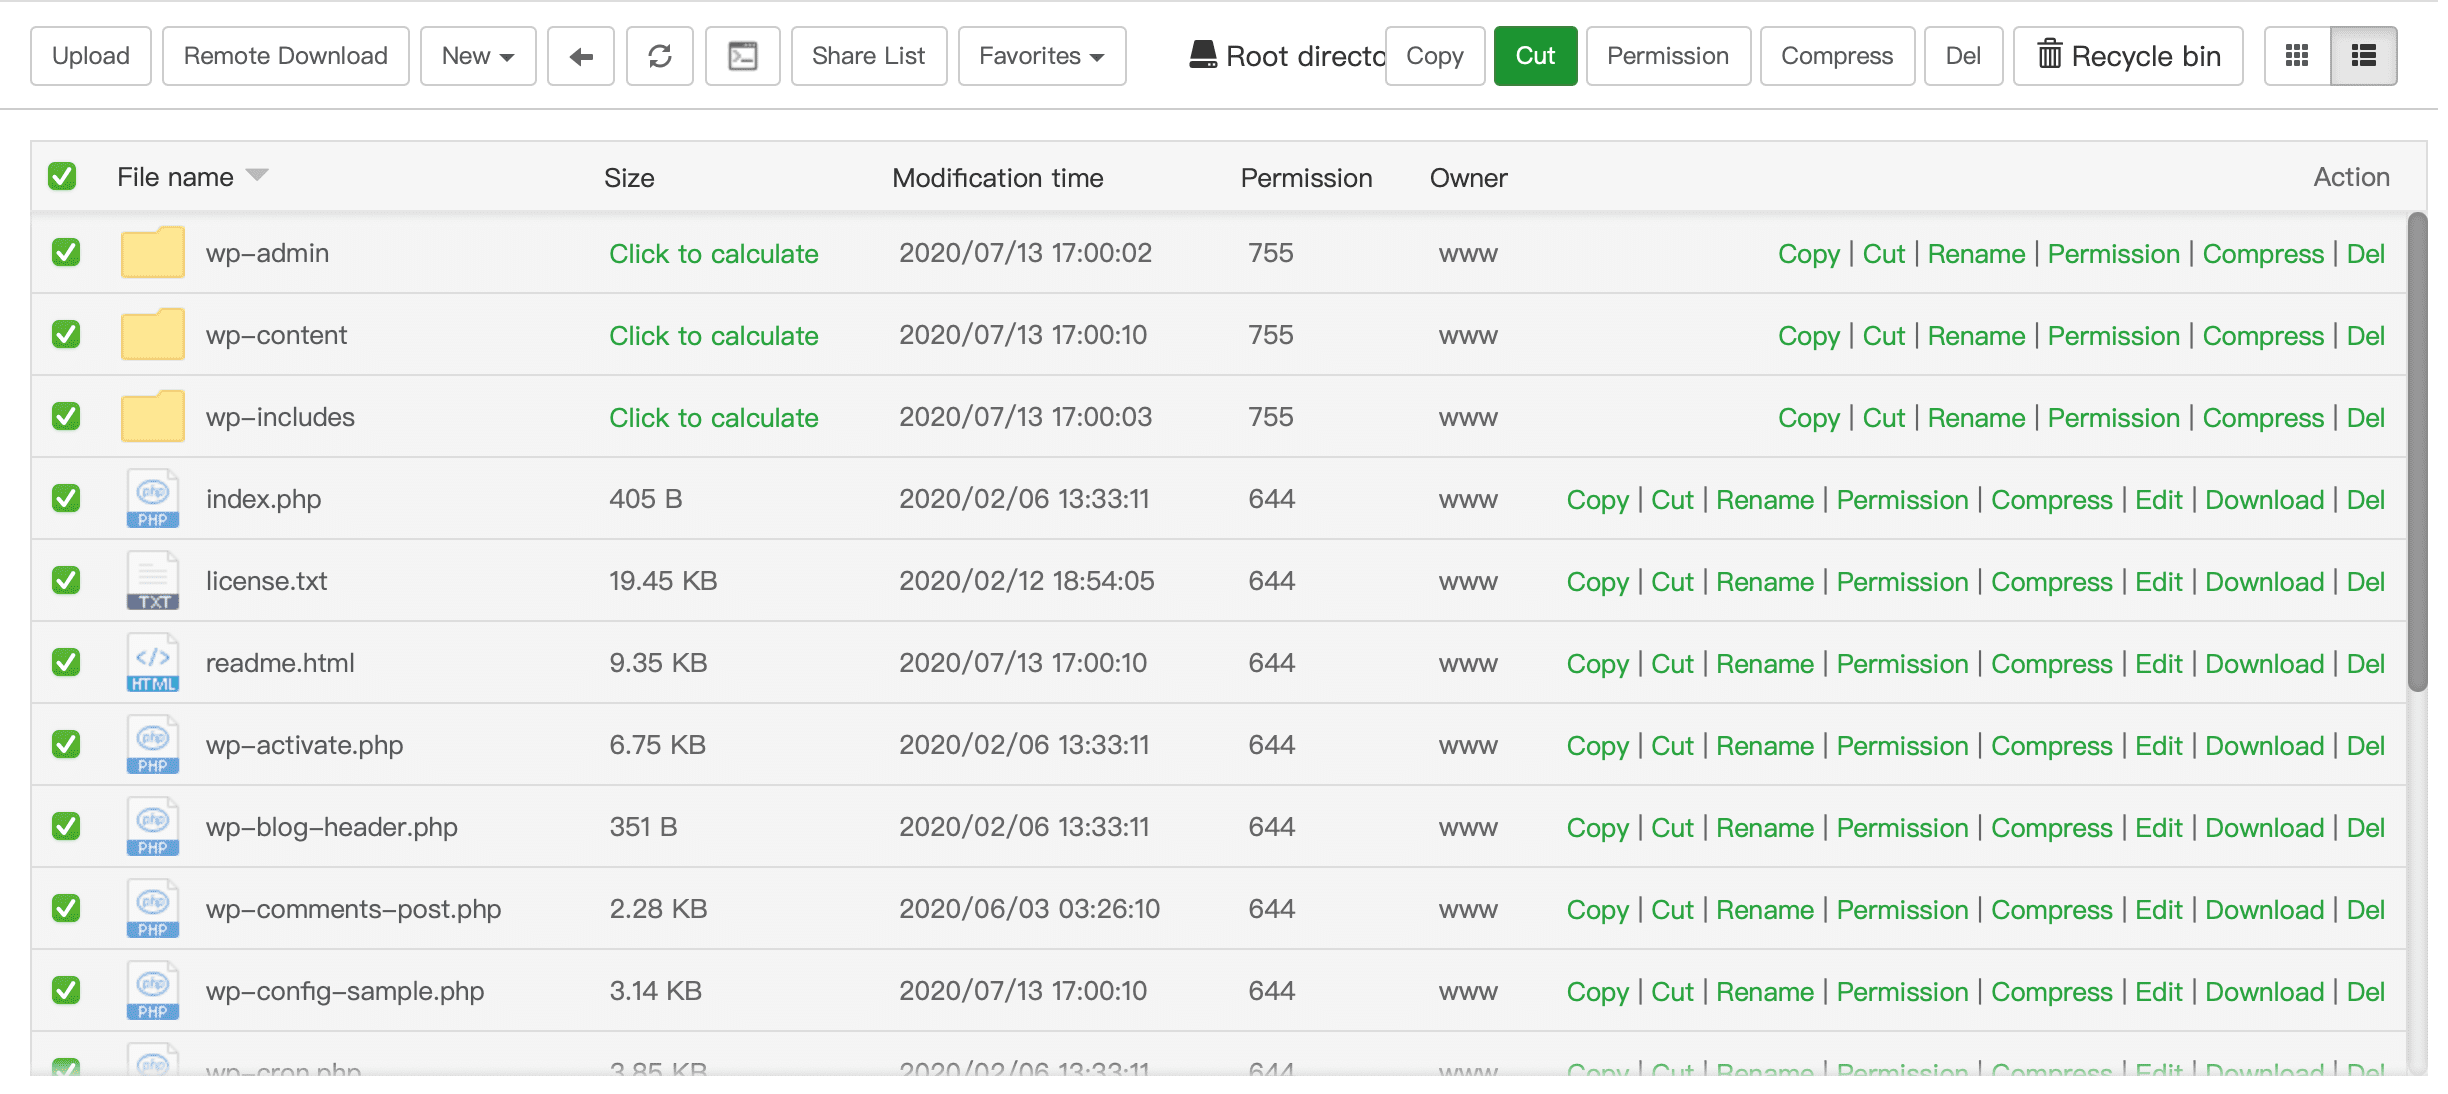
After selecting Cut, we go back to the original folder and select Paste all.

So we have completed the step of successfully putting the WordPress source code on aaPanel, we only have 1 more step to finish it all.
Step 4: Initial setup of the WordPress website
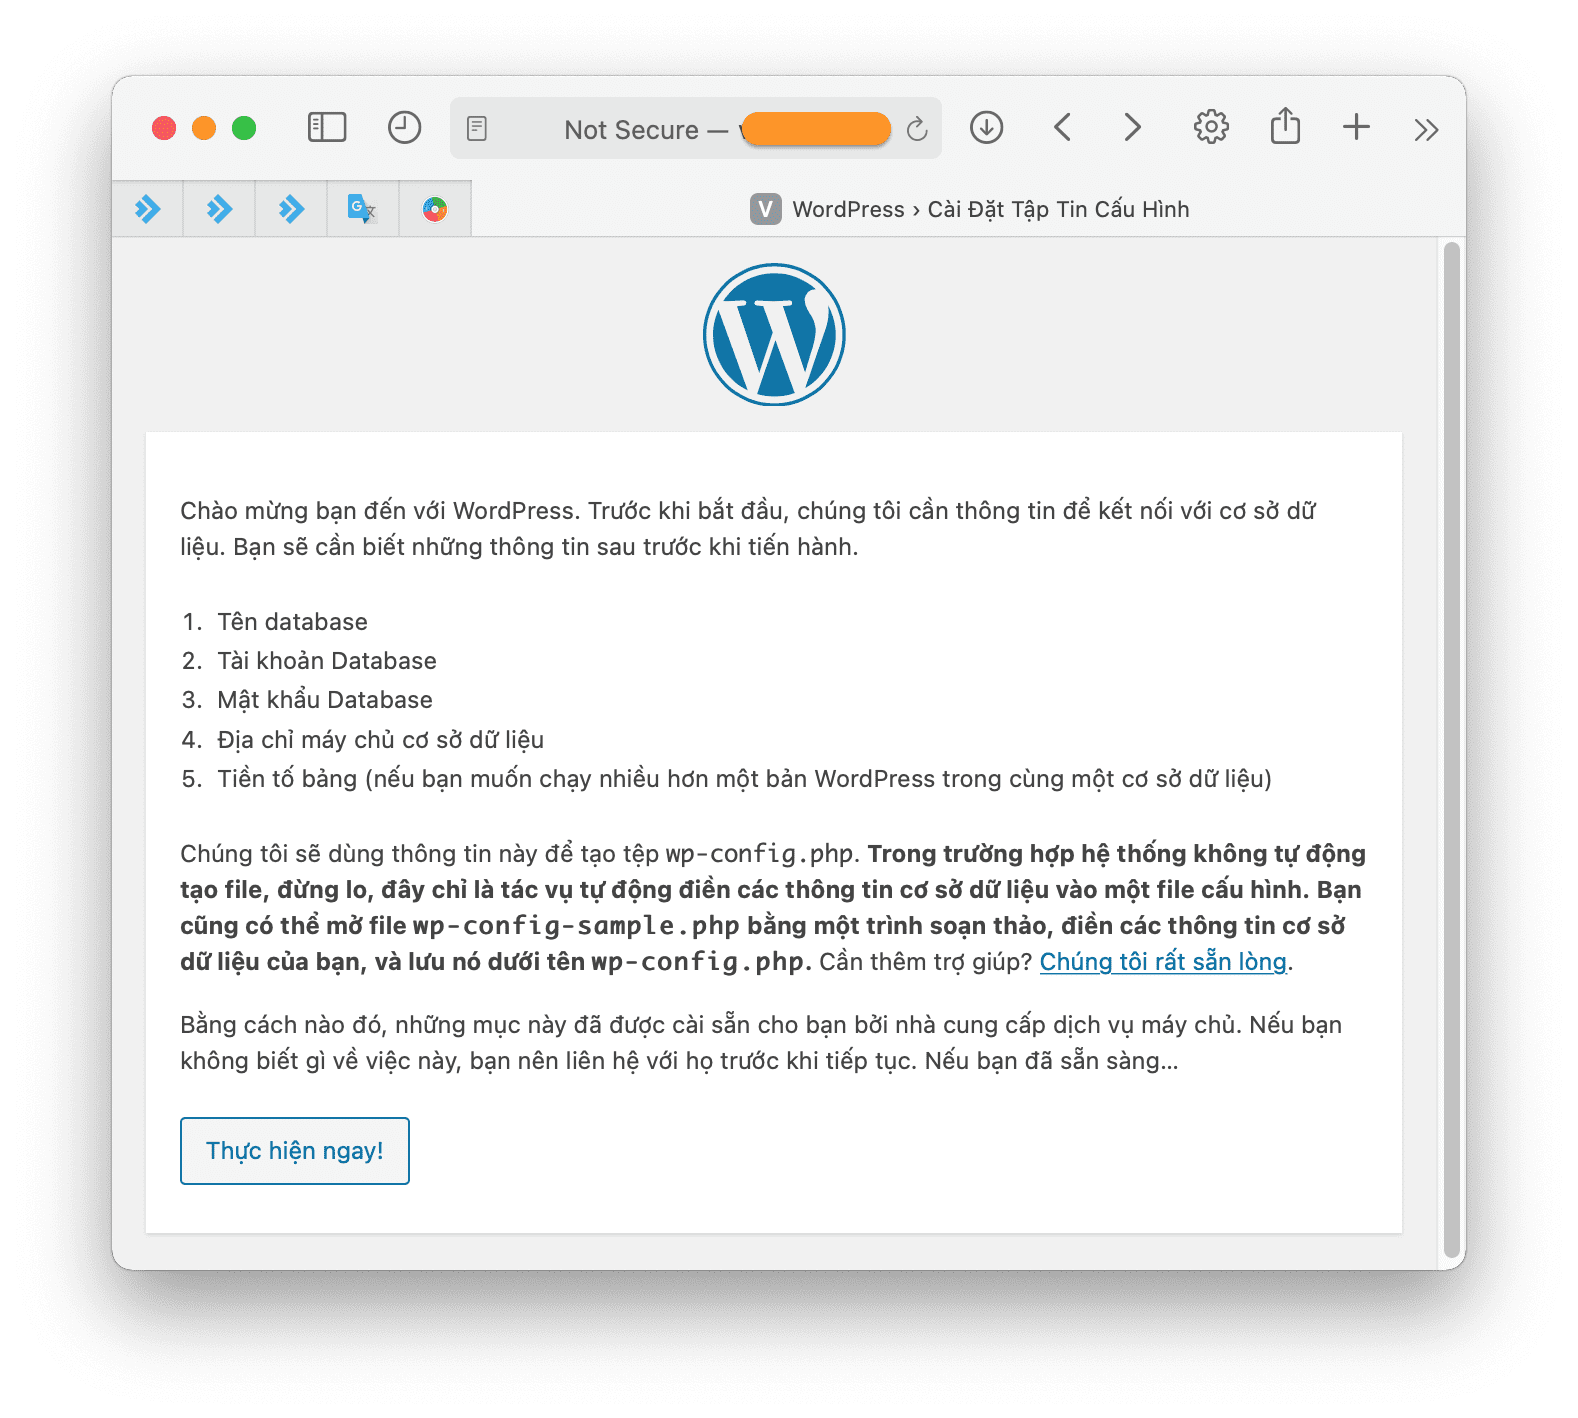
After completing the above 3 steps, you can access the website for the initial installation of your WordPress website. If you can’t access it, you may not have pointed the domain name to your aaPanel server IP, please contact your domain name provider immediately for support.
Click Do it now! on the first page.
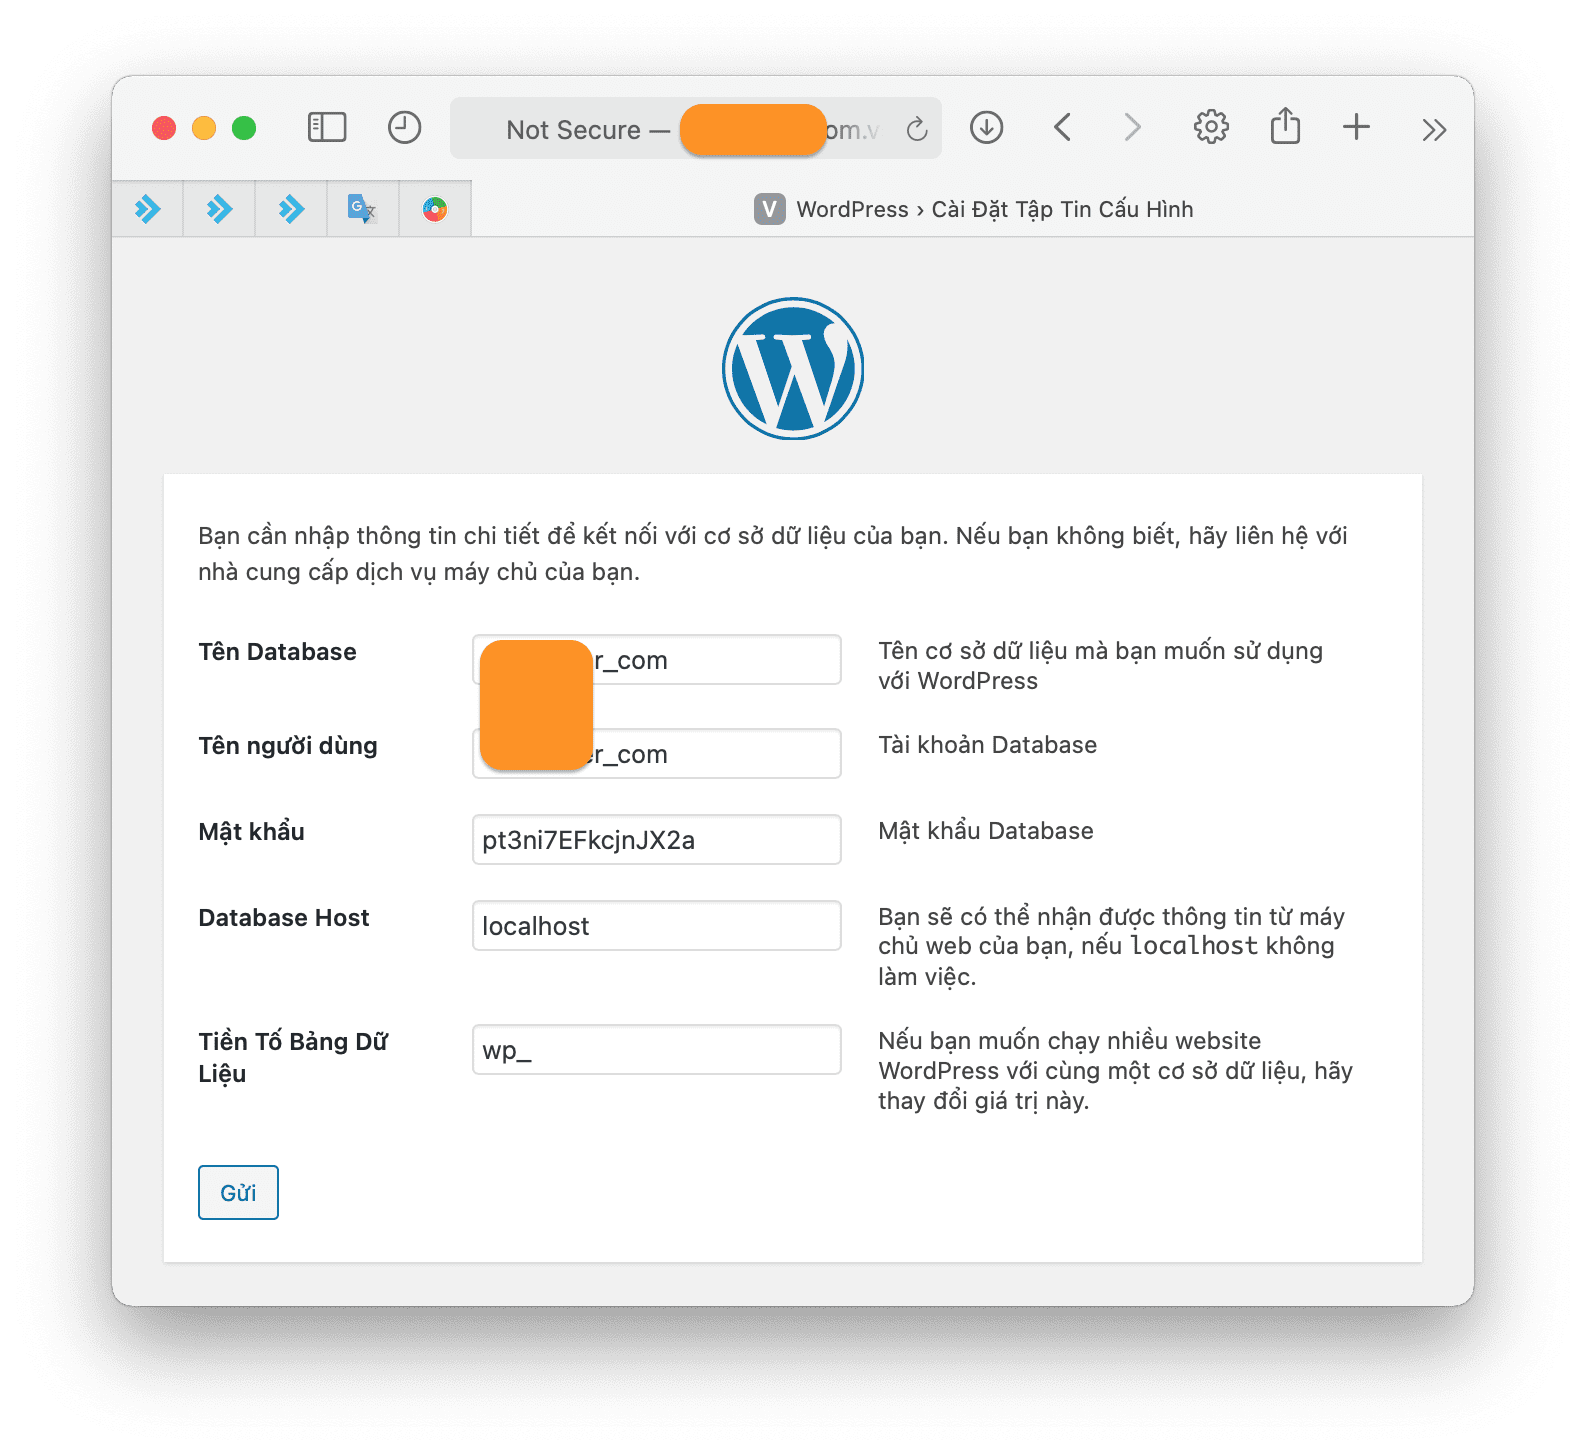
Then you will need to fill in the Database Name, Username, and Password corresponding to the information that you saved in step 2 => click Submit to continue.
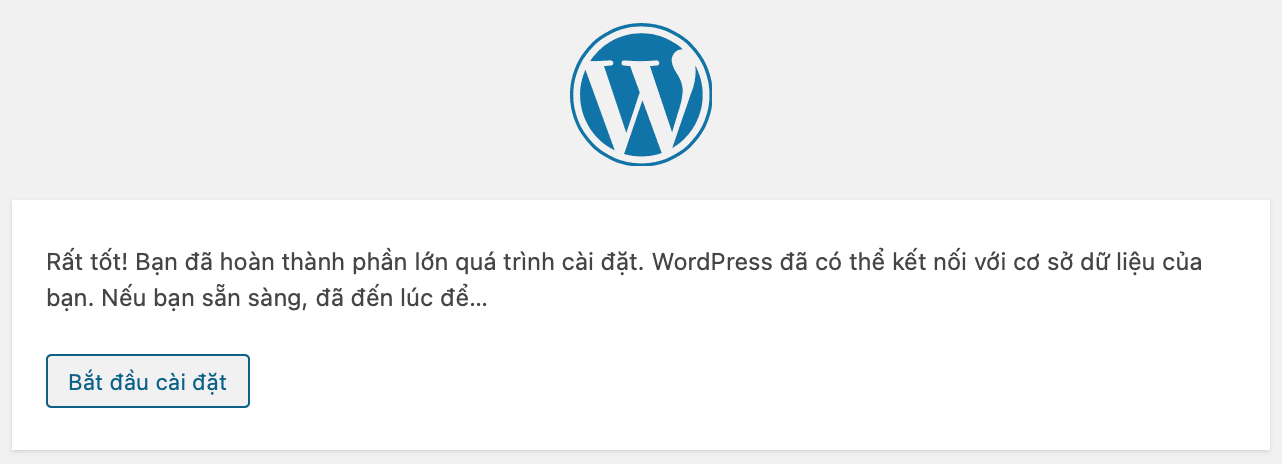
If all the information you entered is correct, you will receive the message below and click Start Installation to continue.
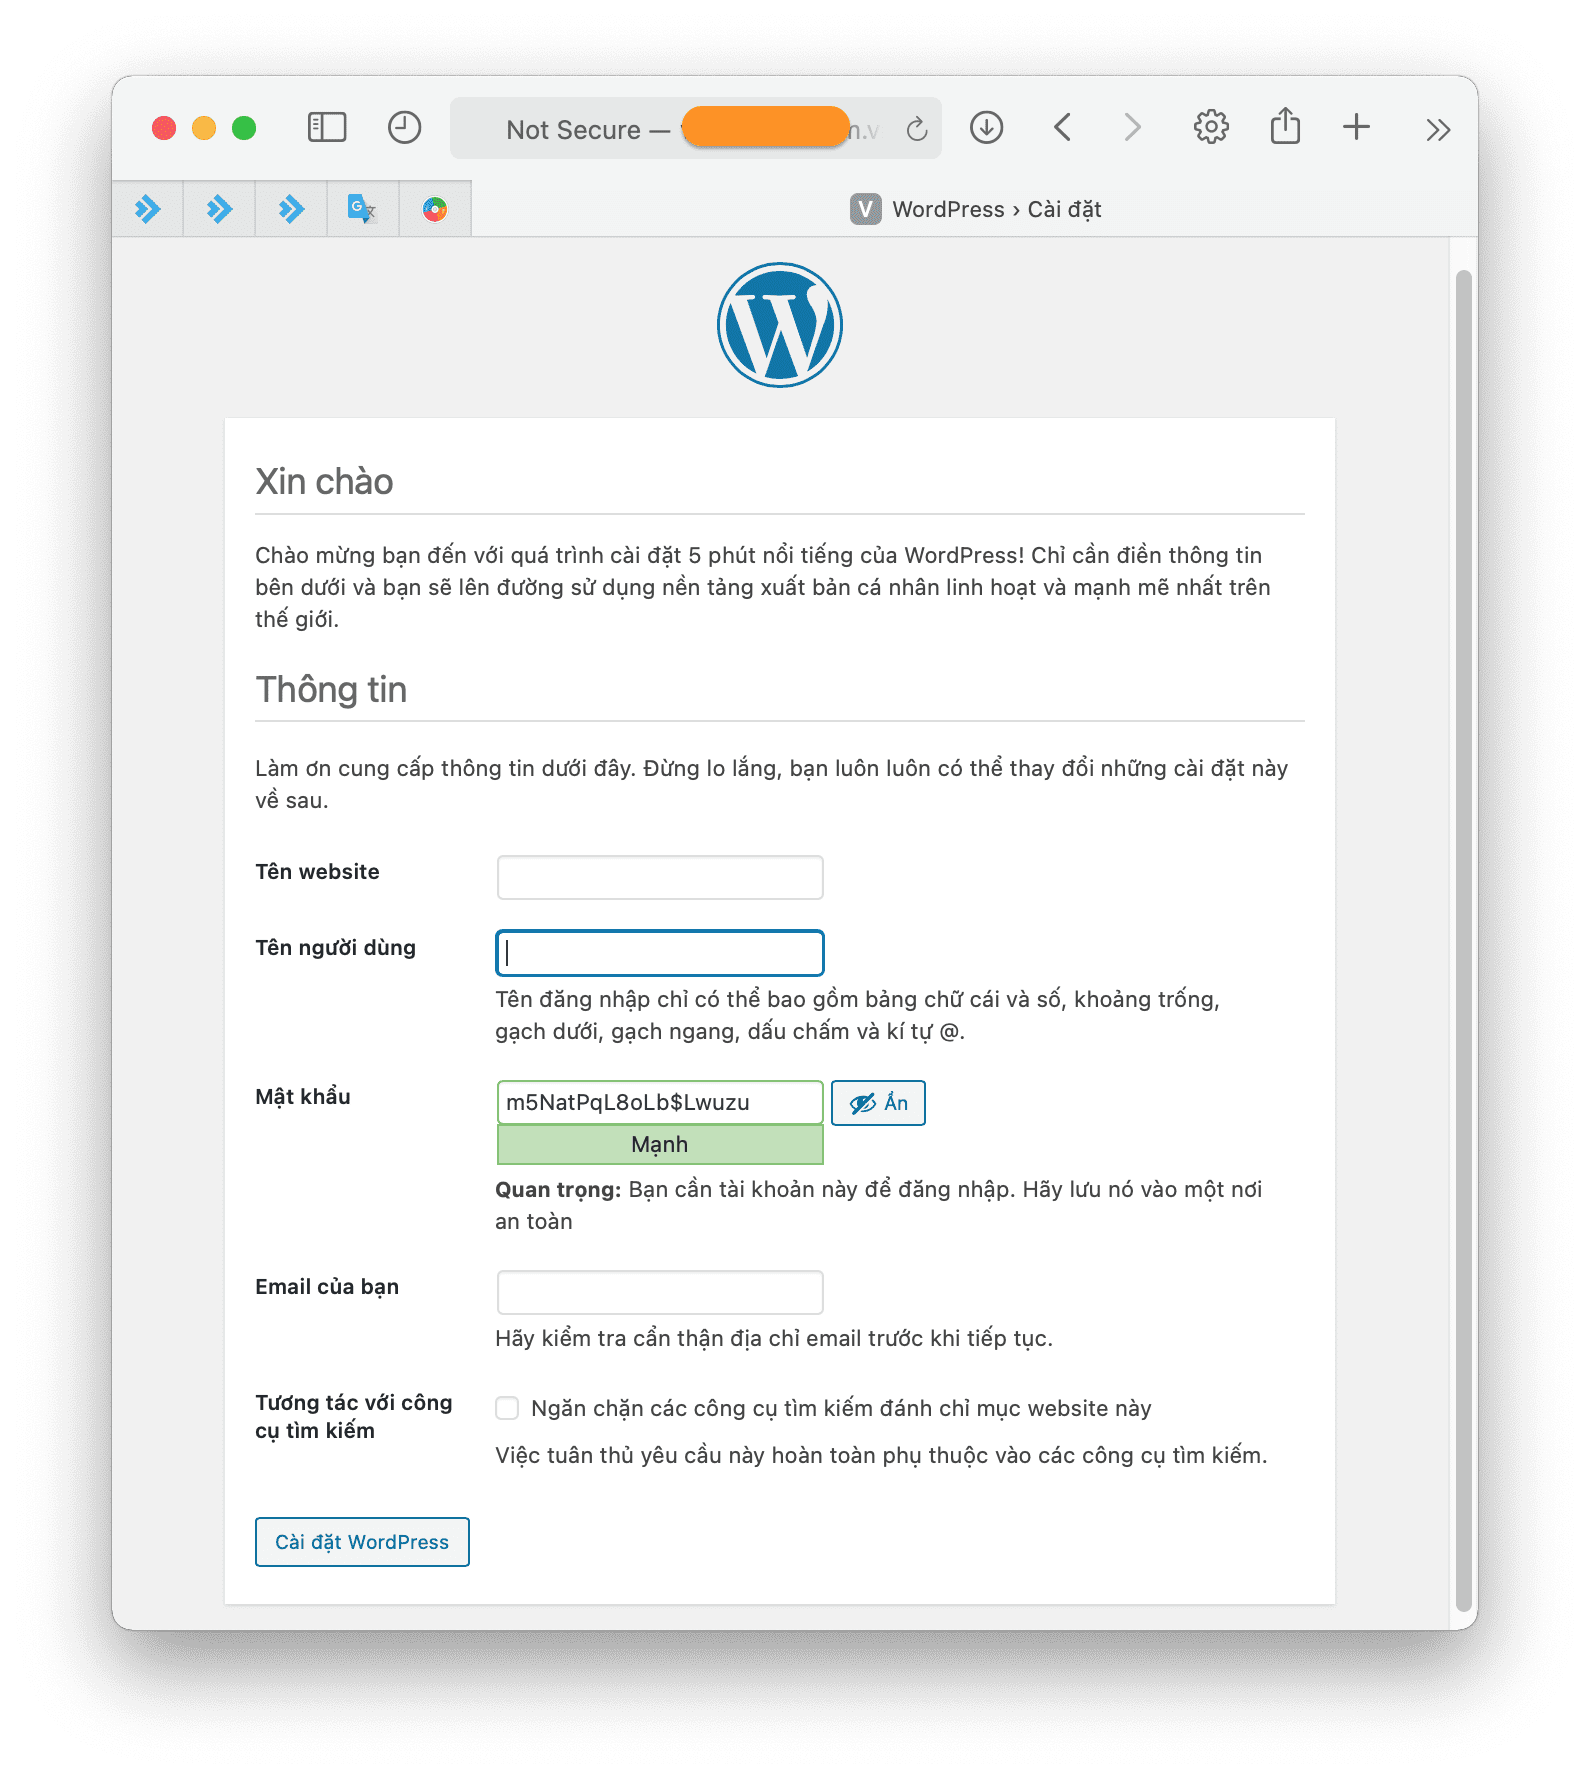
At this step, you enter the name of your website arbitrarily, the username will be the highest administrator account and you should not be admin because it will be easier to lose the password.
If your website is under development, you should tick the box Prevent search engines. And finally, click Install WordPress.
Please wait a moment, you will be taken to the login page to fill in the username and password you saved earlier.
So we have completed all the steps of installing WordPress aaPanel manually.
Summary
So AZDIGI has shown you to complete the steps of installing WordPress on aaPanel manually. Although it is a bit difficult compared to the automatic installation method, it will be very convenient when you have a problem with your website, giving you one more way to install WordPress when you cannot use the automatic installation method.
Hope this article will be of help to you.
Wishing you success!

