
In today’s tutorial, AZDIGI will help you install and configure CSF (Config Server Firewall) on CentOS 7 simply and easily.
I. What is CSF (Config Server Firewall)?
Config Server Firewall (CSF) is a firewall application for Linux servers. CSF can also detect unauthorized logins or intrusions for services such as SSH, SMTP, IMAP, Pop3, the su command, and many more. CSF can detect when someone is logging into the server via SSH and alert you when this user tries to use the su command on the server to use higher commands as if using root.
CSF also checks and prevents invalid logins on mail services (Exim, IMAP, Dovecot, uw-imap, Kerio), OpenSSH servers, Ftp servers (Pure-ftpd, vsftpd, Proftpd). CSF is a very good security solution for hosting servers and can be integrated into the user interfaces (UI) of WHM/cPanel, DirectAdmin and Webmin.
However, in this tutorial we only install CSF on the CentOS 7 server and operate it entirely by command.
II. Install and configure CSF (Config Server Firewall) on CentOS 7
To install and configure CSF (Config Server Firewall) on CentOS 7, we need to do the following 5 steps.
Step 1: SSH into your DirectAdmin system
To install and configure CSF (Config Server Firewall) on CentOS 7, we first need to SSH into your VPS/server with root privileges. If you don’t know how to SSH into your VPS/Server, you can refer to the following tutorial:
After successfully SSH, we continue with step 2 to perform the CSF (Config Server Firewall) installation commands.
Step 2: Install CSF (Config Server Firewall) on CentOS 7
To install CSF (Config Server Firewall) on CentOS 7, we execute the following commands:
yum install wget perl-libwww-perl.noarch perl-Time-HiRes -y
cd /usr/src/
wget https://download.configserver.com/csf.tgz
tar -xzf csf.tgz
cd csf
sh install.sh
Explanation of the above commands:
- Command 1: Since CSF is based on Perl, we need to install the Perl library on the server first.
- Command 2: Move into the
srcfolder. - Command 3: Download the CSF installer.
- Command 4: Extract the CSF installer.
- Command 5: Move into the newly extracted
csffolder. - Command 6: Execute the csf settings file named
install.sh.
Below is the image after the installation is complete.
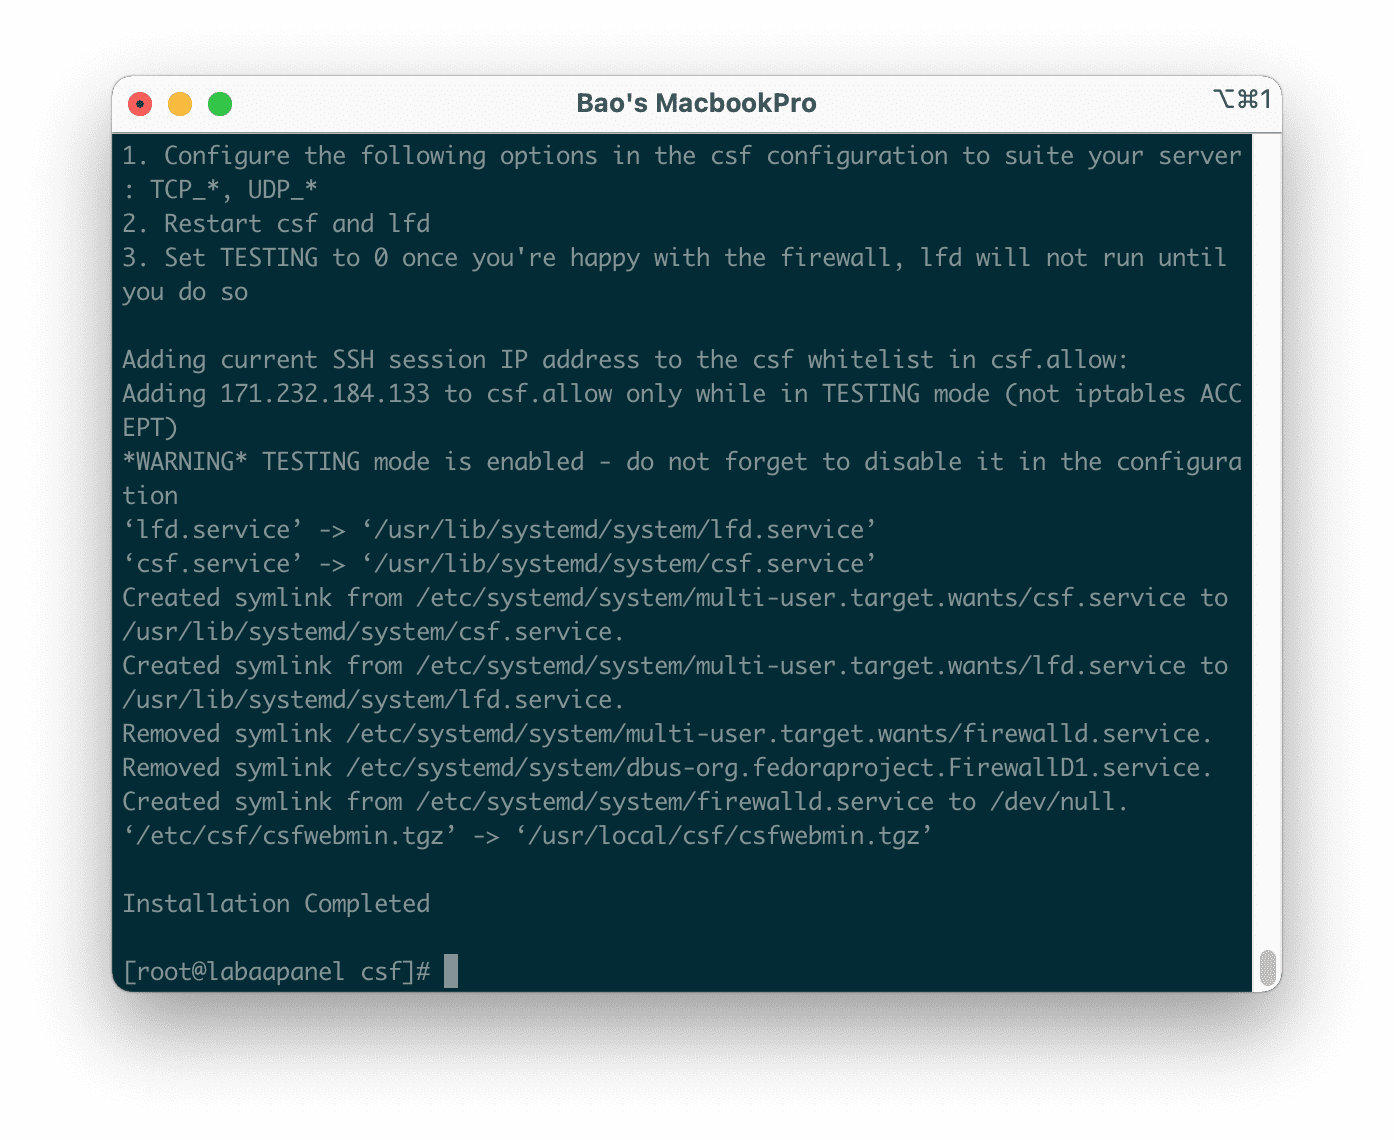
After the installation, we continue with step 3 to check if the CSF is working.
Step 3: Check if CSF is working
Now you should check if CSF is really working on this server by executing the following two commands:
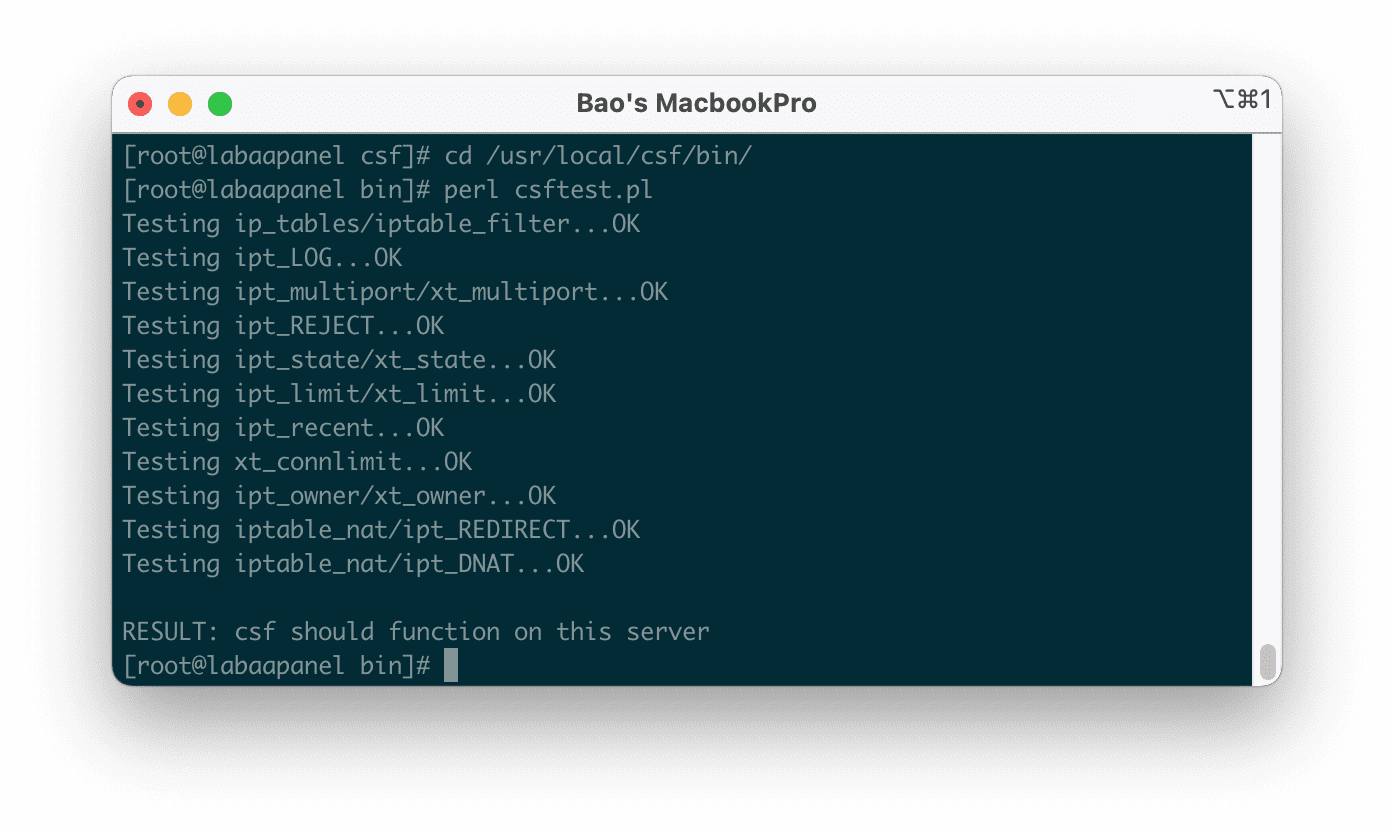
cd /usr/local/csf/bin/
perl csftest.pl
Explanation of the above 2 commands:
- Command 1: Move to the
/usr/local/csf/bin/folder. - Command 2: Execute the
csftest.plfile.
If you get a message like below, it means that CSF is working without any problems.
RESULT: csf should function on this server
Below is my result:
So we are done with the installation of CSF on CentOS 7. Next, you need to configure CSF so that CSF can work properly.
Step 4: Configure CSF on CentOS 7
Before entering the CSF configuration process on CentOS, the first thing you must know is that the CentOS 7 operating system has a default firewall application called firewalld. You have to stop firewalld and remove it from OS startup with the following two commands:
systemctl stop firewalld
systemctl disable firewalld
Then go to the CSF configuration directory at the /etc/csf/ path and edit the csf.conf file using the vi editor with the command:
cd /etc/csf/
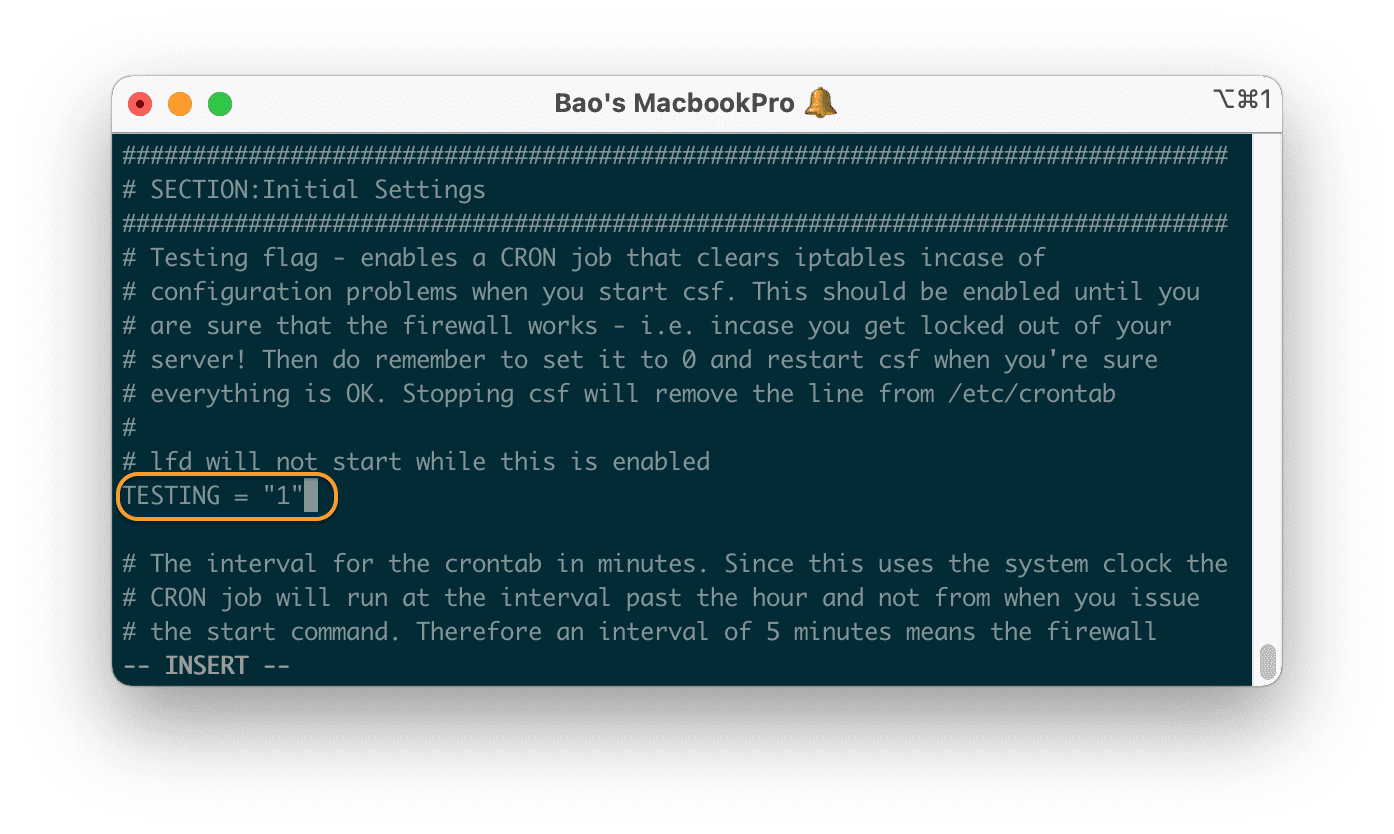
vi csf.conf
You need to edit the TESTING configuration from 1 to 0, then move to line 139 and check TCP_IN see if your current SSH port is available. By default, when installing CSF, the SSH port is automatically opened, even if you have changed the port.
Now start the CSF and LFD with the following commands:
systemctl start csf
systemctl start lfd
And then enable the csf and lfd services that are started when CentOS starts:
systemctl enable csf
systemctl enable lfd
You can now view all CSF rule (rules) with the following command:
csf -l
So we have completed the installation and configuration of CSF (Config Server Firewall) on CentOS 7.
If you want to know the commands from advanced candlestick basics to use CSF fully, you can refer to the following article:
III. Summary
Hopefully, through this article, you have understood the settings and configuration of CSF (Config Server Firewall) on CentOS 7. With the additional installation of CSF has greatly increased the security of your server, even with the default configuration.
Hope this article will be of help to you. Wishing you success! See more useful articles about VPS at the following link:
If you need assistance, you can contact support in the ways below:
- Hotline 247: 028 888 24768 (Ext 0)
- Ticket/Email: You use the email to register for the service and send it directly to: support@azdigi.com .
About the author

Thạch Phạm
Đồng sáng lập và Giám đốc điều hành của AZDIGI. Có hơn 15 năm kinh nghiệm trong phổ biến kiến thức liên quan đến WordPress tại thachpham.com, phát triển website và phát triển hệ thống.