SSL certificate service before being used must be verified, depending on the type of certificate, there will be different verification methods. Verification is divided into 2 types:
- DV (Domain Validation): Common SSL services such as Comodo PositiveSSL, RapidSSL,… These types of certificates will be verified through the identity validation of the domain name.
- EV (Extend Validation): Extended SSL services for businesses like GoGetSSL BusinessTrust EV. These types of certificates will be verified through business and domain identity validation.
And in this article, AZDIGI will show you through verifying the DV SSL certificate for the Comodo PositiveSSL SSL service registered at AZDIGI.
Register and payment
SSL service registered at AZDIGI can be used at any other provider server.
If you don’t have an SSL certificate service at AZDIGI, you can apply for a Comodo PositiveSSL certificate at https://my.azdigi.com/store/chung-chi-ssl/gogetssl-dung-thu-90-ngay.
Certificate Setup and Verification
Step 1. Enter verification information
After paying for the service, your service will be activated, which means it will have a status of Awaiting Configuration and a Configure Now button, as shown below.
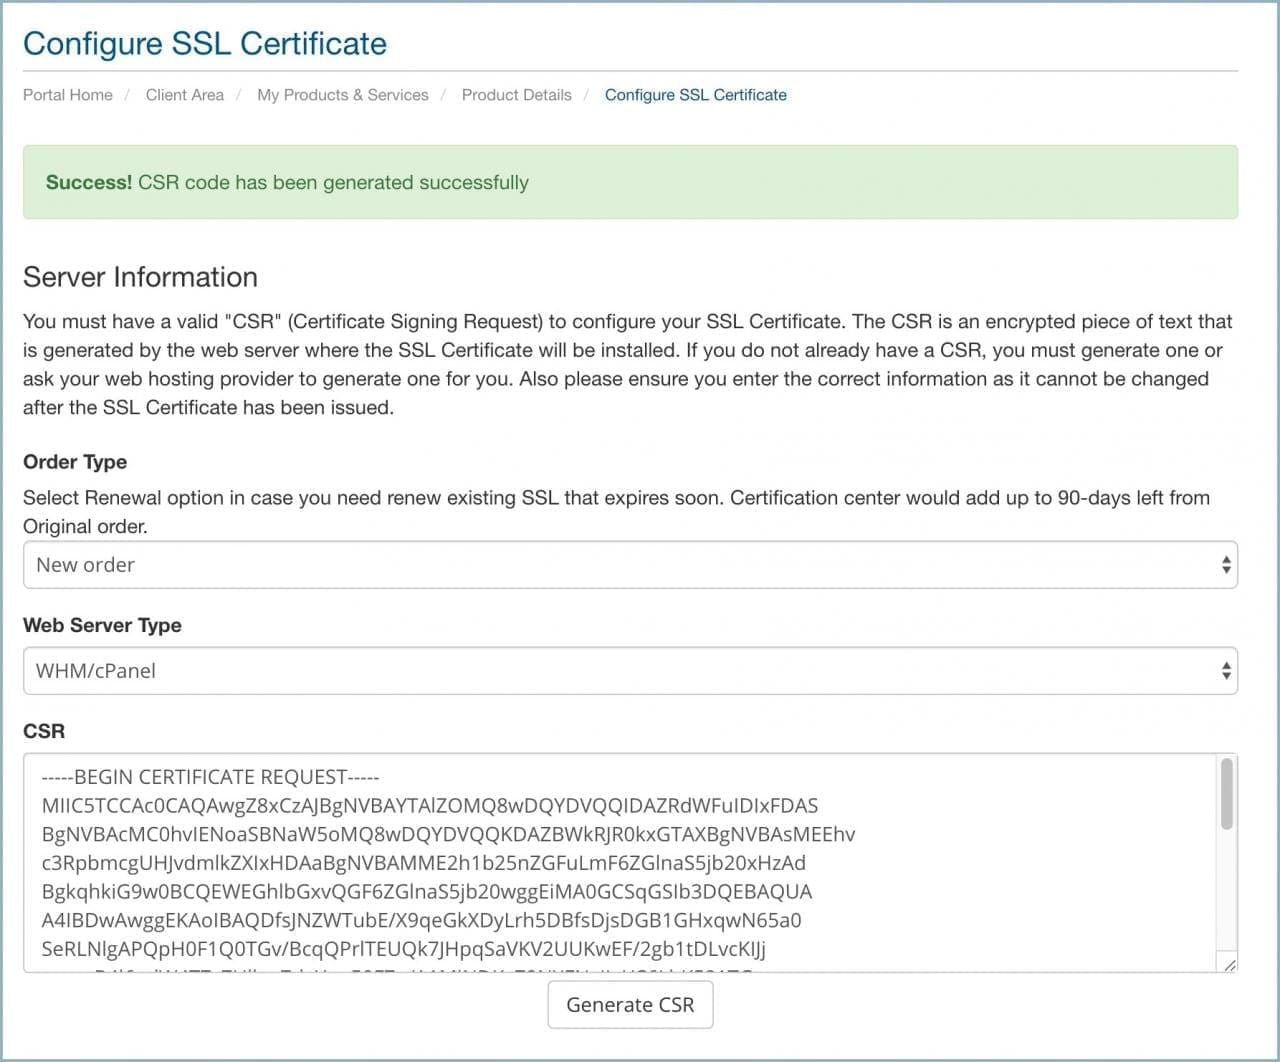
You click the Configure Now button to start the authentication. When setting up, you choose the following:
- Order Type: Select New Order if you have a new registration, select Renewal if you renew your certificate.
- Web Server Type: Select the type of webserver to install the certificate. If you use Hosting or Server using PHP, just choose WHM/cPanel.
- CSR: Enter your CSR code. If you don’t have a CSR, you can press the Generate CSR button below to automatically generate, the generated CSR code will be stored at AZDIGI along with the Private Key for you to use later. When generating the CSR automatically, you can enter information like this.
In the Administrative Contact Information section, enter your details.
After entering all the information, press the Continue button to go to the next step.
Step 2. Choose a verification type
This certificate type currently supports several types of verification, you can choose the most suitable one.
- Email: The provider will send a confirmation email to the specified address, you click on the emailed link to verify. If no email address is available in the selection, you shouldn’t choose this verification type.
- HTTP: The provider will provide content and filename, you will create the file on the corresponding server to be accessible as http://your-domain/filename. txt to verify.
- HTTPS: Similar to HTTP but verifies by the path https://your-domain/filename.txt.
- DNS: The provider will provide a CNAME record and you will need to correct the domain’s DNS for authentication.
Select the verification type and then press the Continue button.
Then you return to the service page to see the verification information (if you choose HTTP, HTTPS and DNS).

Once you have the certificate information, you can start installing this certificate on your hosting or website server. Wishing you success!
About the author

Thạch Phạm
Đồng sáng lập và Giám đốc điều hành của AZDIGI. Có hơn 15 năm kinh nghiệm trong phổ biến kiến thức liên quan đến WordPress tại thachpham.com, phát triển website và phát triển hệ thống.