Install CloudPanel on Debian 10. In this article, AZDIGI will introduce to you a new Control Panel called CloudPanel, please follow the article below to learn how to install CloudPanel on the server.
I. Overview
Currently, there are many free control panels with many features, helping to optimize the web server for high performance. In addition to free control panels such as HestiaCP, CentOS Web Panel, CyberPanel, aaPanel, FASTPANEL… AZDIGI would like to introduce to you another control that is CloudPanel.
CloudPanel is a new Control Panel with a simple, lightweight structure and is suitable for applications and websites using PHP source code. CloudPanel is developed by a team with more than ten years of experience from the Magento provider. A neat and beautifully refined GUI interface has given users an extremely smooth experience. In addition, CloudPanel is also trusted by notable providers and integrated into their templates, such as Amazon Web Services, Digital Ocean, Google Cloud, Microsoft Azure.
You can find out more information on the CloudPanel homepage.
Services installed on CloudPanel
- Debian 10
- NGINX 1.18
- MySQL 5.7 (Percona)
- PHP (7.1 > 7.2 > 7.3 > 7.4)
- Redis 5
- ProFTPD 1.3
- Node.js 14
- Yarn 1.22
II. Implementation Guide
Installation Requirements
- Operating System: Debian 10 (Buster)
- Cores: >= 1 Core
- Memory: >= 2GB
- Disk: >= 15GB
To install CloudPanel, you follow these 3 steps:
Step 1: SSH into VPS
First, you need to prepare a completely empty VPS and have not installed any services or control panel. Next, you need to SSH into the VPS as root, you can refer to how to SSH into the following link:
Step 2: Install CloudPanel
You can refer to the installation instructions from the CloudPanel homepage here.
After SSH is successful, run the following commands in turn:
apt update && apt -y upgrade && apt -y install curl wget sudo
curl -sSL https://installer.cloudpanel.io/ce/v1/install.sh | sudo bash
Command annotation:
- Command 1: Update sources and install necessary packages.
- Command 2: Command to install CloudPanel
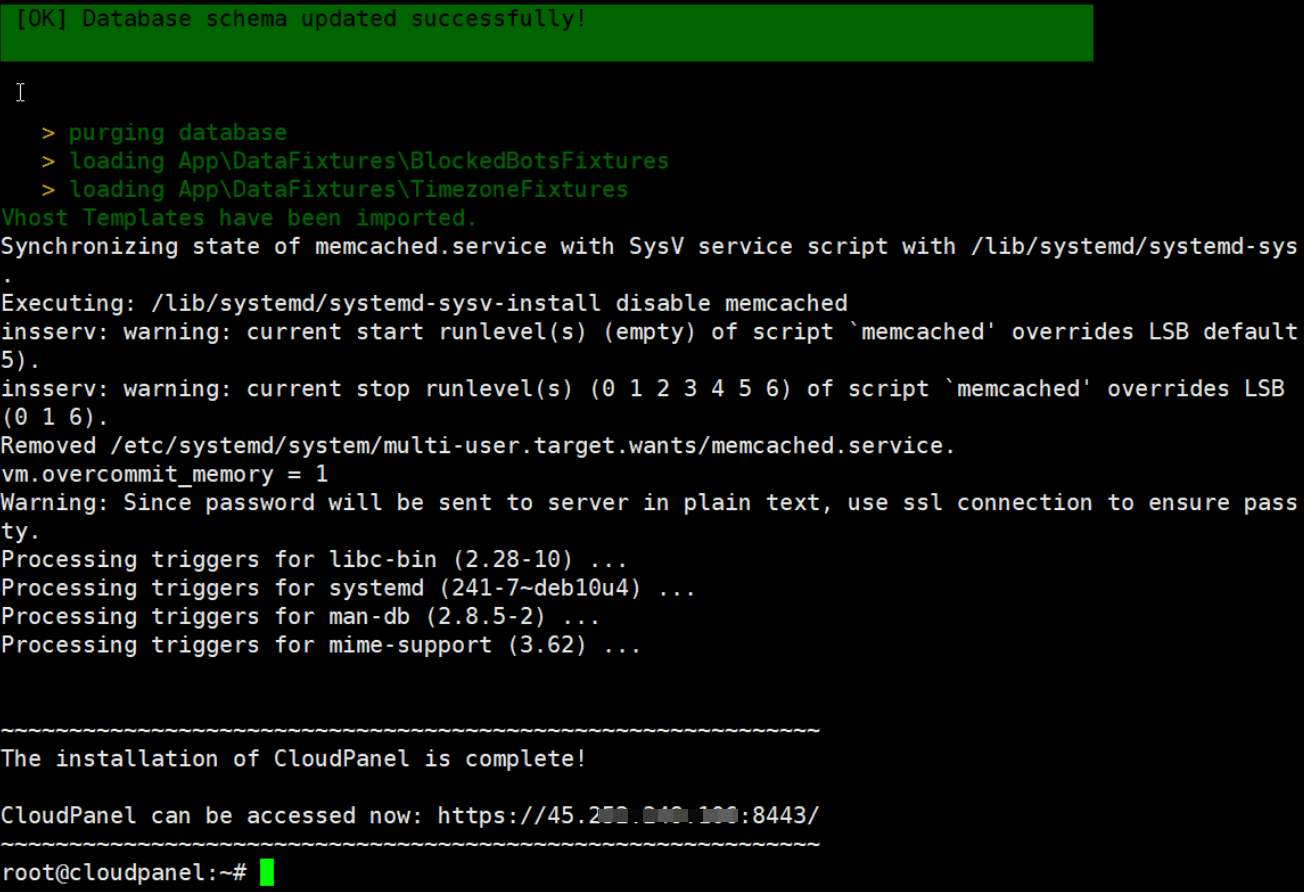
The installation process will take about 10-15 minutes depending on the VPS configuration. After successful installation, you will receive a message as shown below:
Step 3: Access Web Control and set up User Admin
After the successful installation in Step 2, you will receive a link to access CloudPanel in the form: https://IP:8443/, you can use any browser to access this link.
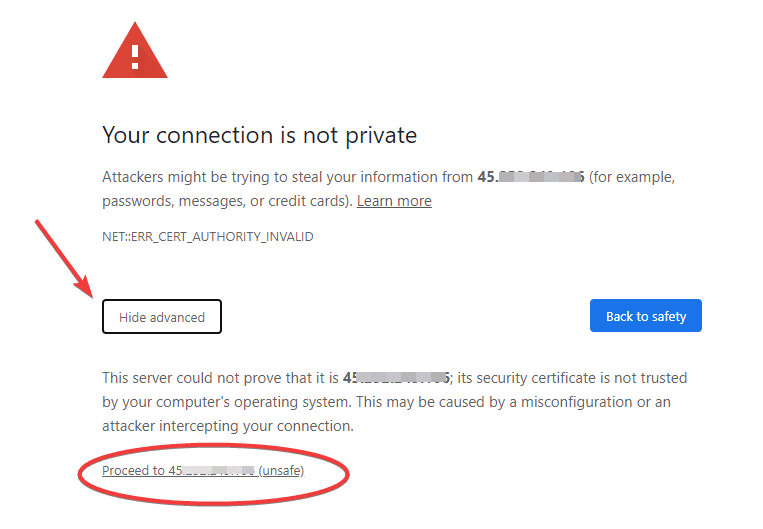
If you access the browser and receive a warning as shown below => click Hide advanced => click on the circled link.
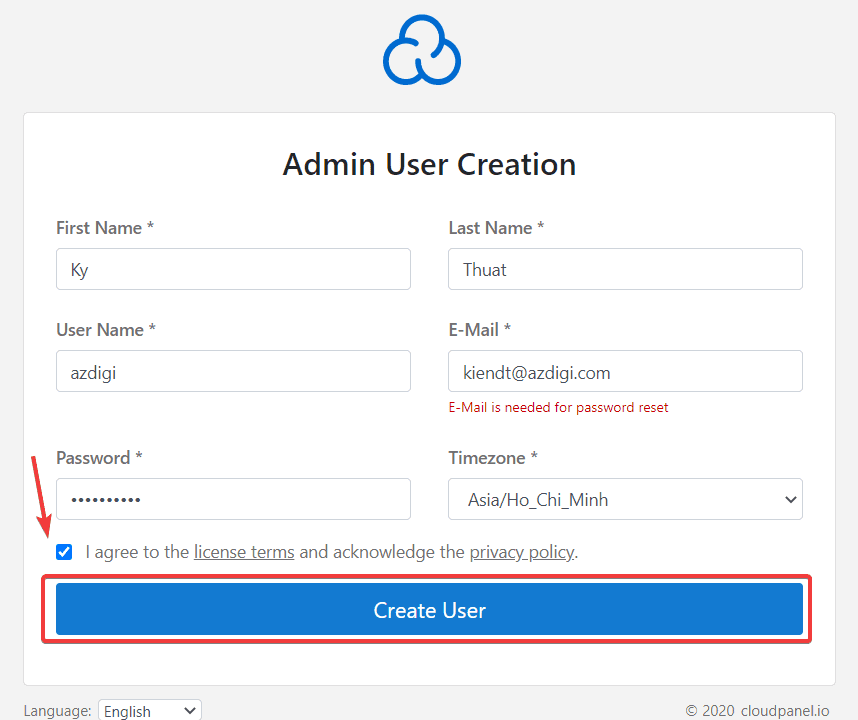
In the next step, you need to create a User to administer the CloudPanel with the following information:
- First Name
- Last Name
- User Name: Admin user name.
- E-Mail: Admin email.
- Password: Password of the admin user.
- Timezone: Select the time zone (Asia/Ho_Chi_Minh).
After filling in all the information, you tick the box to agree to the terms of use (arrow) => click Create User to create a User.
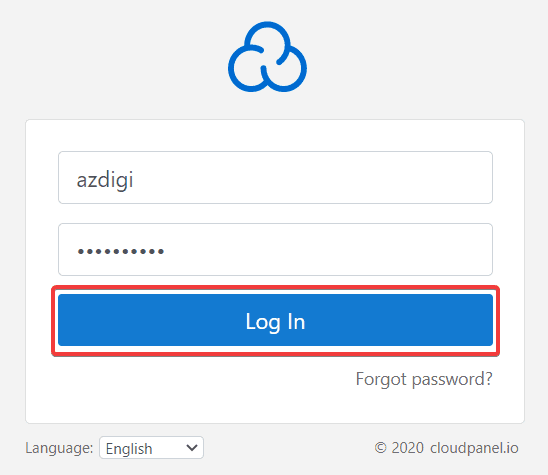
Next, you use the information you just created to login at the account login interface.
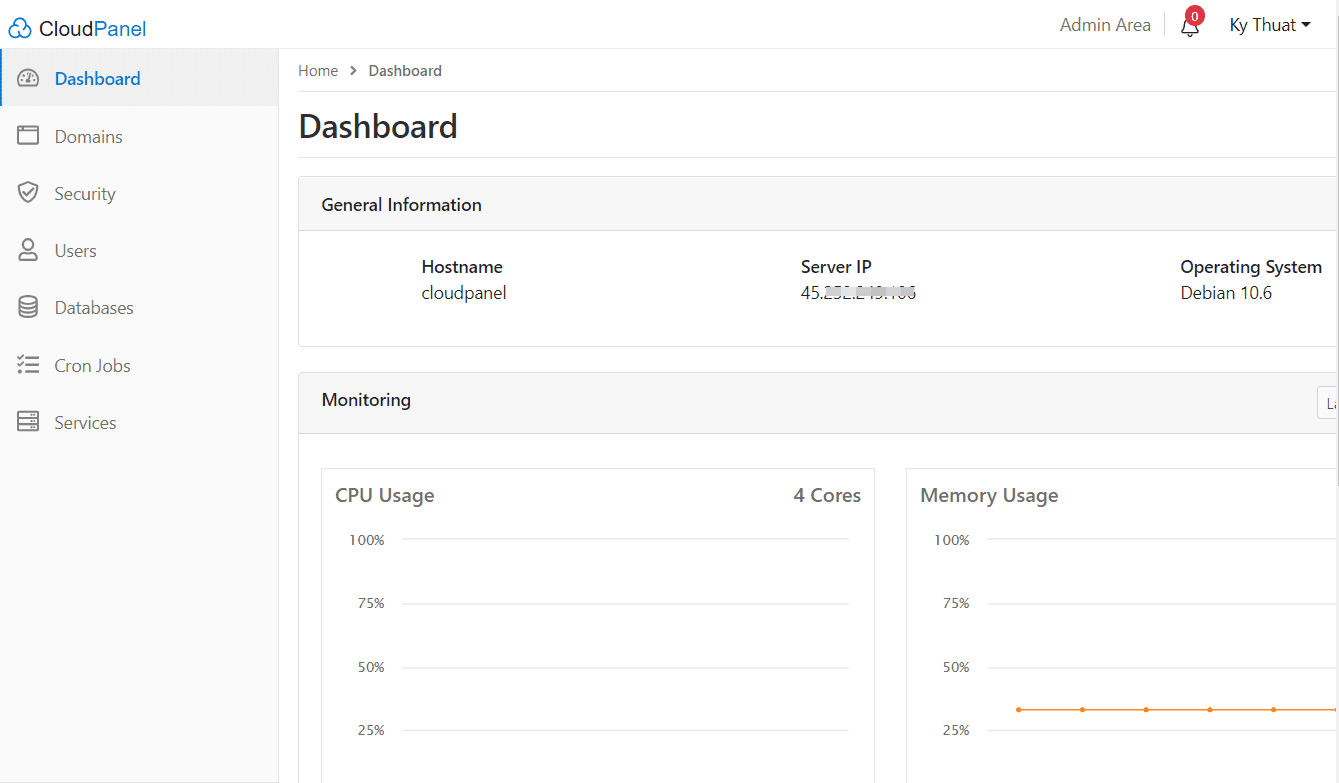
After successful login, the CloudPanel interface will display as follows:
III. Summary
So AZDIGI has introduced to you a new Control Panel, completely compact, with an easy-to-use and intuitive interface that will help you easily manage even if you are inexperienced. Hopefully, this article will help you to install it successfully and have a great experience using CloudPanel.
In the next articles, AZDIGI will introduce you to more specific CloudPanel features so that you can easily use them. You can follow AZDIGI’s CloudPanel Series at the link below:
- How to use CloudPanel.
If you need assistance, you can contact support in the ways below:
- Hotline 247: 028 888 24768 (Ext 0)
- Ticket/Email: You use the email to register for the service and send it directly to: support@azdigi.com .
About the author

Thạch Phạm
Đồng sáng lập và Giám đốc điều hành của AZDIGI. Có hơn 15 năm kinh nghiệm trong phổ biến kiến thức liên quan đến WordPress tại thachpham.com, phát triển website và phát triển hệ thống.