1. Overview
In this article, AZDIGI will guide you to downgrade MySQL on DirectAdmin in the simplest and fastest way. However, downgrading is not advisable unless you absolutely have to.
I have seen a lot of articles on how to downgrade on Google, but most of them are not official instructions from DirectAdmin and a lot of them don’t work. This article will be based on the official article of DirectAdmin.
Important note: In the case of this article, you have already backed up your entire database or the VPS/server has nothing important to backup. You can refer to the article below if you do not know how to back up the database.
2. Downgrade MySQL on DirectAdmin
To downgrade MySQL on DirectAdmin, follow these 3 steps.
Step 1: SSH into your DirectAdmin system
To downgrade MySQL on DirectAdmin, we need to do SSH or access your VPS or server as root first. If you do not know how to SSH into your VPS/Server, you can refer to the following tutorial:
After successfully SSHing, we continue with step 2 to start the process of downgrading MySQL on DirectAdmin.
Step 2: Check the current version of MySQL in use
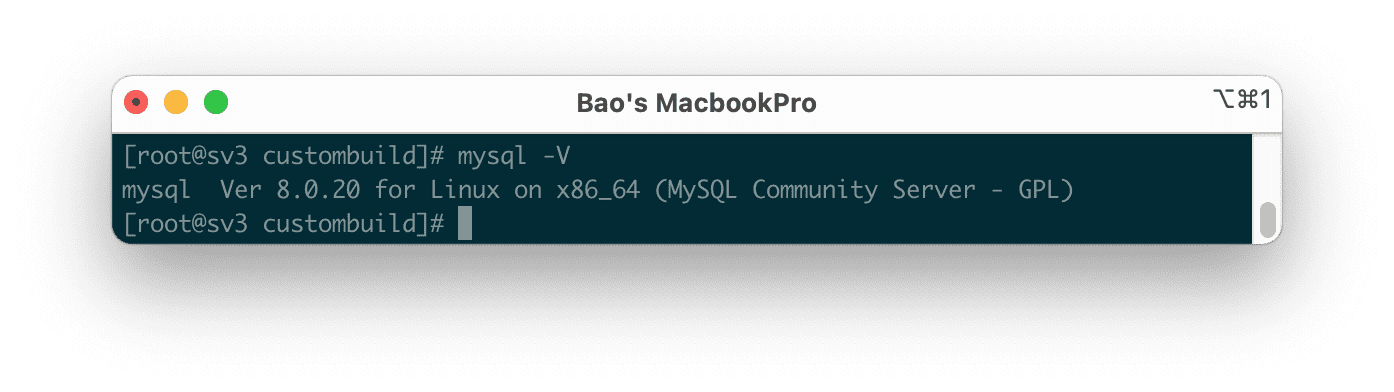
To check the current MySQL version, use the command:
mysqld -V
Here are my results with the currently installed version of 8.0.20.
Now that you have checked the current version of MySQL in use, we continue with step 3 to downgrade MySQL on DirectAdmin.
Step 3: Downgrade MySQL on DirectAdmin with Custombuild 2.0
First, we need to check if the version of CustomBuild we are using is 2.0 or not. To check the version of CustomBuild you are using, please check out the following short tutorial:
In case your CustomBuild version is lower than 2.0 then you need to upgrade CustomBuild 1.x to 2.0 , you can check out the following tutorial:
In this step, you will completely delete the version of MySQL you are installing, but don’t worry because we already have a backup step before the /var/lib/mysql directory to avoid losing database data.
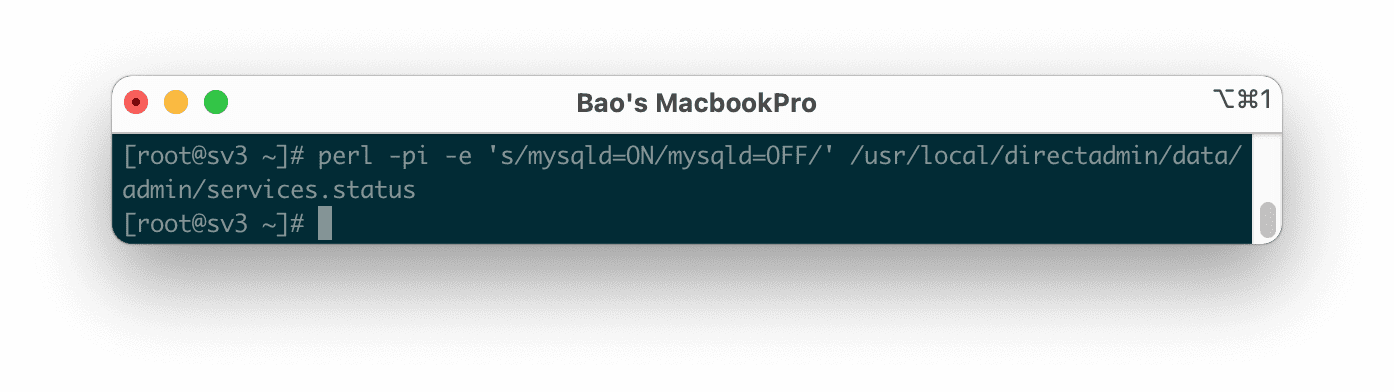
Below are the commands we need to execute:
perl -pi -e 's/mysqld=ON/mysqld=OFF/' /usr/local/directadmin/data/admin/services.status
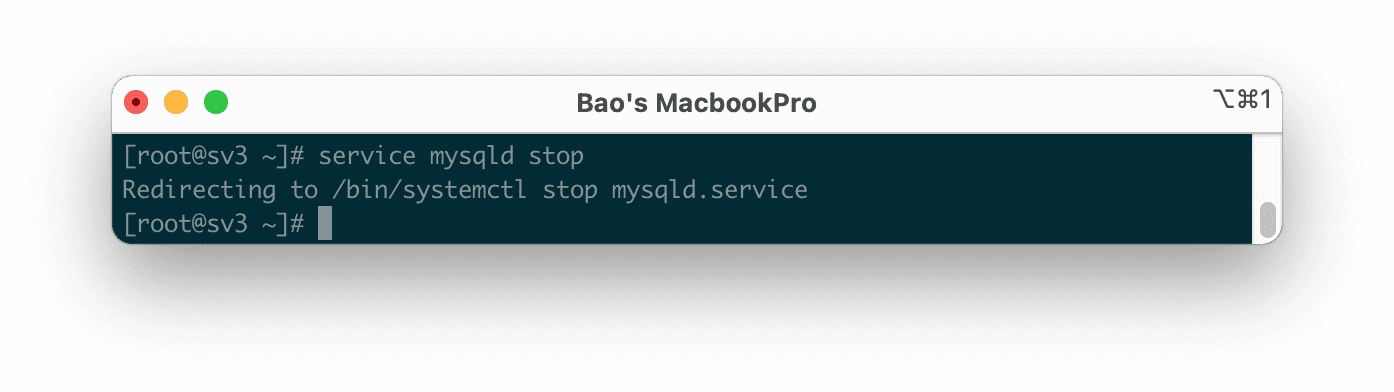
service mysqld stop
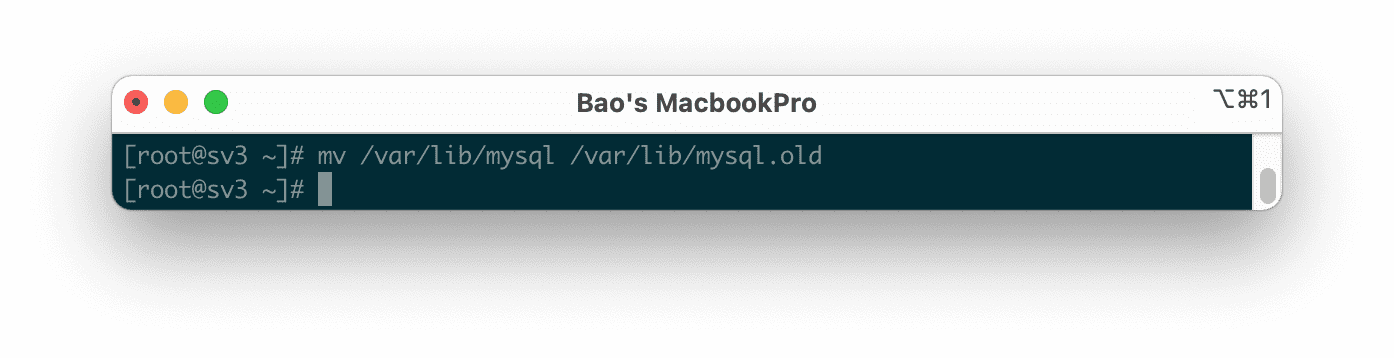
mv /var/lib/mysql /var/lib/mysql.old
cd /usr/local/directadmin/custombuild
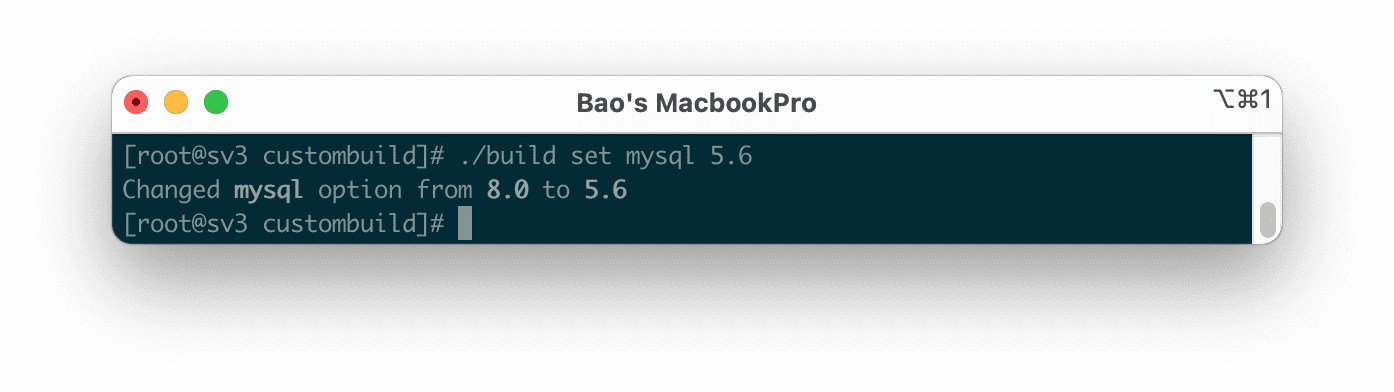
./build set mysql 5.6
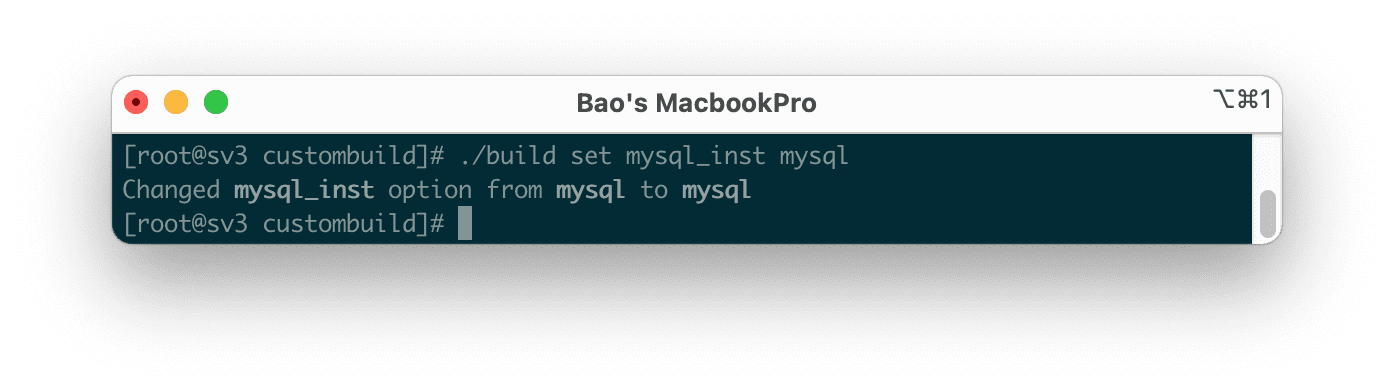
./build set mysql_inst mysql
./build set mysql_backup no
./build update
./build mysql
Explanation of the above commands:
- Command 1: Disable the automatic startup of MySQL according to the operating system (Note: When copying this command, do not leave a space at the end of the command).
- Command 2: Stop the MySQL service.
- Command 3: Backup
/var/lib/mysqldirectory to/var/lib/mysql.olddirectory. - Command 4: Move into the custombuild directory.
- Command 5: Adjust MySQL version configuration to version 5.6 (You can change to another version if you want).
- Command 6: Use the database management system MySQL.
- Command 7: Disable automatic database backup because MySQL is no longer working.
- Command 8: Update custombuild script.
- Command 9: Start the process of reinstalling MySQL.
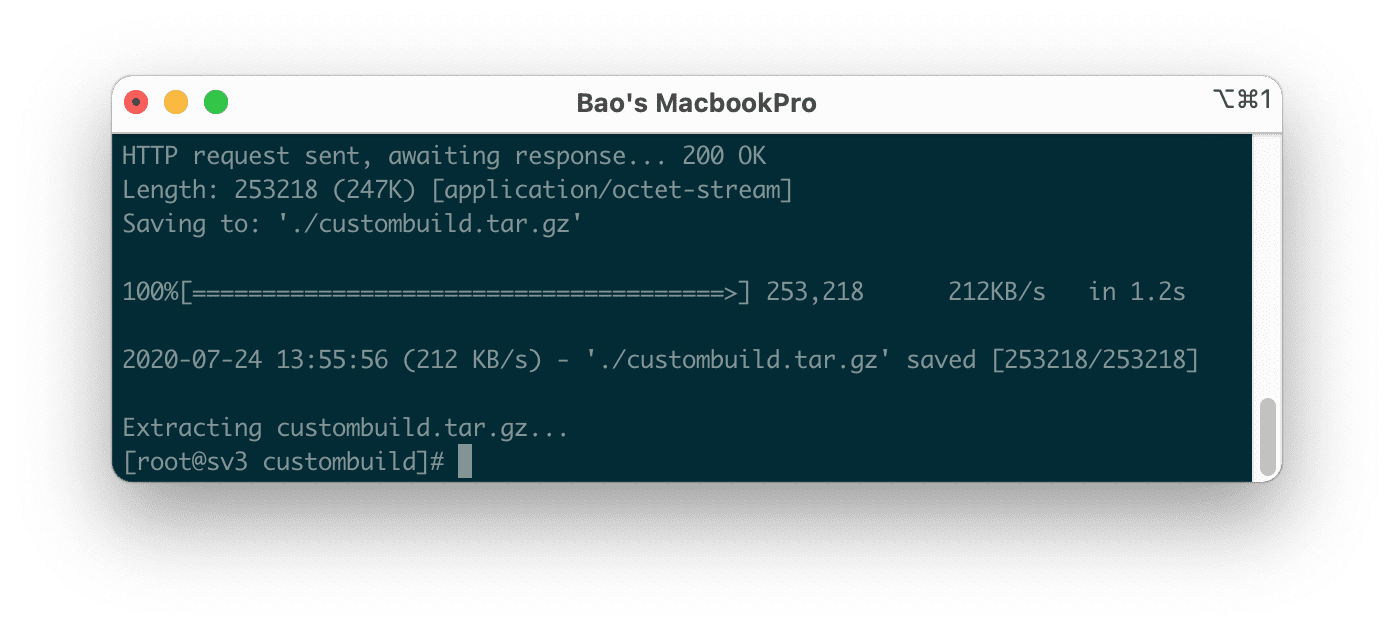
Below are some pictures during my downgrade:
/var/lib/mysql directory to /var/lib/mysql.old directory.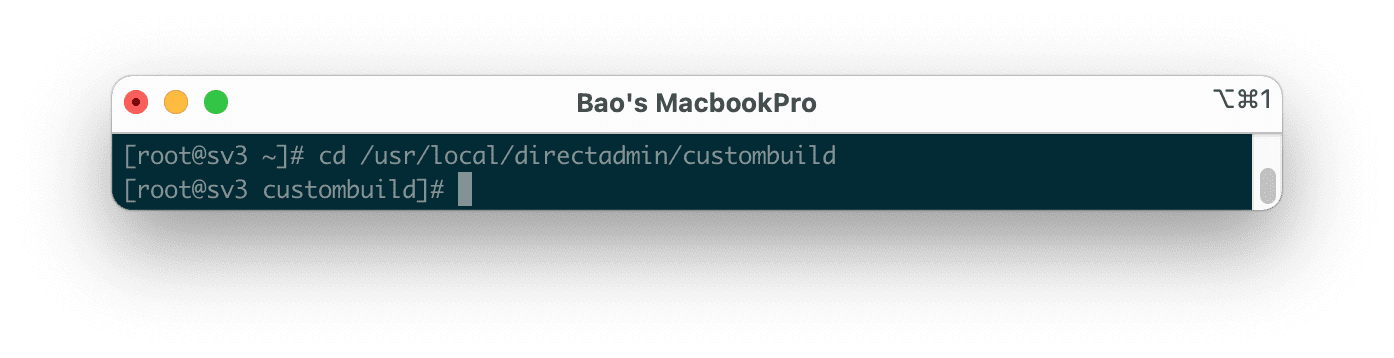

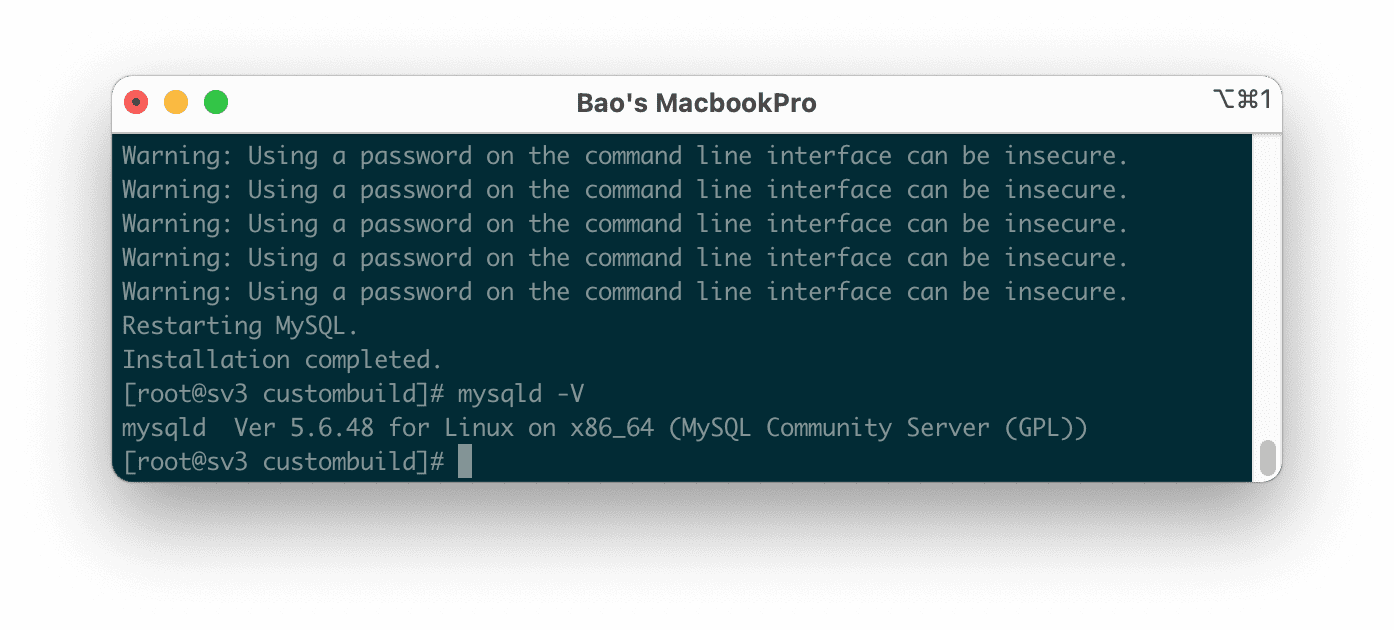
The process of reinstalling MySQL does not take too long. After the installation is complete, we continue to use the mysqld -V command to see the newly installed version.
So my VPS has been downgraded MySQL from version 8.0.20 to MySQL 5.6.48.
Summary
This article has shown you how to downgrade MySQL on DirectAdmin quickly. However, AZDIGI doesn’t recommend doing so unless there is force majeure, such as your MySQL service being completely dead or some other reason.
Wishing you success.
Reference articles:
If you need assistance, you can contact support in the ways below:
- Hotline 247: 028 888 24768 (Ext 0)
- Ticket/Email: You use the email to register for the service and send it directly to: support@azdigi.com
About the author

Thạch Phạm
Đồng sáng lập và Giám đốc điều hành của AZDIGI. Có hơn 15 năm kinh nghiệm trong phổ biến kiến thức liên quan đến WordPress tại thachpham.com, phát triển website và phát triển hệ thống.