
How to create an Email on HestiaCP with the simple steps. Let’s follow along.

I. OVERVIEW
AZDIGI currently provides mail hosting services at extremely attractive prices to users. Using email hosting helps your personal and business become more professional. Assuming you are a company, when you send mail to a partner, you cannot use the @gmail.com extension, but your @domain will increase the credibility of your business.
Like AZDIGI, a technology company that provides server infrastructure and mail services… When sending emails to partners and customers, the email extension must be @azdigi.com. This is an indispensable necessity.
In parallel, the Control Panels have built-in email services. And to use this email, you need to perform some basic setup. Let’s do it together with AZDIGI.
II. IMPLEMENTATION GUIDE
After creating the domain user and addon, you do the following steps to create an email according to the domain name. If you have not created a user and addon domain, please follow the article below:
For email to work in two-way sending/receiving, you need to configure Record mail, including MX, SPF, DKIM. First, you need to point out the following Records to use:
- Record MX: domain => mail.domain (priority 10)
- Record A: mail => IP hosting
- Record CNAME: webmail => mail.domain
And below is an illustration of my records created using mail.

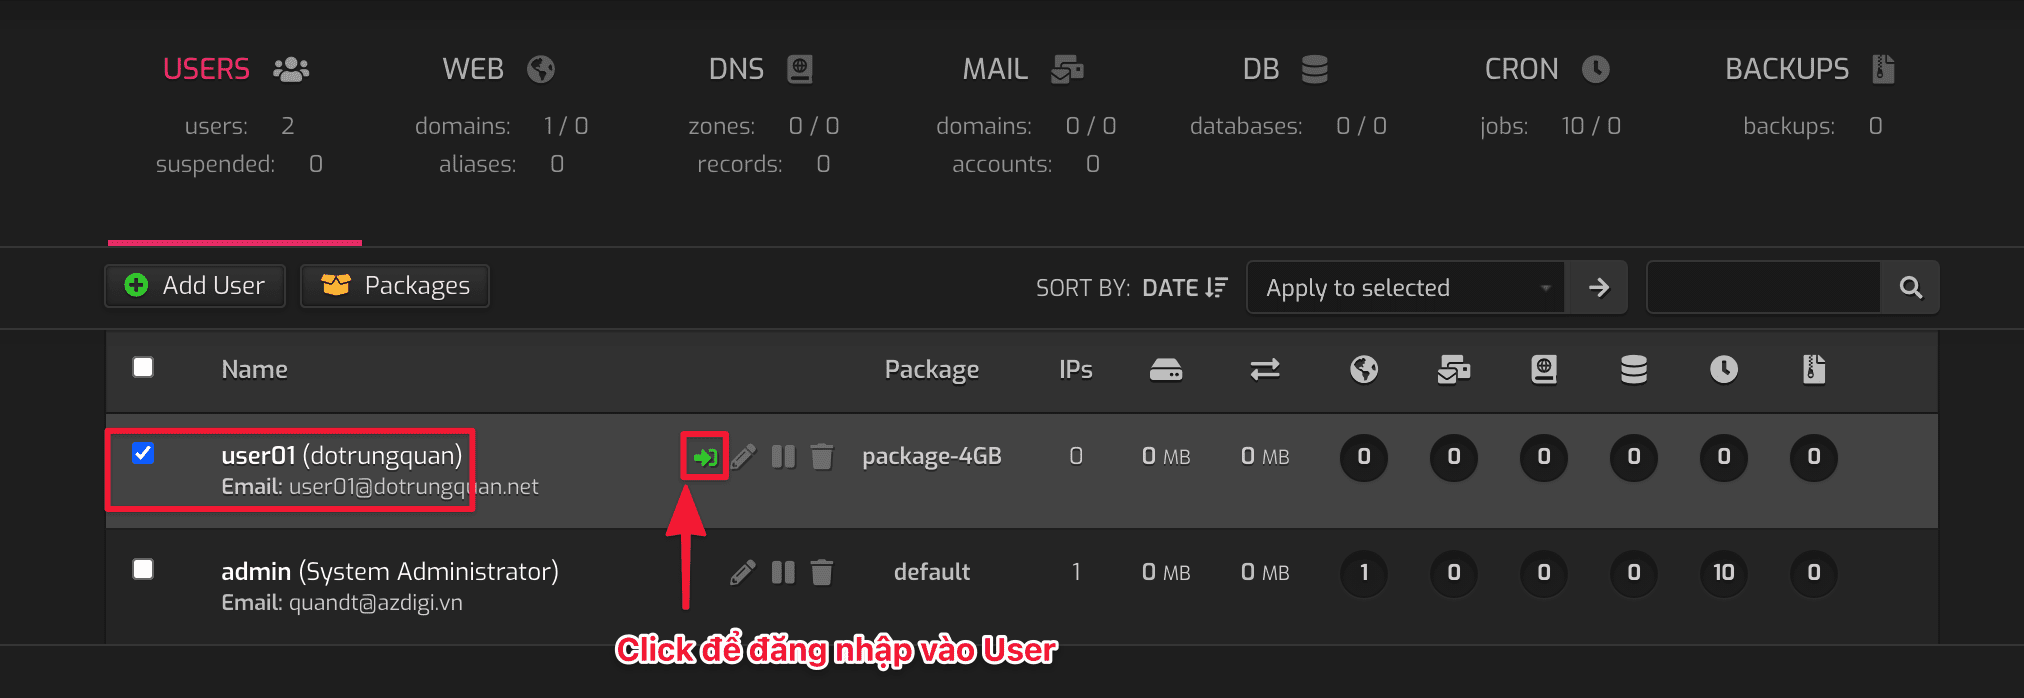
Step 1: Log in to HestiaCP in User
First, log in to the User to install WordPress. To log in, click on the -> icon, as shown in the image below. Or you can log in directly from https://my-ip:8083 with the user and password created earlier.
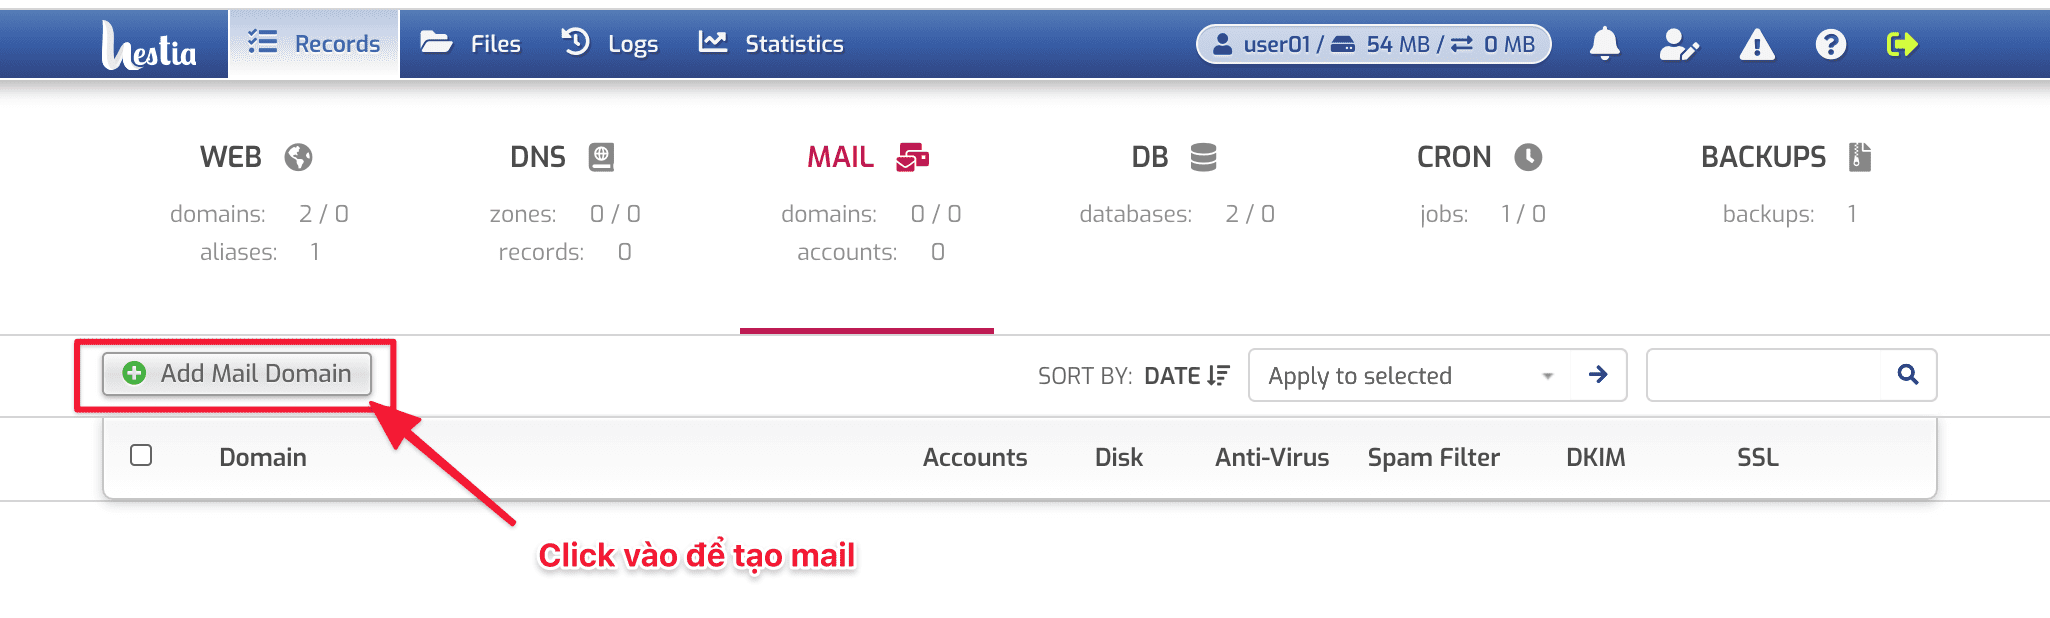
Step 2: Create an Email on HestiaCP
To create an email on HestiaCP, click MAIL => Add Mail Domain as shown below to add a domain to create by mail.
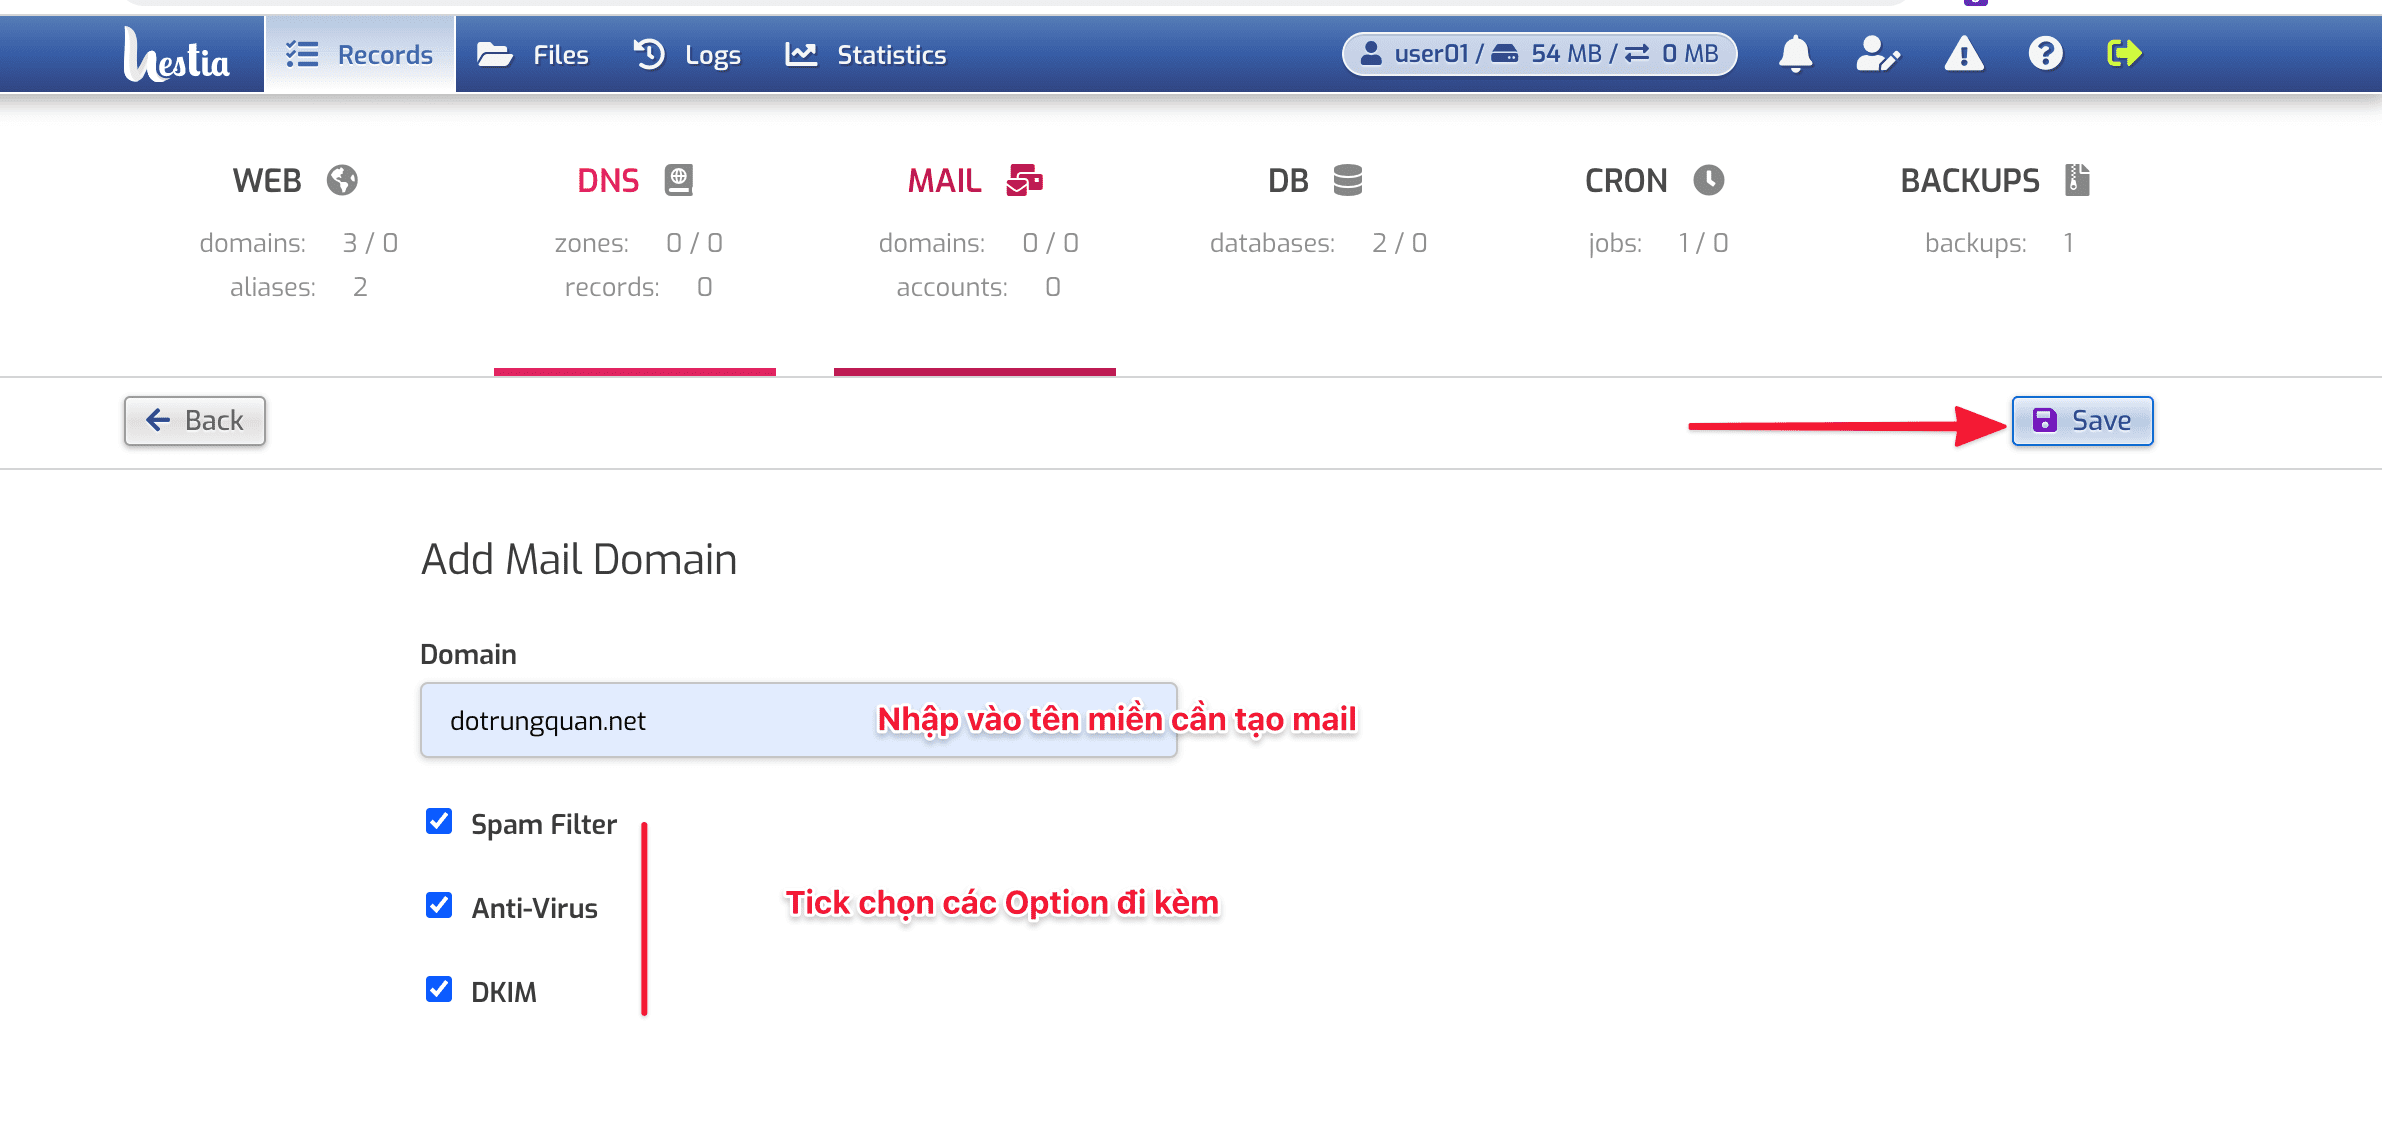
Next, enter the domain name and tick the accompanying options:
- Spam Filters: Function to filter mail SPAM
- Anti-Virus: Anti-virus function for mail
- DKIM: ( DomainKeys Identified Mail) is a method of authenticating e-mail with the digital signature of the mailing domain, in which the public key is usually published on DNS in the form of a TXT record.
After selecting, click SAVE to complete.
Next, you access the newly added domain name by clicking on the Domain name or the + icon as shown below:

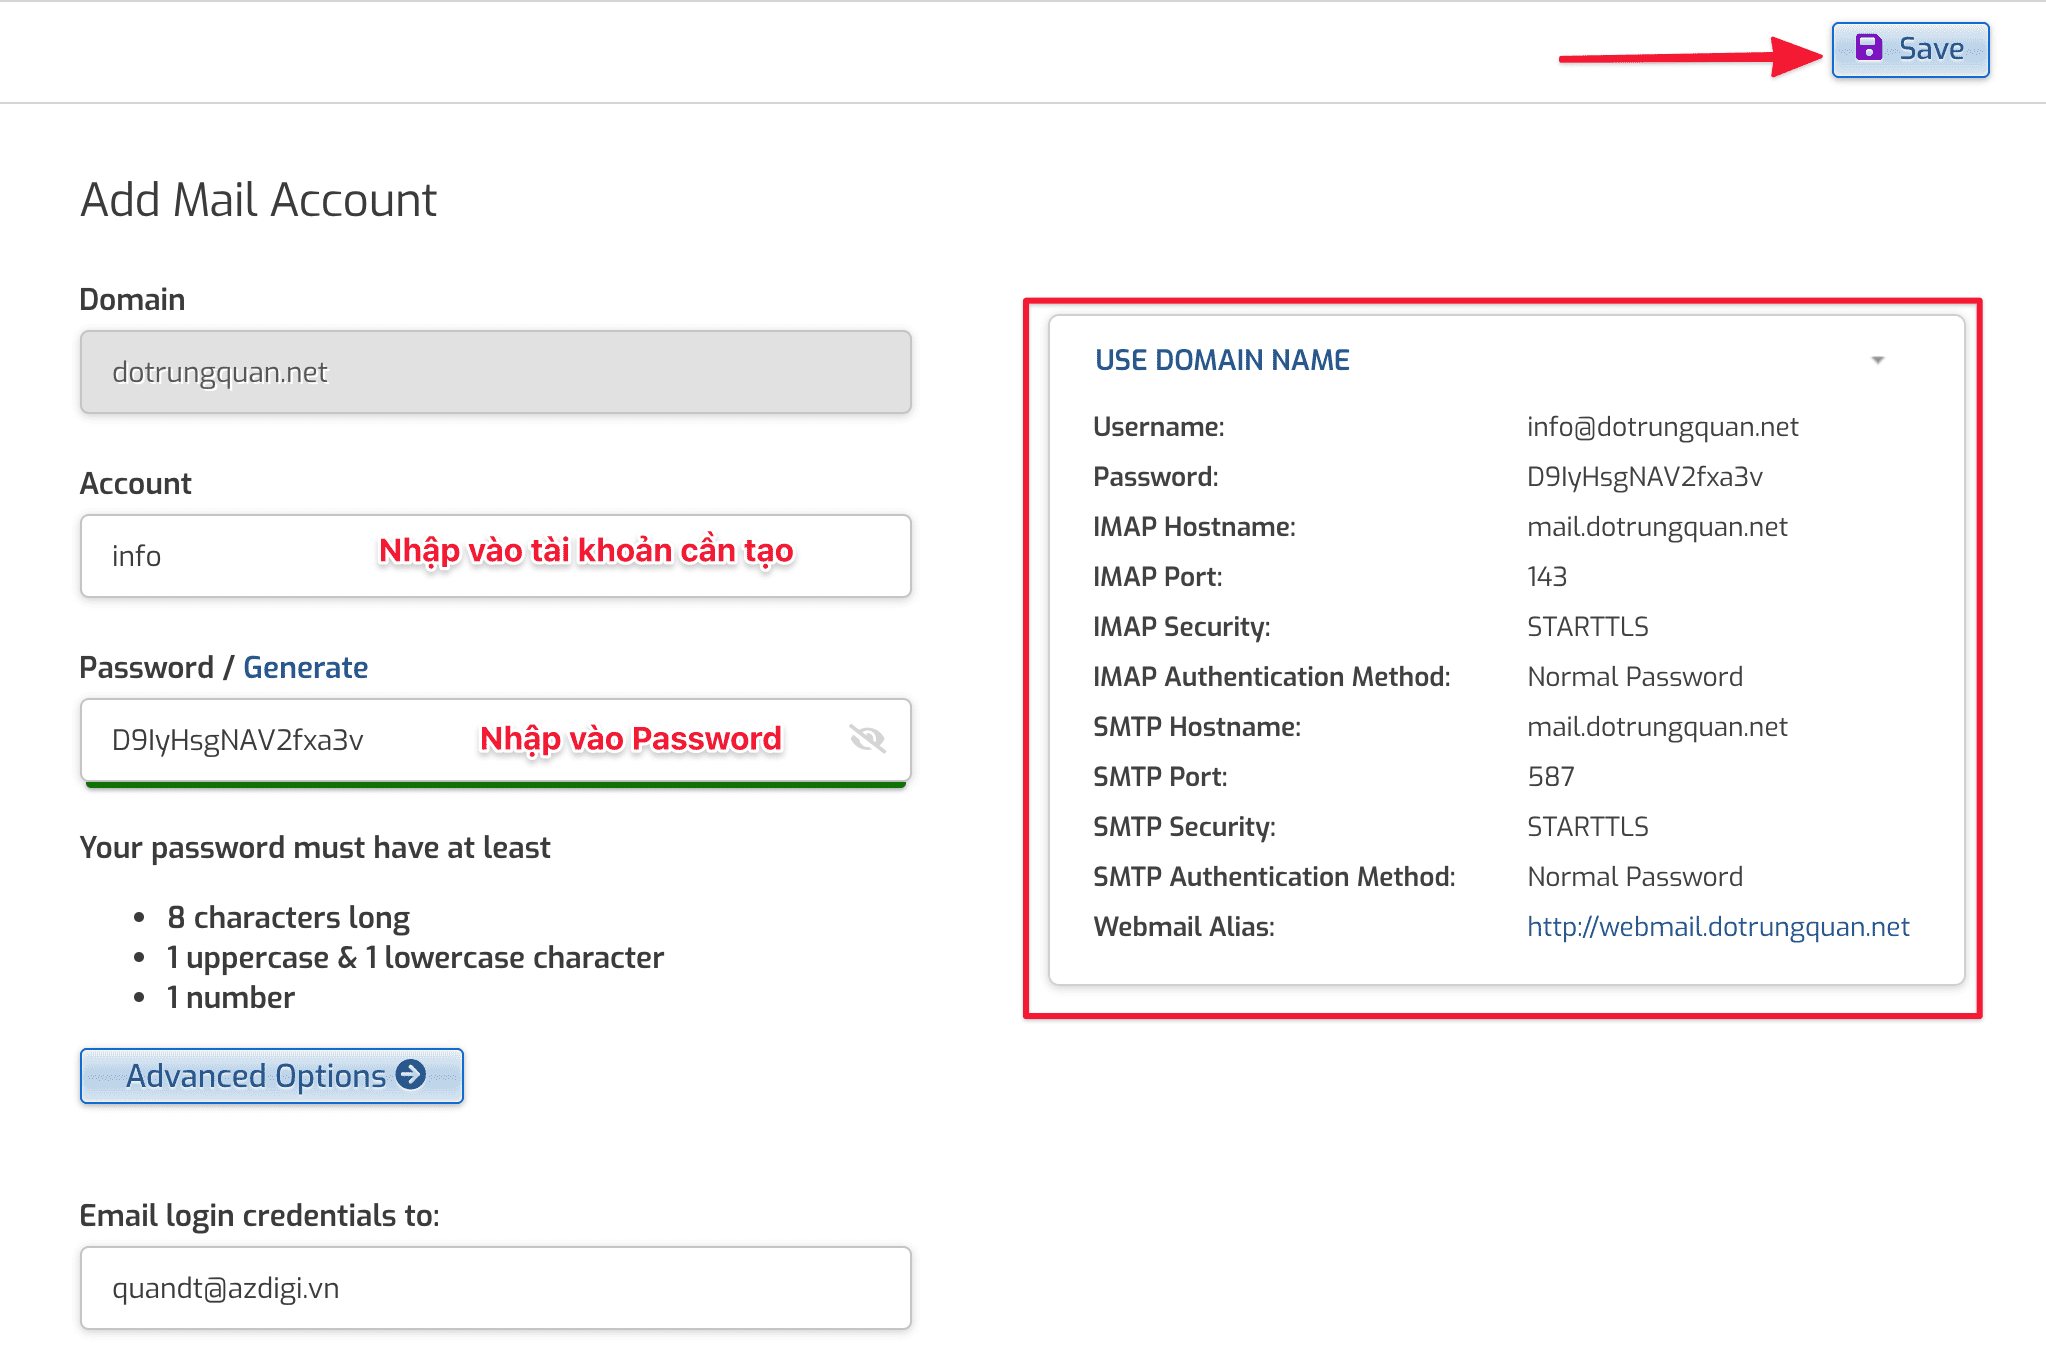
At the interface to create an email account, you enter the following information to create it:
- Domain: Select the domain to create according to your mail account
- Account: Enter the account you need to create by the domain name
- Password: Enter the password for the account
- Advanced Option: Click for advanced settings
- Quota (in MB): Set up capacity for the mail account
- Aliases (Use local-part without domain name): Configure Alias
- Forward to (One or more email addresses): Configure mail forwarding
After customizing the information for the mail account, click on SAVE to finish.
And here is the email account I have successfully created.

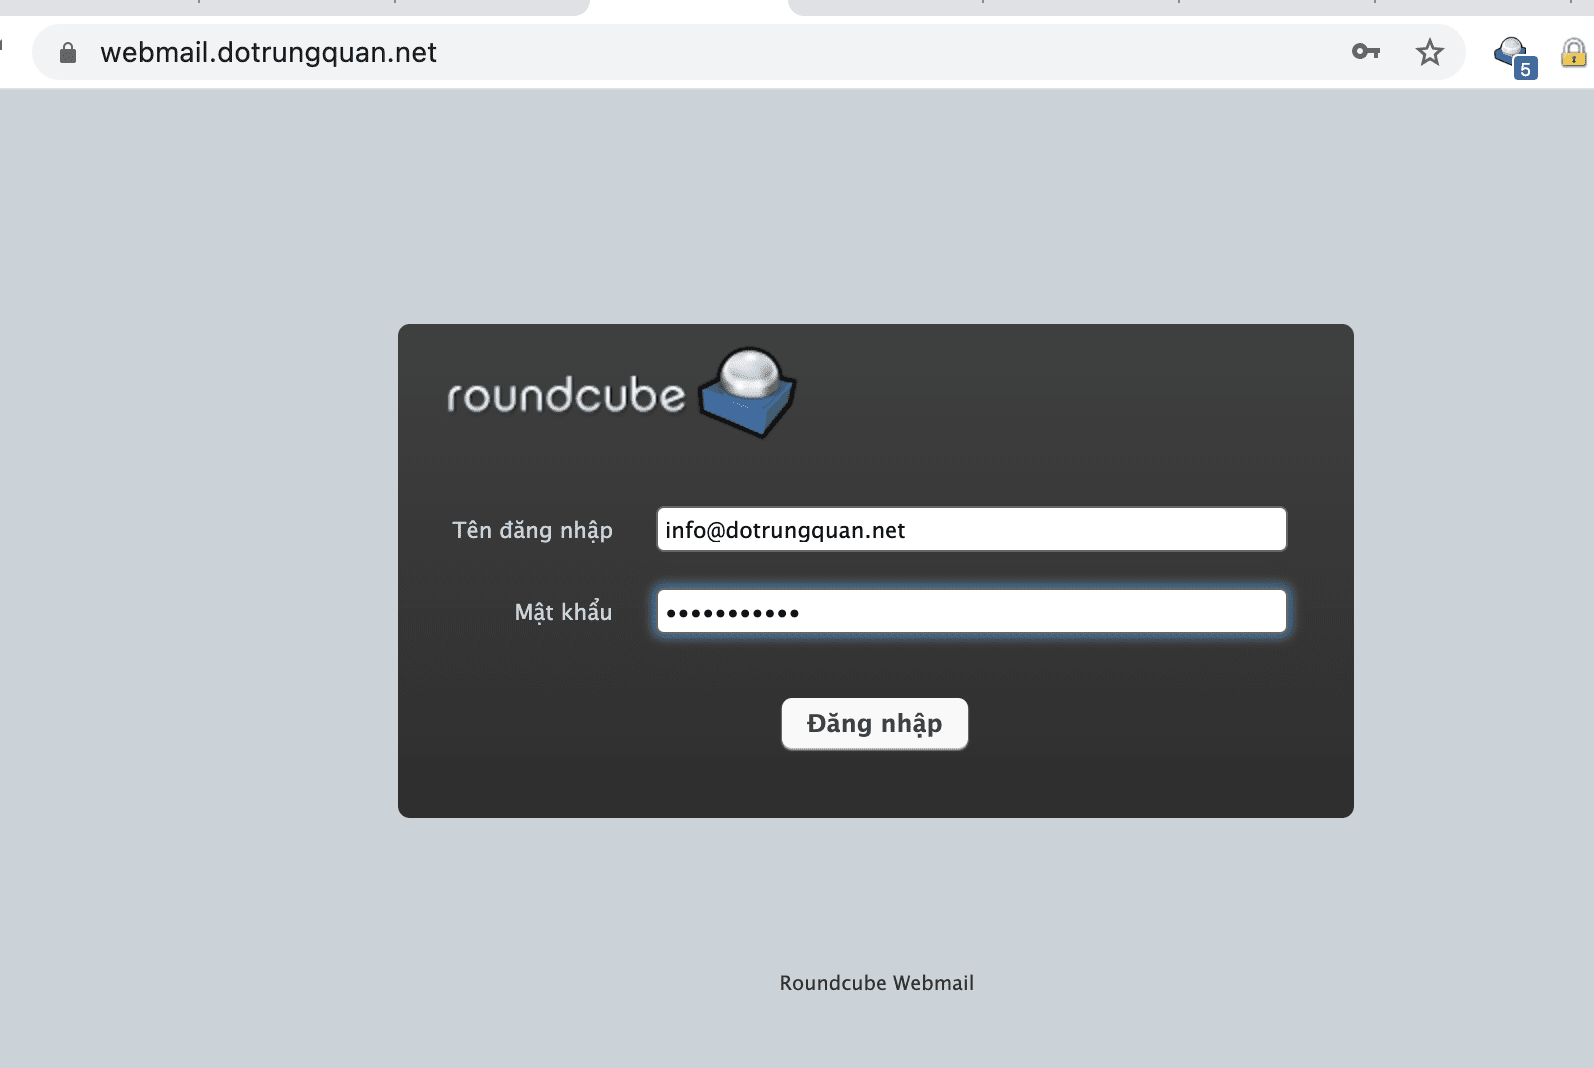
Step 3: Log in to Webmail
III. Summary
Hopefully, this article can help you create and build your mail system, thereby creating a professional for your email. Wishing you success!
If you need assistance, you can contact support in the ways below:
- Hotline 247: 028 888 24768 (Ext 0)
- Ticket/Email: You use the email to register for the service and send it directly to: support@azdigi.com .
About the author

Thạch Phạm
Đồng sáng lập và Giám đốc điều hành của AZDIGI. Có hơn 15 năm kinh nghiệm trong phổ biến kiến thức liên quan đến WordPress tại thachpham.com, phát triển website và phát triển hệ thống.