Nội dung
Moodle (short for Modular Object-Oriented Dynamic Learning Environment) is a training management system (LMS) software platform. Moodle was founded in 1999 by Martin Dougiamas, who continues to run and develop the project. Moodle is currently widely used software with 38,896 registered websites and 16,927,590 users in 1,713,438 courses (as of January 2008) [1].
Moodle is designed with the purpose of creating highly interactive online courses. Its open code and high flexibility give developers the ability to add the necessary modules easily. Moodle is registered under the GNU GPL license.
Feature
Moodle has the necessary features for an online training system and some unique features (e.g., more filters,…)
Moodle is built in segments and easily extended by adding extra components. The basic structure of Moodle supports the following sub-components:
- Activities
- Resources
- Types of questions
- Data fields (for database operations)
- Graphic interface
- Authentication method
- Enrollment method
Step 1: Domain Addon
First, add the domain name you need to install Moodle on aaPanel. If you do not know how to add a domain name, please refer to the following article:
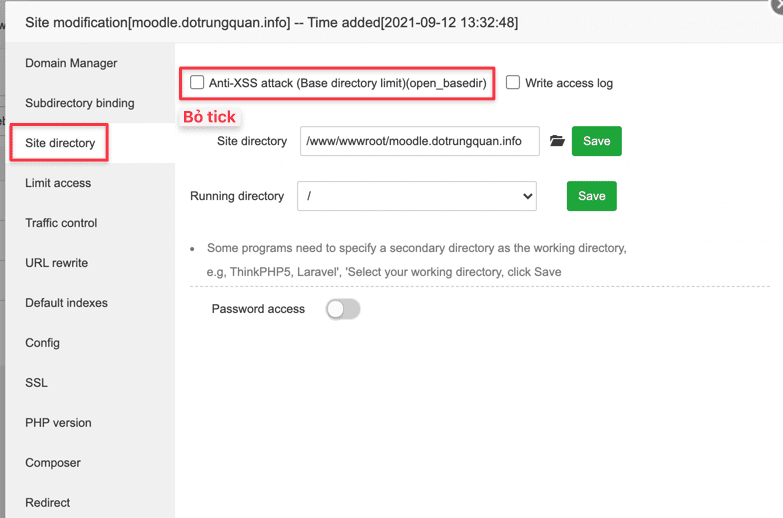
After adding the domain name, please turn off the Anti-XSS attack (Base directory limit) (open_basedir) feature before installing.
You access and click on the web name, then select Site directory and untick the check box.
Step 2: Download the source code and upload
Next, go to moodle’s homepage and download the installation file. I will download 3.11.2+ and use the zip file.
- Link to download Moodle: https://download.moodle.org/releases/latest/

Then upload the downloaded zip file to the aaPanel server.
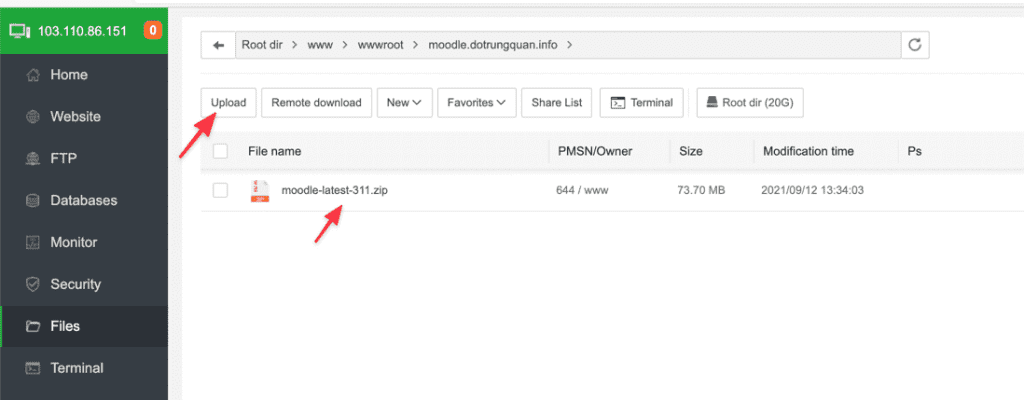
Next, you need to extract the file to use by right-clicking on the file and selecting Unzip.
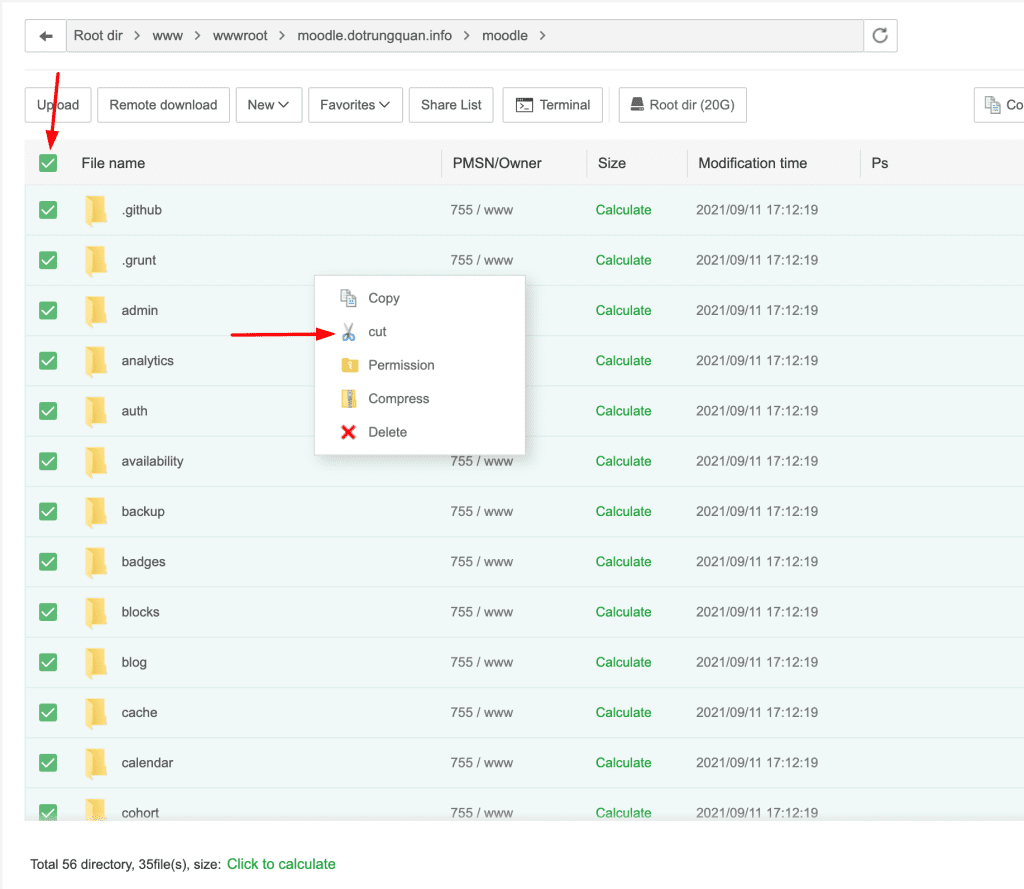
When unzipping, you will see a folder called moodle, you need to move all the files to the web folder to run the installation. To move files,
you access the moodle folder => select all files with the check all icon => right click and select cut. cut
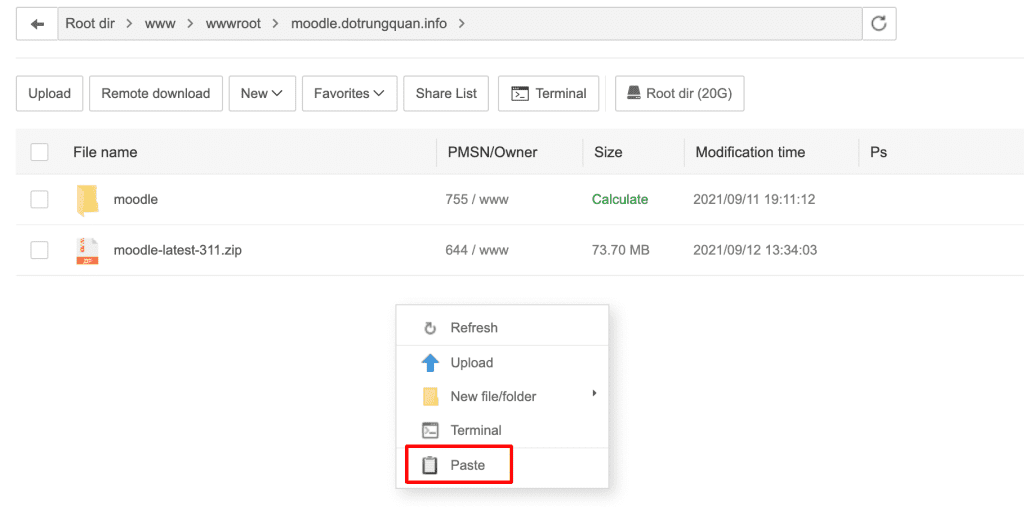
Now you move to the old folder and right-click and select Paste to move.
Step 3: Create a Database
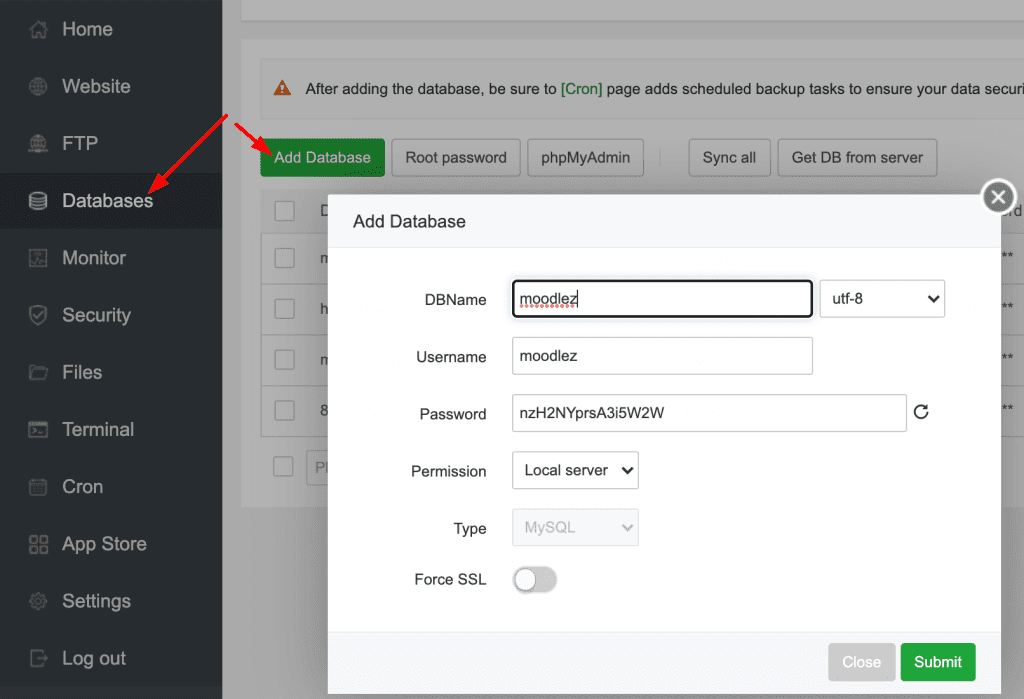
To install, you need to create a new database for Moodle, and select Database => Add Database to create.
Step 4: Install Moodle on aaPanel
To install Moodle, go to your domain/subdomain in your browser, an information panel will appear and follow the instructions.
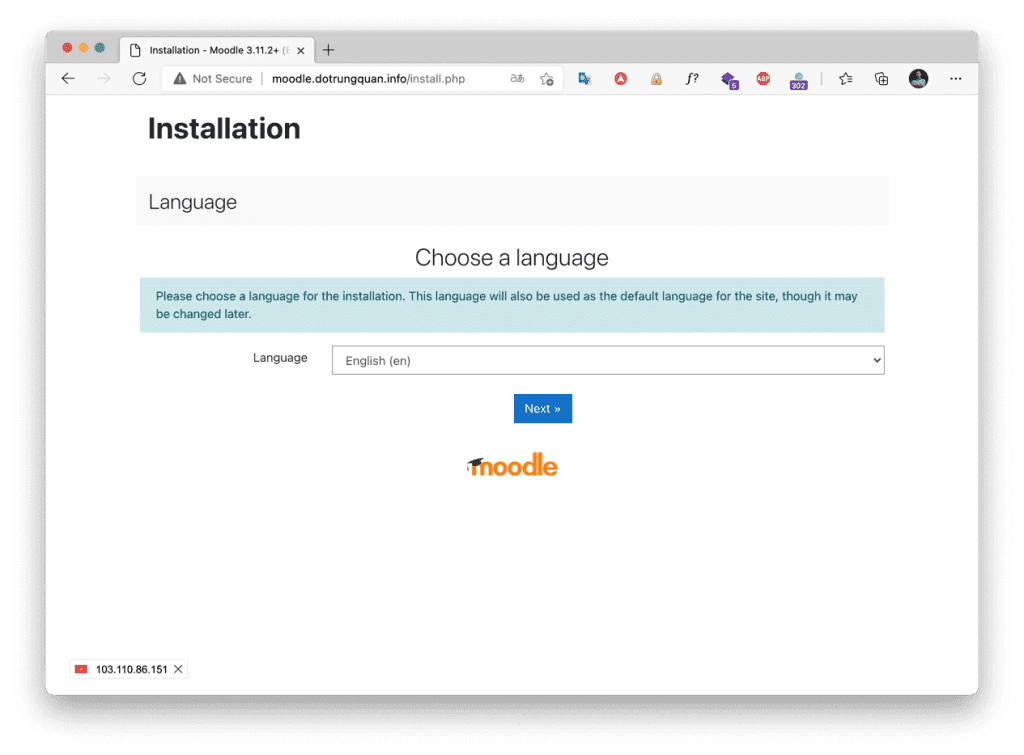
In this step, you leave the default and select Next
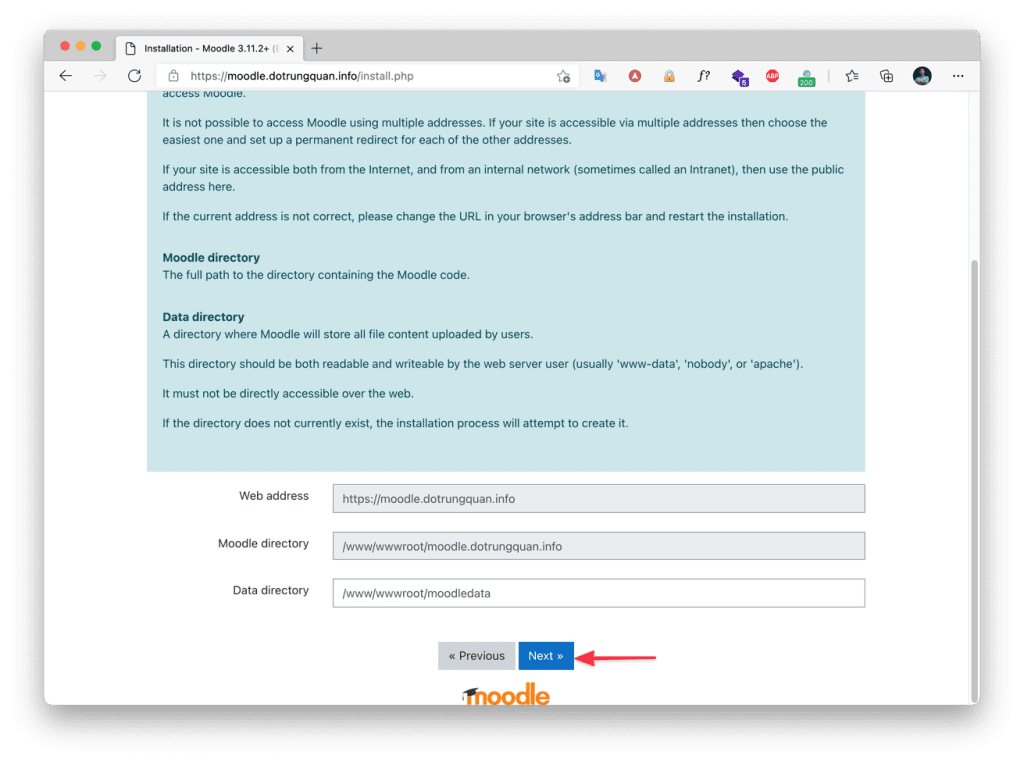
Note: If you get an error message like the below, the reason is that you have not turned off the Anti-XSS attack (Base directory limit)(open_basedir). Please see Step 1 if you haven’t turned it off yet.

Go back to the installation steps. Here you choose the type of server to install. Since I am currently using MariaDB, I choose this type of server.
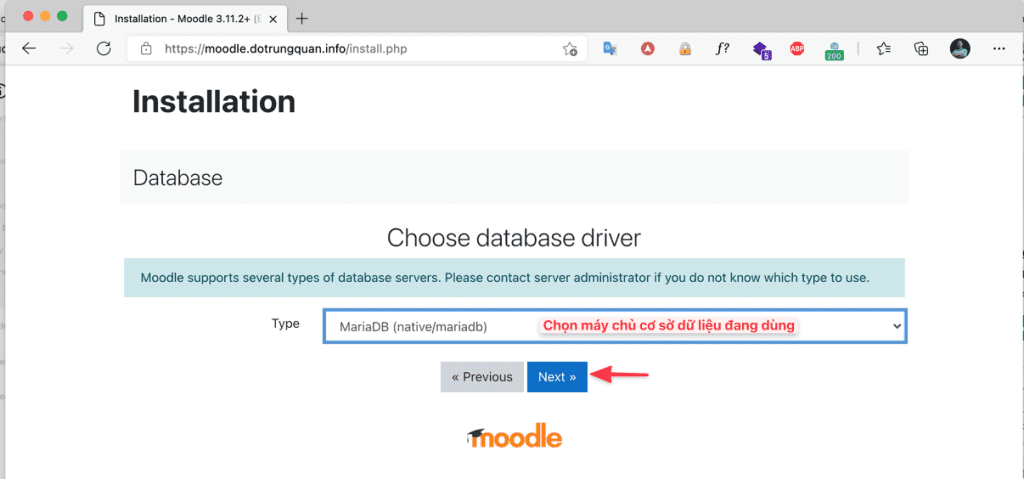
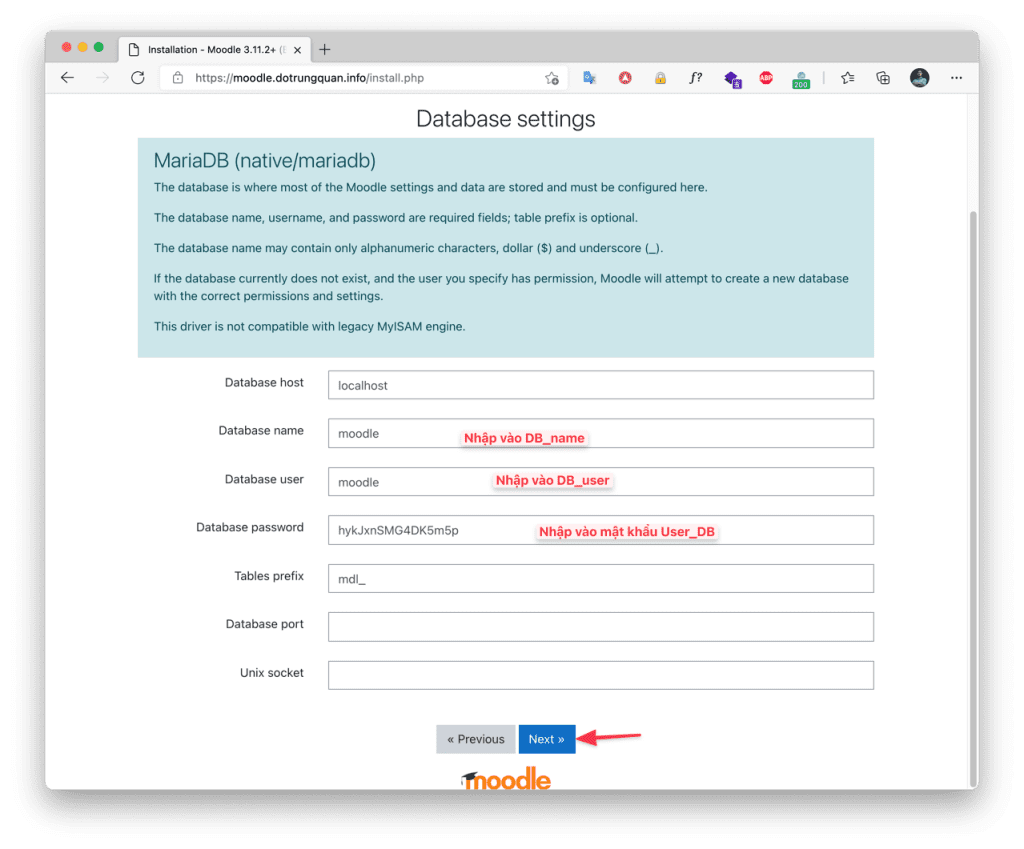
In the Database settings section, enter the information created in step 3, the other boxes you leave as default.
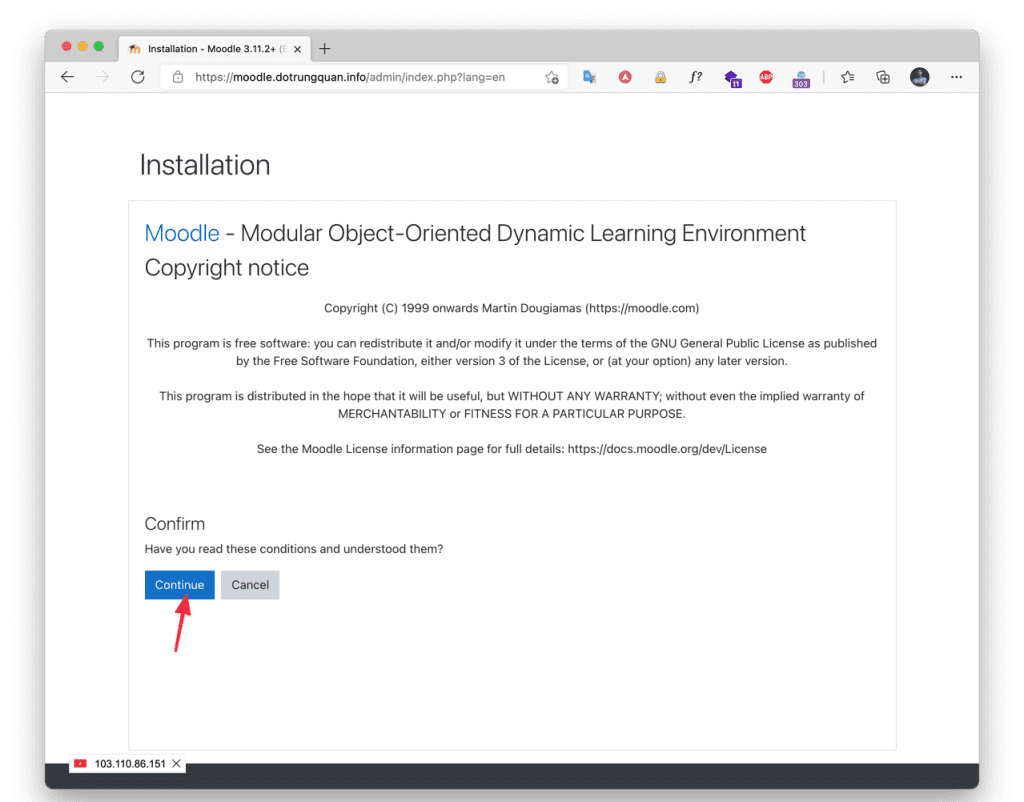
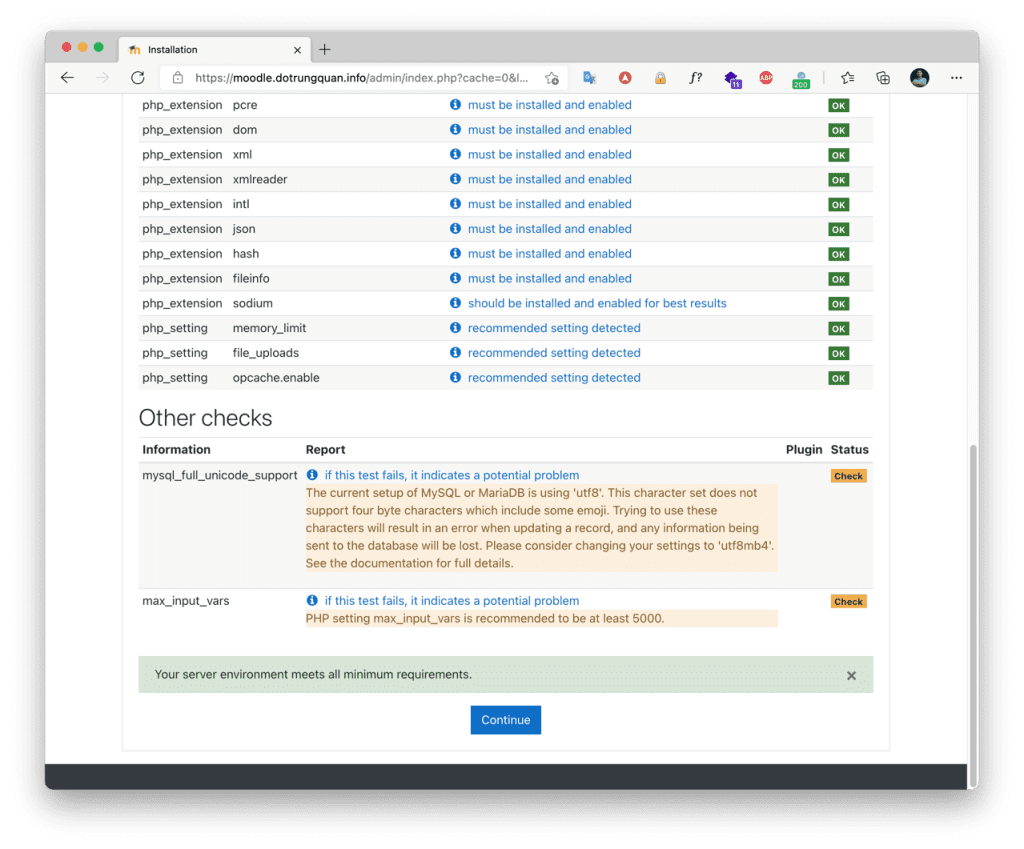
A check list of modules appears, then the extensions if available will show OK. If the extensions are missing, it will be reported here and you need to install these extensions.
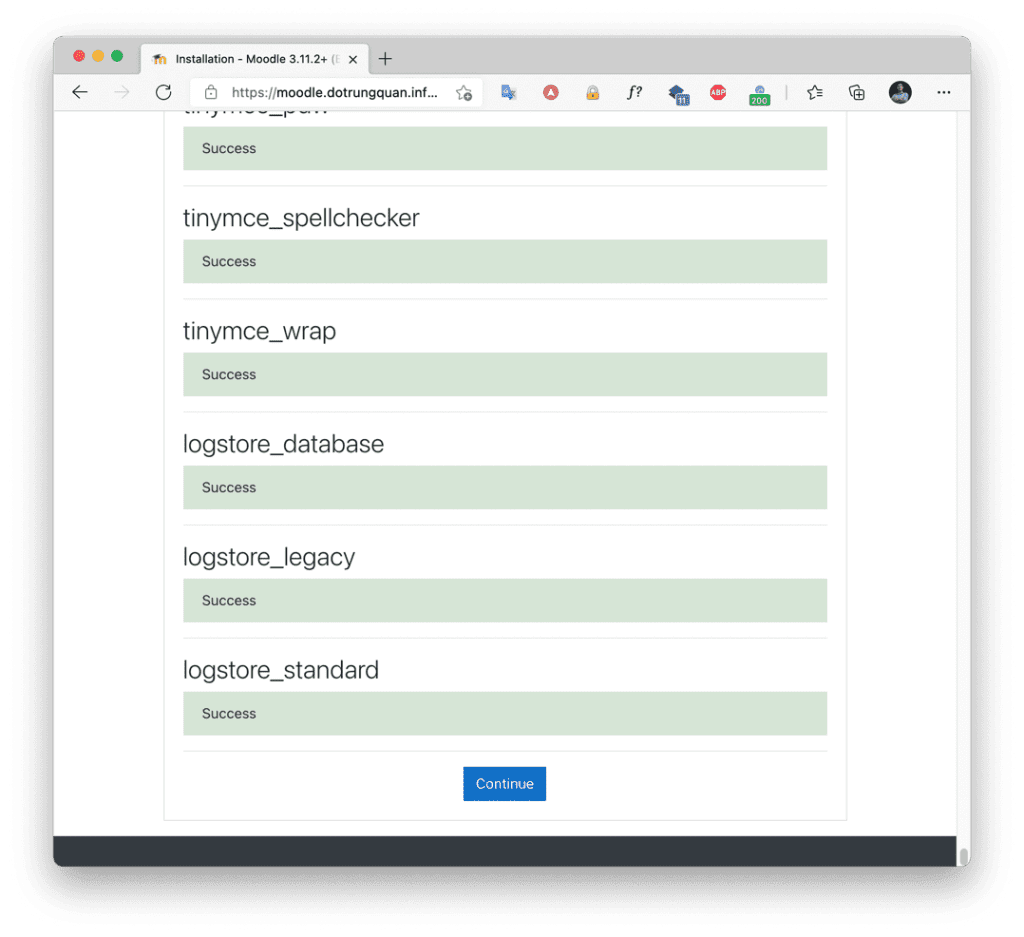
The setup time in this step takes 3-5 minutes. Please wait and select Continue to move to the next step.
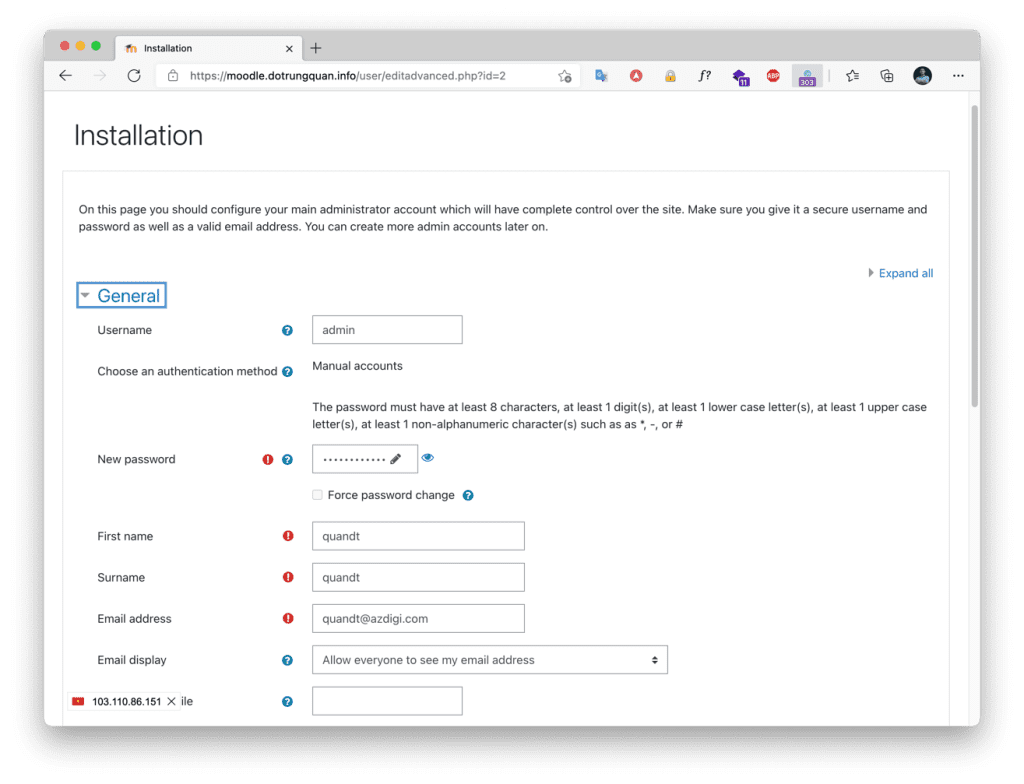
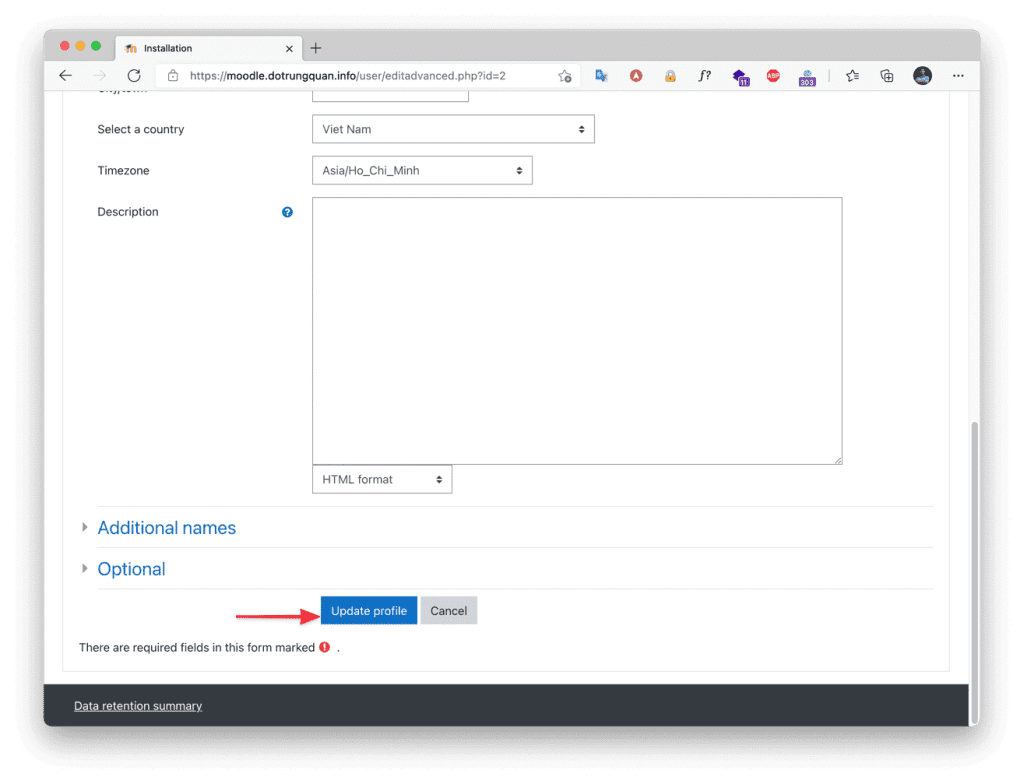
The next step is entering website management information, entering the required information and selecting Update Profile when finished.
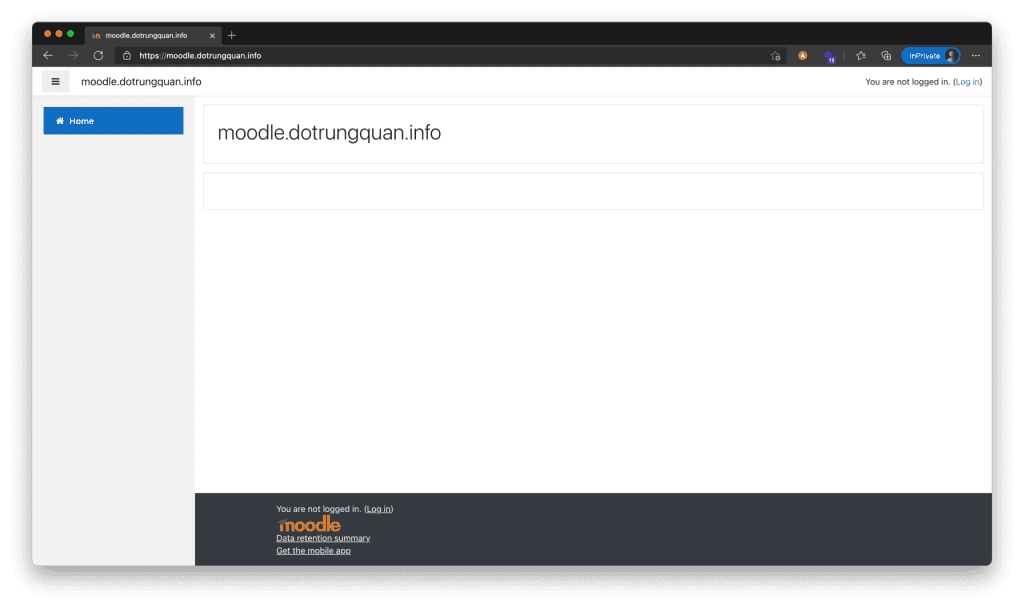
So you have finished installing Moodle on aaPanel.
Wishing you success!
In addition, you can refer to some other articles about aaPanel at the link below.
If you need assistance, you can contact support in the ways below:
- Hotline 247: 028 888 24768 (Ext 0)
- Ticket/Email: You use the email to register for the service and send it directly to: support@azdigi.com
- Refer to the best hosting at https://azdigi.com/

