
Setting up Basic Authentication on CloudPanel is an essential security measure for your website. In this article, let’s find out what Basic Authentication is and how to set them up on CloudPanel.
I. Overview
What is Basic Authentication?
A process of presenting your credentials to the system and the system validating that login. This information tells the system who you are. Allows the system to secure and confirm the user’s identity. The system can be anything, it can be a computer, a phone, or any other physical environment…
How it works
- In simple terms, it is a method to authenticate users when accessing resources via HTTP(s).
- Login information is sent with each request.
- The header structure will have Authorization: Basic
.
Now we will start to go into setting up Basic Authentication on CloudPanel, before going into the setup steps, you can check out information about CloudPanel at the link below:
II. Implementation guide
To set up Basic Authentication, follow these 2 steps.
Step 1: Set up Basic Authentication
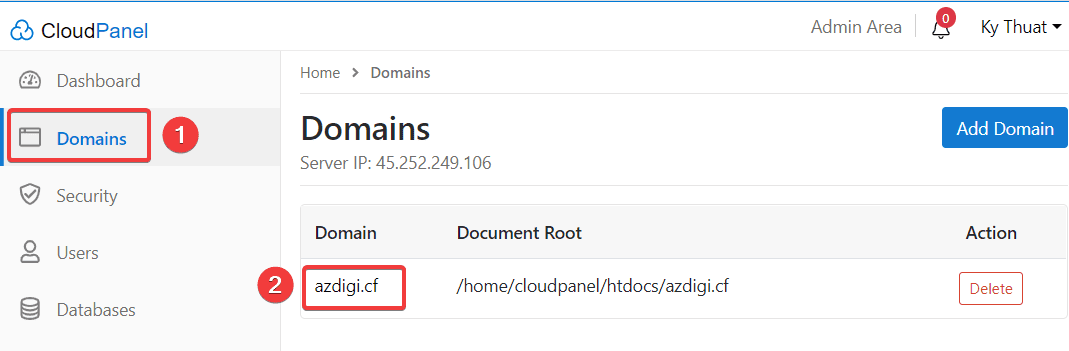
To set up Basic Authentication, first, you need to access the CloudPanel administration and use the User information containing the website to configure Basic Authentication.
After successfully logging in, you access Domains => Website cần thiết lập
At the next interface, there will be 3 customizations in turn as follows:
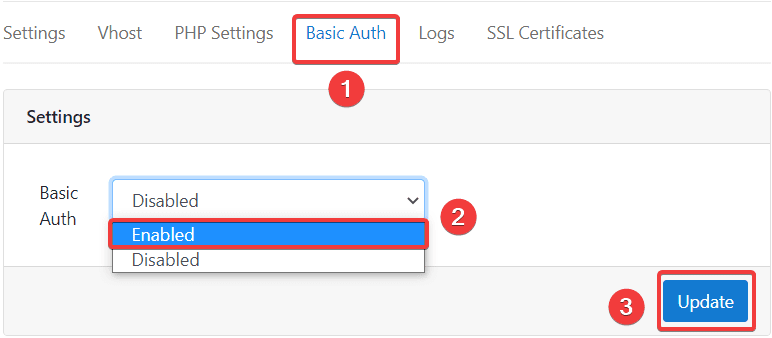
A. Settings
In the Settings section, select the Basic Auth tab => select Enabled => Update.
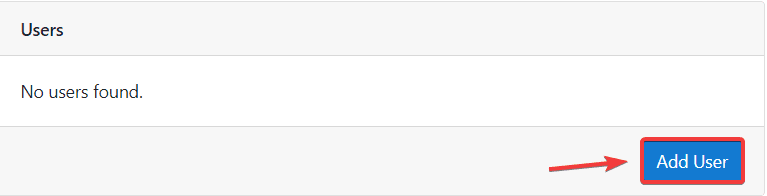
B. Users
Next, click Add User in the User section to add a user.
Please fill in the following information:
- User Name: Basic Auth account.
- Password: Basic Auth password.
=> click Add New User to create the user.

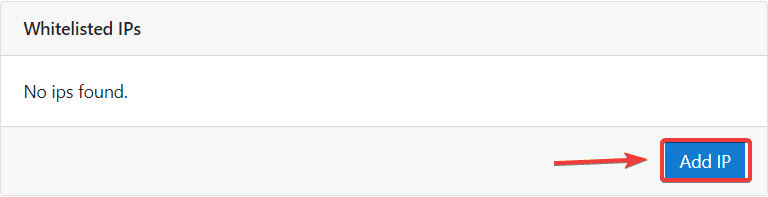
C. Whitelisted IPs
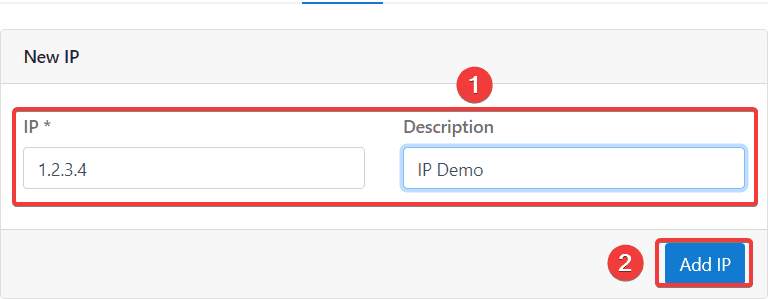
In the Whitelisted IPs section, if you want your IP to be able to access the website directly without having to enter Basic Auth information, then click Add IP.
Please fill in the following information:
- IP: Enter your server IP (If you don’t know your IP, you can quickly check by visiting the link https://ipecho.net/)
- Description: You can annotate information for the added IP (Example: Demo’s IP)
=> click Add IP to finish.
Thus, the Basic Auth setup is complete.
Step 2: Check the operation of Basic Authentication
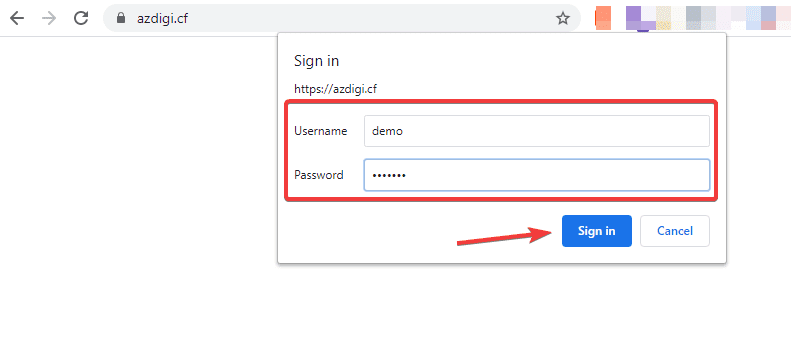
After setting up in step 1, you need to check if Basic Auth on your website is working properly by going to any browser and accessing the website you just configured.
As shown below, when I access the website, the system has asked me for Basic Auth authentication, you just need to fill in the corresponding Username/Password information created in Step 1 and click Sign in to log in.
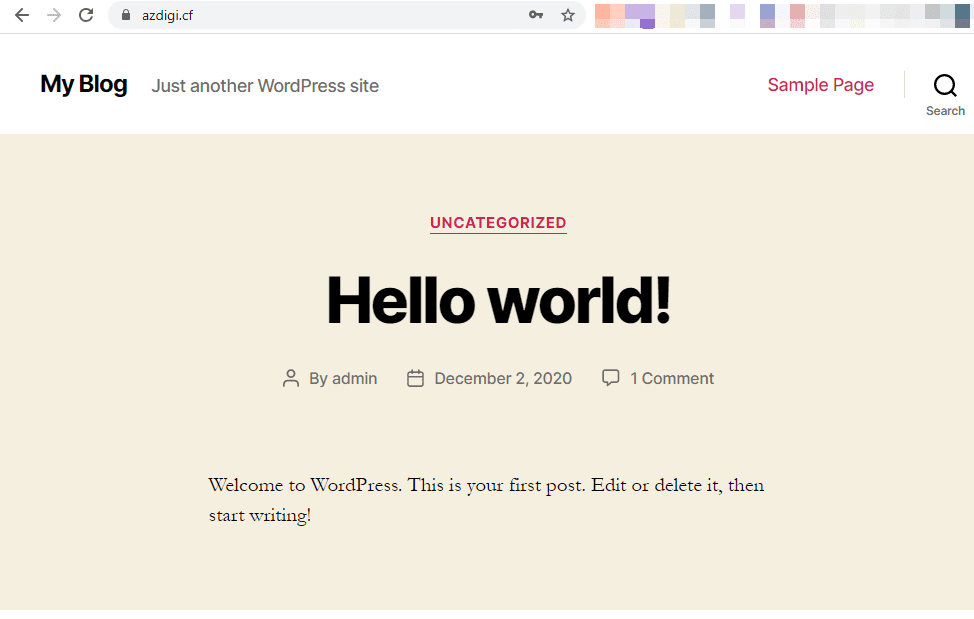
After successful login, you can access your website.
Note: If in Step 1 you configured to add IPs to the Whitelisted IPs section when accessing the website, you will be able to go directly to the website without going through the Basic Auth authentication step.
III. Summary
So AZDIGI showed you how to set up Basic Authentication on CloudPanel in the simplest and fastest way. Basic Authentication is the most basic authentication method you should know. Although basic, so far, many websites are still using this way to authenticate users.
Hopefully, this article will help you in improving the security of your website. If you find the article helpful, please share it widely.
In addition, you can check out some other articles about CloudPanel at the link below:
If you need assistance, you can contact support in the ways below:
- Hotline 247: 028 888 24768 (Ext 0)
- Ticket/Email: You use the email to register for the service and send it directly to: support@azdigi.com .
About the author

Thạch Phạm
Đồng sáng lập và Giám đốc điều hành của AZDIGI. Có hơn 15 năm kinh nghiệm trong phổ biến kiến thức liên quan đến WordPress tại thachpham.com, phát triển website và phát triển hệ thống.