How to install Redis on DirectAdmin. Before going into the installation steps, let’s find out what Redis is!
I. Overview
What is Redis?
Redis is open-source software that stores data structures in RAM on the server. This software can be used as a database or as a cache.
For WordPress websites, Redis can be used to cache the processing data declared by WP_Object_Cache. In short and easy to understand, Object Cache in WordPress will help the server save time processing queries in PHP or Database by storing cached data somewhere, and Redis will help us store these data in memory for faster access than saving to the hard drive.
What is Redis-PHP?
Redis php is an extension for PHP that provides an API to communicate with Redis’s key-value store.
II.Steps to install Redis on DirectAdmin
To install Redis on DirectAdmin, follow these steps:
First, you need SSH into the server/VPS that has DirectAdmin installed.
Step 1: Install Redis on DirectAdmin
Before installing Redis, update your system with YUM command and install epel-release.
yum update -y
yum install epel-release -y
yum install redis
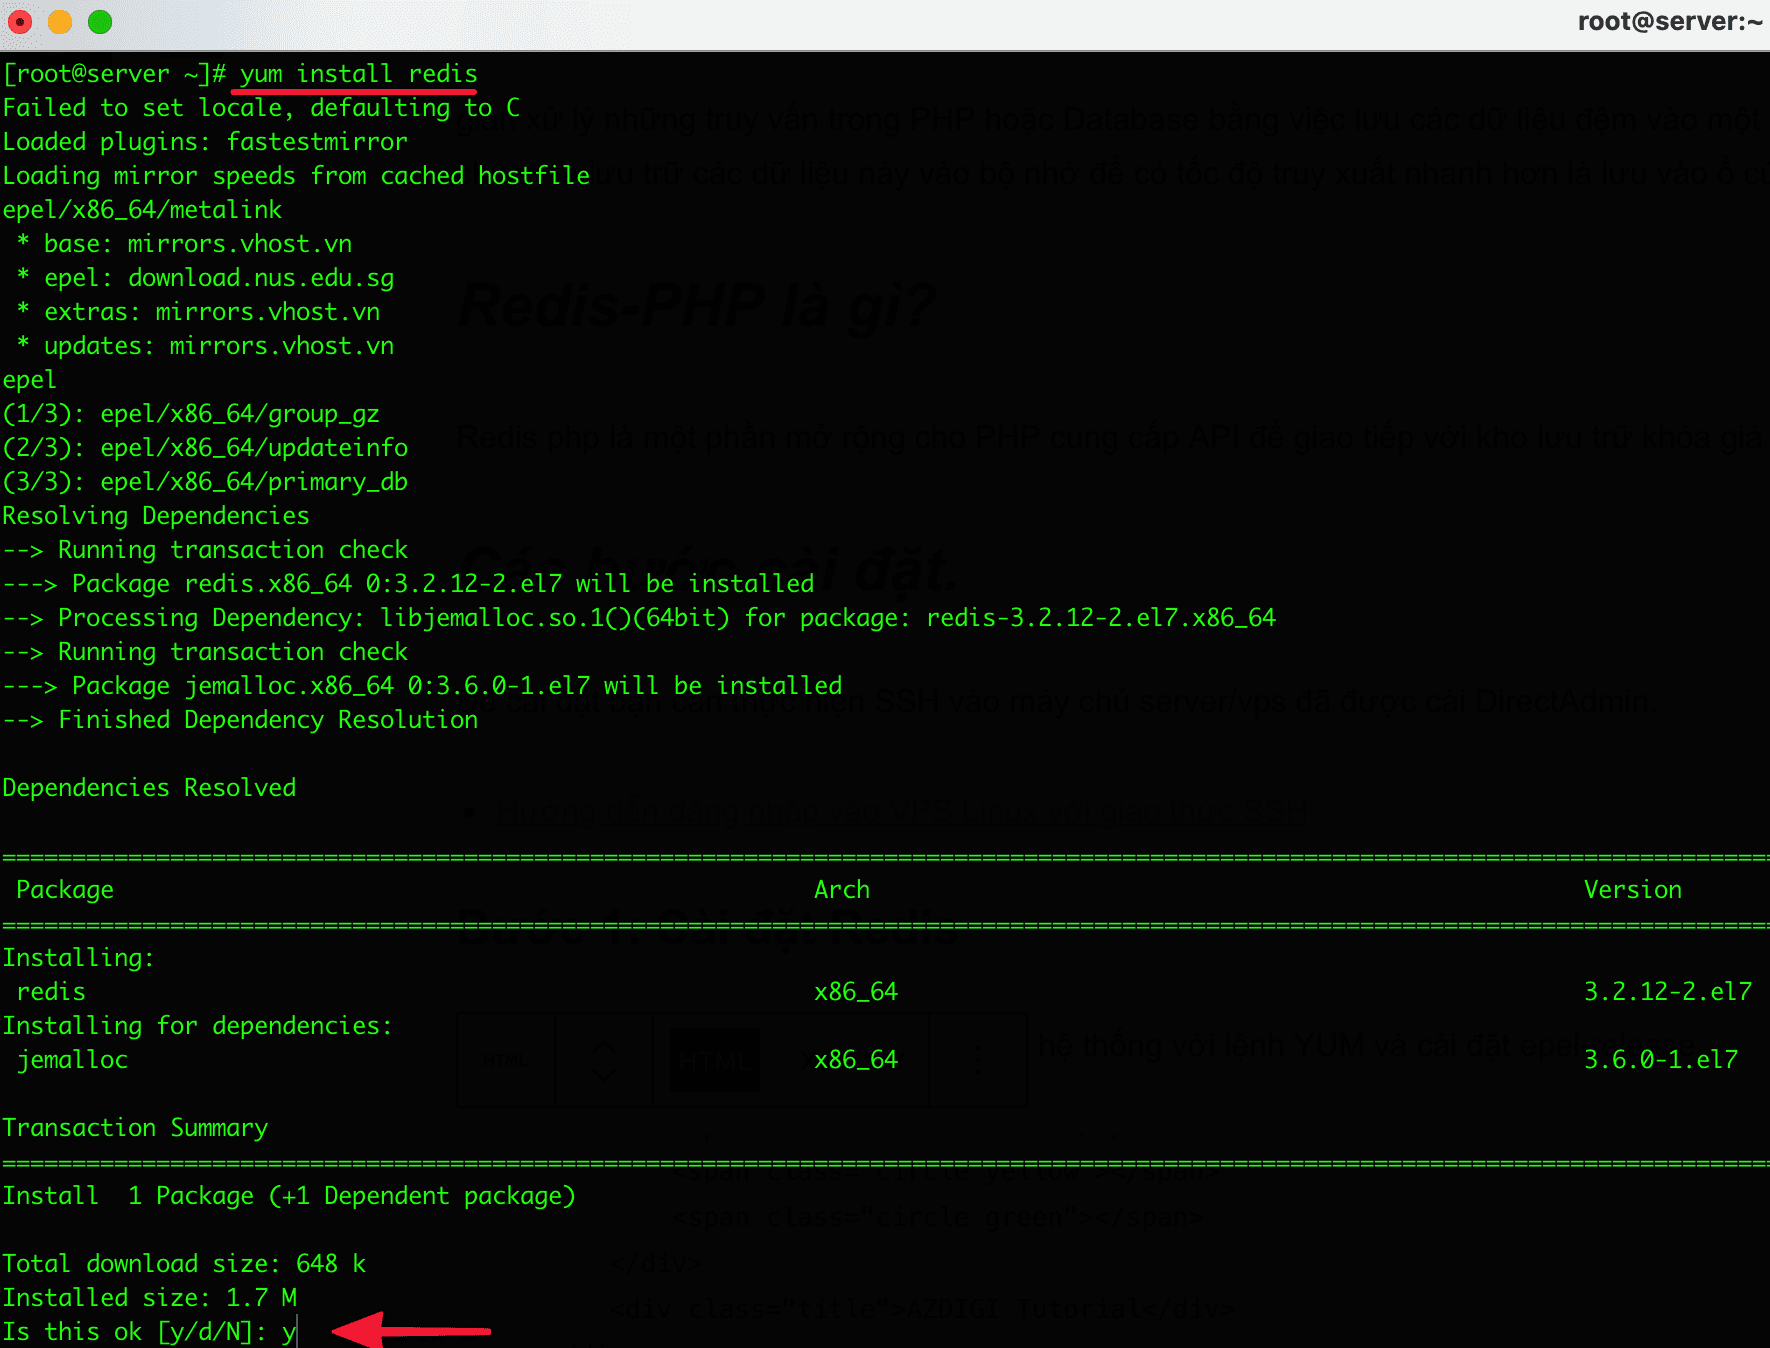
After the installation is complete, restart the system.
service redis restart
chkconfig redis on
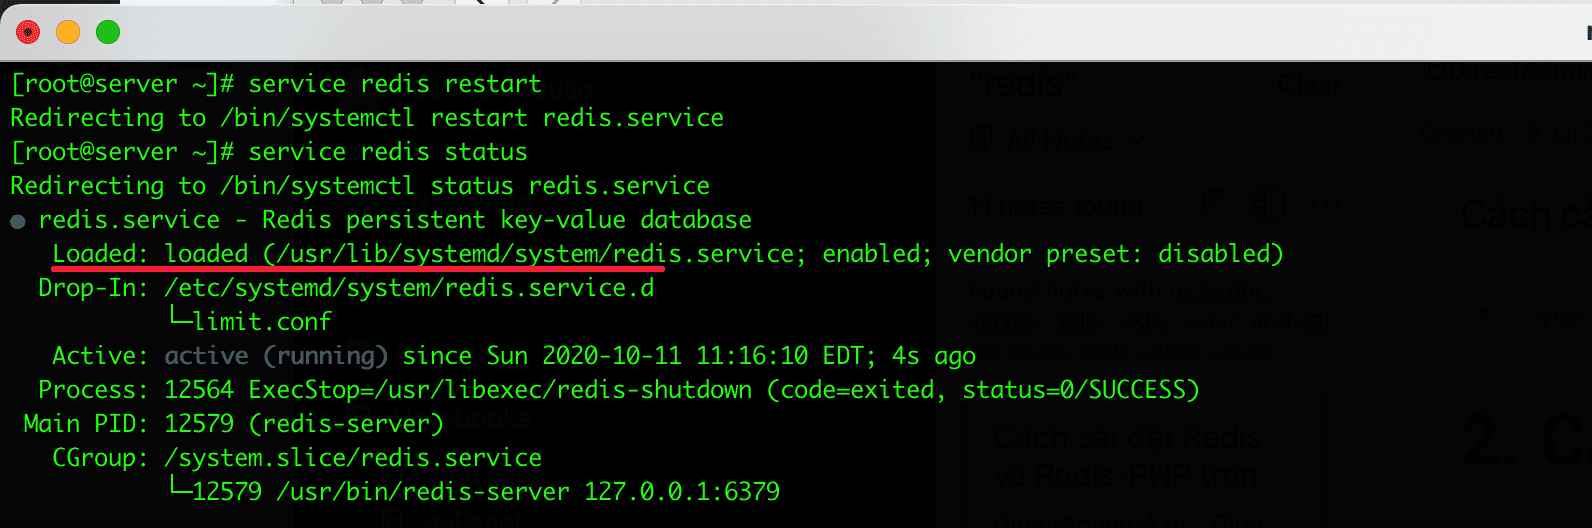
To make sure Redis is working on your system, you can check with the following command:
redis-cli MONITOR
.
.
.
Output
[root@server ~]# redis-cli MONITOR
OK
Step 2: Install Igbinary
After the installation of Redis to DirectAdmin is complete, the next install is igbinary. Igbinary is a replacement for the standard PHP serializer. Instead of consuming time and space representing text, igbinary stores PHP data structures in compact binary form. The savings are significant when using memcached or similar memory-based stores for serial data. It can reduce storage requirements by about 50%, depending on your data.
pecl install igbinary igbinary-devel
Step 3: Install PHP Redis
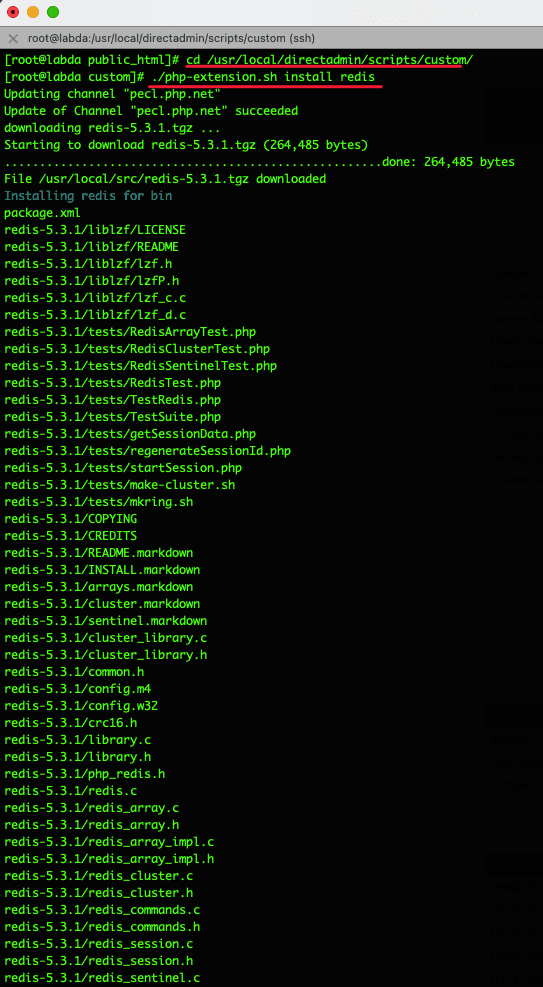
Next, you need to install the Redis PHP extension to make the communication environment, we will quickly install it with the available script as follows:
cd /usr/local/directadmin/scripts/custom
wget https://raw.githubusercontent.com/poralix/directadmin-utils/master/php/php-extension.sh -O php-extension.sh
chmod 750 php-extension.sh
./php-extension.sh install redis
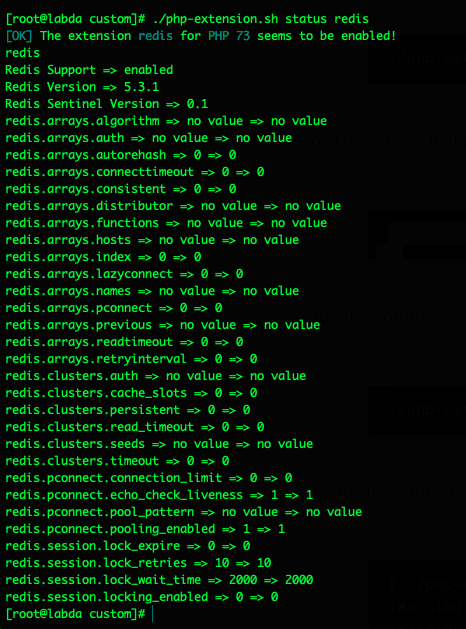
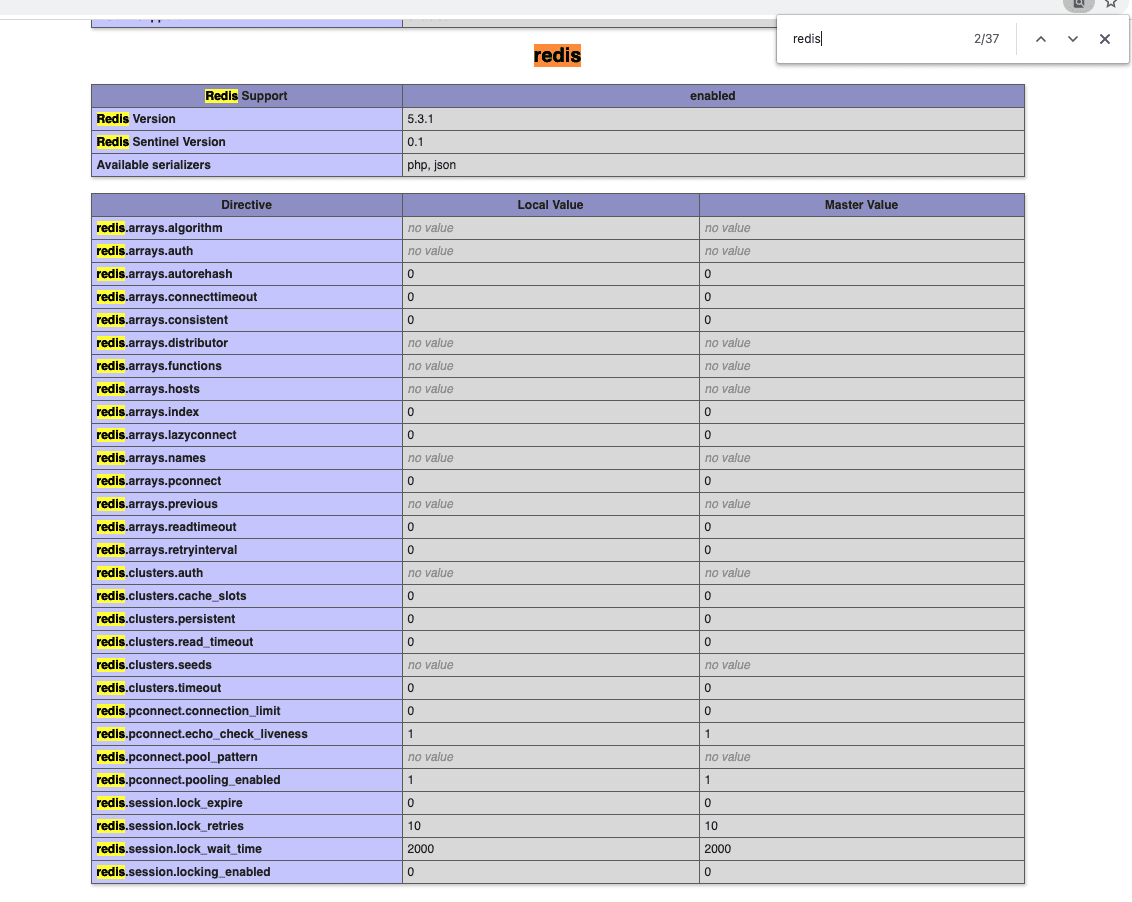
After the installation is complete, check again with the following command:
./php-extension.sh status redis
Or you can create a info.php file to check. To create, you go to where the source code is saved and create a file named info.php, then paste the following content into that file:
phpinfo(); ?>
Step 4: Configure Redis on the website
After installing Redis on DirectAdmin, please configure Redis on the website to work. Each source code will have a different configuration. In this article, I will show you to configure WordPress using the following 2 popular plugins:
1. Configuring Redis with Redis Object Cache
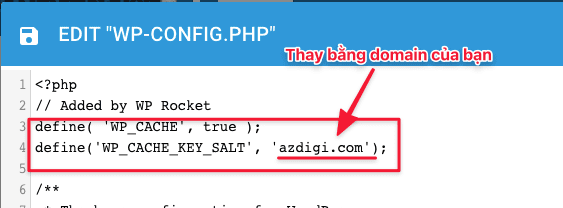
Before installing, open wp-config.php file and add the following code to authenticate the key:
define( 'WP_CACHE', true );
define('WP_CACHE_KEY_SALT', 'enter-your-domain');
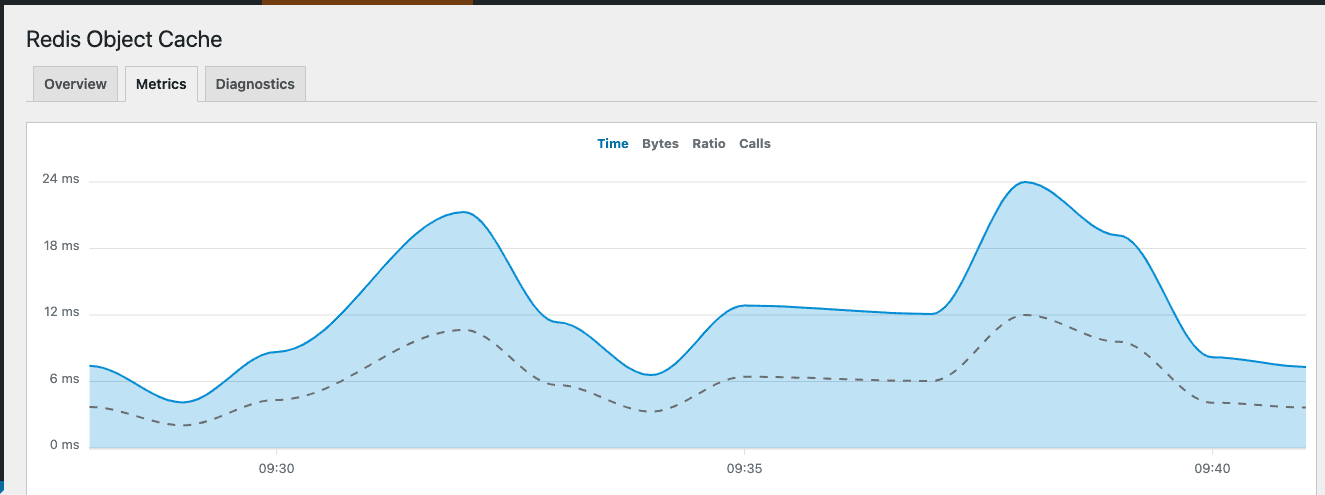
Install the Redis Object Cache plugin. It installs a PHP script that helps WordPress communicate with Redis
After installing the plugin, you need to enable it by going to Settings => Redis and clicking on Enable Object Cache to ensure the status shows “Connected”. If not, ensure you have added the configuration to the wp-config.php file above.

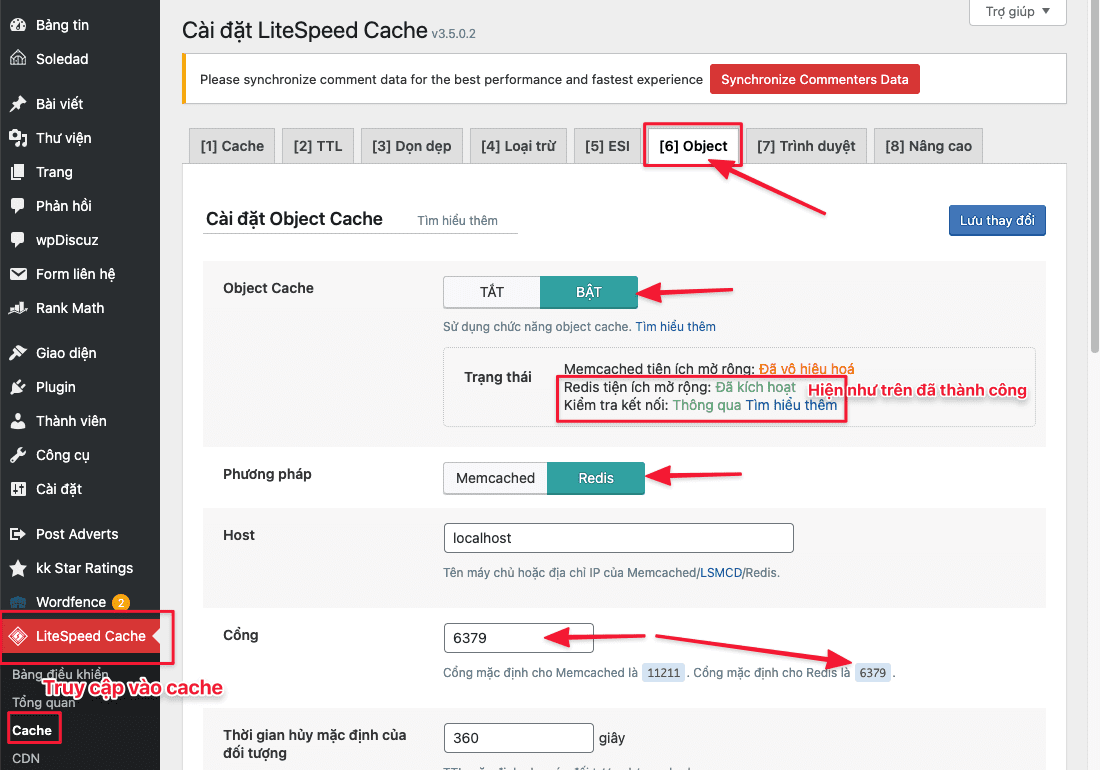
2. Configure Redis with LiteSpeed Cache
If your website uses the LiteSpeed cache, you can enable Redis directly on LiteSpeed Cache, which supports the connection environment.
You negative to LiteSpeed Cache => Cache => Objectand enable the configurations as below => Save changes. If in the line Check the connection “Passed”, you have successfully configured it.
III. Summary
Hopefully, this article will help you better understand Redis and how to connect to the website, thereby helping your website have better speed, reducing the load on system resources.
Wishing you success!
See more useful articles about DirectAdmin at the following link:
If you need assistance, you can contact support in the ways below:
- Hotline 247: 028 888 24768 (Ext 0)
- Ticket/Email: You use the email to register for the service and send it directly to: support@azdigi.com
About the author

Thạch Phạm
Đồng sáng lập và Giám đốc điều hành của AZDIGI. Có hơn 15 năm kinh nghiệm trong phổ biến kiến thức liên quan đến WordPress tại thachpham.com, phát triển website và phát triển hệ thống.