Installing WordPress with Docker Compose, Nginx, Apache and SSL with 5 steps.
Introduction
In this article, we will proceed to create a WordPress website through Docker Compose, Nginx, Apache, PHP 8.1, MariaDB and Let’s Encrypt on Ubuntu 22.04. And this setup is currently considered the most optimal combination and is being tested on Google Cloud with Ubuntu 22.04 operating system. And before going into the installation, you need to make sure to help yourself with the necessary conditions below:
Conditions the server needs to meet:
- Install Docker on Ubuntu 22.04
- Install Docker Compose on Ubuntu 22.04.
- The domain must be pointed to the server IP
Please ensure that you have fulfilled the above conditions.
If the above conditions are met, we will proceed to install and configure the WordPress website.
Implementation Guide
Step 1: Create a folder containing the project
First, SSH into your server and proceed to create a new project directory. I will name the project wp-project. (you can replace this name with whatever you want)
cd /home
mkdir wp-project
Step 2: Create a Docker Compose YML file
- Now you go to the project folder.
cd wp-project
- Create a new docker-compose.yml file.
nano docker-compose.yml
And add the content below to the newly created file.
version: "3.9"
services:
    wordpress:
        container_name: wordpress
        image: wordpress:php8.1-apache
        restart: always
        stdin_open: true
        tty: true
        environment:
            WORDPRESS_DB_HOST: mariadb
            WORDPRESS_DB_USER: db_user
            WORDPRESS_DB_PASSWORD: db_user_pass
            WORDPRESS_DB_NAME: db_name
        volumes:
            - wordpress_data:/var/www/html
            - ./wordpress:/var/www/html
    mariadb:
        container_name: mariadb
        image: mariadb
        restart: always
        environment:
            MYSQL_DATABASE: db_name
            MYSQL_USER: db_user
            MYSQL_PASSWORD: db_user_pass
            MYSQL_RANDOM_ROOT_PASSWORD: 'root_pass'
        volumes:
            - db_data:/var/lib/mysql
    nginx:
        container_name: nginx
        image: nginx:latest
        restart: unless-stopped
        ports:
            - 80:80
            - 443:443
        volumes:
            - ./nginx/conf:/etc/nginx/conf.d
            - ./certbot/conf:/etc/nginx/ssl
            - ./certbot/data:/var/www/html
    certbot:
        container_name: certbot
        image: certbot/certbot:latest
        command: certonly --webroot --webroot-path=/var/www/html --email youremail@domain.com --agree-tos --no-eff-email -d domain.com -d www.domain.com
        volumes:
            - ./certbot/conf:/etc/letsencrypt
            - ./certbot/logs:/var/log/letsencrypt
            - ./certbot/data:/var/www/html
volumes:
    db_data:
    wordpress_data:
Note: In the part I bolded, you can correct it with your information.
Step 3: Configure Nginx
Step 3: Configure Nginx According to the configuration content of the docker-compose.yml file, we will need to create the default.conf file inside the nginx/conf path, so you use the following command to create the file/folder you need.
- Create an nginx/conf folder
mkdir -p /root/nginx/conf
- Create the default.conf file inside nginx/conf
nano /root/nginx/conf/default.conf
And add the content below to the newly created file.
server {
    listen [::]:80;
    listen 80;
server_name domain.com www.domain.com;
root /var/www/html;
    index index.php;
location ~ /.well-known/acme-challenge {
        allow all;
        root /var/www/html;
    }
location / {
        try_files $uri @apache;
    }
location ~ ^/.user.ini {
        deny all;
    }
location ~*  .(svg|svgz)$ {
        types {}
        default_type image/svg+xml;
    }
location = /favicon.ico {
        log_not_found off;
        access_log off;
    }
location = /robots.txt {
        allow all;
        log_not_found off;
        access_log off;
    }
location @apache {
        proxy_set_header X-Real-IP  $remote_addr;
        proxy_set_header X-Forwarded-For $remote_addr;
        proxy_set_header X-Forwarded-Proto $scheme;
        proxy_set_header Host $host;
        proxy_pass http://wordpress:80;
    }
location ~[^?]*/$ {
        proxy_set_header X-Real-IP  $remote_addr;
        proxy_set_header X-Forwarded-For $remote_addr;
        proxy_set_header X-Forwarded-Proto $scheme;
        proxy_set_header Host $host;
        proxy_pass http://wordpress:80;
    }
location ~ .php$ {
        proxy_set_header X-Real-IP  $remote_addr;
        proxy_set_header X-Forwarded-For $remote_addr;
        proxy_set_header X-Forwarded-Proto $scheme;
        proxy_set_header Host $host;
        proxy_pass http://wordpress:80;
    }
location ~/. {
        deny all;
        access_log off;
        log_not_found off;
    }
}
Note: In the part I bolded, please replace it with your domain name.
Step 4: Deploy WordPress with Docker Compose
Note: You need to make sure that you are standing in the folder containing the project, here I created earlier with the name wp-project (in step 1)
You can start the containers with the following command:
cd wp-project
docker-compose up -d
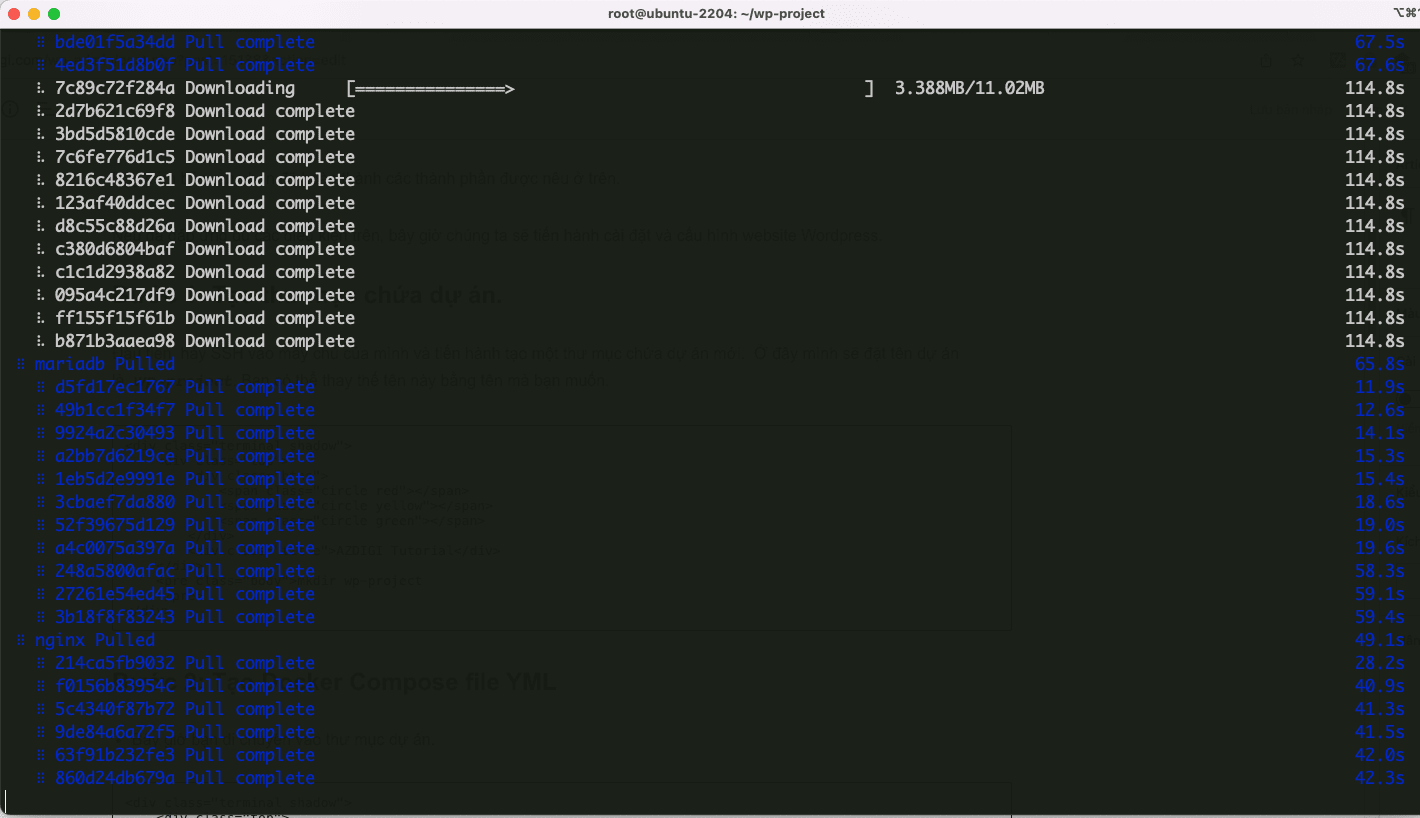
The running process will take place as shown below, you need to wait for the running process to complete.
If the result shown below is successful:
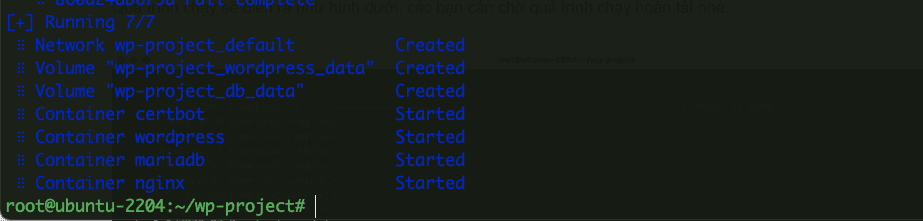
When all containers are started, you will see two directories: certbot and wordpress created and located with the docker-compose.yml file. In there:
- cerbot: Contains files related to your SSL certificate.
- wordpress: Contains the source code of your WordPress website.
To view containers, you can execute the following command:
docker-compose ps
Step 5: Configure Let’s Encrypt SSL with Nginx
Once you have a Let’s Encrypt SSL certificate, you can configure HTTPS and redirect your site to HTTPS by editing the default.conf configuration file as follows:
nano /root/nginx/conf/default.conf
And add the following content:
server {
    listen [::]:80;
    listen 80;
server_name domain.com www.domain;
return 301 https://domain.com$request_uri;
}
server {
    listen [::]:443 ssl http2;
    listen 443 ssl http2;
server_name domain.com;
ssl_certificate /etc/nginx/ssl/live/domain.com/fullchain.pem;
    ssl_certificate_key /etc/nginx/ssl/live/domain.com/privkey.pem;
return 301 https://www.domain.com$request_uri;
}
server {
    listen [::]:443 ssl http2;
    listen 443 ssl http2;
server_name www.domain.com;
ssl_certificate /etc/nginx/ssl/live/domain.com/fullchain.pem;
    ssl_certificate_key /etc/nginx/ssl/live/domain.com/privkey.pem;
root /var/www/html;
    index index.php;
location ~ /.well-known/acme-challenge {
         allow all;
         root /var/www/html;
    }
location / {
        try_files $uri @apache;
    }
location ~ ^/.user.ini {
        deny all;
    }
location ~*  .(svg|svgz)$ {
        types {}
        default_type image/svg+xml;
    }
location = /favicon.ico {
        log_not_found off;
        access_log off;
    }
location = /robots.txt {
        allow all;
        log_not_found off;
        access_log off;
    }
location @apache {
        proxy_set_header X-Real-IP  $remote_addr;
        proxy_set_header X-Forwarded-For $remote_addr;
        proxy_set_header X-Forwarded-Proto $scheme;
        proxy_set_header Host $host;
        proxy_pass http://wordpress:80;
    }
location ~[^?]*/$ {
        proxy_set_header X-Real-IP  $remote_addr;
        proxy_set_header X-Forwarded-For $remote_addr;
        proxy_set_header X-Forwarded-Proto $scheme;
        proxy_set_header Host $host;
        proxy_pass http://wordpress:80;
    }
location ~ .php$ {
        proxy_set_header X-Real-IP  $remote_addr;
        proxy_set_header X-Forwarded-For $remote_addr;
        proxy_set_header X-Forwarded-Proto $scheme;
        proxy_set_header Host $host;
        proxy_pass http://wordpress:80;
    }
location ~/. {
        deny all;
        access_log off;
        log_not_found off;
    }
} Note: Replace domain.com with your domain name.
I will make a demo with the domain azdigi.space so I edit it like below:

After editing the file, save it and restart Nginx with the command:
docker-compose restart nginx
Now go to any browser and access the website address you have set up, now you will see your website has been redirected to https and displays the default WordPress settings page. You proceed to enter the Database information declared in the docker-compose.yml file (in Step 2: Create Docker Compose YML file) to complete. And the WordPress interface after the setup is complete will look like this:
Above are all the steps to install a complete WordPress website with Docker Compose, Nginx, Apache and SSL. With this configuration, it is probably the most optimal at the moment and is made into a Template by reputable providers like Google Cloud and put into use. Hopefully, this article will be helpful to you. Wishing you success!
You can refer to other instructions at the link below:
If you need support, you can contact support in the ways below:
- Hotline 247: 028 888 24768 (Ext 0)
- Ticket/Email: You use the email to register for the service and send it directly to: support@azdigi.com .
You might also like
- How to install NGINX Proxy Apache 2.x
- Reverse Proxy Ollama with Nginx - Access AI via Custom Domain with HTTPS
- How to install Nginx Proxy Manager with Docker Compose on Ubuntu 22.04
- How to Install Laravel with Nginx on CentOS 7 (LEMP)
- How to create a WordPress website with LEMP on Ubuntu 22.04
- How to install Odoo on CentOS 8 (Open Source ERP and CRM)
About the author

Thạch Phạm
Đồng sáng lập và Giám đốc điều hành của AZDIGI. Có hơn 15 năm kinh nghiệm trong phổ biến kiến thức liên quan đến WordPress tại thachpham.com, phát triển website và phát triển hệ thống.