![[WordPress Manager] How to use WordPress Staging on Softaculous](https://img.azdigi.com/wp-content/uploads/2021/06/Screenshot-2021-06-28-at-22.06.06.png)
I. OVERVIEW
Currently, hosting in the world in general and AZDIGI in particular has a function called Staging and this function is integrated into the application on cPanel with Softaculous. And as you know, Staging is a very useful feature for every website administrator. Staging helps create the environment for the main web-based website building. And when the Staging website is complete, it can quickly be synchronized to the main website.
Let’s say you have a WordPress website and you need to upgrade and add more features to your website. But how do you not want to affect the main web? You can’t edit directly on the main web because it’s live and you can’t download it locally. Therefore, the Staging function will help you handle it quickly. Please follow the steps below.
II. IMPLEMENTATION GUIDE
I have 2 demo websites as follows:
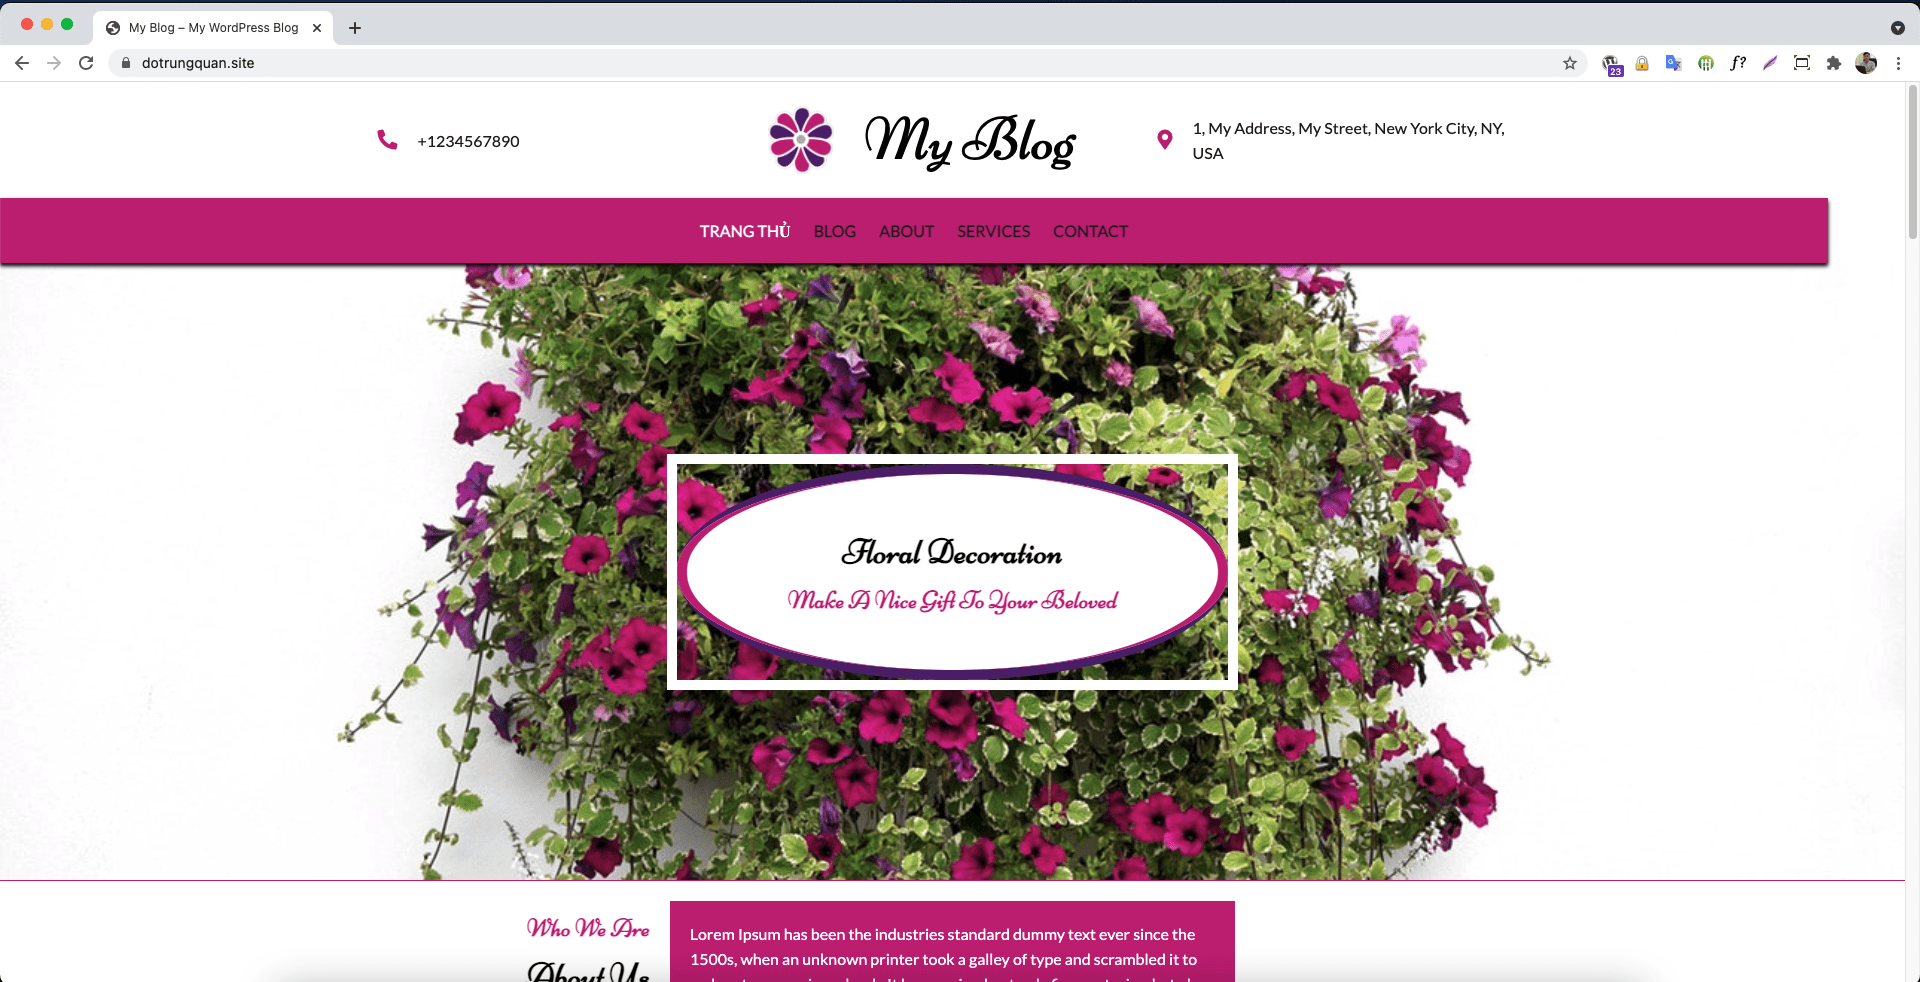
- The main website: dotrungquan.site
- The staging website: staging.dotrungquan.site and the website that needs Staging must be pointed to the server IP.
Site dotrungquan.site is a working WordPress website. Site dotrungquan.site is a working WordPress website.
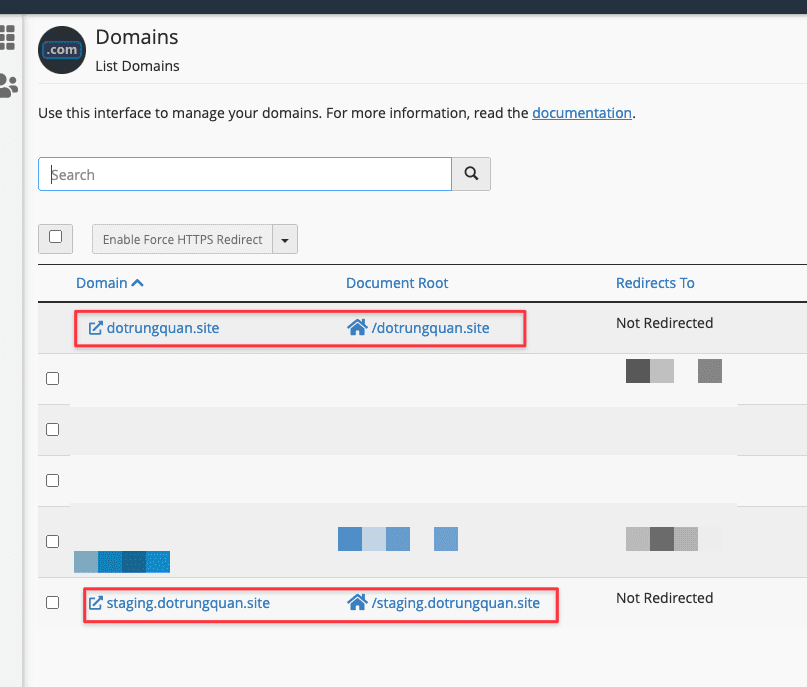
Step 1: Create a domain or subdomain
I will create a subdomain called staging.dotrungquan.site (you can name it however you like)
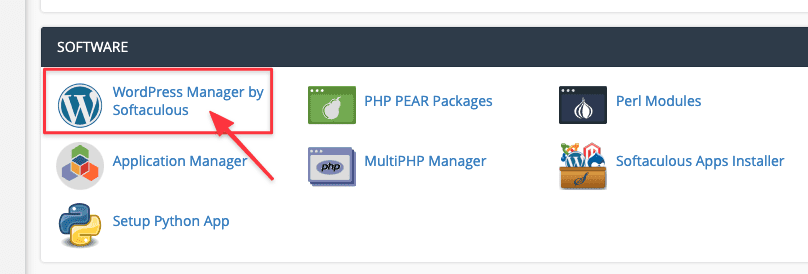
Step 2: Implement Staging with WordPress Manager
When everything is ready, let’s start Staging. On cPanel, go to WordPress Manager by Softaculous in the SOFTWARE section.
The system will direct you to WordPress Management. If you don’t see your website here, press the Scan button.
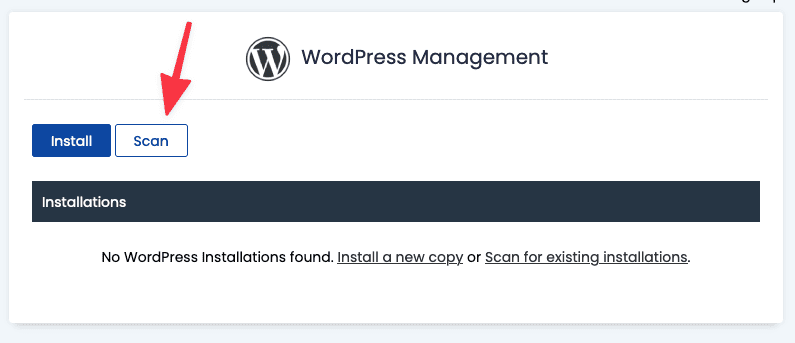
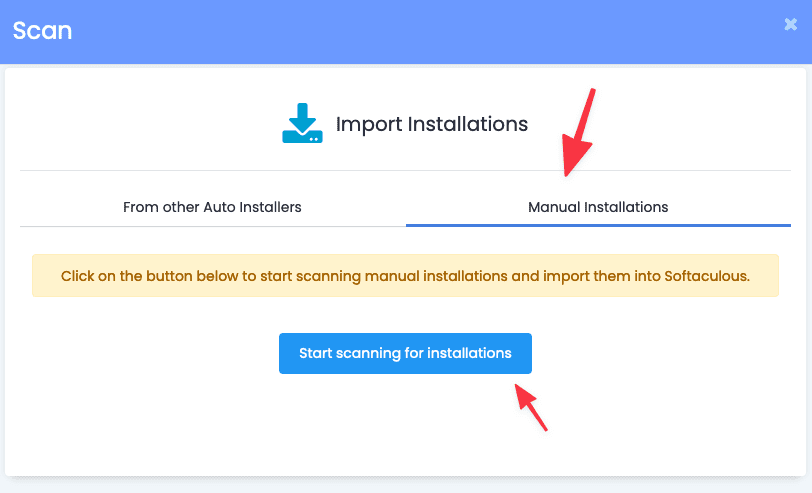
Select Manual Installations tab and click Start scanning for installations button.
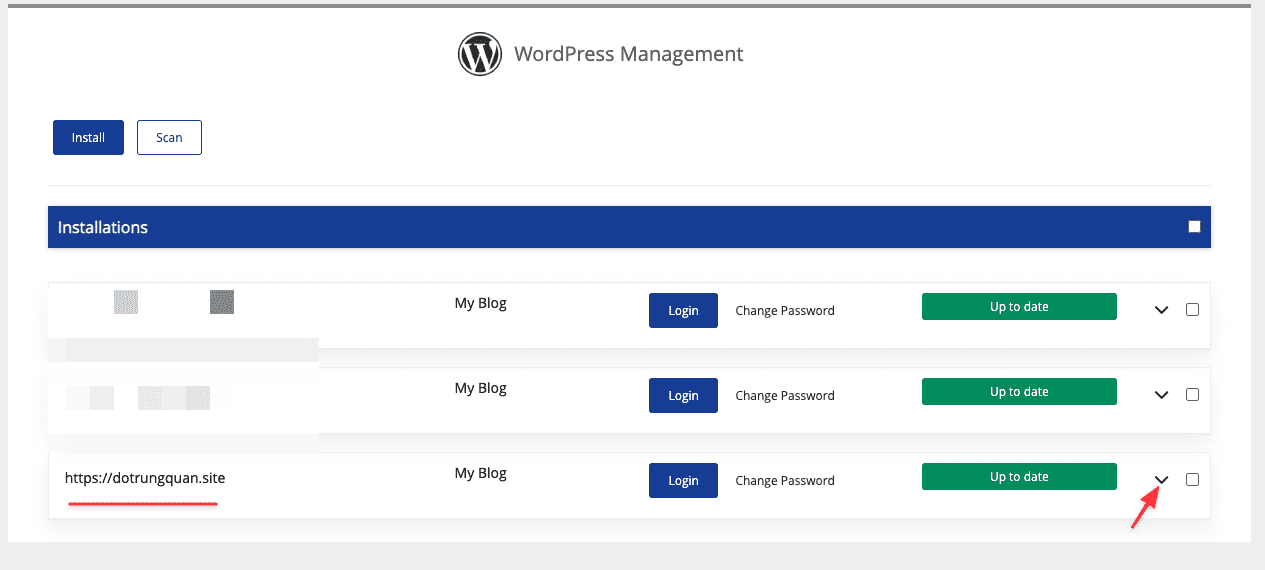
After the scan is complete, you will see the WordPress websites running on the host, you can proceed to create staging now.
Select the website that needs Staging and click on the corresponding v symbol.
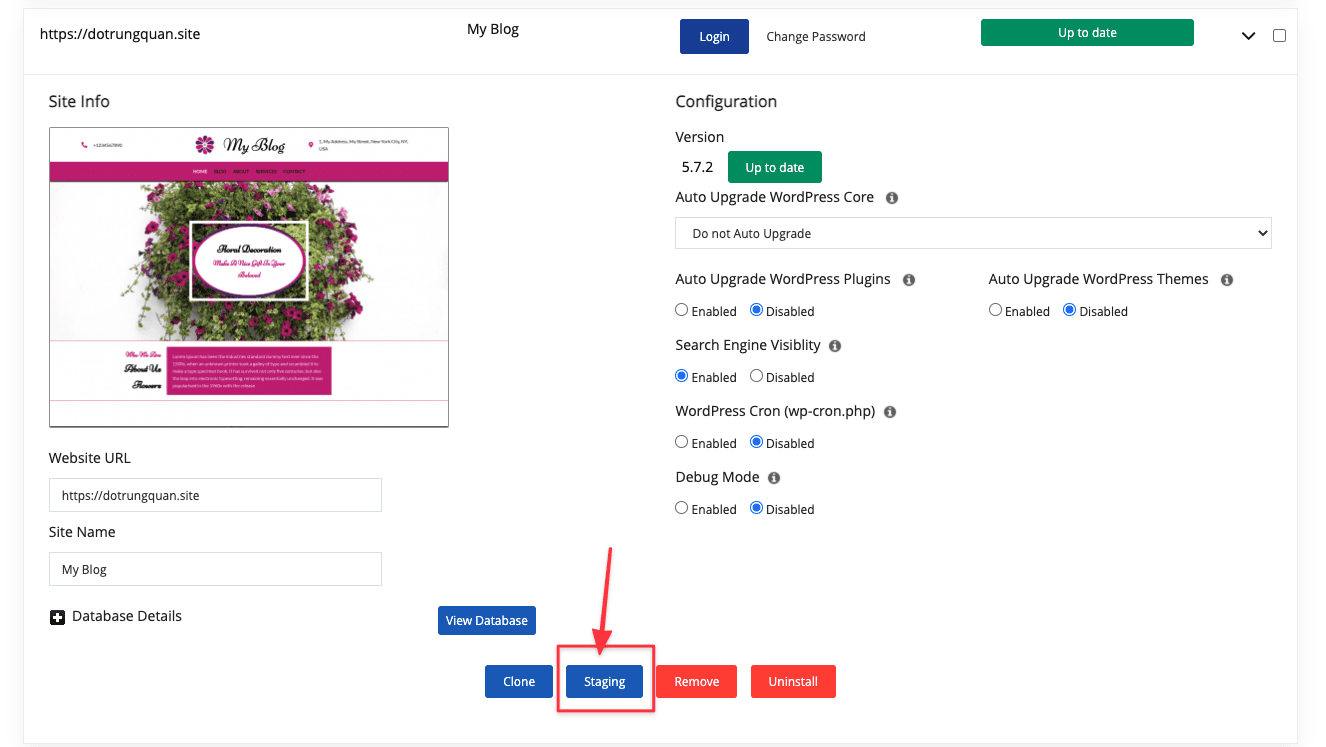
After that, you will see the Staging feature display => click on it.
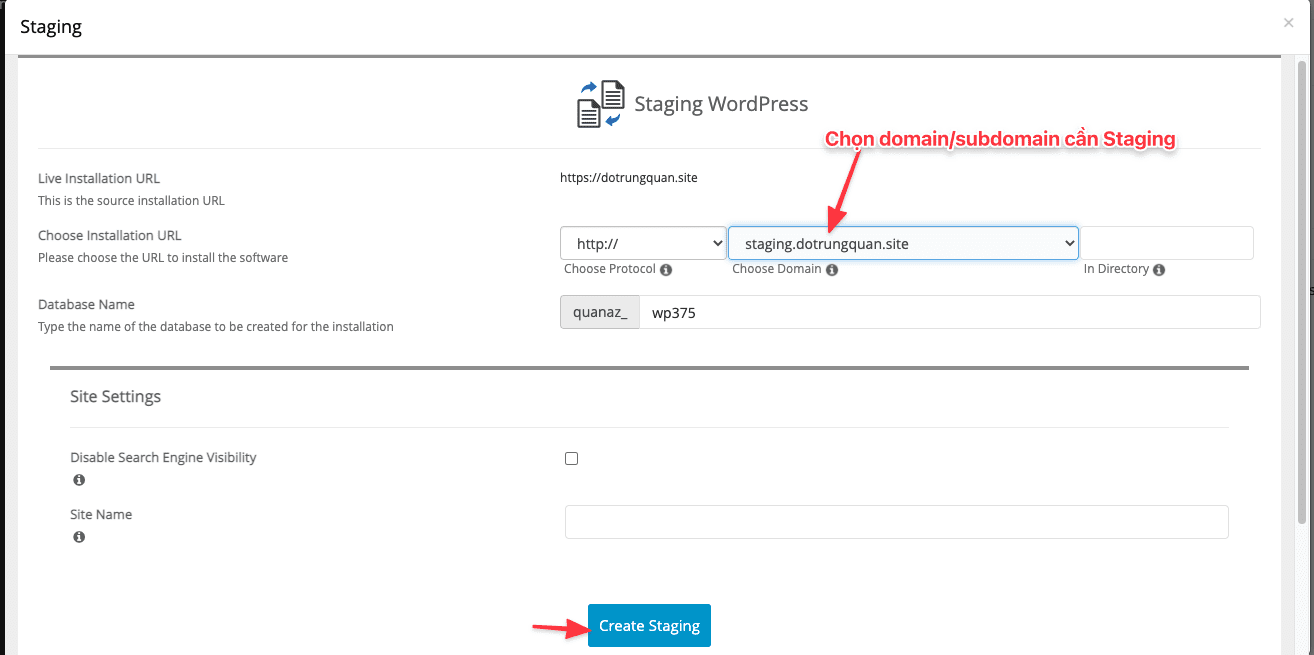
Next, in Staging WordPress, choose the following:
- Live Installation URL: select domain, subdomain need staging.
- Database Name: leave the default or change as you like for easy remembering.
Finally, click Create Staging to start creating.
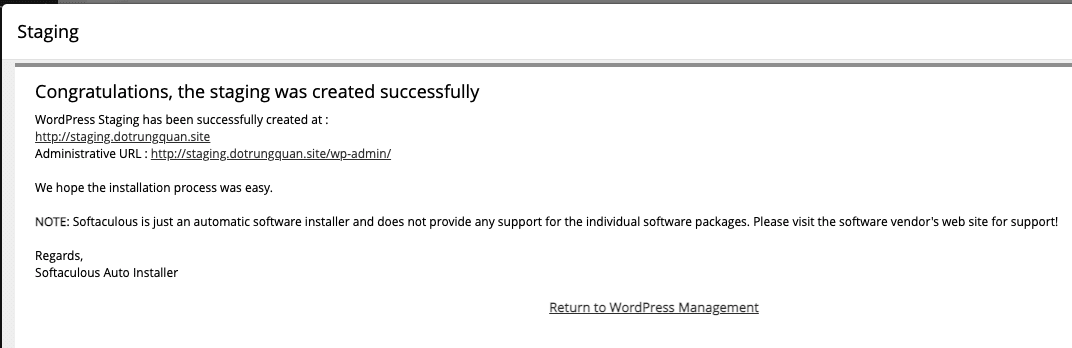
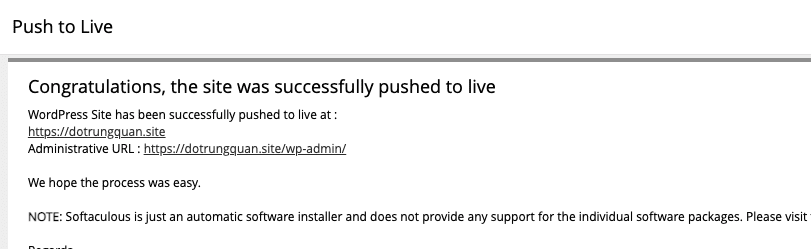
Staging time will depend on the size of your web. And when Staging is successful, you will receive the message as below:
Step 3:Copy/Sync Staging to the main website
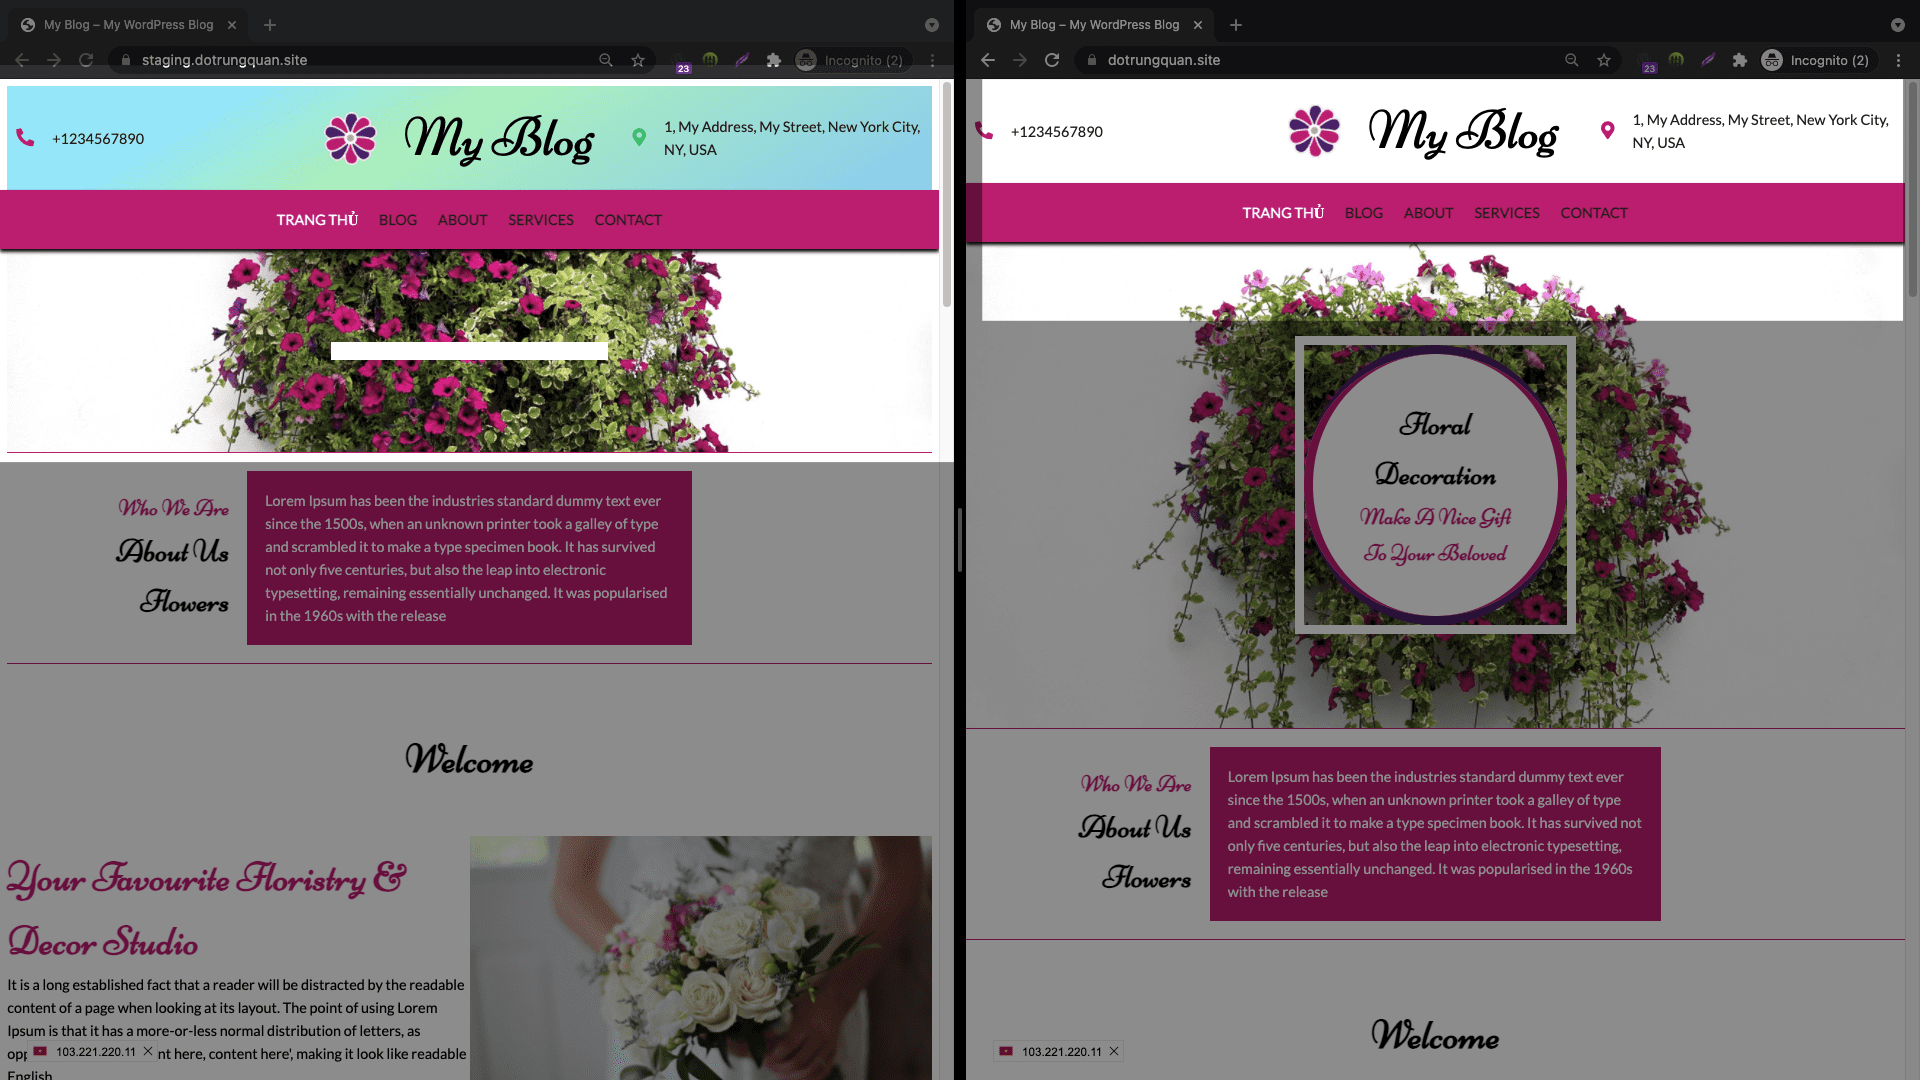
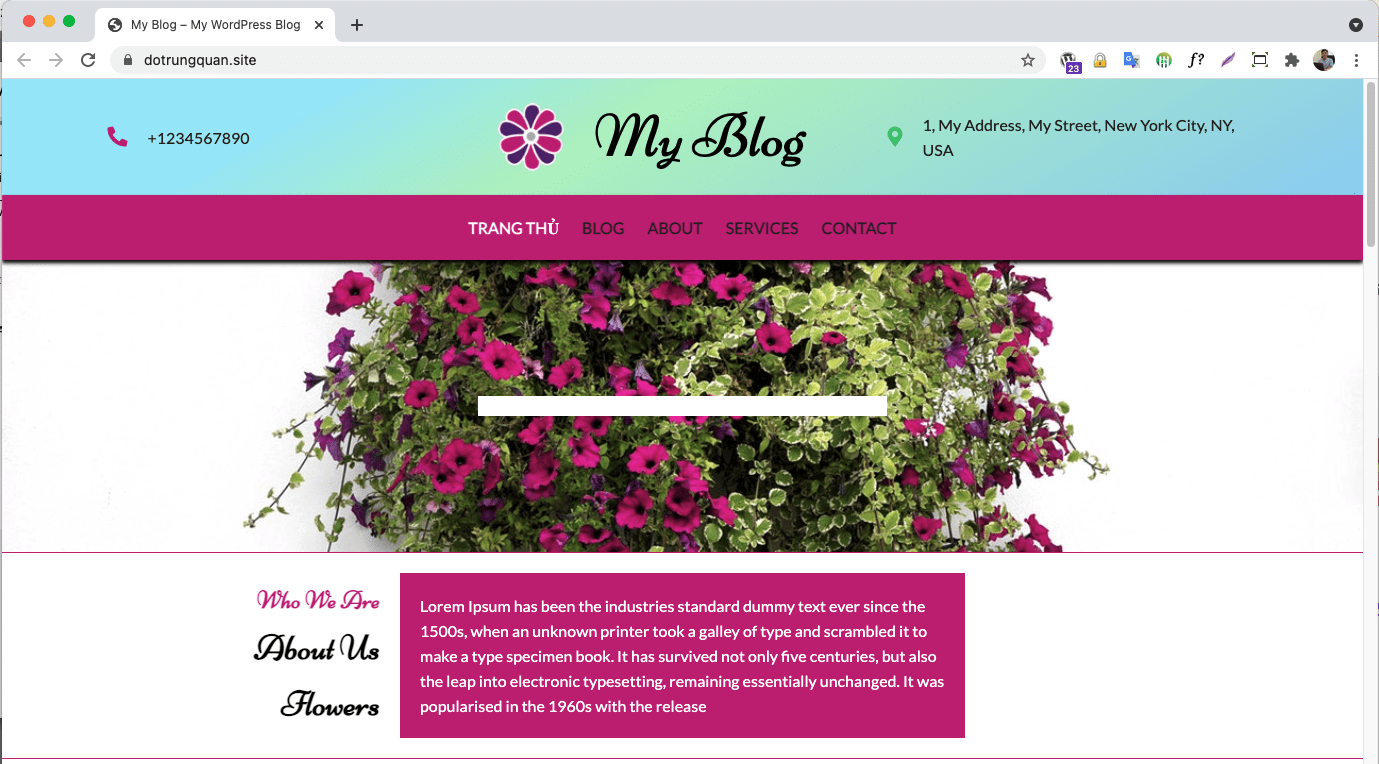
Once the staging is complete, you can login to the staging site to edit without worrying about affecting the main website. Below is the staging site and the main website. On the staging site, I tweaked the css a bit. And when finished, I will copy/sync back to the original website.
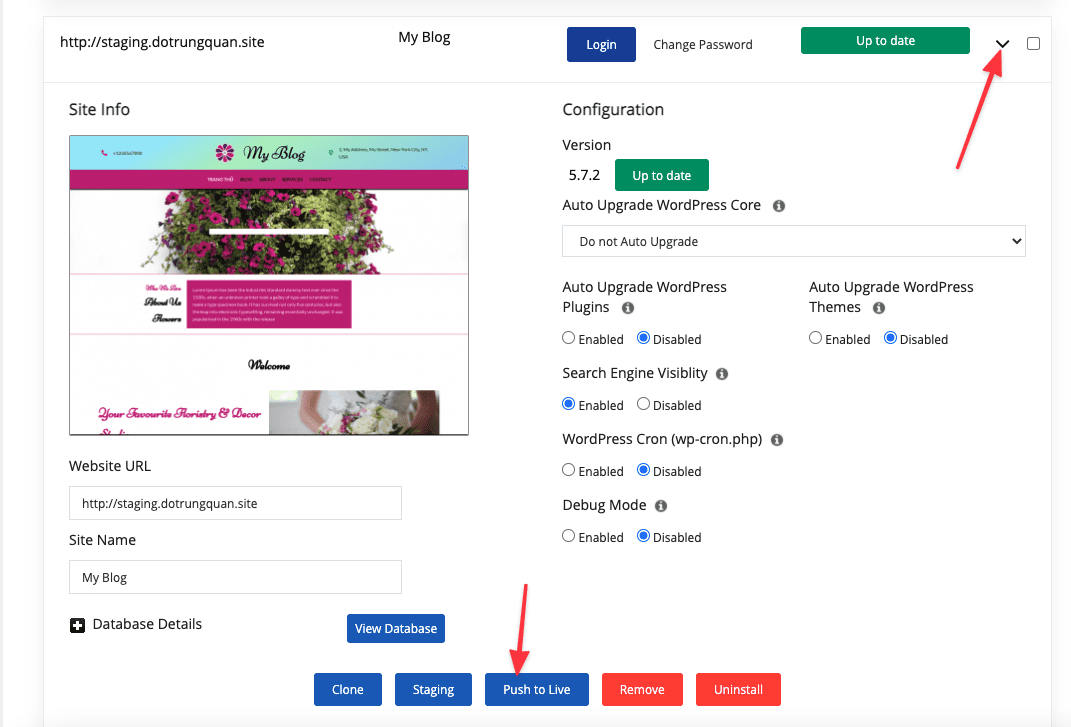
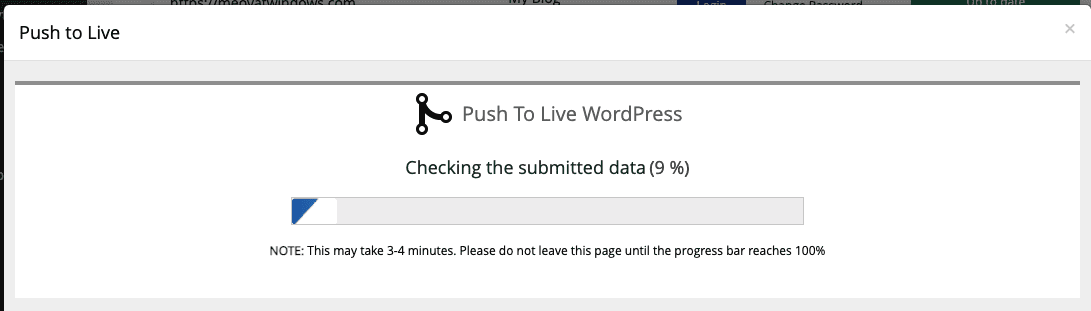
To do this, go back to WordPress Manage => select the v symbol in web staging => click Push to live.
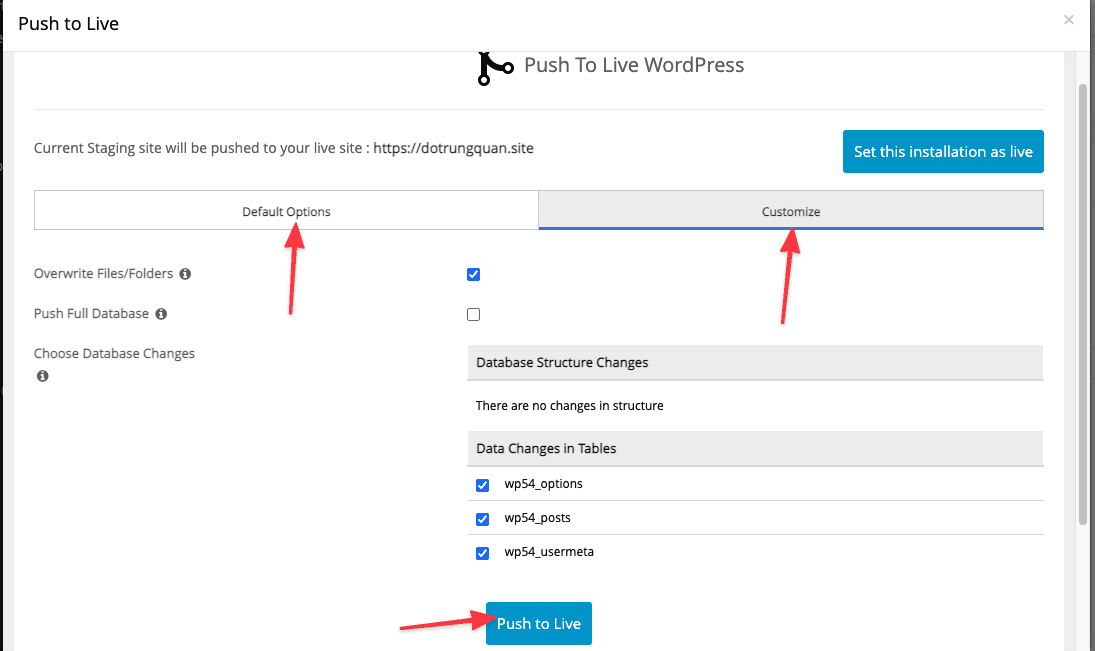
In the Push to live section, you should note 2 parts:
- Default Options: This will replace all the files in your live installation with the files in the staged install, delete the live database, and import the database from the staging installation.
- Customize: If you choose this line, the system will let you customize parts such as Database or File/Folder.
In this tutorial, I will choose Default Options and select Push to live to get started.
Notification sync/copy complete.
Now that I access the main site, the settings have been completely synchronized.
III. Summary
Hopefully, this article will help you in staging a sample website to prepare for the new website more easily. Wishing you success!
If you need assistance, you can contact support in the ways below:
- Hotline 247: 028 888 24768 (Ext 0)
- Ticket/Email: You use the email to register for the service and send it directly to: support@azdigi.com .
You might also like
- How to use WordPress Staging on CyberPanel
- [WordPress Manager] Using WordPress Manage to manage Website
- [WordPress Manager] How to clone a WordPress website
- What is Staging and How to Create a Staging Site for WordPress
- [WordPress Manager] Create a Theme, Plugin manager from WordPress Manager
- [WordPress Manager] Backing up data to Google Drive through Softaculous
About the author

Thạch Phạm
Đồng sáng lập và Giám đốc điều hành của AZDIGI. Có hơn 15 năm kinh nghiệm trong phổ biến kiến thức liên quan đến WordPress tại thachpham.com, phát triển website và phát triển hệ thống.