
In this article, AZDIGI will show you to add a new domain name to CentOS Web Panel (CWP). To do this, you will do the following:
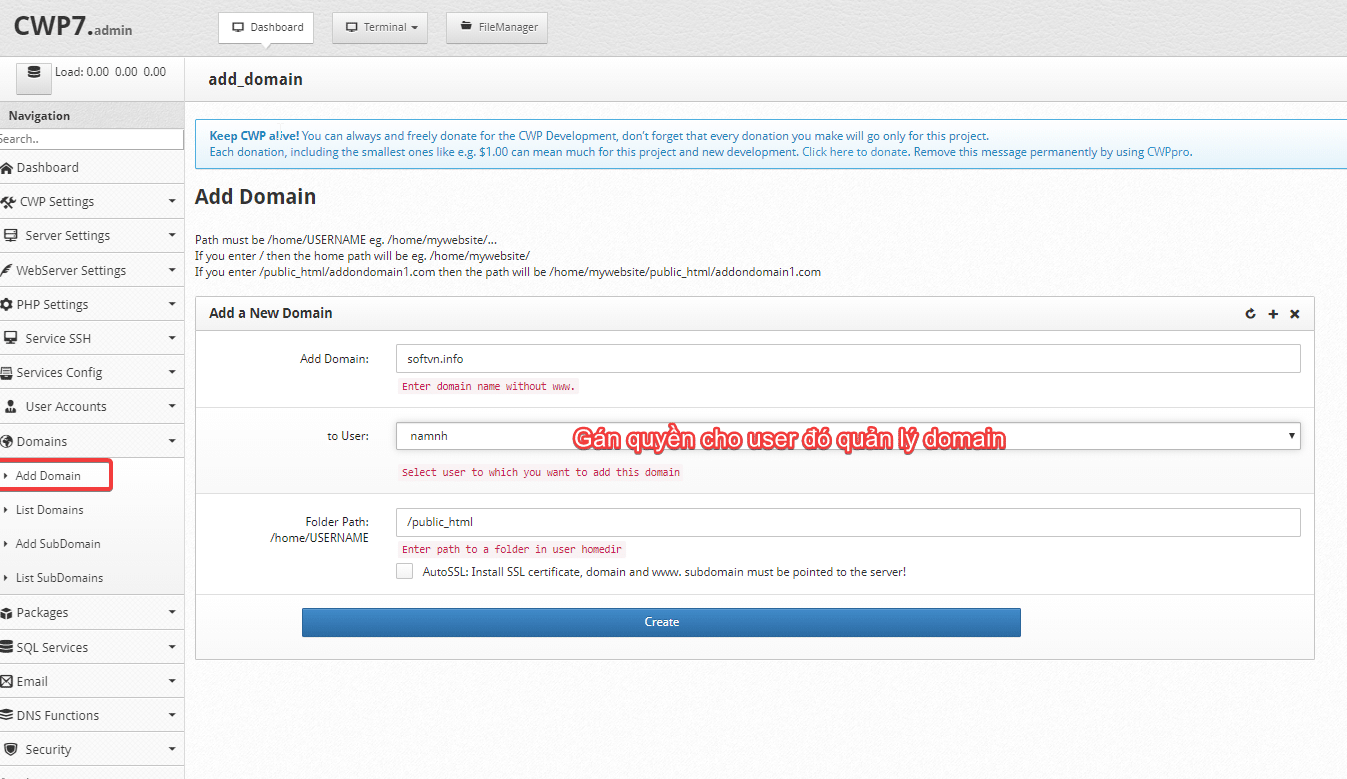
Method 1: Add domain from the Administrator account
- Go to domain => add domain => create
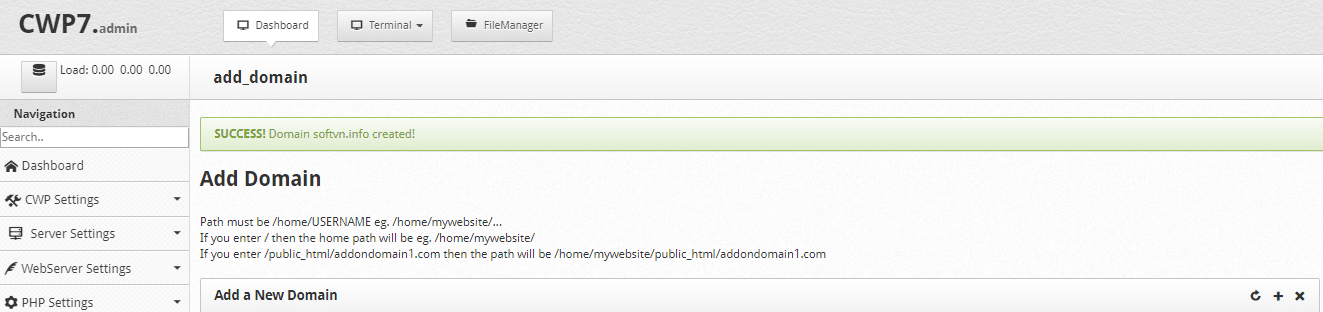
If you receive the message below, it is successfully created SUCCESS! Domain softvn.info created!
You will receive the message: SUCCESS! Domain softvn.info created! => created successfully
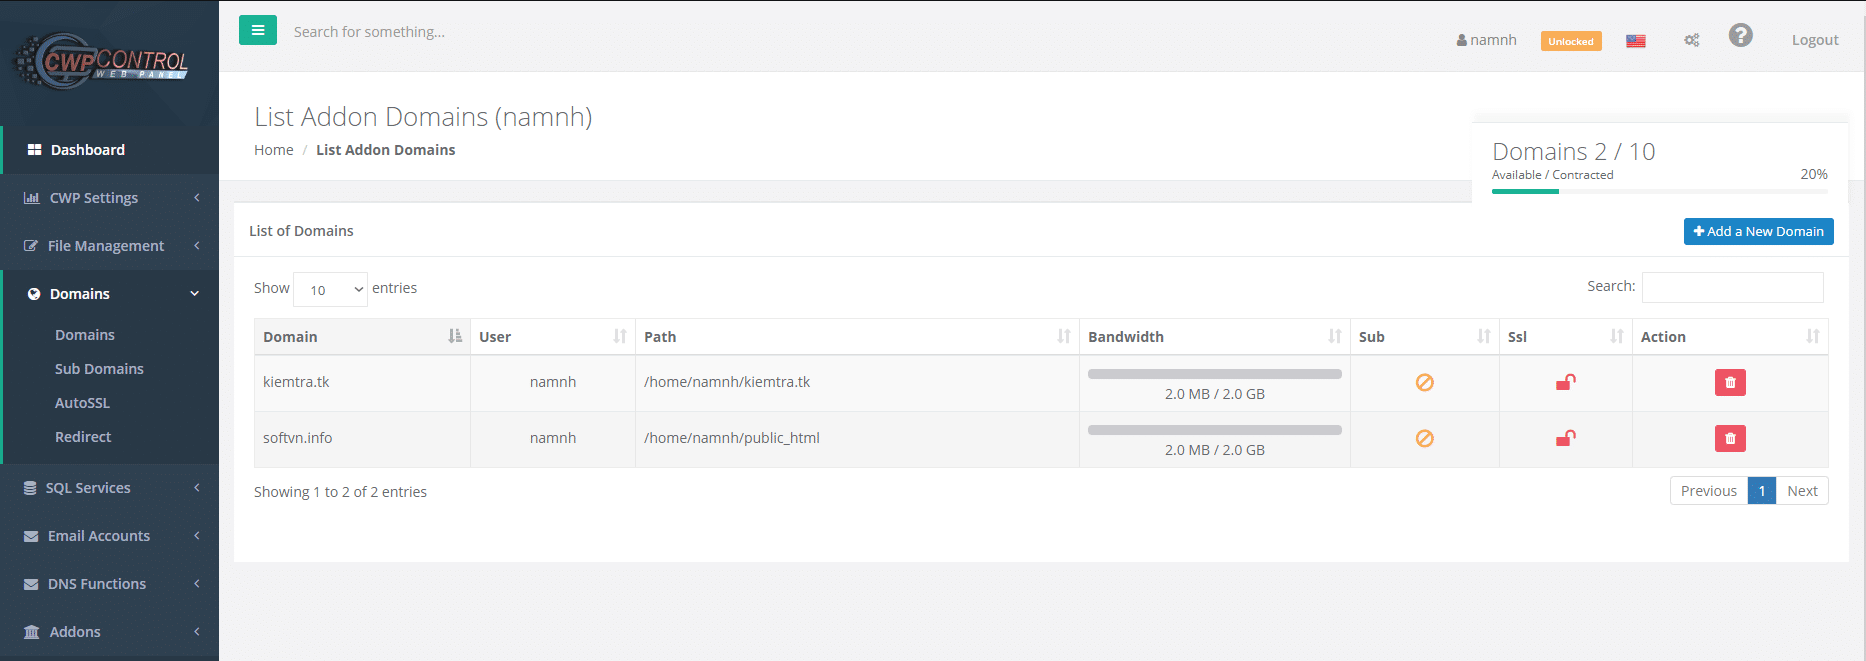
Check access to Domain => list domain => list domain belonging to the user: namnh managed
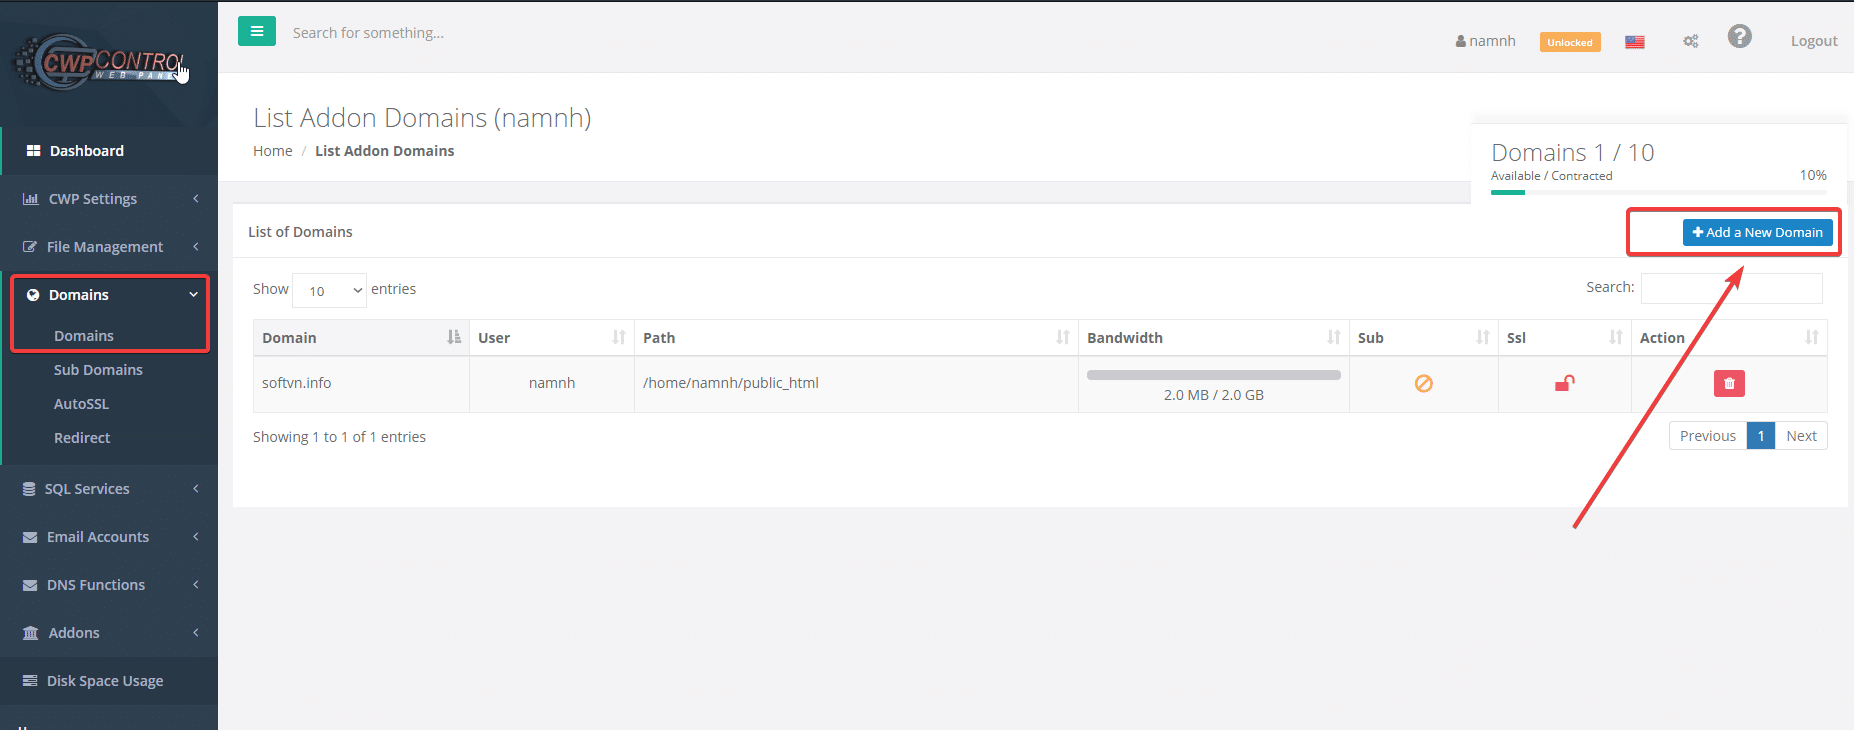
Method 2: Add a user account
You access the User interface, then select Domain => Add a New Domain
At the interface below, enter the domain name you need to add => click Save to save it
Note:
- Domain: Domain to be added
- Path: Document path to save source code
- Add SSL certificate: If you need to install SSL, you will check this box. Note: to install SSL, the domain name must be pointed to the server’s IP.
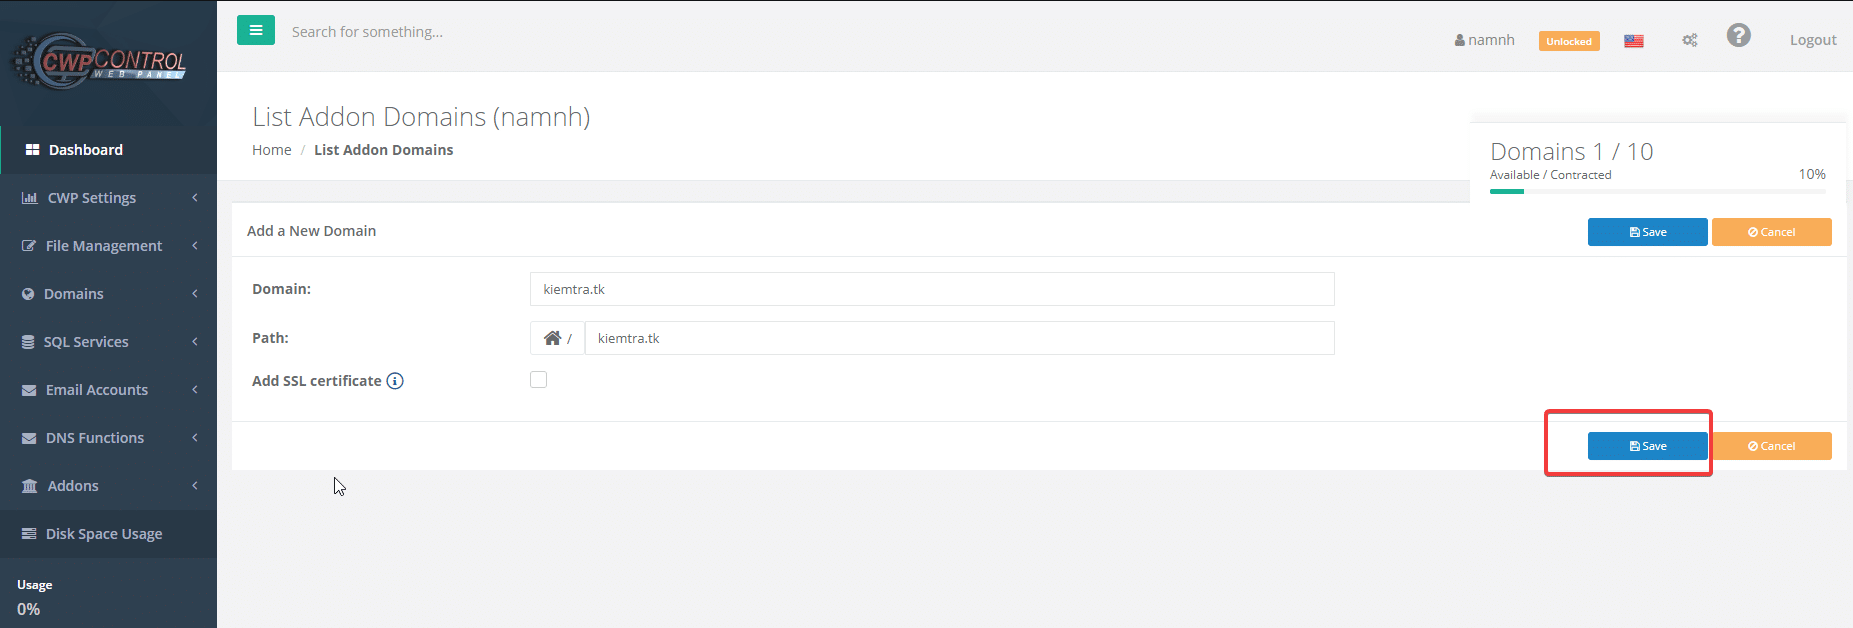
After saving, you will see that the domain name has been successfully added as shown below, to delete you click on the “trash can” icon in Action to delete it.
So you have just successfully completed the domain creation step on CentOS Web Panel (CWP). Follow the page to update other useful tutorials!
You might also like
- How to add an Addon/Sub Domain to Centos Web Panel (CWP)
- How to install WordPress on Centos Web Panel (CWP)
- How to use File Manager on Centos Web Panel (CWP)
- Install paid SSL on Centos Web Panel (CWP)
- How to create a Database on CentOS Web Panel (CWP)
- How to create Packages on Centos Web Panel (CWP)
About the author

Thạch Phạm
Đồng sáng lập và Giám đốc điều hành của AZDIGI. Có hơn 15 năm kinh nghiệm trong phổ biến kiến thức liên quan đến WordPress tại thachpham.com, phát triển website và phát triển hệ thống.