
In this article, AZDIGI will guide you through adding one or more contact accounts (Contact/Sub-Account) to your main customer account. And you can customize the permissions for the added accounts according to the permissions set by AZDIGI. This function is very useful when adding multiple accounts to support the process of working and communicating with AZDIGI without going through the main email.
To add Contact/Sub-Account, do the following:
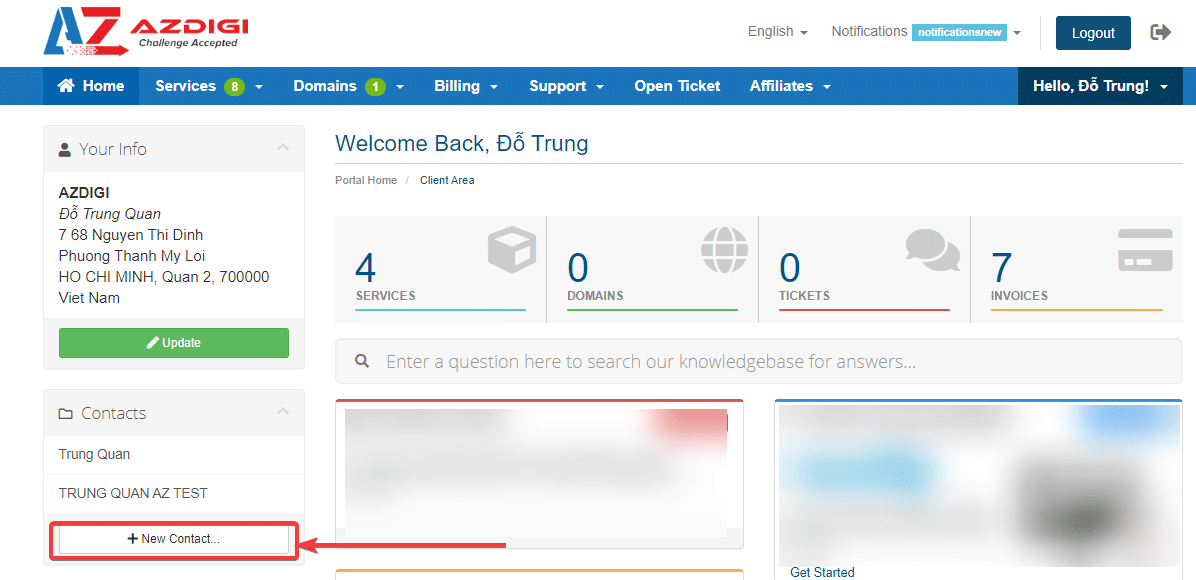
Login to the customer page
- Login link: https://my.azdigi.com/
You click on +New Contact to add a contact account.
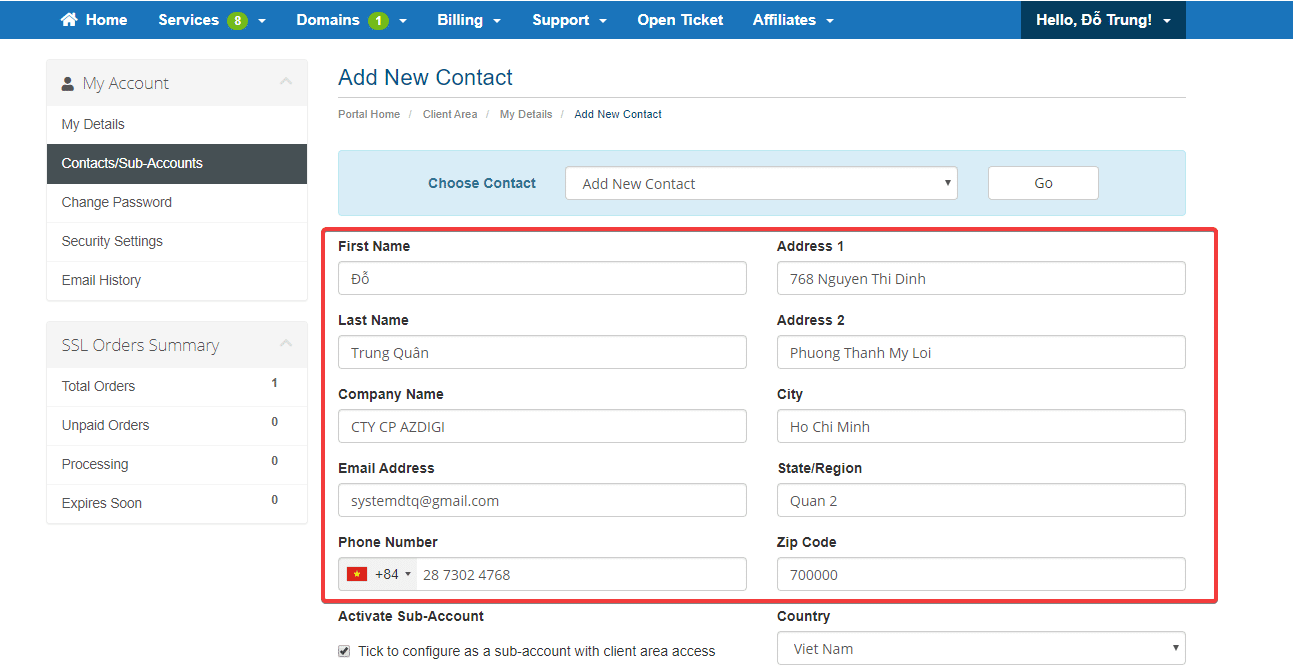
Add new account
- On this screen, you enter the contact account information you need to add:
The interface below displays the permissions for the new account, depending on the permissions you want to assign to the contact/sub-account, which ticks accordingly. After you’ve finished selecting, enter the password for that account and Save it to complete.
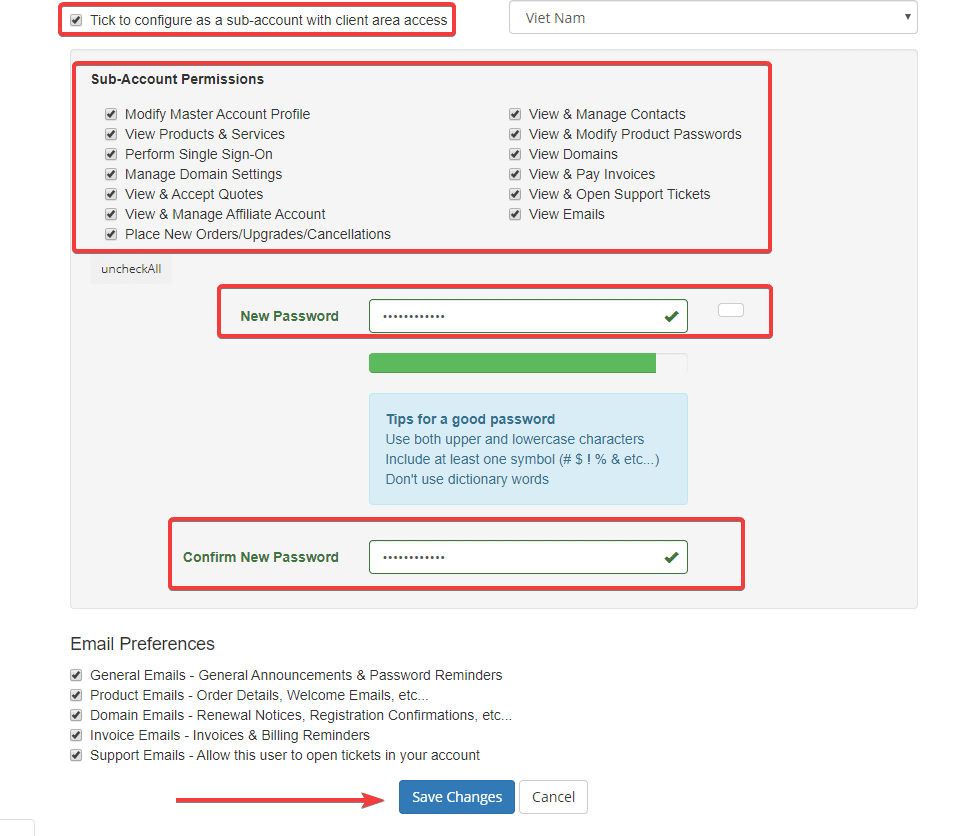
After adding a contact/sub-account, you can use this account to log in to the service management page to perform operations.
You might also like
About the author

Thạch Phạm
Đồng sáng lập và Giám đốc điều hành của AZDIGI. Có hơn 15 năm kinh nghiệm trong phổ biến kiến thức liên quan đến WordPress tại thachpham.com, phát triển website và phát triển hệ thống.