In using any operating system, we should regularly upgrade to a new version, not necessarily the latest version, but not use too old versions because this is less secure and safe for our data.
Similar to the Ubuntu operating system, Ubuntu has been released for a long time, so we need to upgrade Ubuntu 20.04 to Ubuntu 22.04 if we want to use it in the long run.
Execution conditions:
- Use the root user or sudo privileges
- OS is running 20.04
Note: To avoid unexpected risks, you should proactively back up important data before performing system upgrades or changes.
Step 1: Check the Ubuntu version
In this step, we will use the following command:
root@chamcong:~# uname -r
5.4.0-107-generic
root@chamcong:~# cat /etc/lsb-release
DISTRIB_ID=Ubuntu
DISTRIB_RELEASE=20.04
DISTRIB_CODENAME=focal
DISTRIB_DESCRIPTION="Ubuntu 20.04.4 LTS"
Step 2: Install all updates of installed packages
We continue to use the following two commands to install all the updates of the installed packages:
apt-get update && apt-get upgrade -y
apt dist-upgrade
Remove unnecessary packages from the system:
apt autoremove
Then reboot the server to apply the changes:
reboot
Step 3: Upgrade Ubuntu 20.04 to Ubuntu 22.04
I will use the update-manager-core package to upgrade the system to the latest release version.
apt install update-manager-core
With the package downloaded successfully, I will run the Ubuntu upgrade utility. And to check for available updates without applying them, you can run the following command:
do-release-upgrade --check-dist-upgrade-only
Checking for a new Ubuntu release
There is no development version of an LTS available.
To upgrade to the latest non-LTS development release
set Prompt=normal in /etc/update-manager/release-upgrades.
Next, run the following command to start the upgrade process:
do-release-upgrade -d
If you want to upgrade with third-party mirrors and repositories add the --allow-third-party option to the command:
do-release-upgrade -d --allow-third-party
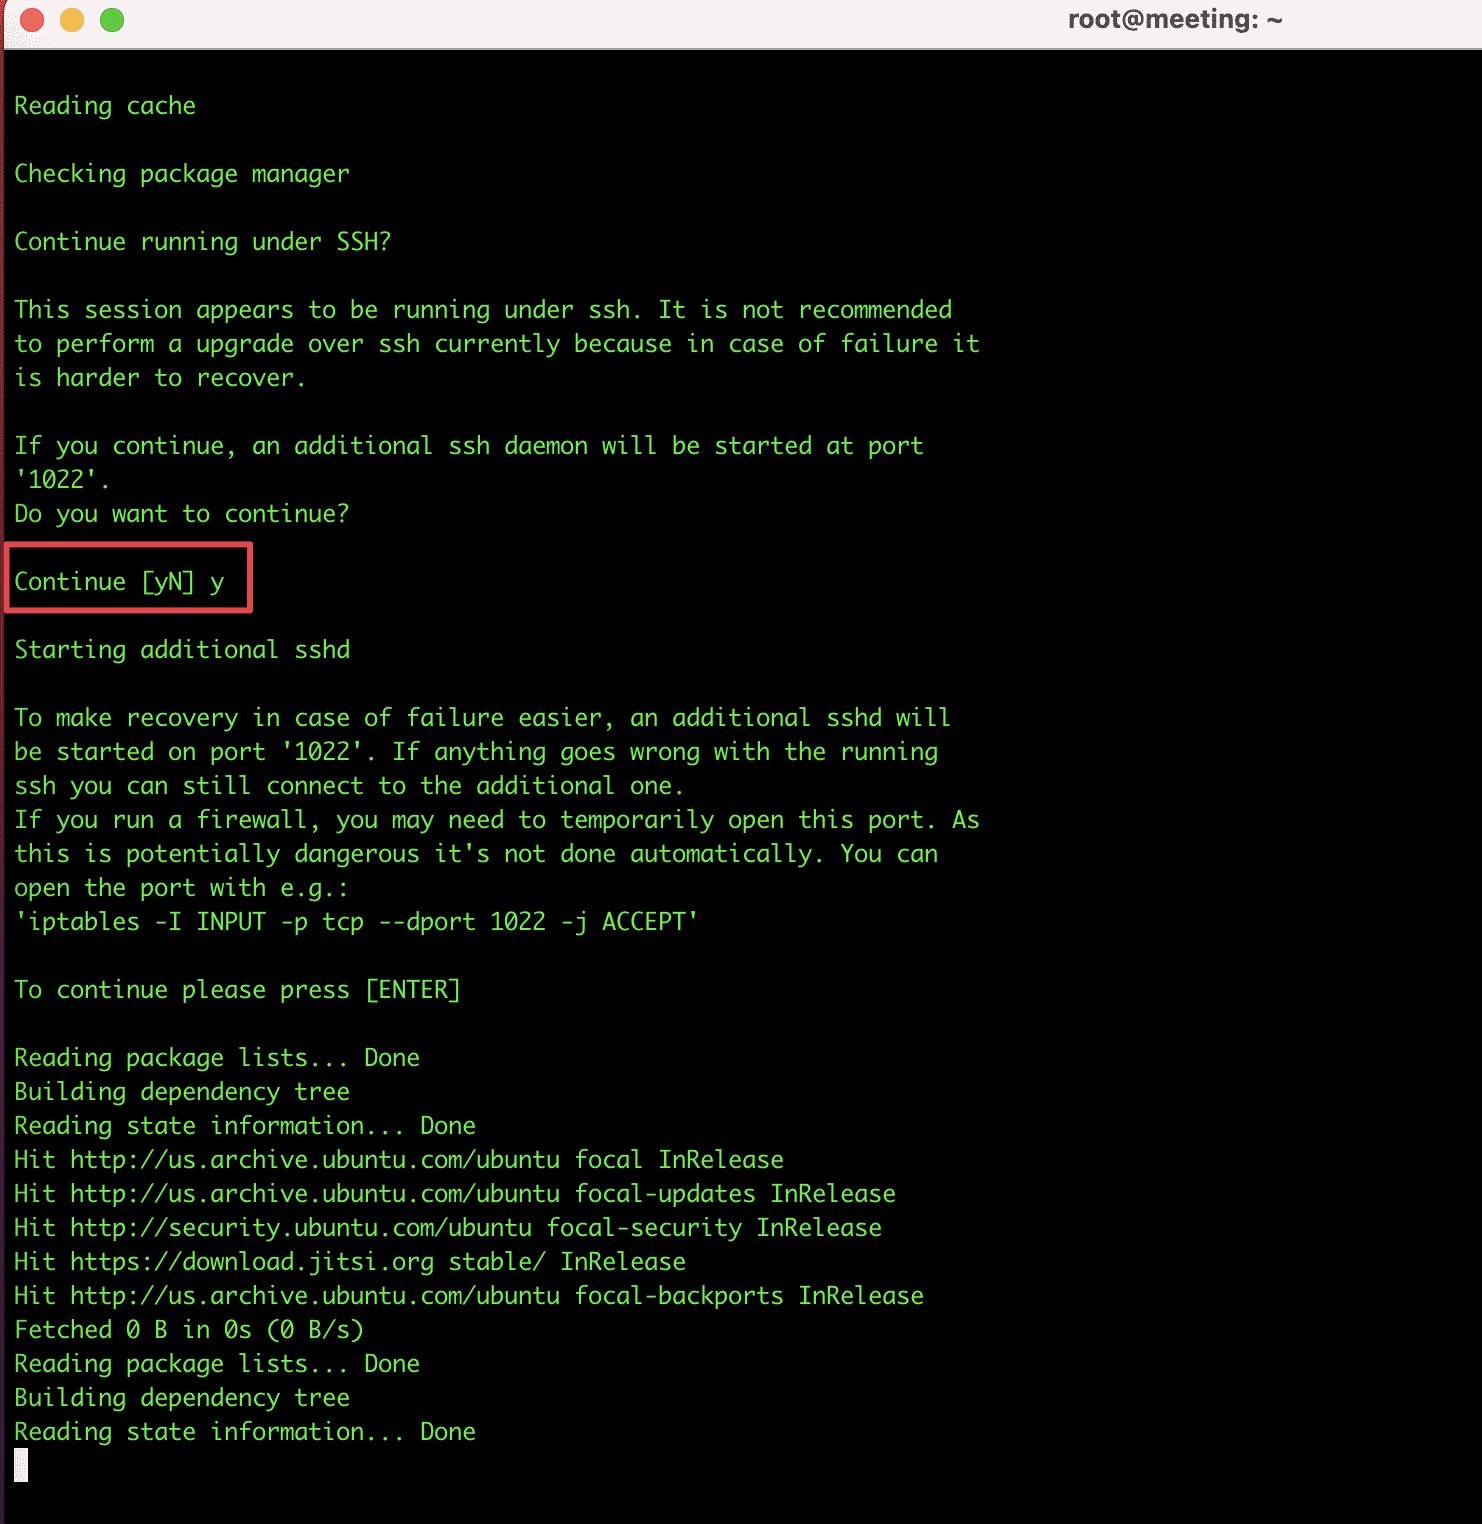
If asked and asked to enter Y/N (Yes/No), select Y/Yes to agree to install and upgrade.
Select Y/Yes when asked and the update will take a long time. And during the upgrade, don’t close the SSH window until the process is complete.

A message appears with Postfix configuration for mail delivery. If you want to configure, select No configuration => Next.

When you receive the message System upgrade is complete, ask if you want to restart the server. Please select Y to restart the server.

After rebooting the server, SSH back into the server and check with thecat /etc/lsb-release command. If the system shows the message below, you have completed the upgrade.

Wishing you success!
You can refer to other user manuals at the link below
If you need support, you can contact support in the ways below:
- Hotline 247: 028 888 24768 (Ext 0)
- Ticket/Email: You use the email to register for the service and send it directly to: support@azdigi.com
About the author

Thạch Phạm
Đồng sáng lập và Giám đốc điều hành của AZDIGI. Có hơn 15 năm kinh nghiệm trong phổ biến kiến thức liên quan đến WordPress tại thachpham.com, phát triển website và phát triển hệ thống.