
In this article, AZDIGI will show you how to install Elasticsearch on CentOS 7 as straightforward.
I. What is Elasticsearch?
Elasticsearch is a search engine based on Lucene software. It provides a full-featured, distributed search engine with an HTTP web interface that supports JSON data. Elasticsearch is developed in Java and is released as open source under the Apache license.
To put it more simply:
Elasticsearchis asearch engine.Elasticsearchis inherited fromLucene ApacheElasticsearchactually works as a web server, capable of fast search (near real-time) through RESTful protocol.Elasticsearchis capable of data analysis and statisticsElasticsearchruns on its server and concurrently communicates via RESTful, so it doesn’t depend on what the client is written in or your current system. So integrating it into your system is easy, you just need to send an http request and it will return results.Elasticsearchis a distributed system with excellent scalability. Add a node to it and it automatically expands for you.Elasticsearchis anopen sourcedeveloped inJava.
Companies that are using Elasticsearch:
- Wikimedia
- athenahealth
- Adobe Systems
- StumbleUpon Mozilla,
- Amadeus IT Group
- Quora
- Foursquare
- Etsy
- SoundCloud
- GitHub
- FDA
- CERN
- Stack Exchange
- Center for Open Science
- Reverb
- Netflix
- Pixabay
- Motili
- Sophos
- Slurm Workload Manager
II. Install Elasticsearch on CentOS 7
To install Elasticsearch on CentOS 7, we need to follow these 4 steps.
Step 1: SSH into your server
To install Elasticsearch on CentOS 7, we first need to SSH or access your VPS/server as root. If you don’t know how to SSH into your VPS/Server, you can refer to the following tutorial:
After successfully SSHing, we continue with step 2 to install Java because Elasticsearch requires the server to install Java first to allow the installation.
Step 2: Install Java 8 on CentOS 7
Since Elasticsearch only requires Java 8 version, we will install Java 8 version with the command below.
yum -y install java-1.8.0-openjdk.x86_64
After installing Java, you can recheck with the following command:
java -version
If the results are returned as below, you have successfully installed Java 8.
[root@sv ~]# java -version
openjdk version "1.8.0_282"
OpenJDK Runtime Environment (build 1.8.0_282-b08)
OpenJDK 64-Bit Server VM (build 25.282-b08, mixed mode)

Step 3: Install Elasticsearch on CentOS 7
To install Elasticsearch on CentOS 7, we run the following commands in turn:
First, we will need to download the Elasticsearch installation file in .rpm format:
wget https://artifacts.elastic.co/downloads/elasticsearch/elasticsearch-7.8.0-x86_64.rpm
This file is about 300MB, so it may take some time to download.
Next, we install Elasticsearch with the downloaded file with the following command:
rpm -ivh elasticsearch-7.8.0-x86_64.rpm
Then we need to restart the daemon-reload service by activating the following command:
systemctl daemon-reload
Next, we start Elasticsearch with the following command:
systemctl start elasticsearch
And after Elasticsearch has finished starting, we can check the operation status of Elasticsearch with the command below:
systemctl status elasticsearch.service
At the point, you can verify that Elasticsearch is running by sending an HTTP request to port 9200 on localhost with the following curl command:
curl -X GET "localhost:9200/"
If the results return like the following, then you are successful:
{
  "name" : "sv.templateda.com.vn",
  "cluster_name" : "elasticsearch",
  "cluster_uuid" : "GZ8PhoVtRd-C8bdNHiSunw",
  "version" : {
    "number" : "7.8.0",
    "build_flavor" : "default",
    "build_type" : "rpm",
    "build_hash" : "757314695644ea9a1dc2fecd26d1a43856725e65",
    "build_date" : "2020-06-14T19:35:50.234439Z",
    "build_snapshot" : false,
    "lucene_version" : "8.5.1",
    "minimum_wire_compatibility_version" : "6.8.0",
    "minimum_index_compatibility_version" : "6.0.0-beta1"
  },
  "tagline" : "You Know, for Search"
}
Step 4: Enable Remote Access Elasticsearch
However, we just can only use Elasticsearch on the local computer. So, if you want external users to connect to port 9200, you need to open port 9200 and do a few more steps.
Edit Elasticsearch’s configuration file with the command below:
vi /etc/elasticsearch/elasticsearch.yml
Move to line 55, remove # at this line and edit it to the content:
network.host: 0.0.0.0

Next, remove # at line 72 and edit it to the following content:
cluster.initial_master_nodes: node-1
We will then need to restart Elasticsearch with the following command:
systemctl start elasticsearch
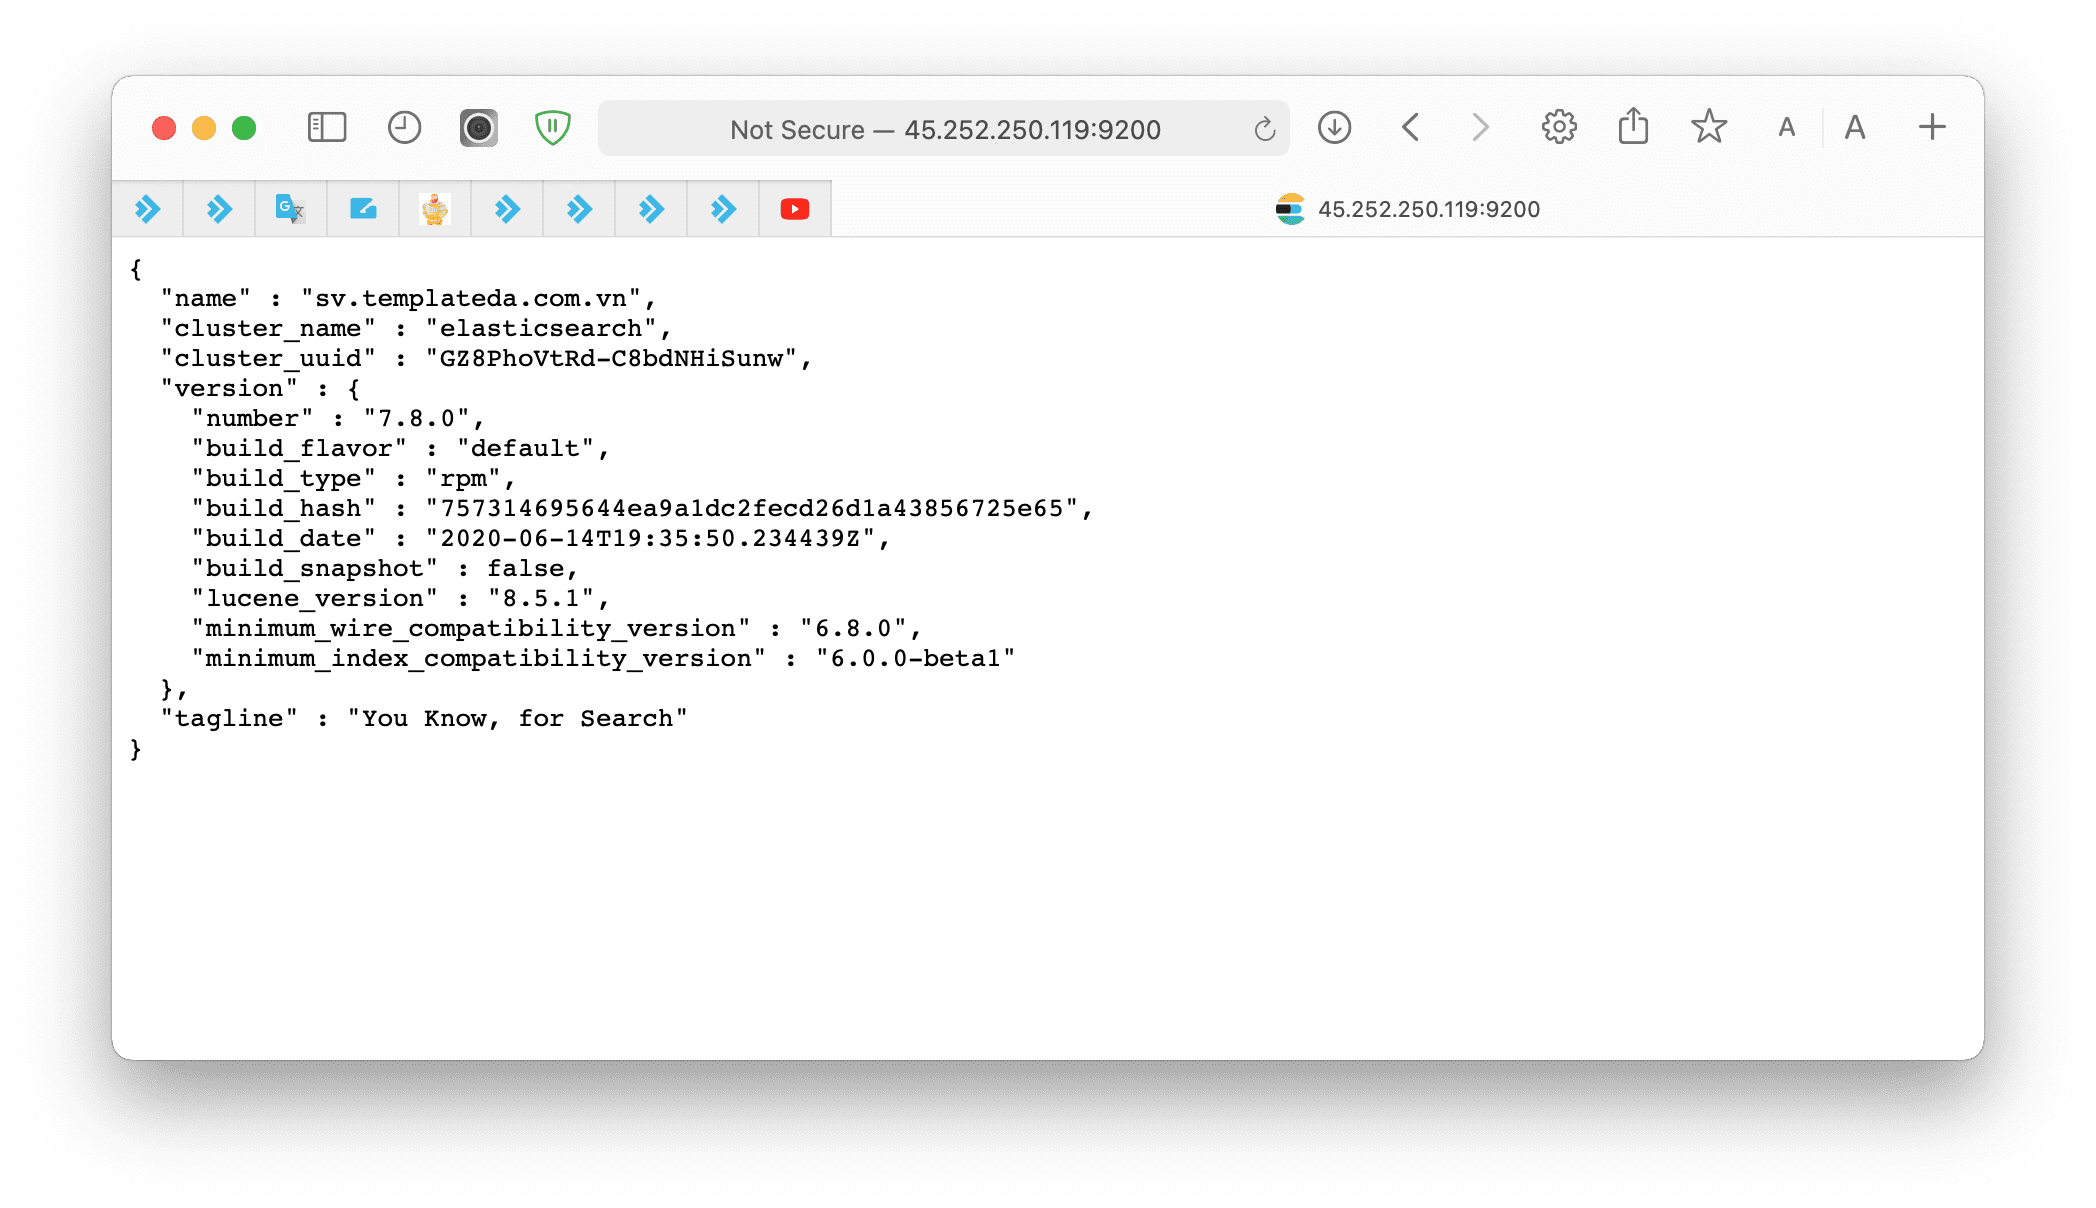
Now you can connect to your server remotely via port 9200, as shown below:
At this point, the installation of Elasticsearch on CentOS 7 has been completed.
III. Summary
Although the article on installing Elasticsearch on CentOS 7 is relatively long and has many complicated sections, AZDIGI hope you can do it successfully. You can visit the official Elasticsearch Documentation page and learn how to get started with Elasticsearch.
Wishing you success! See more useful articles about Linux at the following link:
If you need assistance, you can contact support in the ways below:
- Hotline 247: 028 888 24768 (Ext 0)
- Ticket/Email: You use the email to register for the service and send it directly to: support@azdigi.com .
About the author

Thạch Phạm
Đồng sáng lập và Giám đốc điều hành của AZDIGI. Có hơn 15 năm kinh nghiệm trong phổ biến kiến thức liên quan đến WordPress tại thachpham.com, phát triển website và phát triển hệ thống.