
Creating a sitemap is an important part of optimizing your website’s SEO. Especially with Laravel, a popular framework in web development, creating a sitemap can be done easily and efficiently. In this section, we will explore how to create a sitemap in Laravel to help your website be more easily indexed by search engines like Google.
I. Install the Package
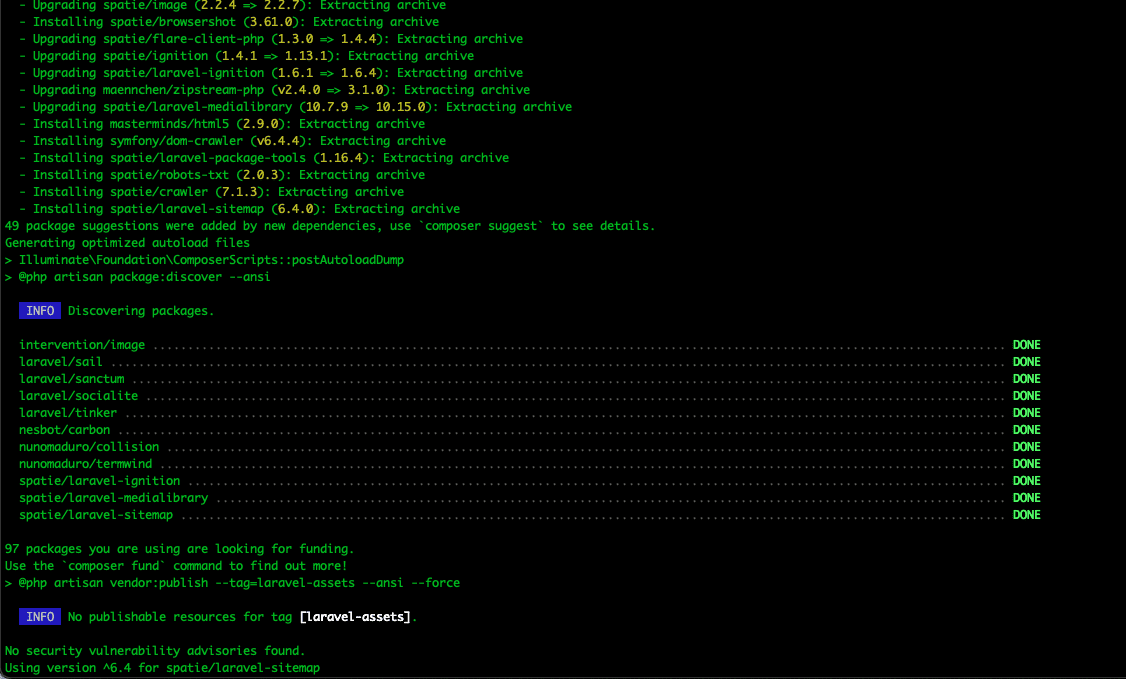
First, we need to install a package called spatie/laravel-sitemap. You can install it via Composer by running the following command:
composer require spatie/laravel-sitemap
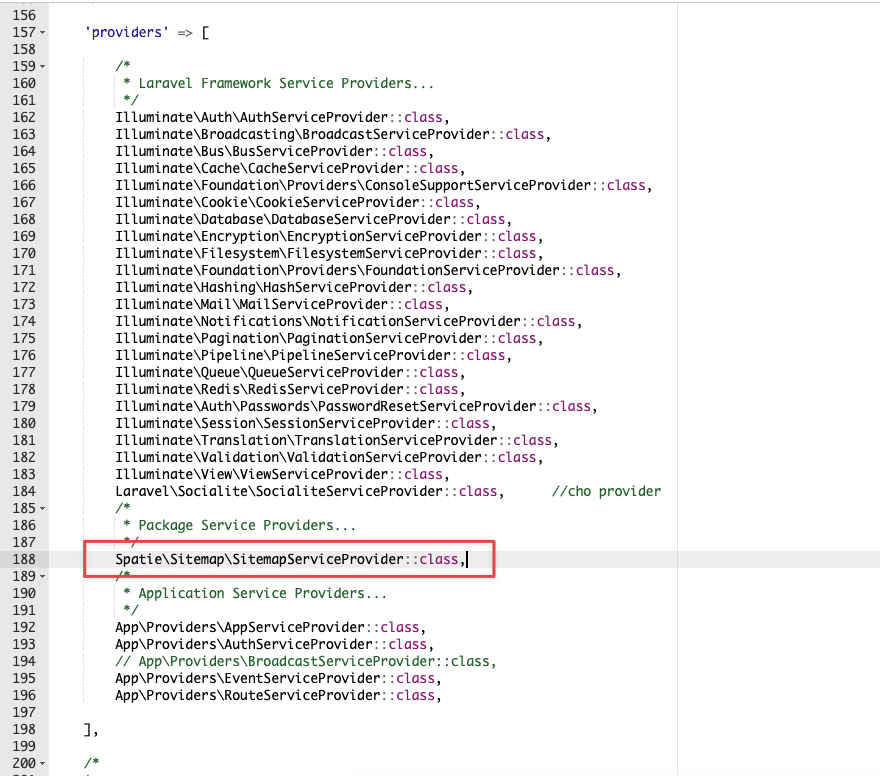
After the installation of spatie/laravel-sitemap is complete, add the following configuration to the config/app.php file in the providers section:
SpatieSitemapSitemapServiceProvider::class,
Next, publish the configuration using Artisan with the following command:
php artisan vendor:publish --provider="SpatieSitemapSitemapServiceProvider" --tag=sitemap-config

This Artisan command will copy the default configuration to config/sitemap.php, where you can make modifications.
II. Create a Controller
First, you need to create or use an existing controller in your Laravel application. If you don’t have any controllers yet, you can create a new controller using the following Artisan command:
php artisan make:controller SitemapController
In there:
SitemapController: This is the name of the controller file that will be created.

This command will create a new controller file named SitemapController.php in the app/Http/Controllers directory.
Tiếp đến bạn cần phải chạy lệnh sau để cập nhật tất cả các tệp autoload của Composer.
composer dump-autoload
After updating, open the SitemapController.php file and add the following configuration:
<?php
namespace AppHttpControllers;
use SpatieSitemapSitemapGenerator;
class SitemapController extends Controller
{
    public function generateSitemap()
    {
        SitemapGenerator::create('https://example.com')->writeToFile(public_path('sitemap.xml'));
    }
}
In there:
example.com: Replace this with your domain name.
writeToFile(public_path(‘sitemap.xml’)): A method on the SitemapGenerator object to write the sitemap to a specific file. In this example, the sitemap will be written to the sitemap.xml file in the public directory of the Laravel application.
Next, add a route configuration like below to the routes/web.php file, so you can call this method from a route .
Route::get('/sitemap.xml', [
    SitemapController::class,
    'generateSitemap'
]);
So the generateSitemap() method in the controller will be called and the sitemap creation is completed. Now you access domain_name/sitemap on the browser to create the sitemap.xml file.
Note: When you access domain_name/sitemap.xml for the first time, no content will be displayed, just a blank page. Don’t worry, because the first time you access it, it’s to create a sitemap.xml file. F5 the page again and your sitemap content will be displayed.

III. Update sitemap regularly.
Your website will likely be updated from time to time. To have your sitemap reflect these changes, you can run the generator periodically. Or the easiest way to do this is to use Laravel’s default scheduling capabilities.
1. Create a new command using the Artisan command.
To create a new command, run the following command:
php artisan make:command GenerateSitemap
This will create a new command named GenerateSitemap in the app/Console/Commands directory.
2. Configure the command file.
Next, open the file app/Console/Commands/GenerateSitemap.php and change the configuration as follows:
<?php
namespace AppConsoleCommands;
use IlluminateConsoleCommand;
use SpatieSitemapSitemapGenerator;
class GenerateSitemap extends Command
{
    /**
     * The console command name.
     *
     * @var string
     */
    protected $signature = 'sitemap:generate';
/**
     * The console command description.
     *
     * @var string
     */
    protected $description = 'Generate the sitemap.';
/**
     * Execute the console command.
     *
     * @return mixed
     */
    public function handle()
    {
        // modify this to your own needs
        SitemapGenerator::create('https://example.com')->writeToFile(public_path('sitemap.xml'));
    }
}
In the GenerateSitemap class, you will see two methods signature and handle . The signature method specifies the name of the command and the command-line options it supports. The handle method is where you set the processing logic for the command and you replace example.com with your domain name.
Then in the AppConsoleKernel.php file, you add the following code to the schedule() method:
$schedule->command('sitemap:generate')->daily();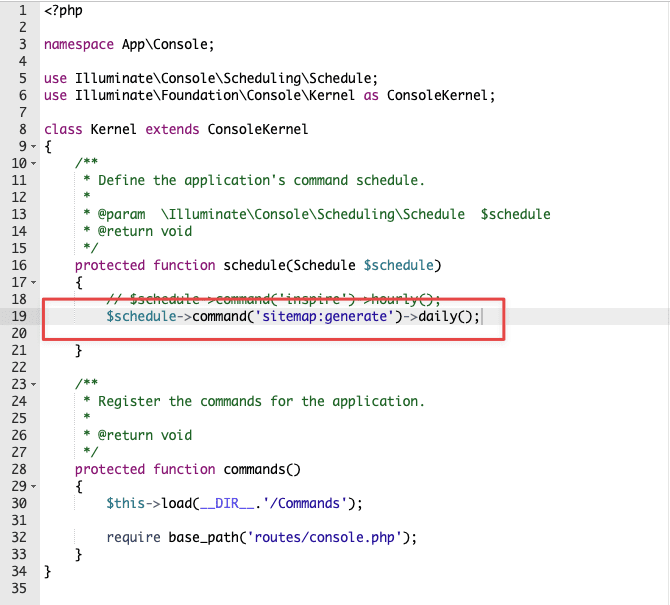
So you’re done setting up Laravel’s default scheduling capabilities.
To check, use the following artisan command:
php artisan schedule:list

Hopefully this tutorial has helped you better understand the sitemap creation process in Laravel and how it can assist in optimizing your website for SEO. Apply and watch your site’s search performance improve!
Wishing you success!
If you need assistance, you can contact support in the ways below:
- Hotline 247: 028 888 24768
- Ticket/Email: You use the email to register for the service and send it directly to: support@azdigi.com.
You might also like
- How to Deploy Laravel to Coolify from Local to Server with Basic CI/CD
- How to Install Laravel with Nginx on CentOS 7 (LEMP)
- How to declare a Sitemap for Google Search Console
- How to install Laravel on Ubuntu 22.04
- Fixing the 404 Sitemap error on aaPanel using Nginx
- Crawled Currently Not Indexed and How to Fix It in Search Console
About the author

Đàm Trung Kiên
Chào mọi người, mình là Kiên - hiện đang công tác tại Phòng Kỹ thuật AZDIGI. Trong quá trình làm việc mình có cơ hội được tiếp xúc với khá nhiều các vấn đề liên quan đến Website/Hosting/VPS/Server, do đó mình viết lại các hướng dẫn này nhằm chia sẻ kiến thức, cũng như tạo một môi trường để chúng ta giao lưu và học hỏi lẫn nhau, trau dồi thêm nhiều kiến thức bổ ích hơn nữa.