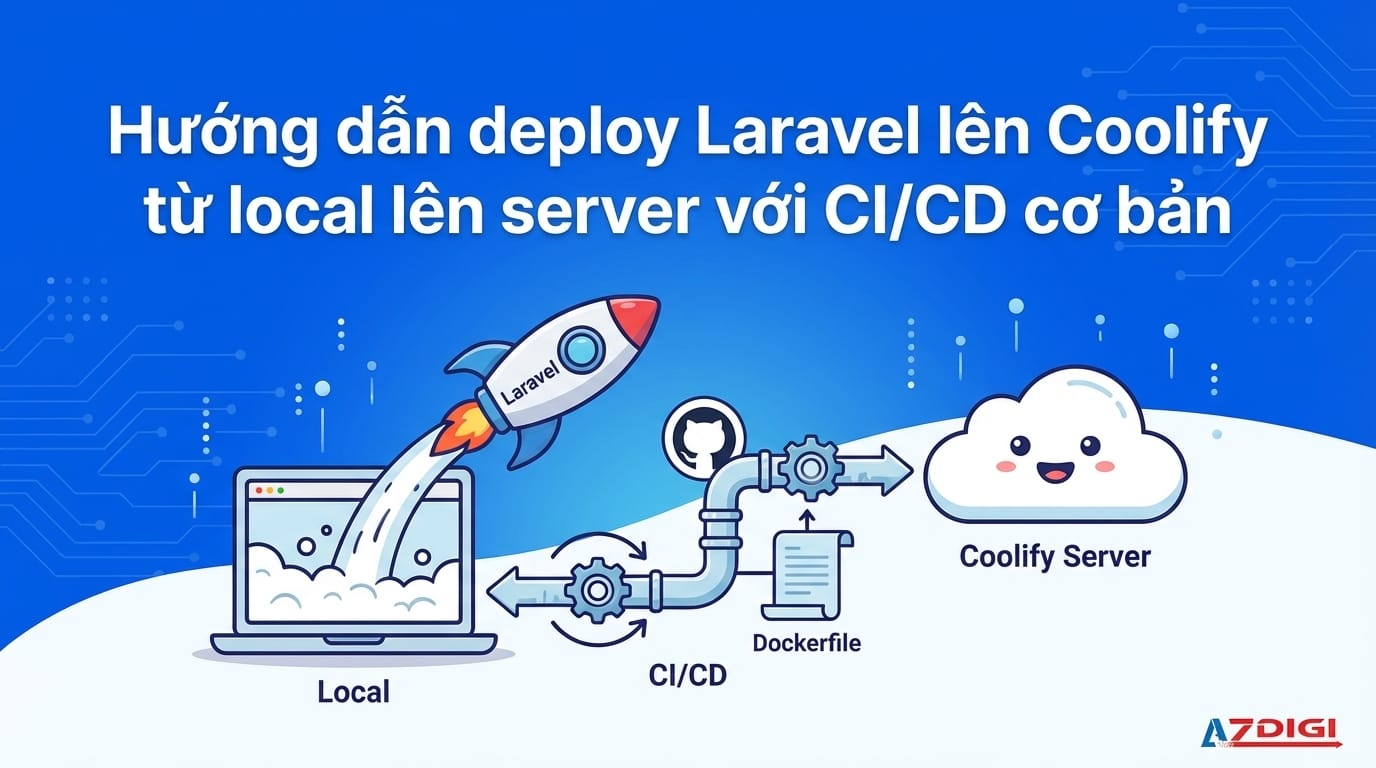
If you have a Laravel project running well on your local machine and want to deploy it to a server for Internet access, Coolify is quite an accessible choice. The advantages of Coolify include an intuitive admin interface, support for pulling source from GitHub, auto-build, auto-deploy, and the ability to set up webhooks so that every code push automatically updates the application, following a basic CI/CD model.
Instead of letting Coolify auto-detect the stack and build with Nixpacks, this article chooses to use Dockerfile. For Laravel, this is a more controllable approach because you can actively decide the PHP version, required extensions, how to copy source, how to run migrations, and how to start containers. When creating tutorials for beginners, seeing everything clearly laid out in the Dockerfile is easier to understand than letting the system auto-detect.
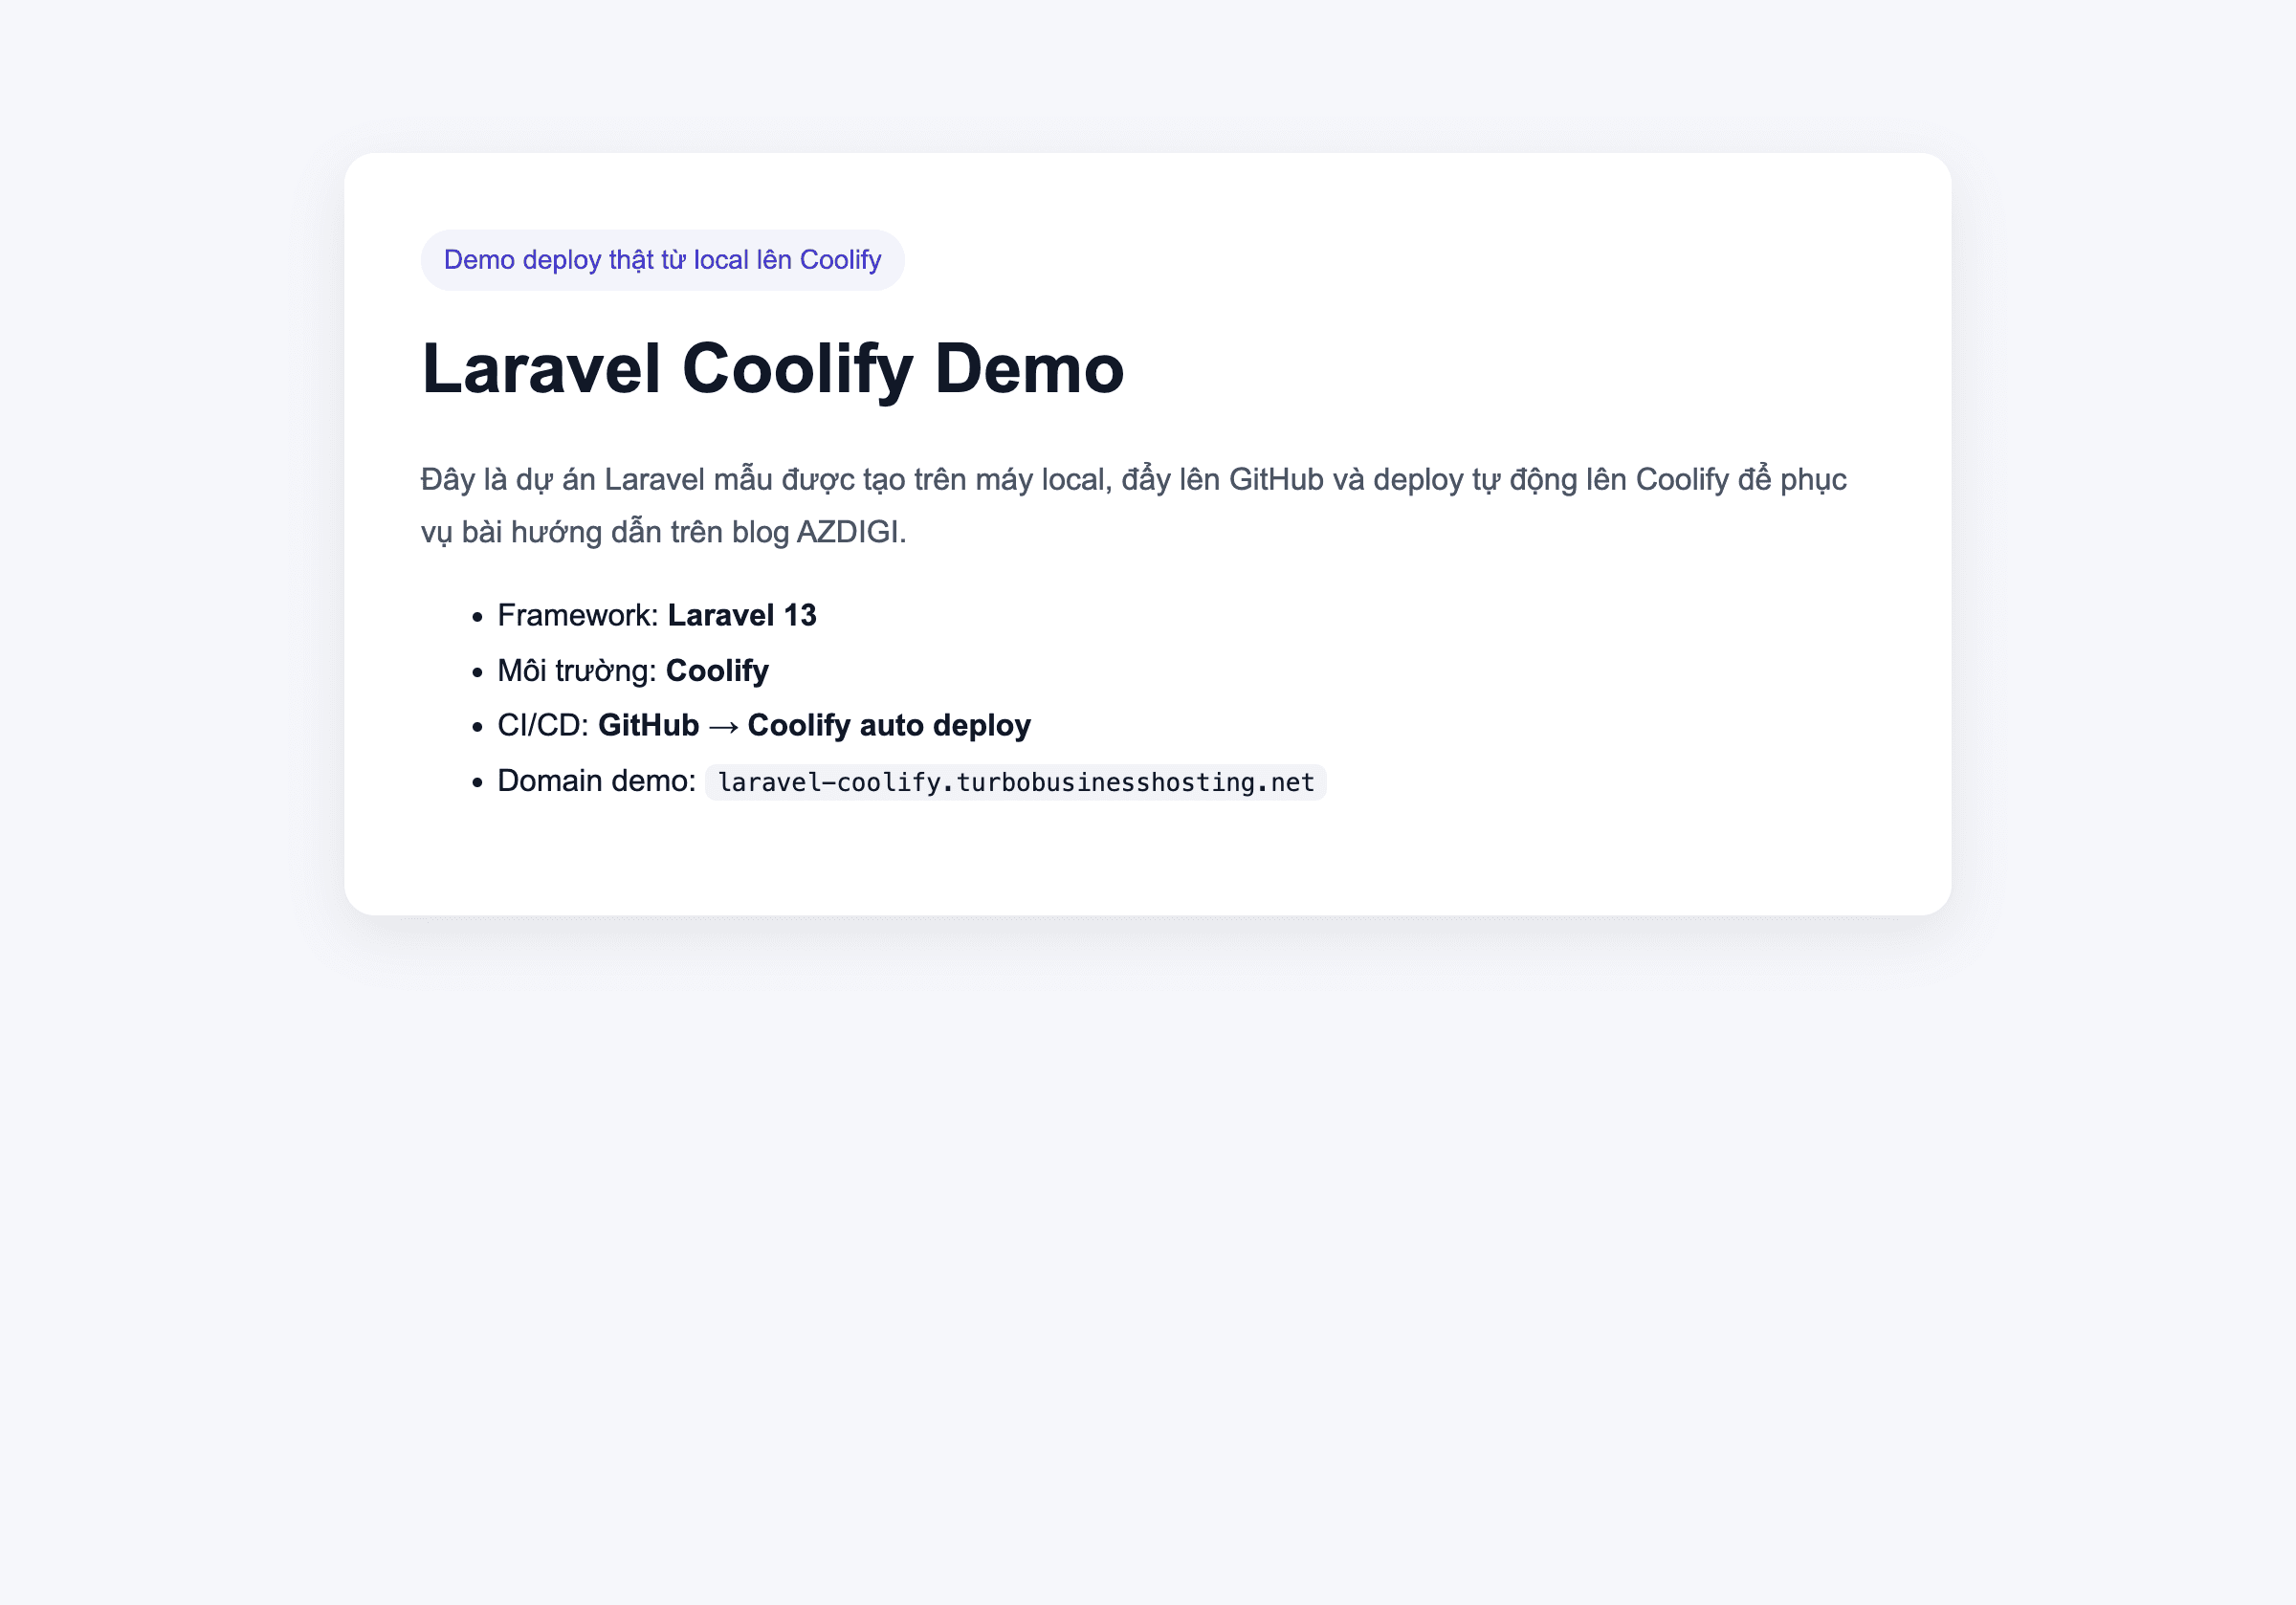
Starting from a Local Laravel Project
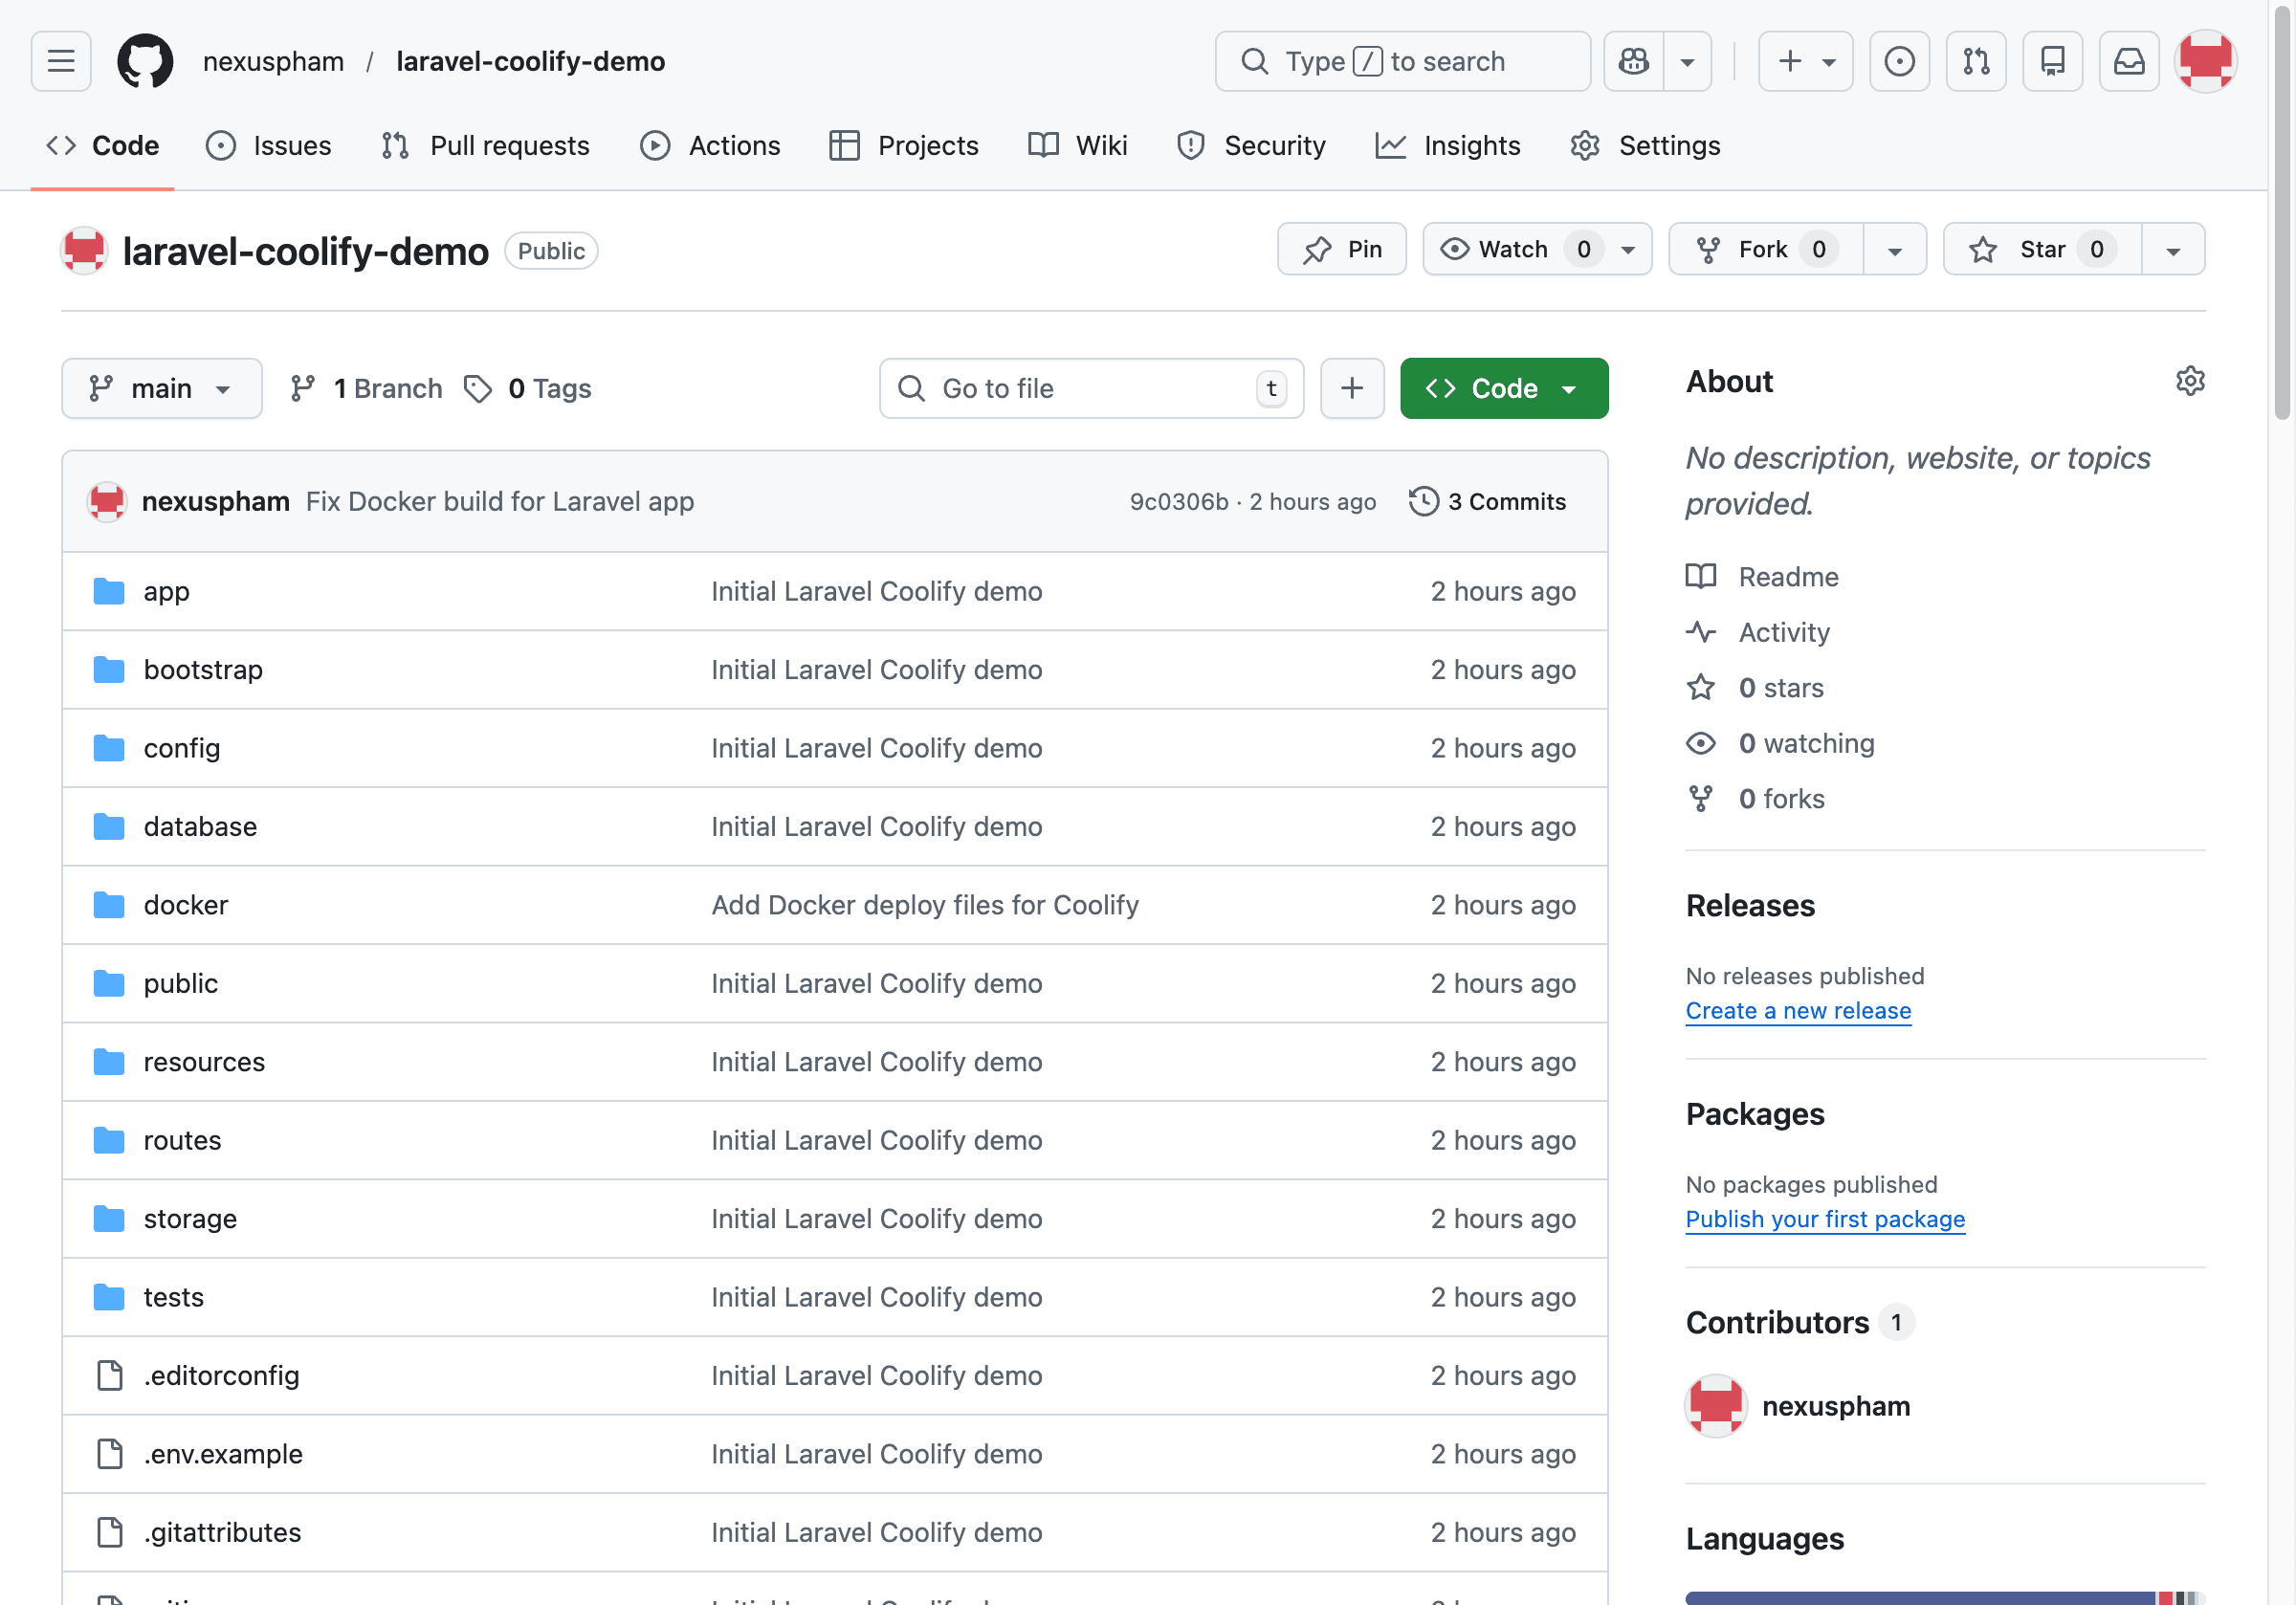
The project used in this article is a sample Laravel application. Locally, the source code is in the laravel-coolify-demo directory. In the composer.json file, you can see the project is using Laravel 13 and requires PHP 8.3 or higher. This is important information because when deploying to the server, the runtime environment must meet corresponding requirements.
The build process is pre-defined in the project’s Dockerfile. This Dockerfile is divided into two stages. The first stage uses the composer:2 image to run composer install --no-dev --optimize-autoloader, helping to install more compact dependencies for the production environment. The second stage uses php:8.4-apache, installs additional required packages like sqlite3, pdo_sqlite, enables mod_rewrite for Apache, and sets the document root to Laravel’s public directory.
Besides the Dockerfile, the project also has a container startup script to handle common tasks when deploying Laravel: updating values in the .env file according to actual environment variables, setting APP_ENV=production, turning off APP_DEBUG, configuring APP_URL, using SQLite for demo, running php artisan migrate --force, and optimizing cache. For a beginner tutorial, this approach is quite suitable because readers don’t have to configure too many components from the start.
Before deploying to Coolify, the source has been pushed to GitHub as a public repository. This is a necessary step because Coolify will pull source directly from that repository to build. If working with a private repository, you can still deploy by connecting a Git provider or configuring appropriate access tokens. However, to make the article easy to follow and minimize authentication errors, the demo uses a public repo.
Creating a New Application on Coolify
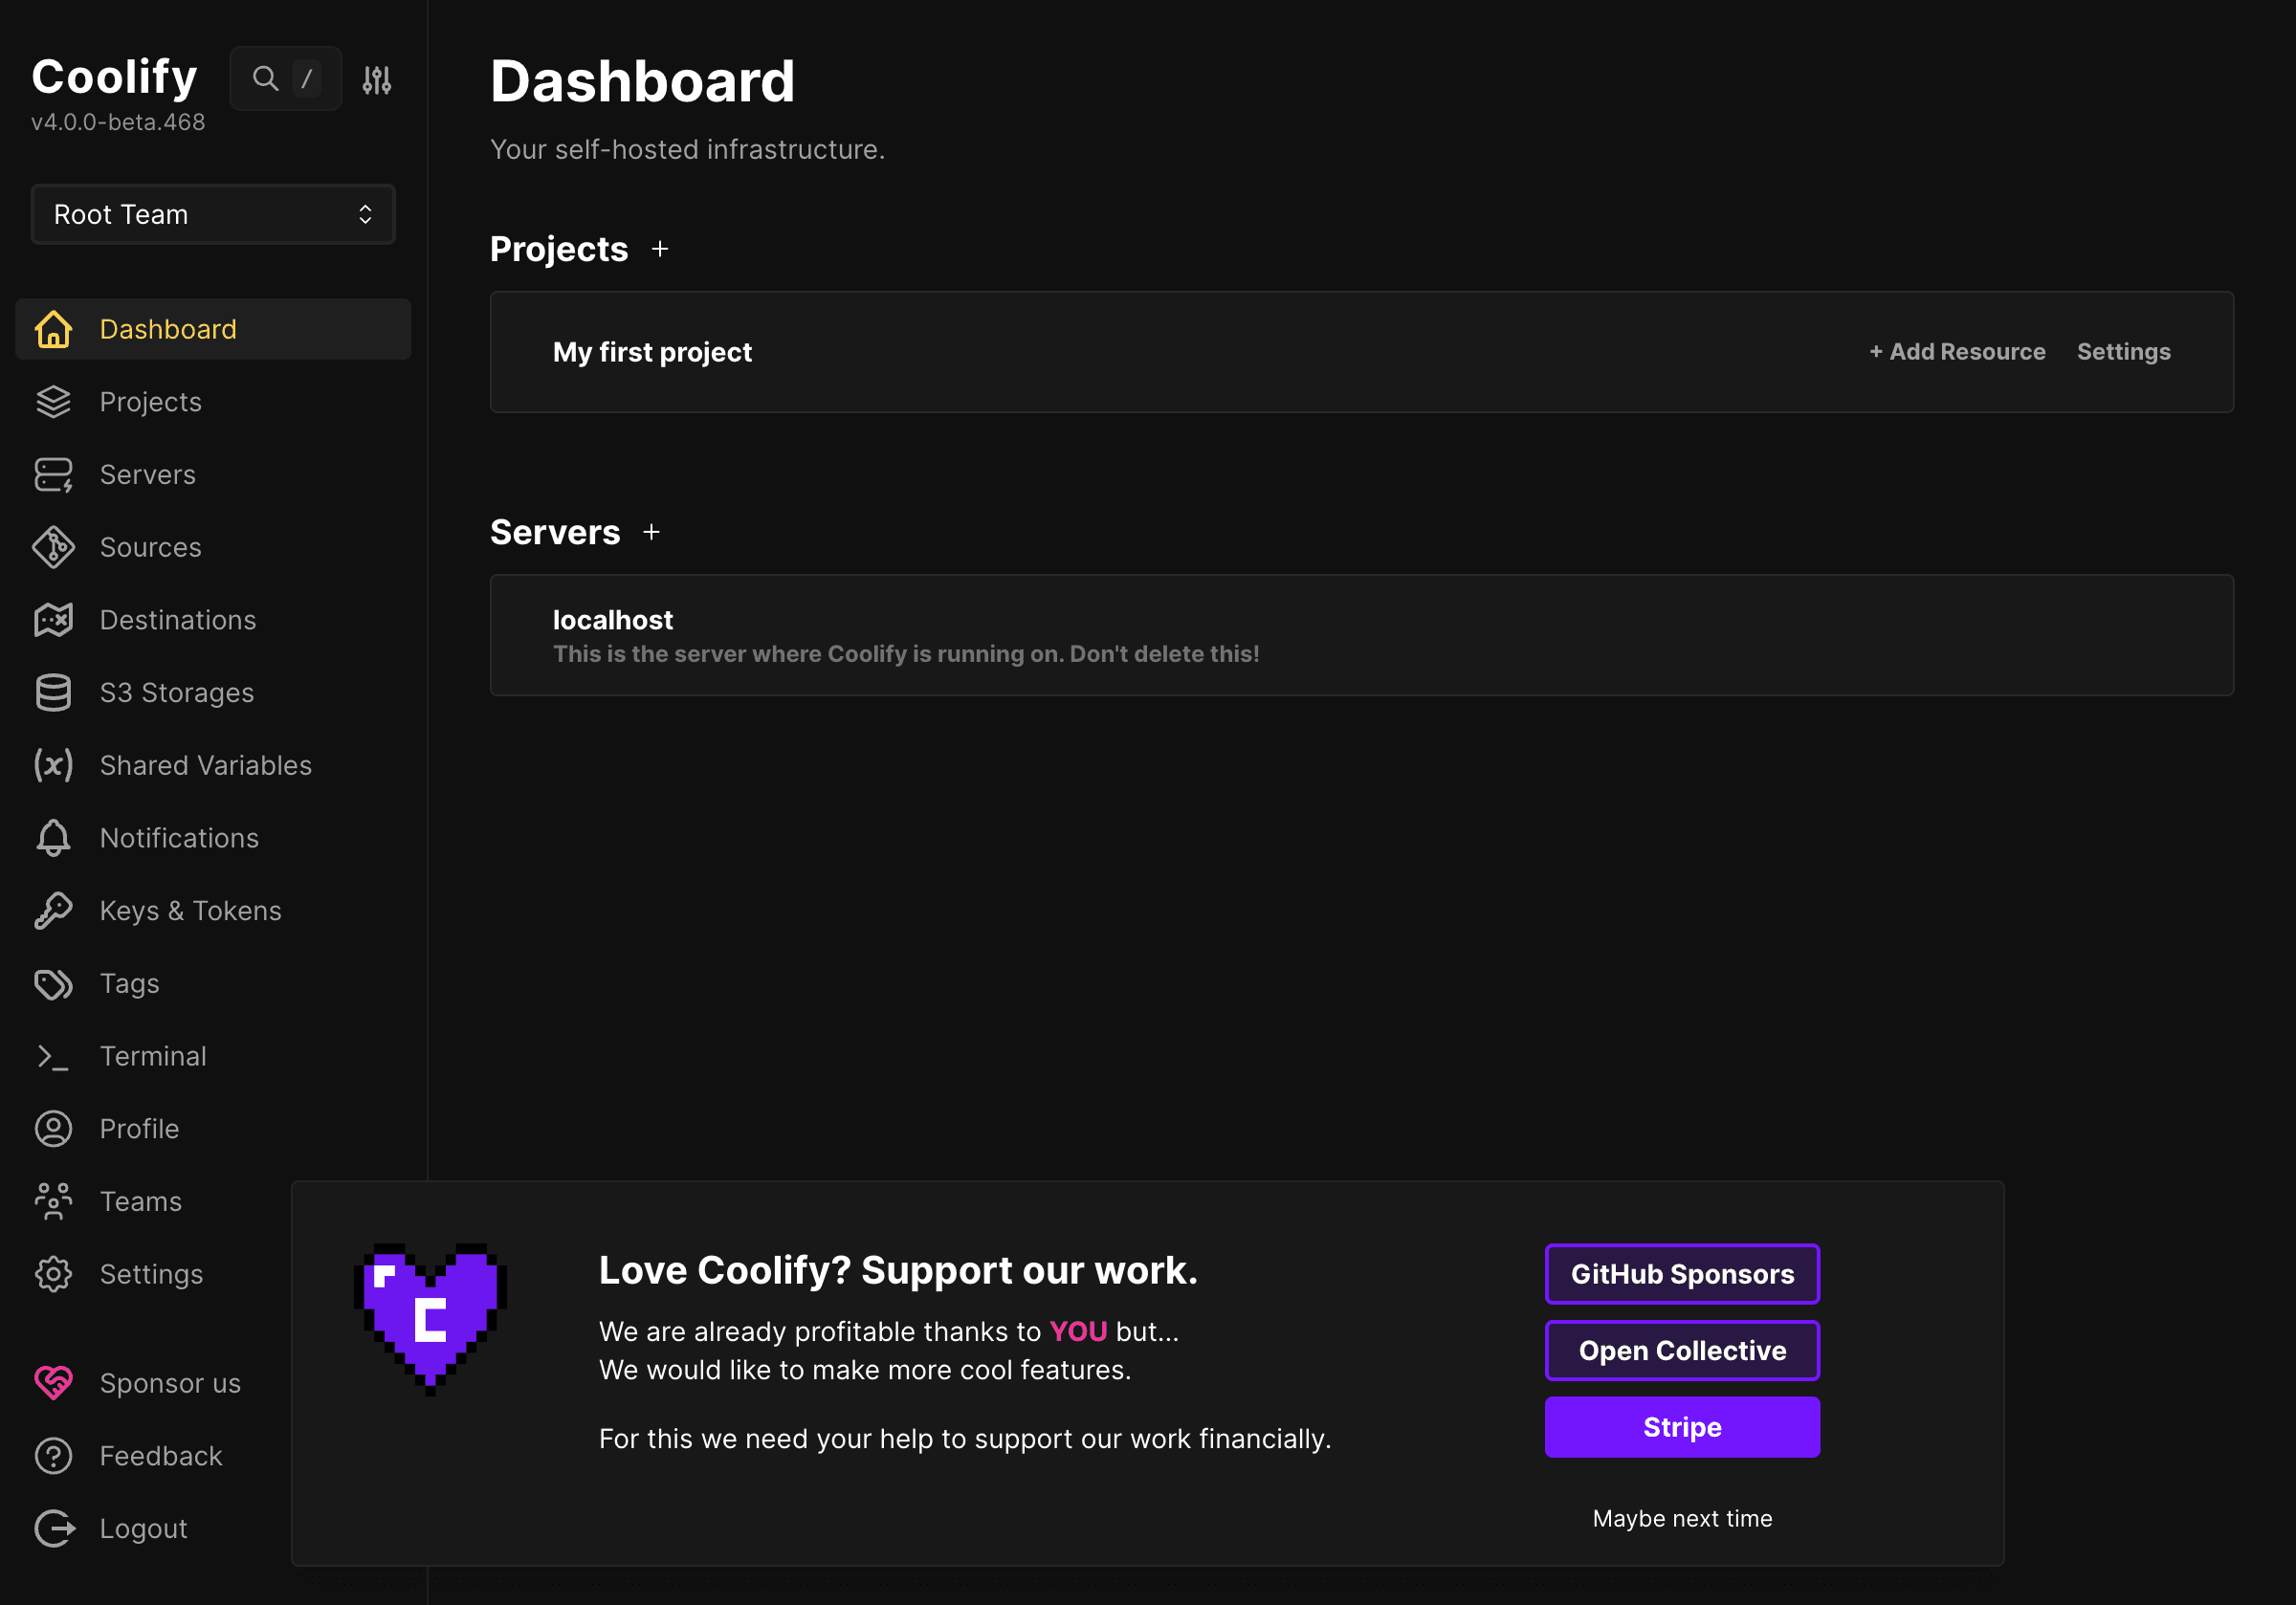
After logging into the Coolify interface, the first step is to create a new resource for the application. This is where you declare where the application will be built from, which server it will run on, and which domain it will be published through. In this real case, the application is named Laravel Coolify Demo. Go to Dashboard => Projects, create new or choose an existing project.
Here you will choose a Git Based application with the option of Public Repository or Private Repository depending on your needs. If using a private repository, you need to connect your GitHub account to Coolify first so the system has permission to read the source. I have provided separate guidance on this in the article CI/CD on Coolify – Integrating GitHub, GitLab, Bitbucket, especially the step of connecting Git provider before creating the application.
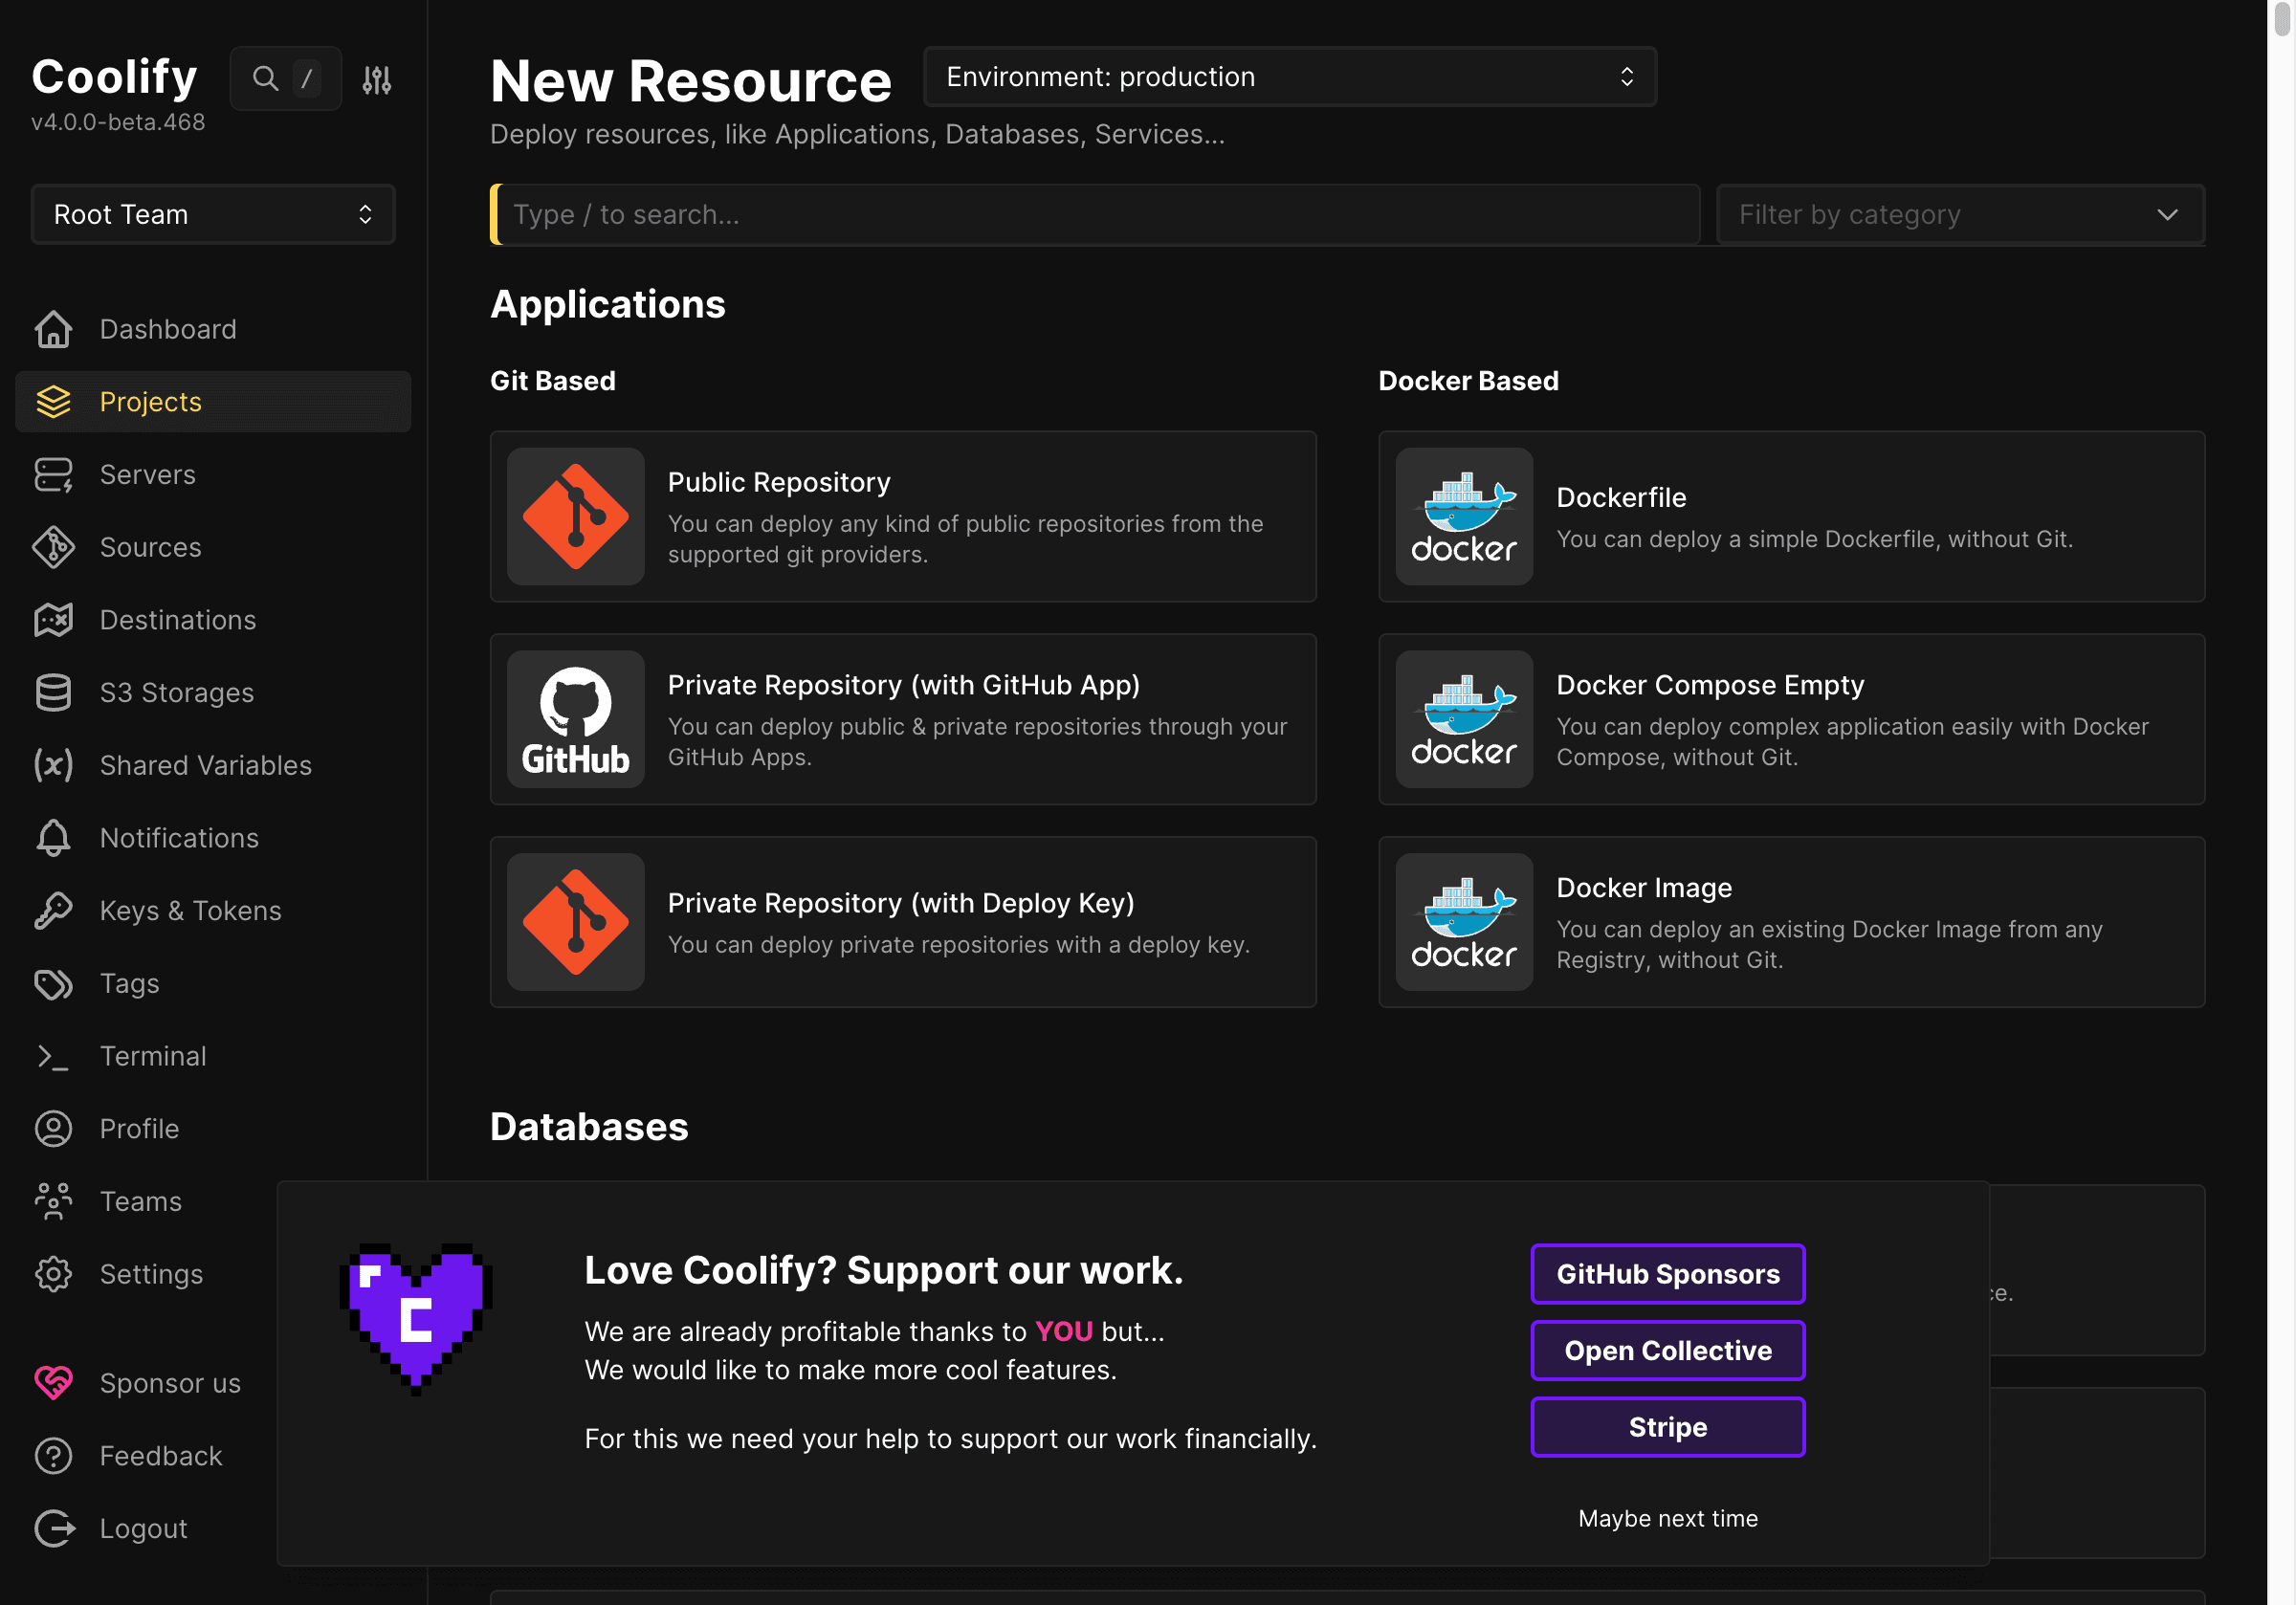
After choosing to create an application, Coolify will request declaration of source code. For a public repository, just enter the GitHub URL.
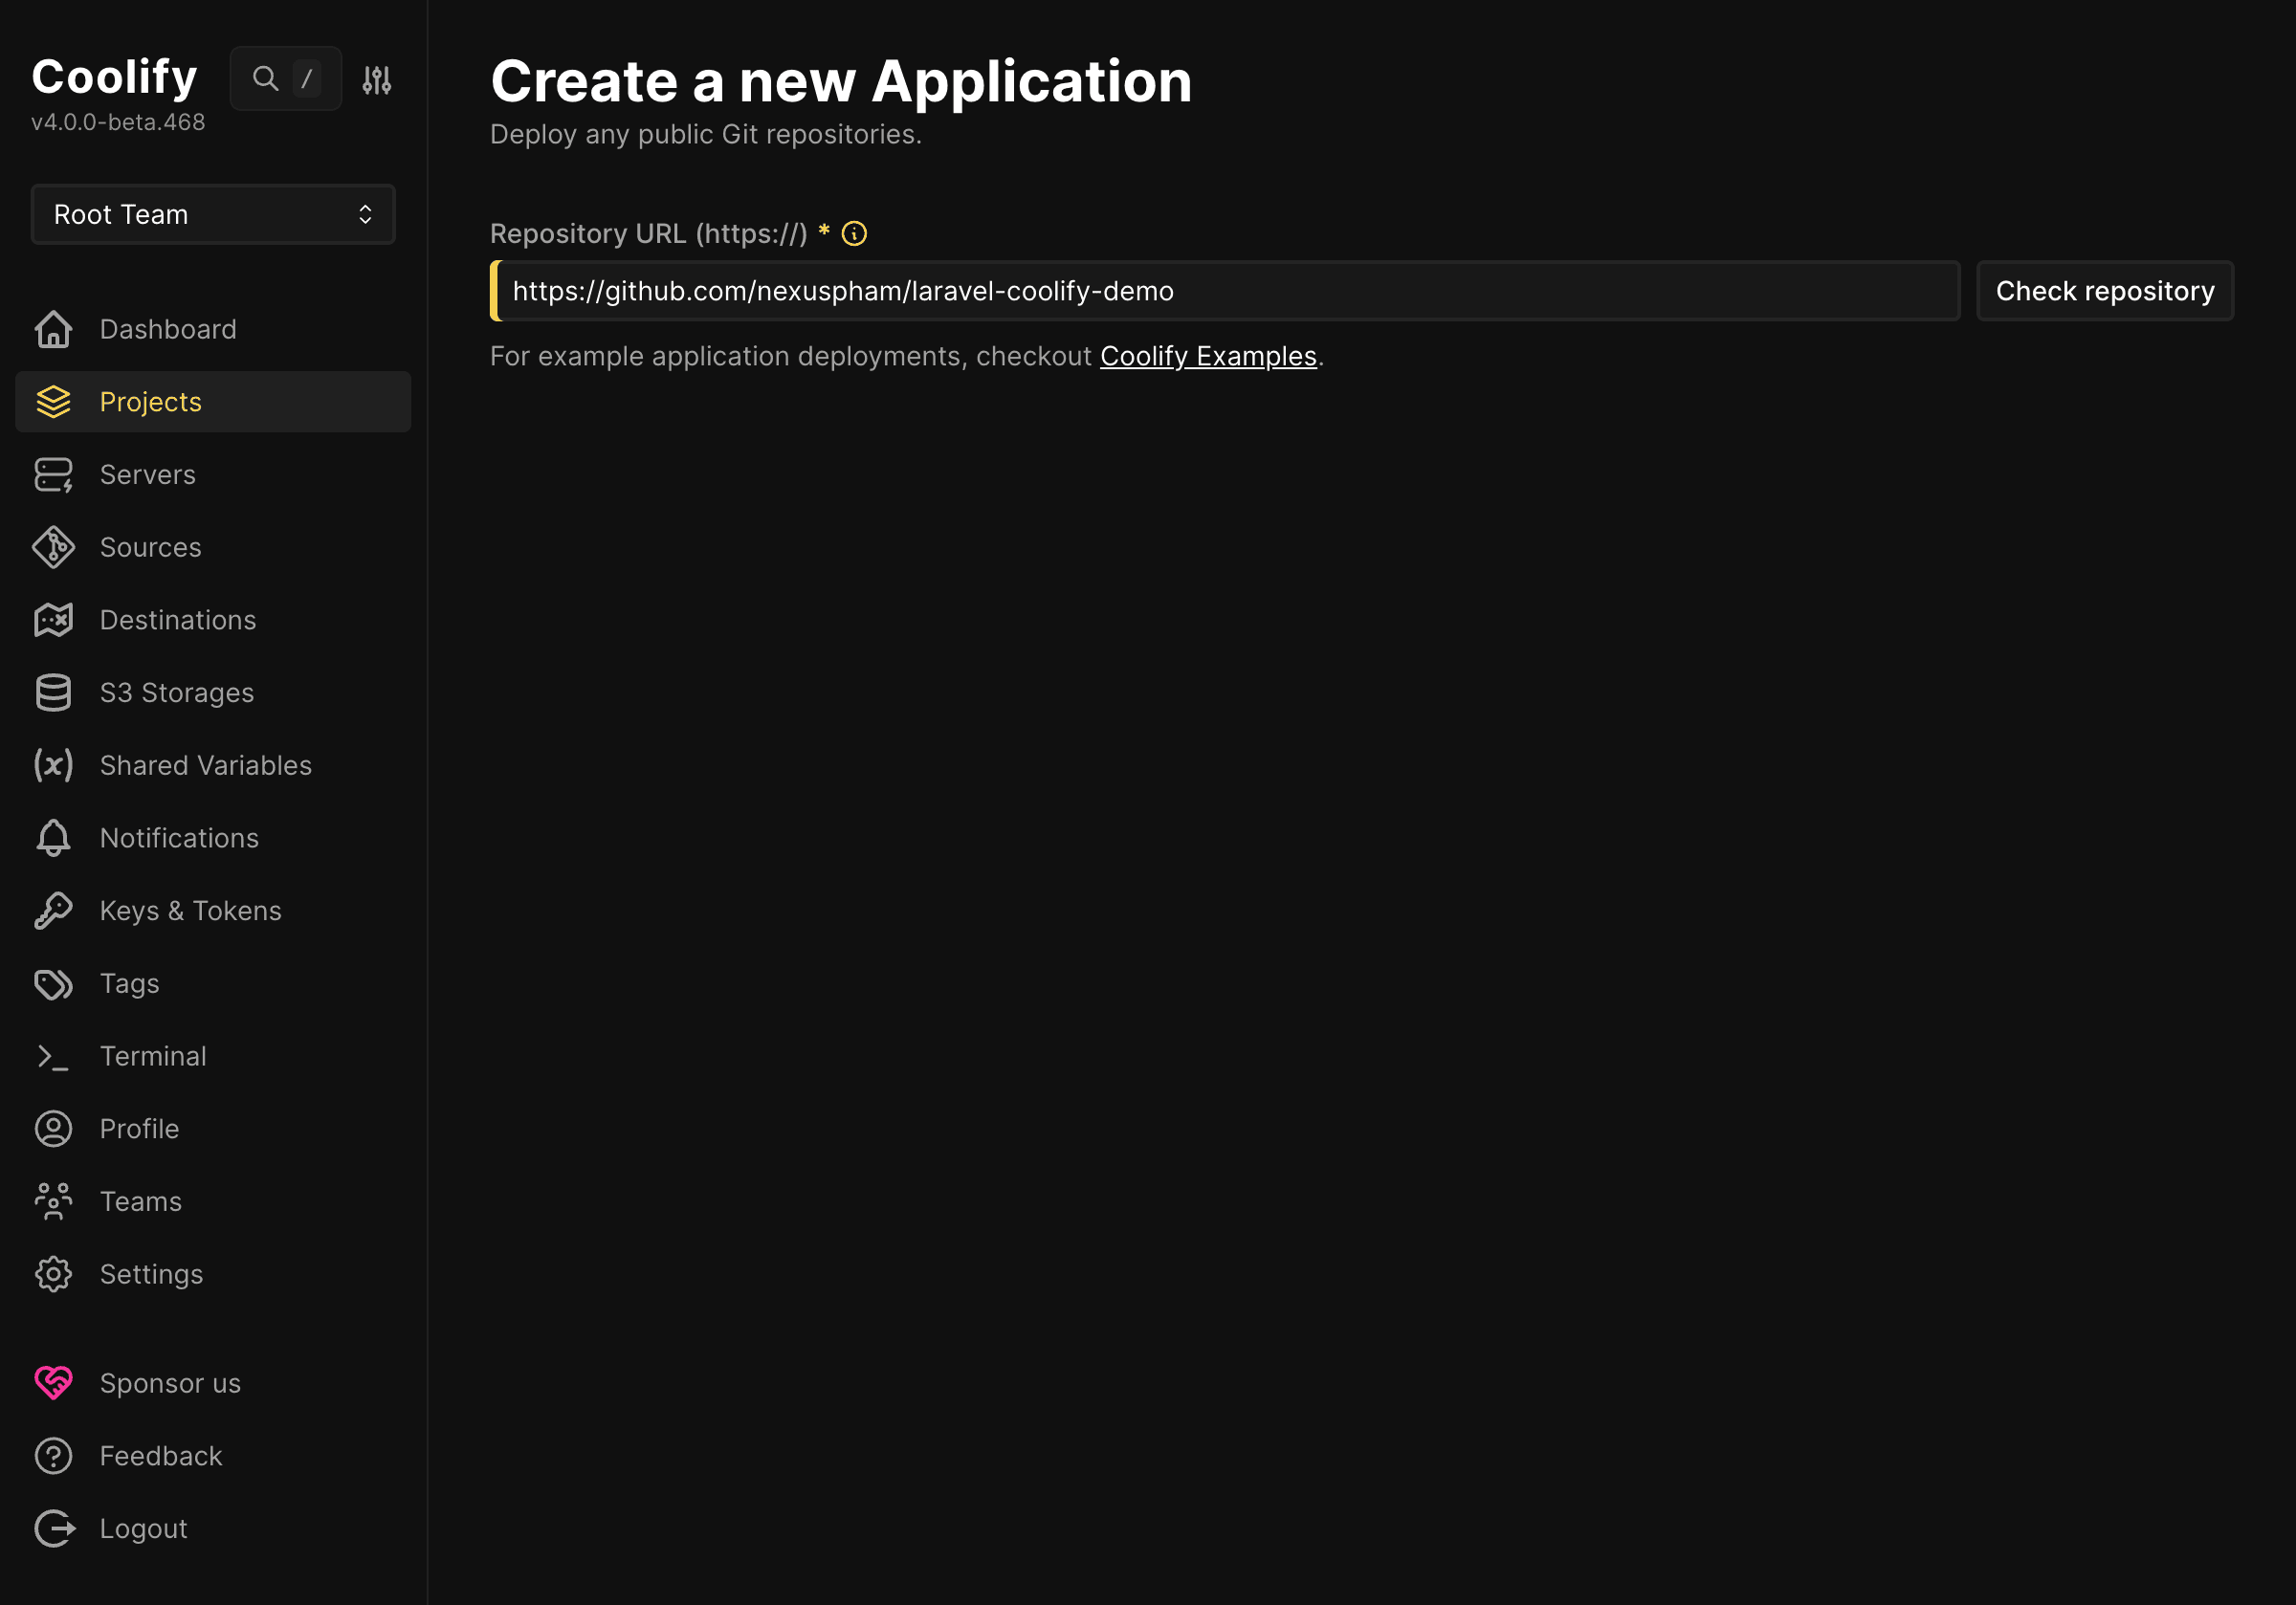
The branch used for deployment is the main branch of the project. When entered, Coolify will check the repository to determine if it can clone the source.
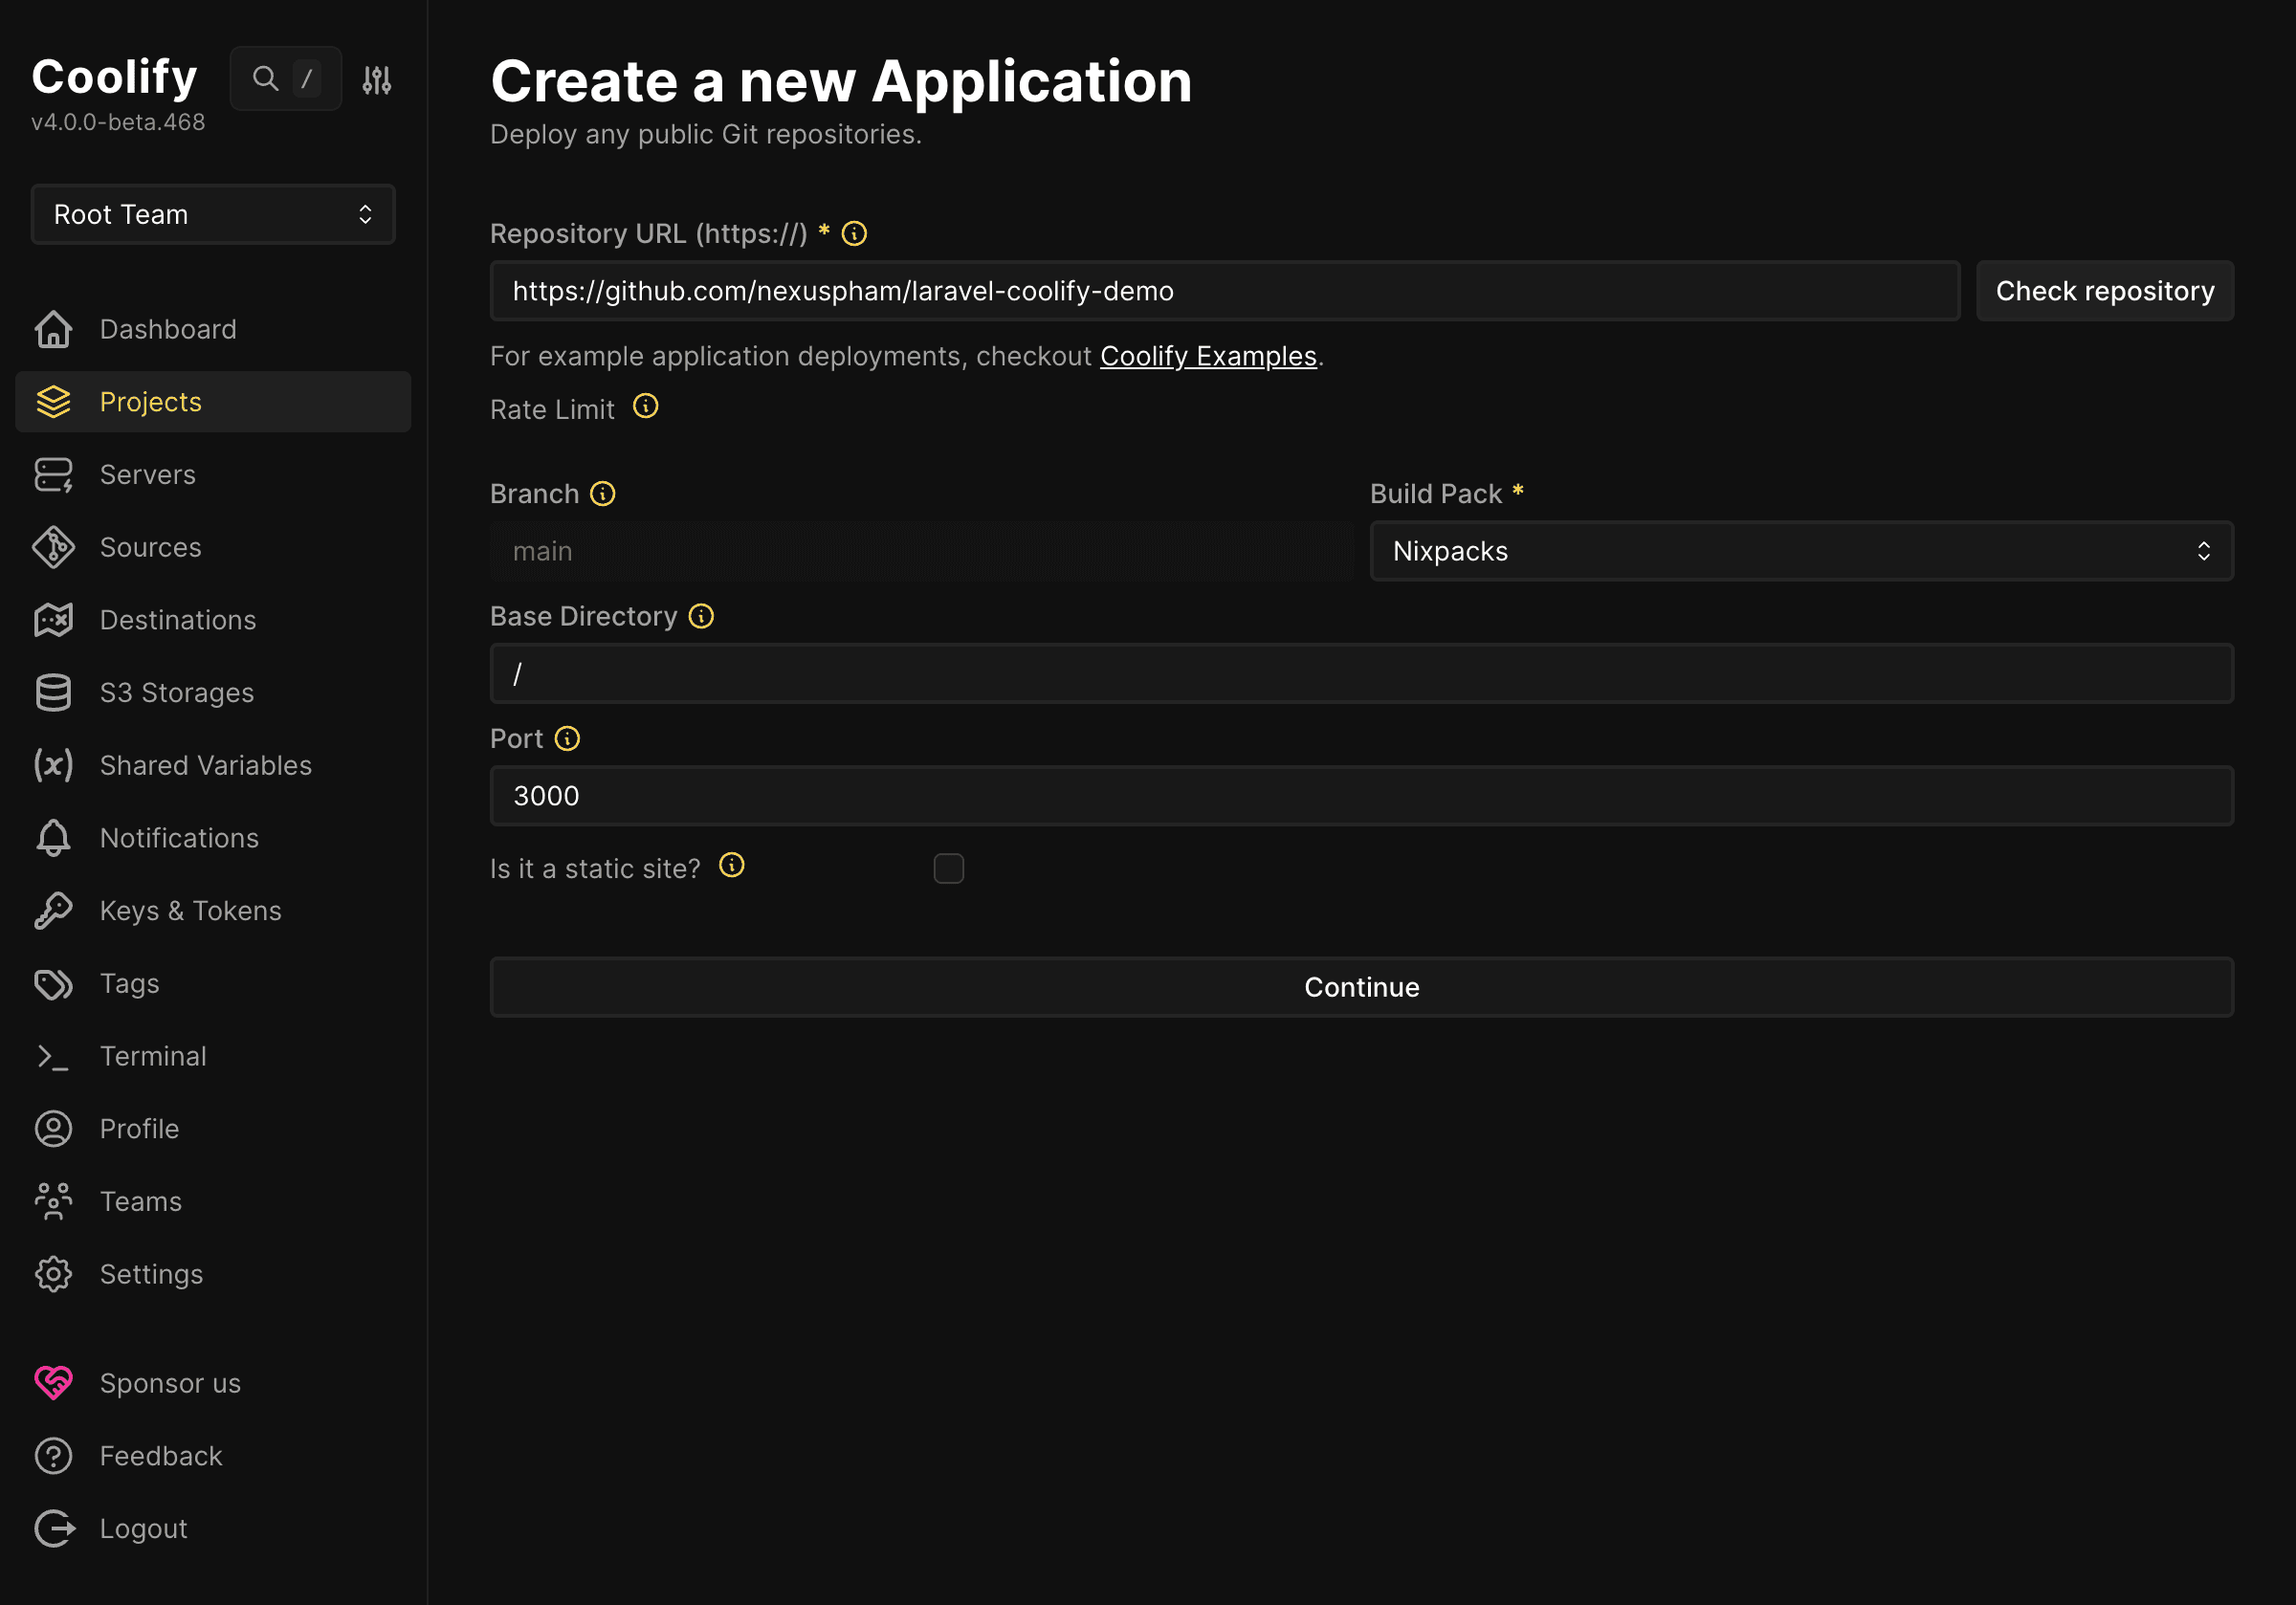
At the step of choosing build pack or strategy, instead of letting Coolify auto-detect with Nixpacks, this article actively chooses Dockerfile. This also depends on your project’s initial design.
For many PHP applications in general and Laravel in particular, Nixpacks can build, but the result depends quite heavily on how the source is currently structured, which PHP extensions are needed, whether there is frontend build, what web server runs on, and how to write the start command. When using Dockerfile, all build logic is in the source code, so it’s easy to predict, easy to fix, and easy to reuse in other environments.
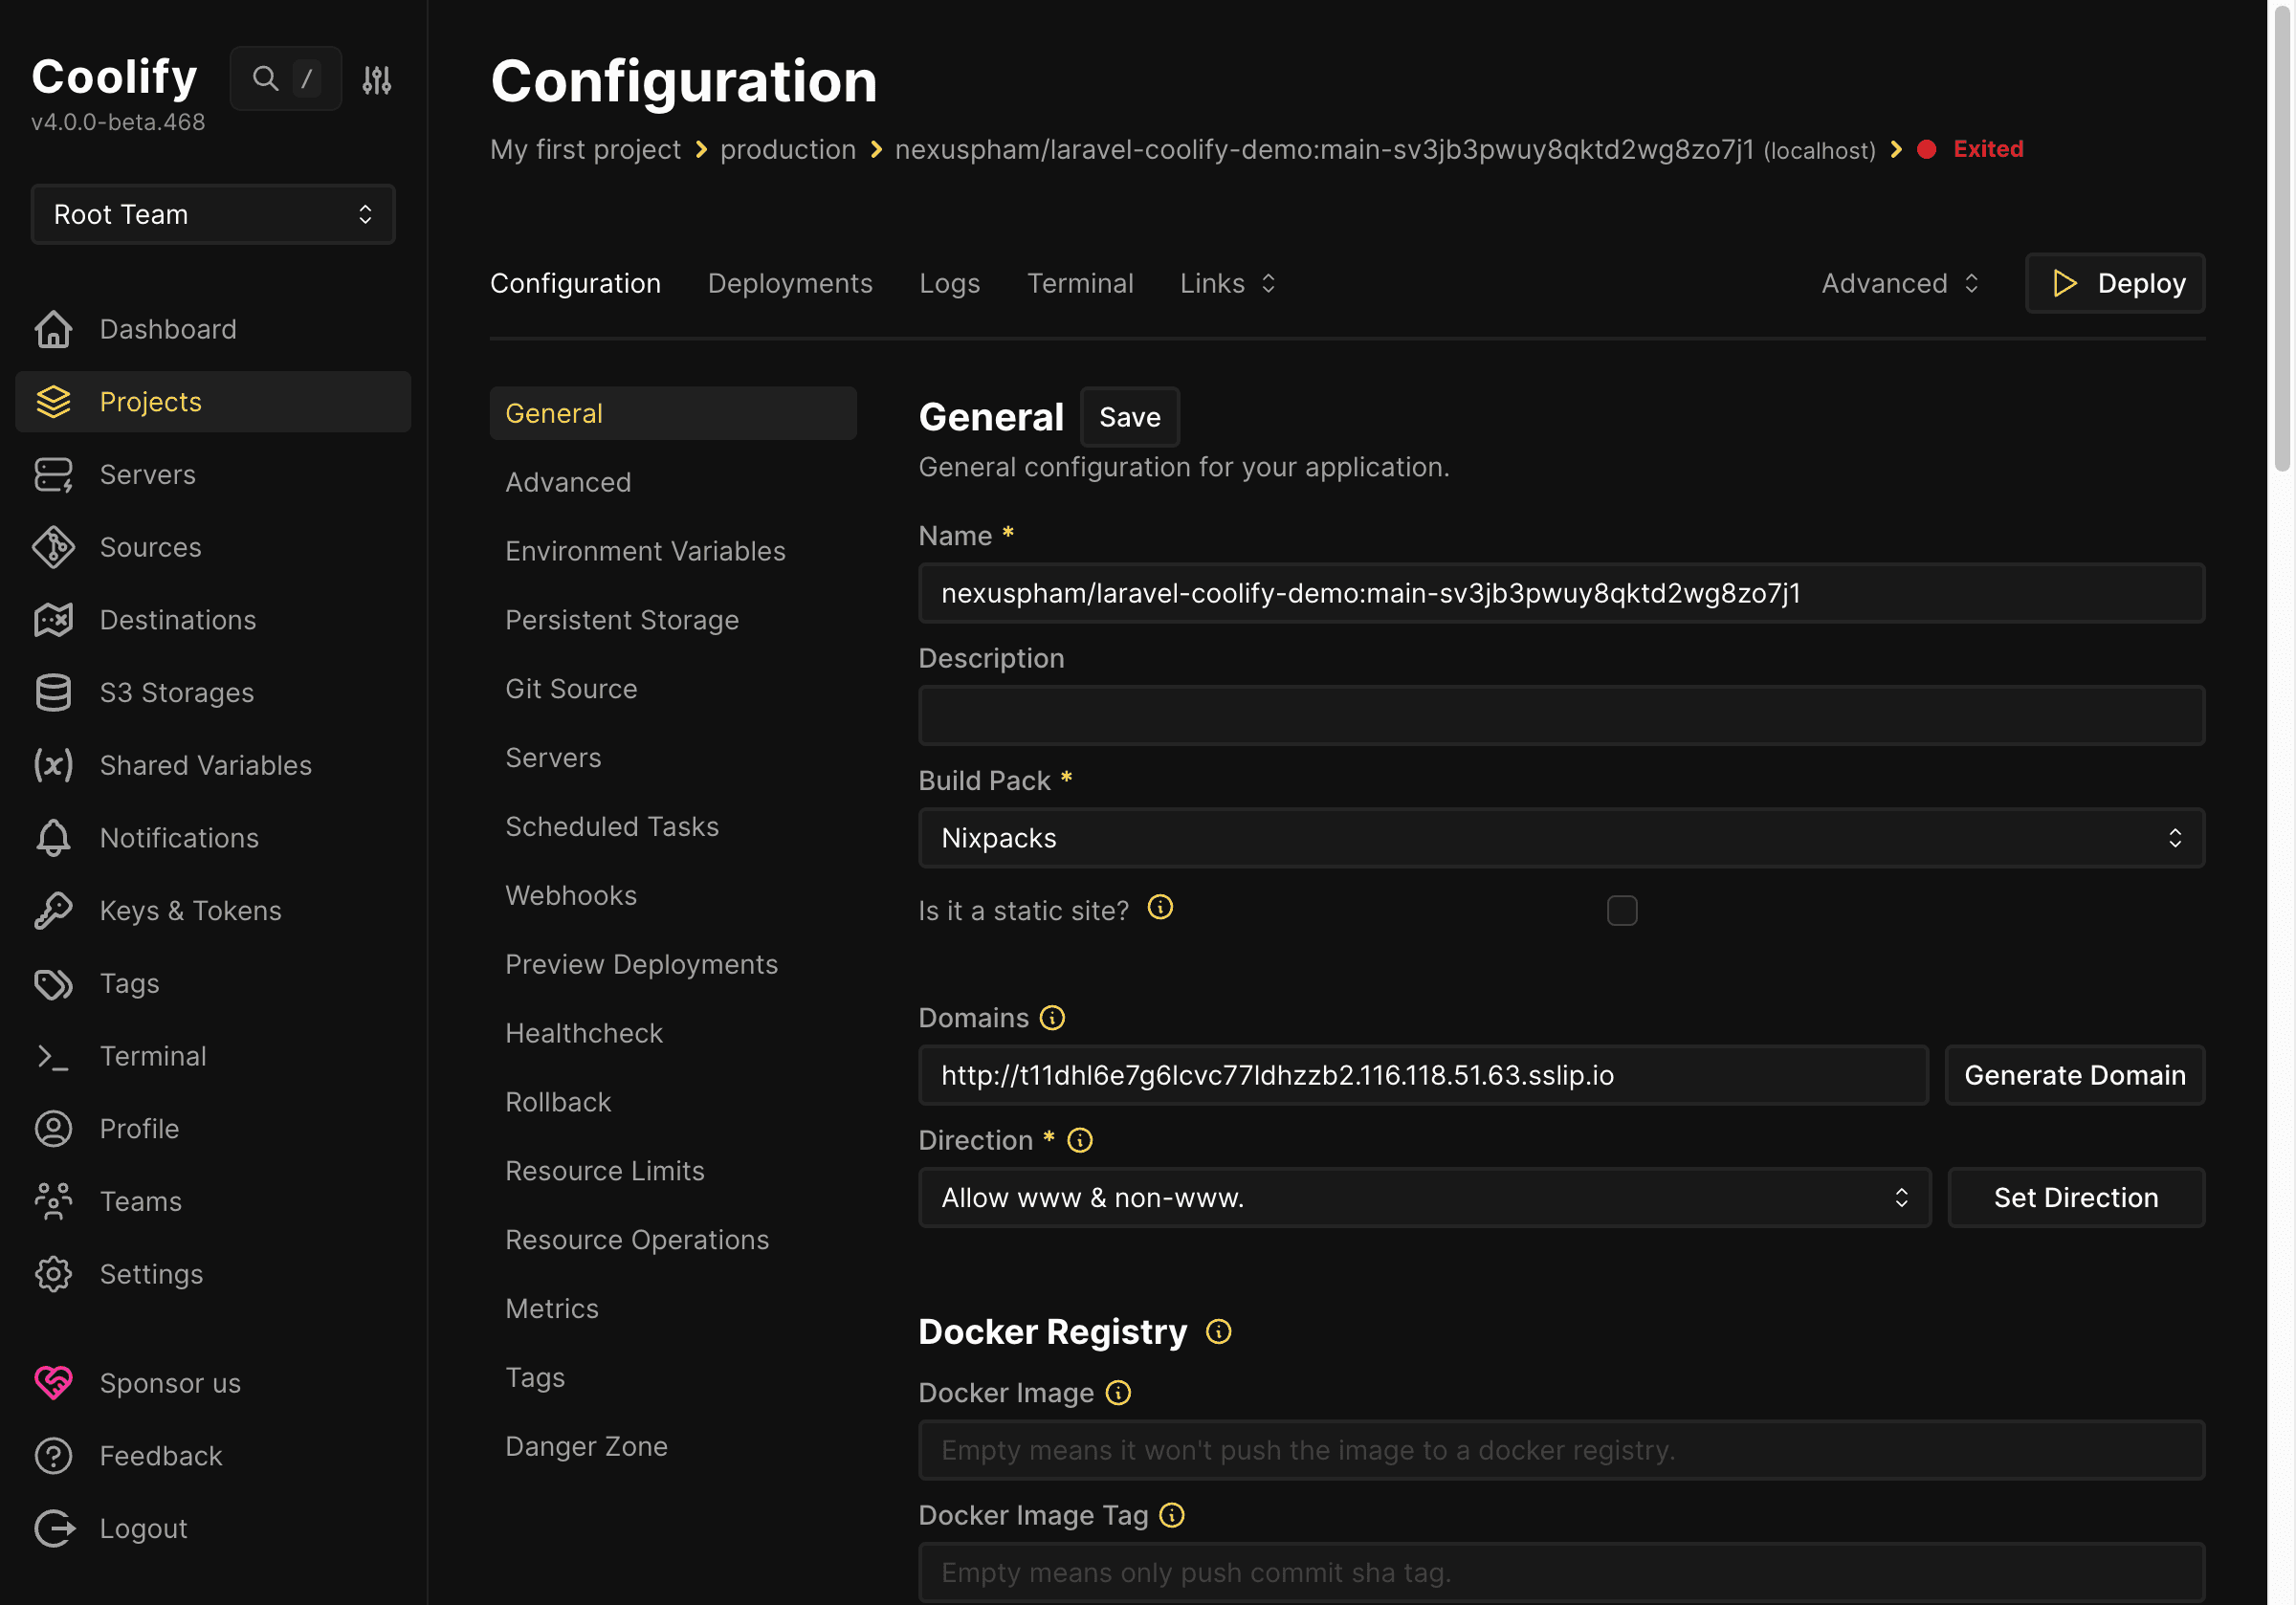
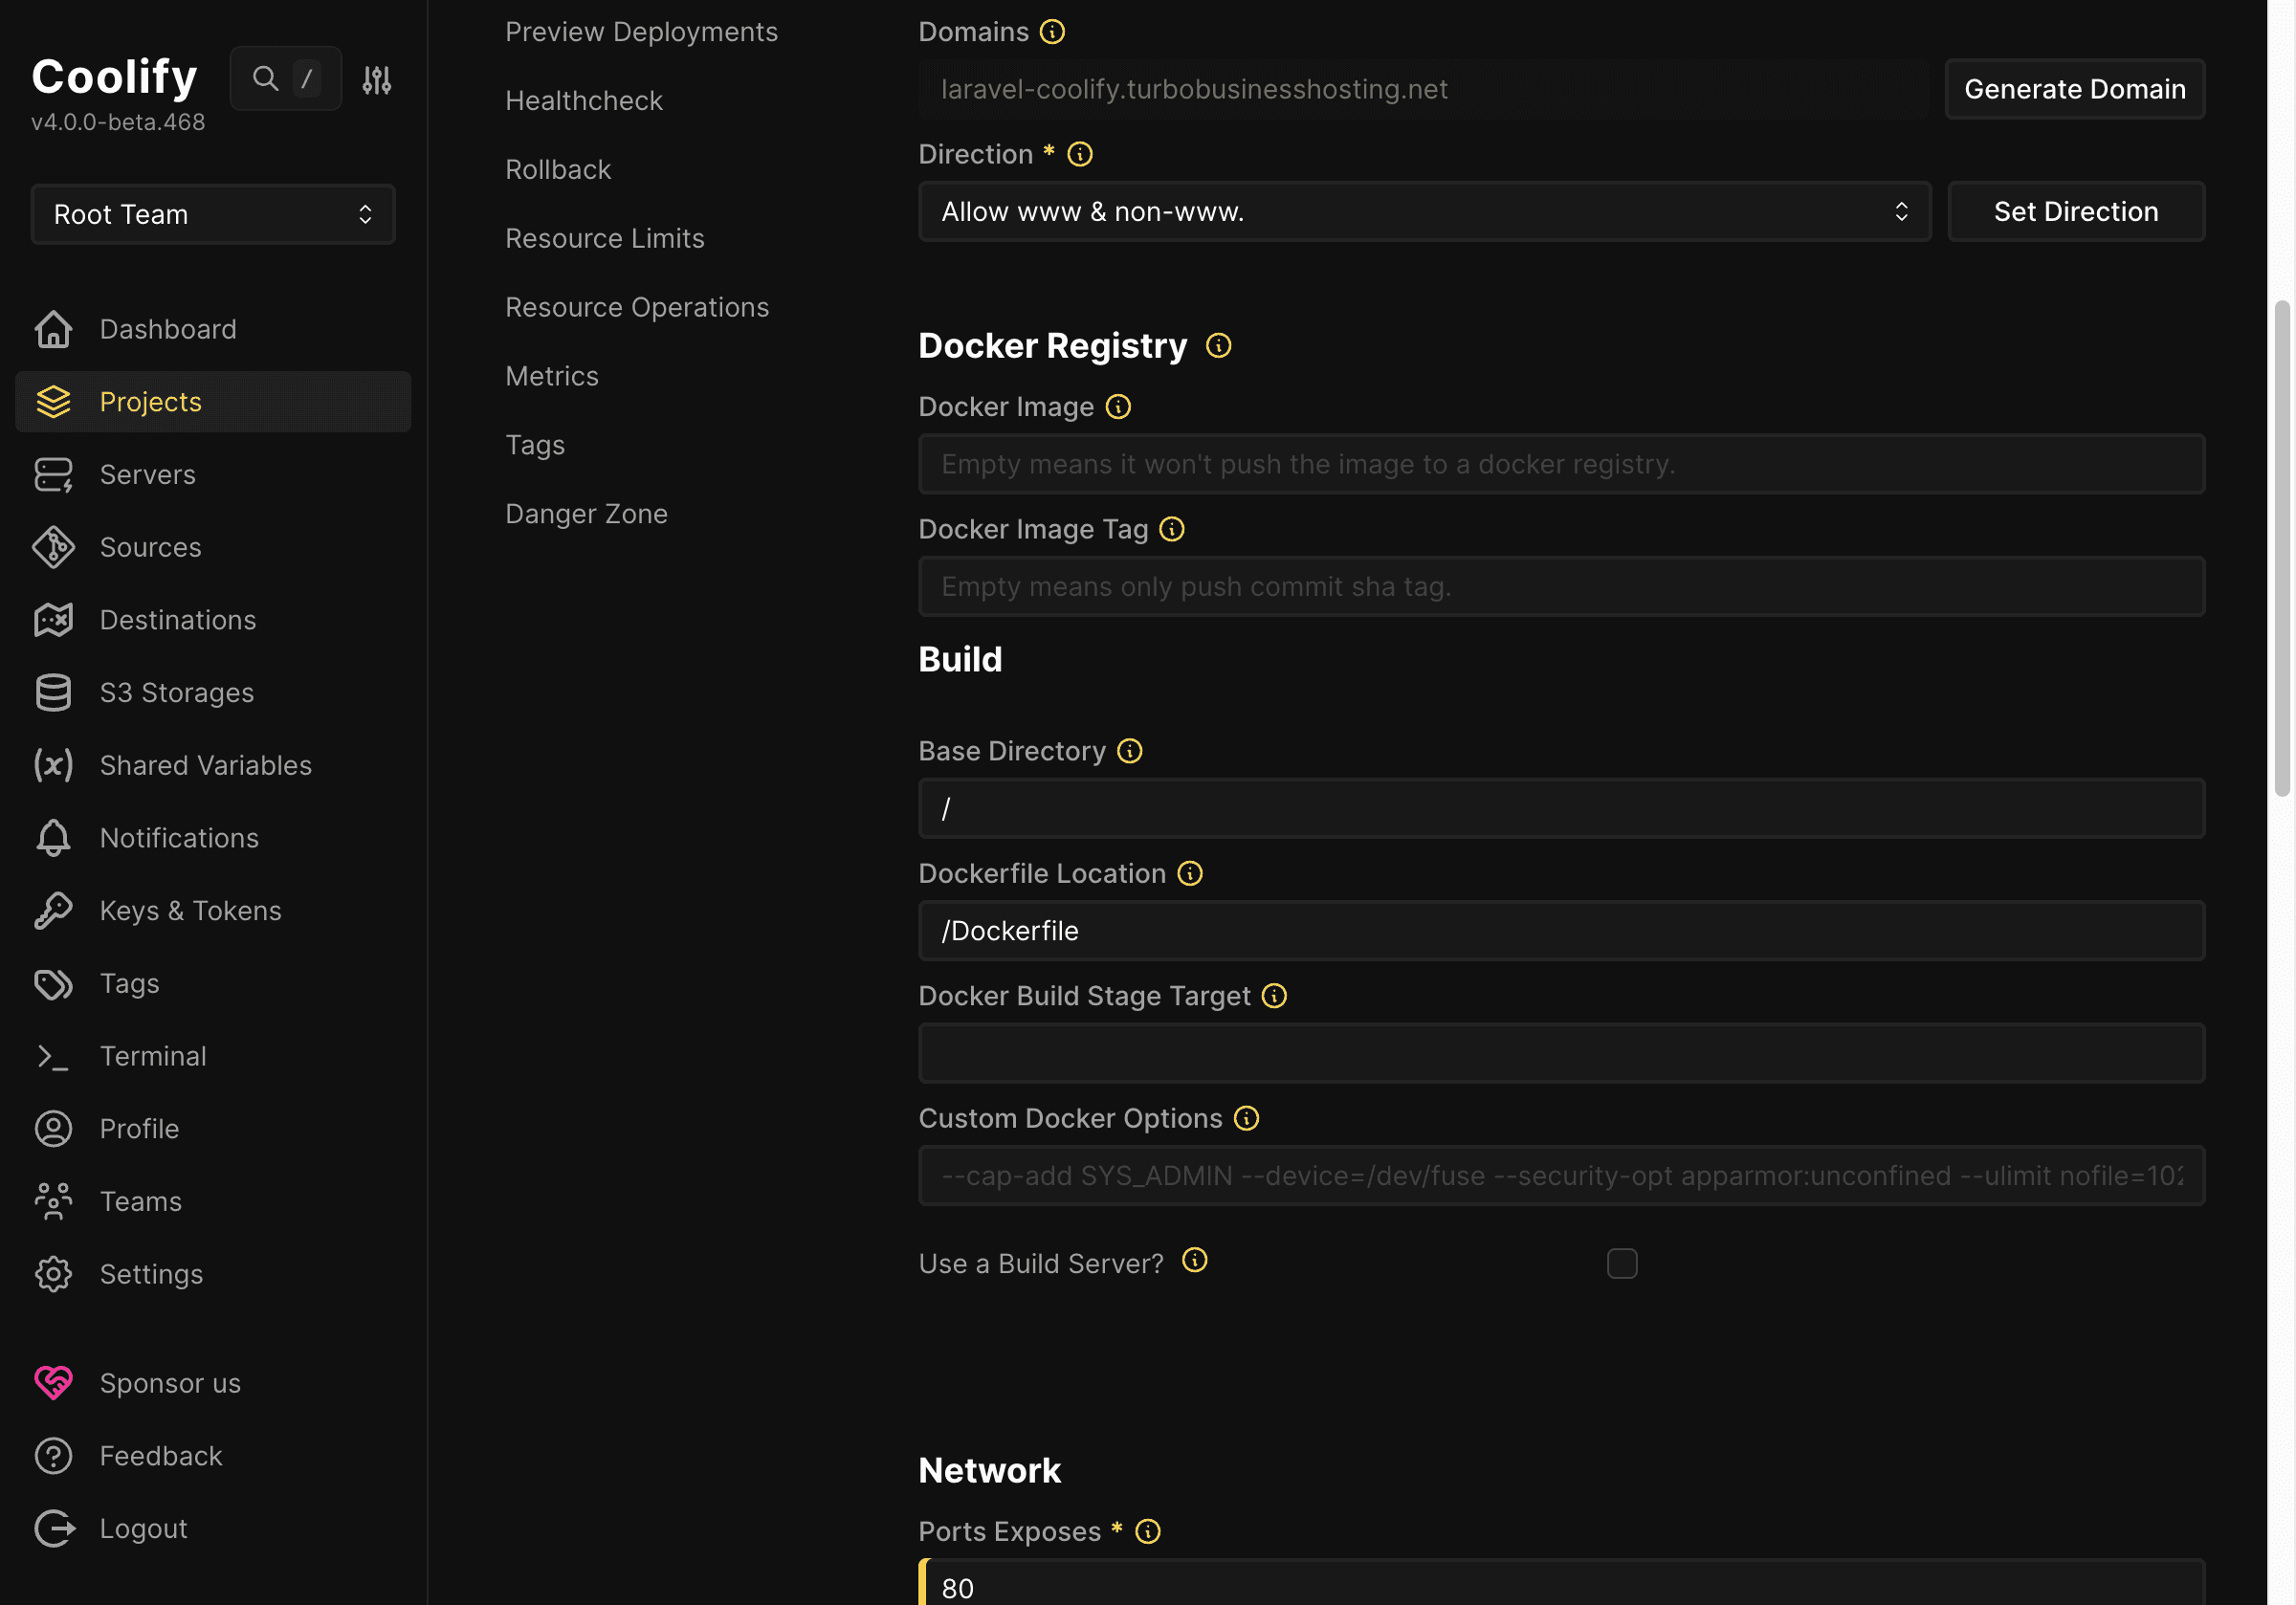
After the source has been recognized and the build strategy is clear, Coolify will create the application configuration page. Here you can adjust the app name, branch, build context, container internal port, public URL, and some other deployment options. With the Dockerfile in this project, the container will expose port 80, so the application on Coolify also needs to map the correct port.
Declaring Required Configuration Before First Deployment
For Laravel, besides source code, environment variables are also very important. In the demo project, the container startup script has already handled some basic values like APP_ENV, APP_DEBUG, APP_URL, and SQLite database configuration. However, on Coolify you should still check important variables before clicking deploy for the first time.
At minimum, you should ensure there is a valid APP_KEY, APP_ENV=production, APP_DEBUG=false, and APP_URL matching the domain or public URL to be used for website access. If the application uses MySQL or PostgreSQL instead of SQLite, this is also when to declare variables like DB_HOST, DB_PORT, DB_DATABASE, DB_USERNAME, and DB_PASSWORD. The demo uses SQLite to keep the process simple, but when working on more realistic projects, you would typically combine the Laravel application with a separate database service.
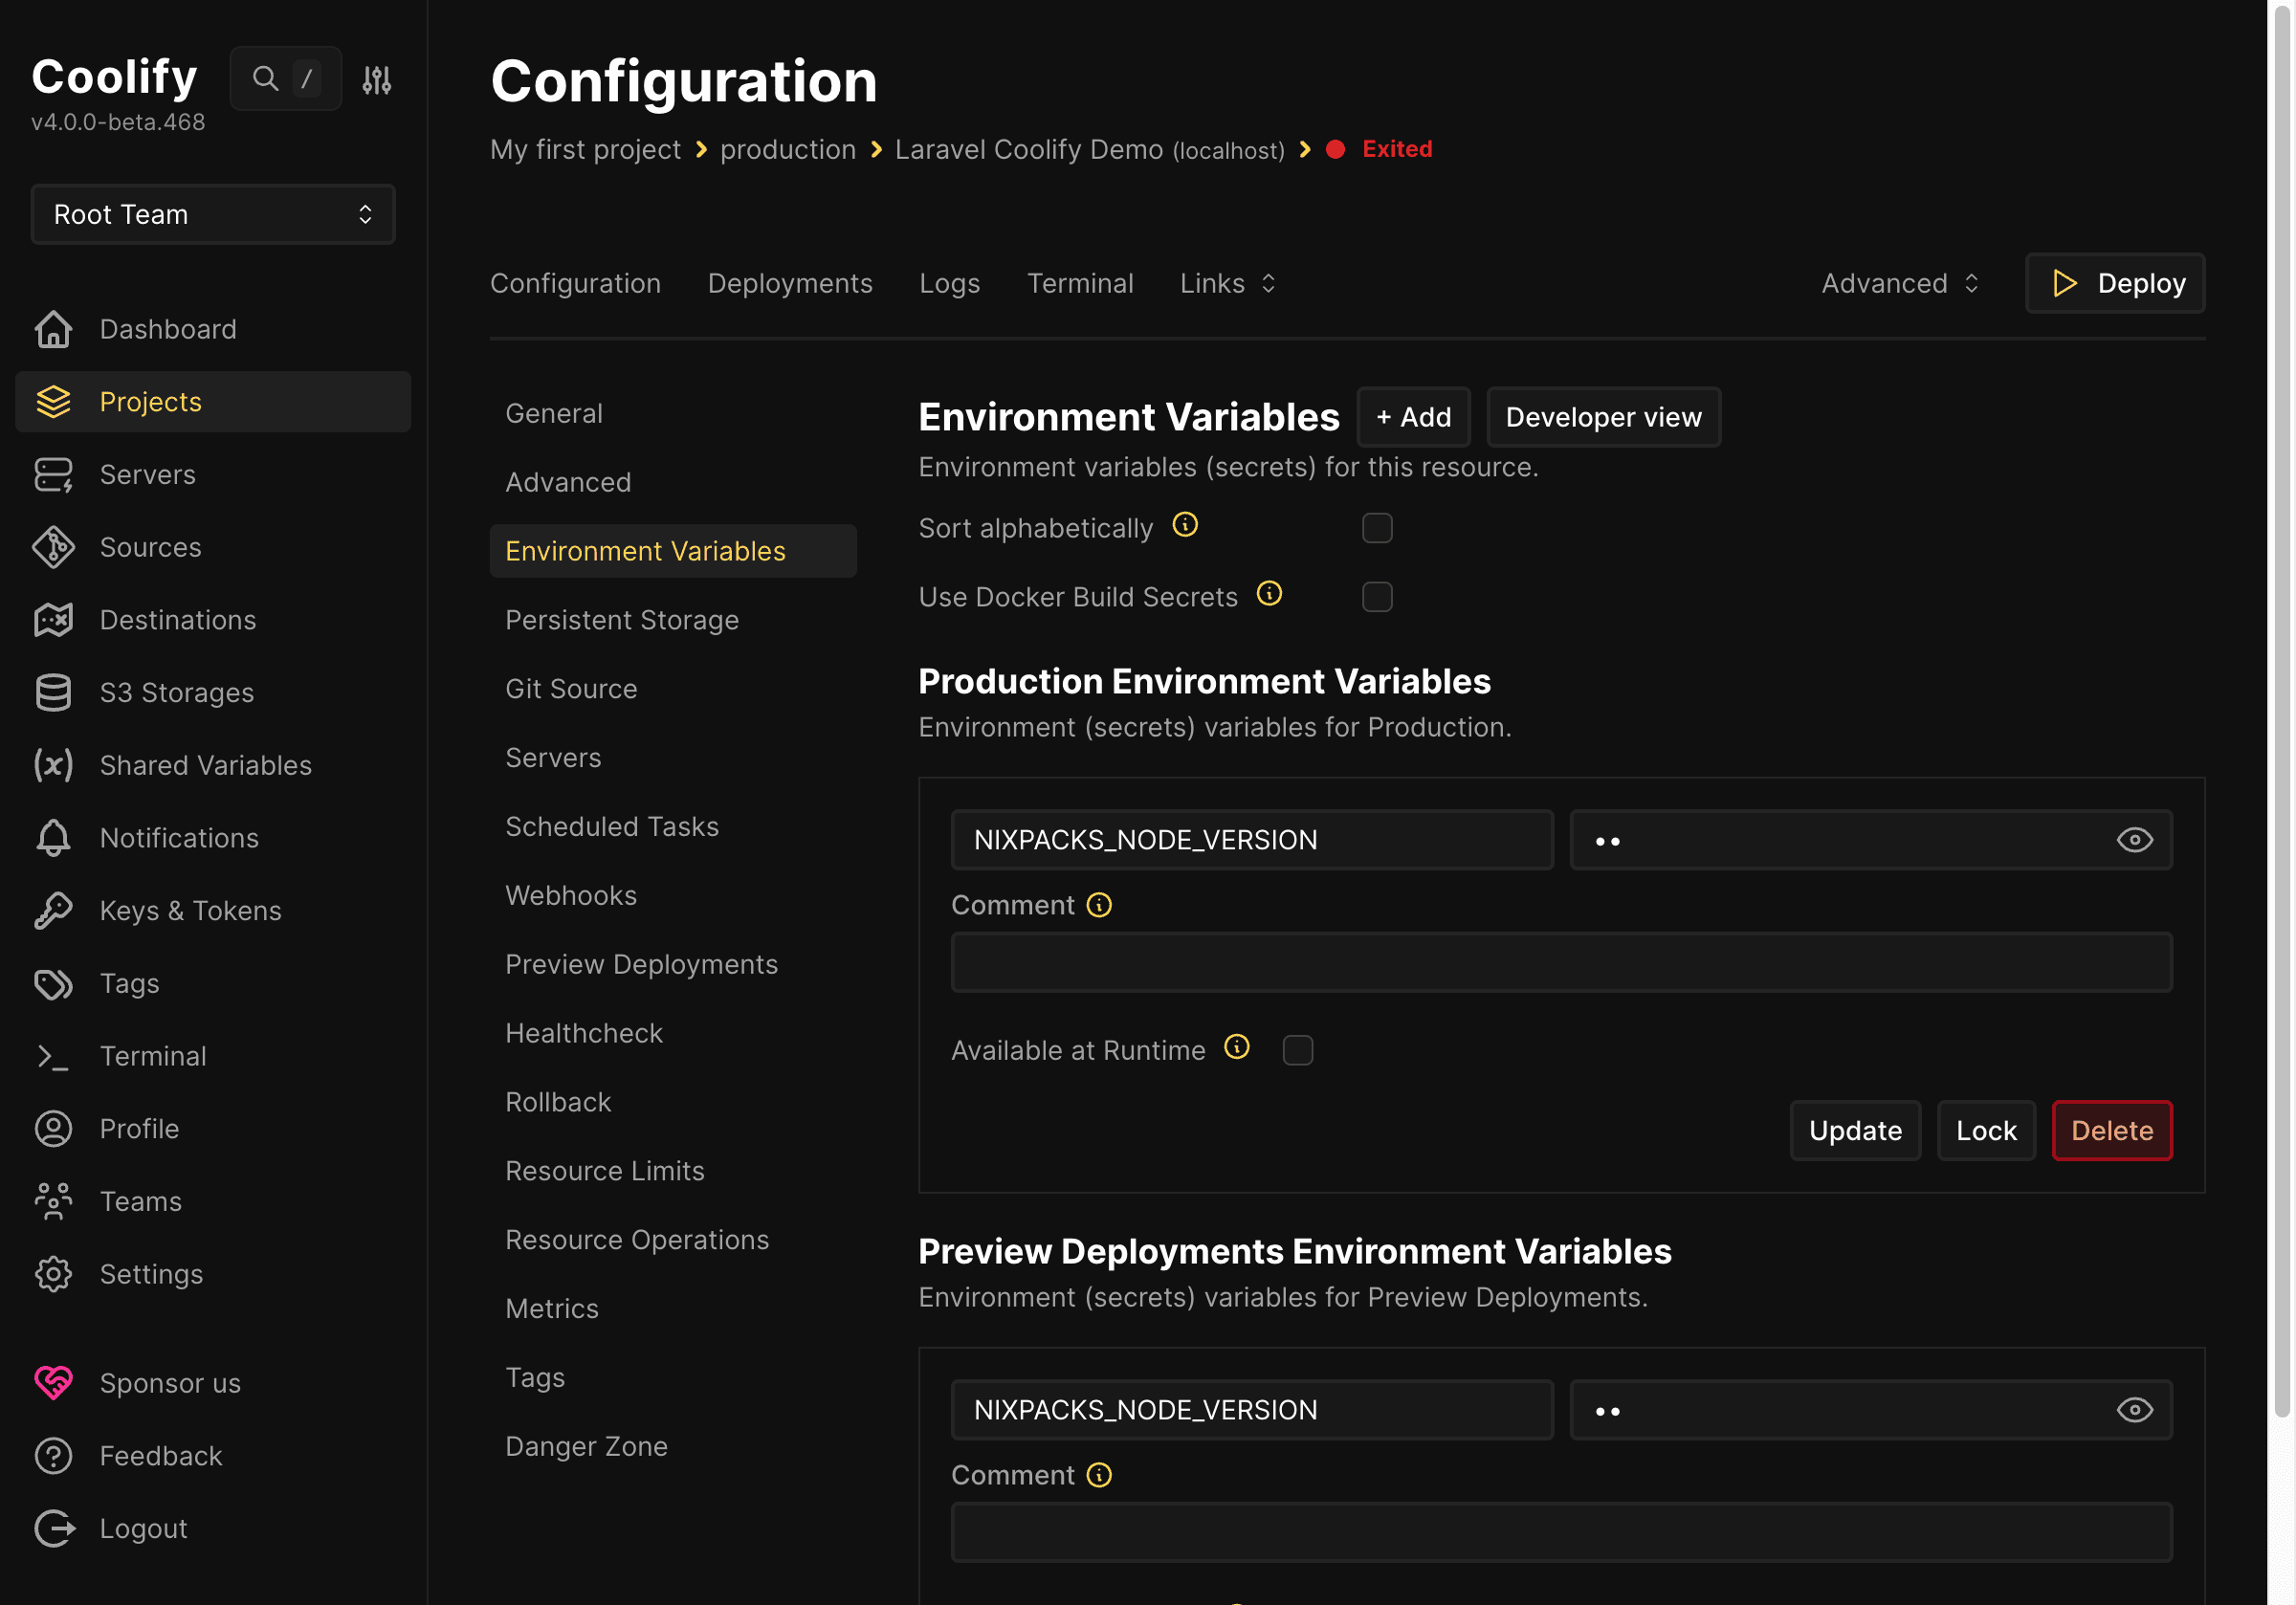
If you’re new to Laravel, you can understand briefly that Coolify doesn’t replace the .env file by editing source before commit. Instead, environment variables are passed in when the container runs. The Dockerfile and start script will read these variables to configure the application for the production environment. This approach is safer and more appropriate than pushing the actual .env file to GitHub.
Deploying Application from GitHub to Coolify
When configuration is saved, you can click deploy or redeploy for Coolify to start the process of building the image from GitHub source. Behind the scenes, Coolify will clone the repository, read the Dockerfile, build the image according to the declared steps, then run a new container on the selected server. If there are errors at any step, the system will display them in the logs section for checking.
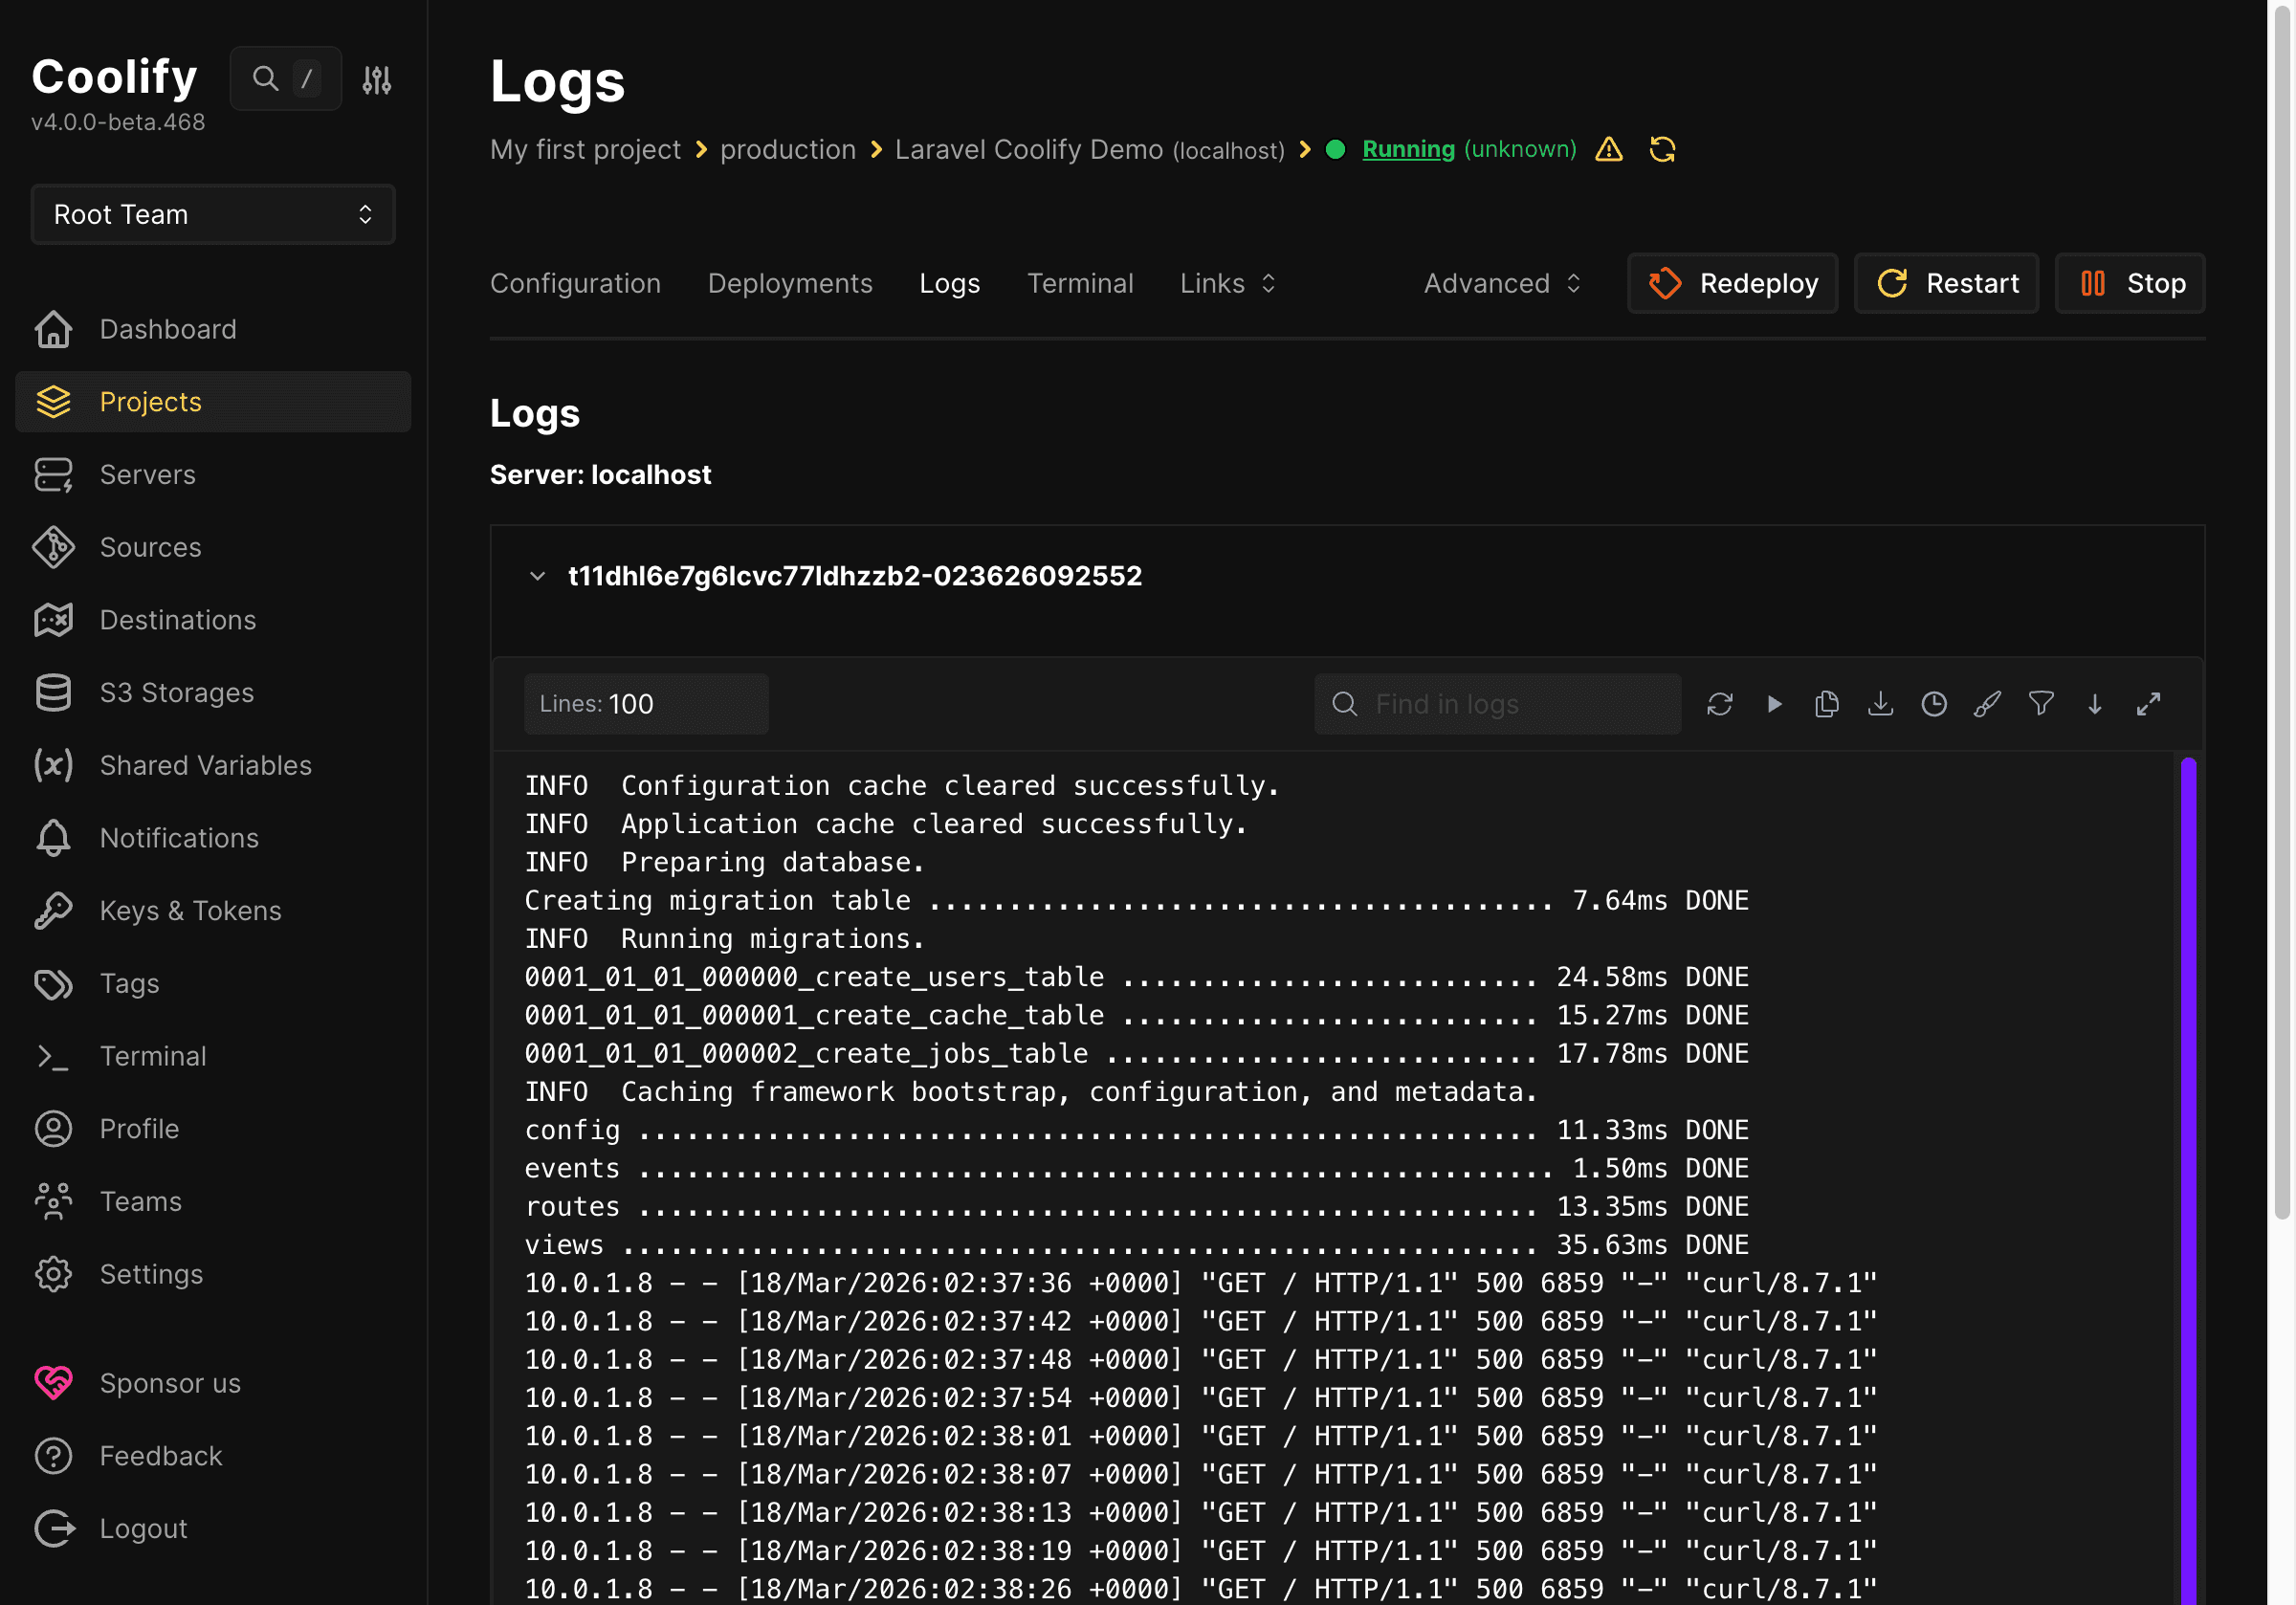
For this demo project, the deployment process succeeds and the application transitions to running state. After the container starts, the start script automatically runs migration, optimizes cache, and brings Apache to the foreground to keep the container active. This is why the article prefers Dockerfile: everything important after build can be controlled in source instead of relying on platform guesswork.
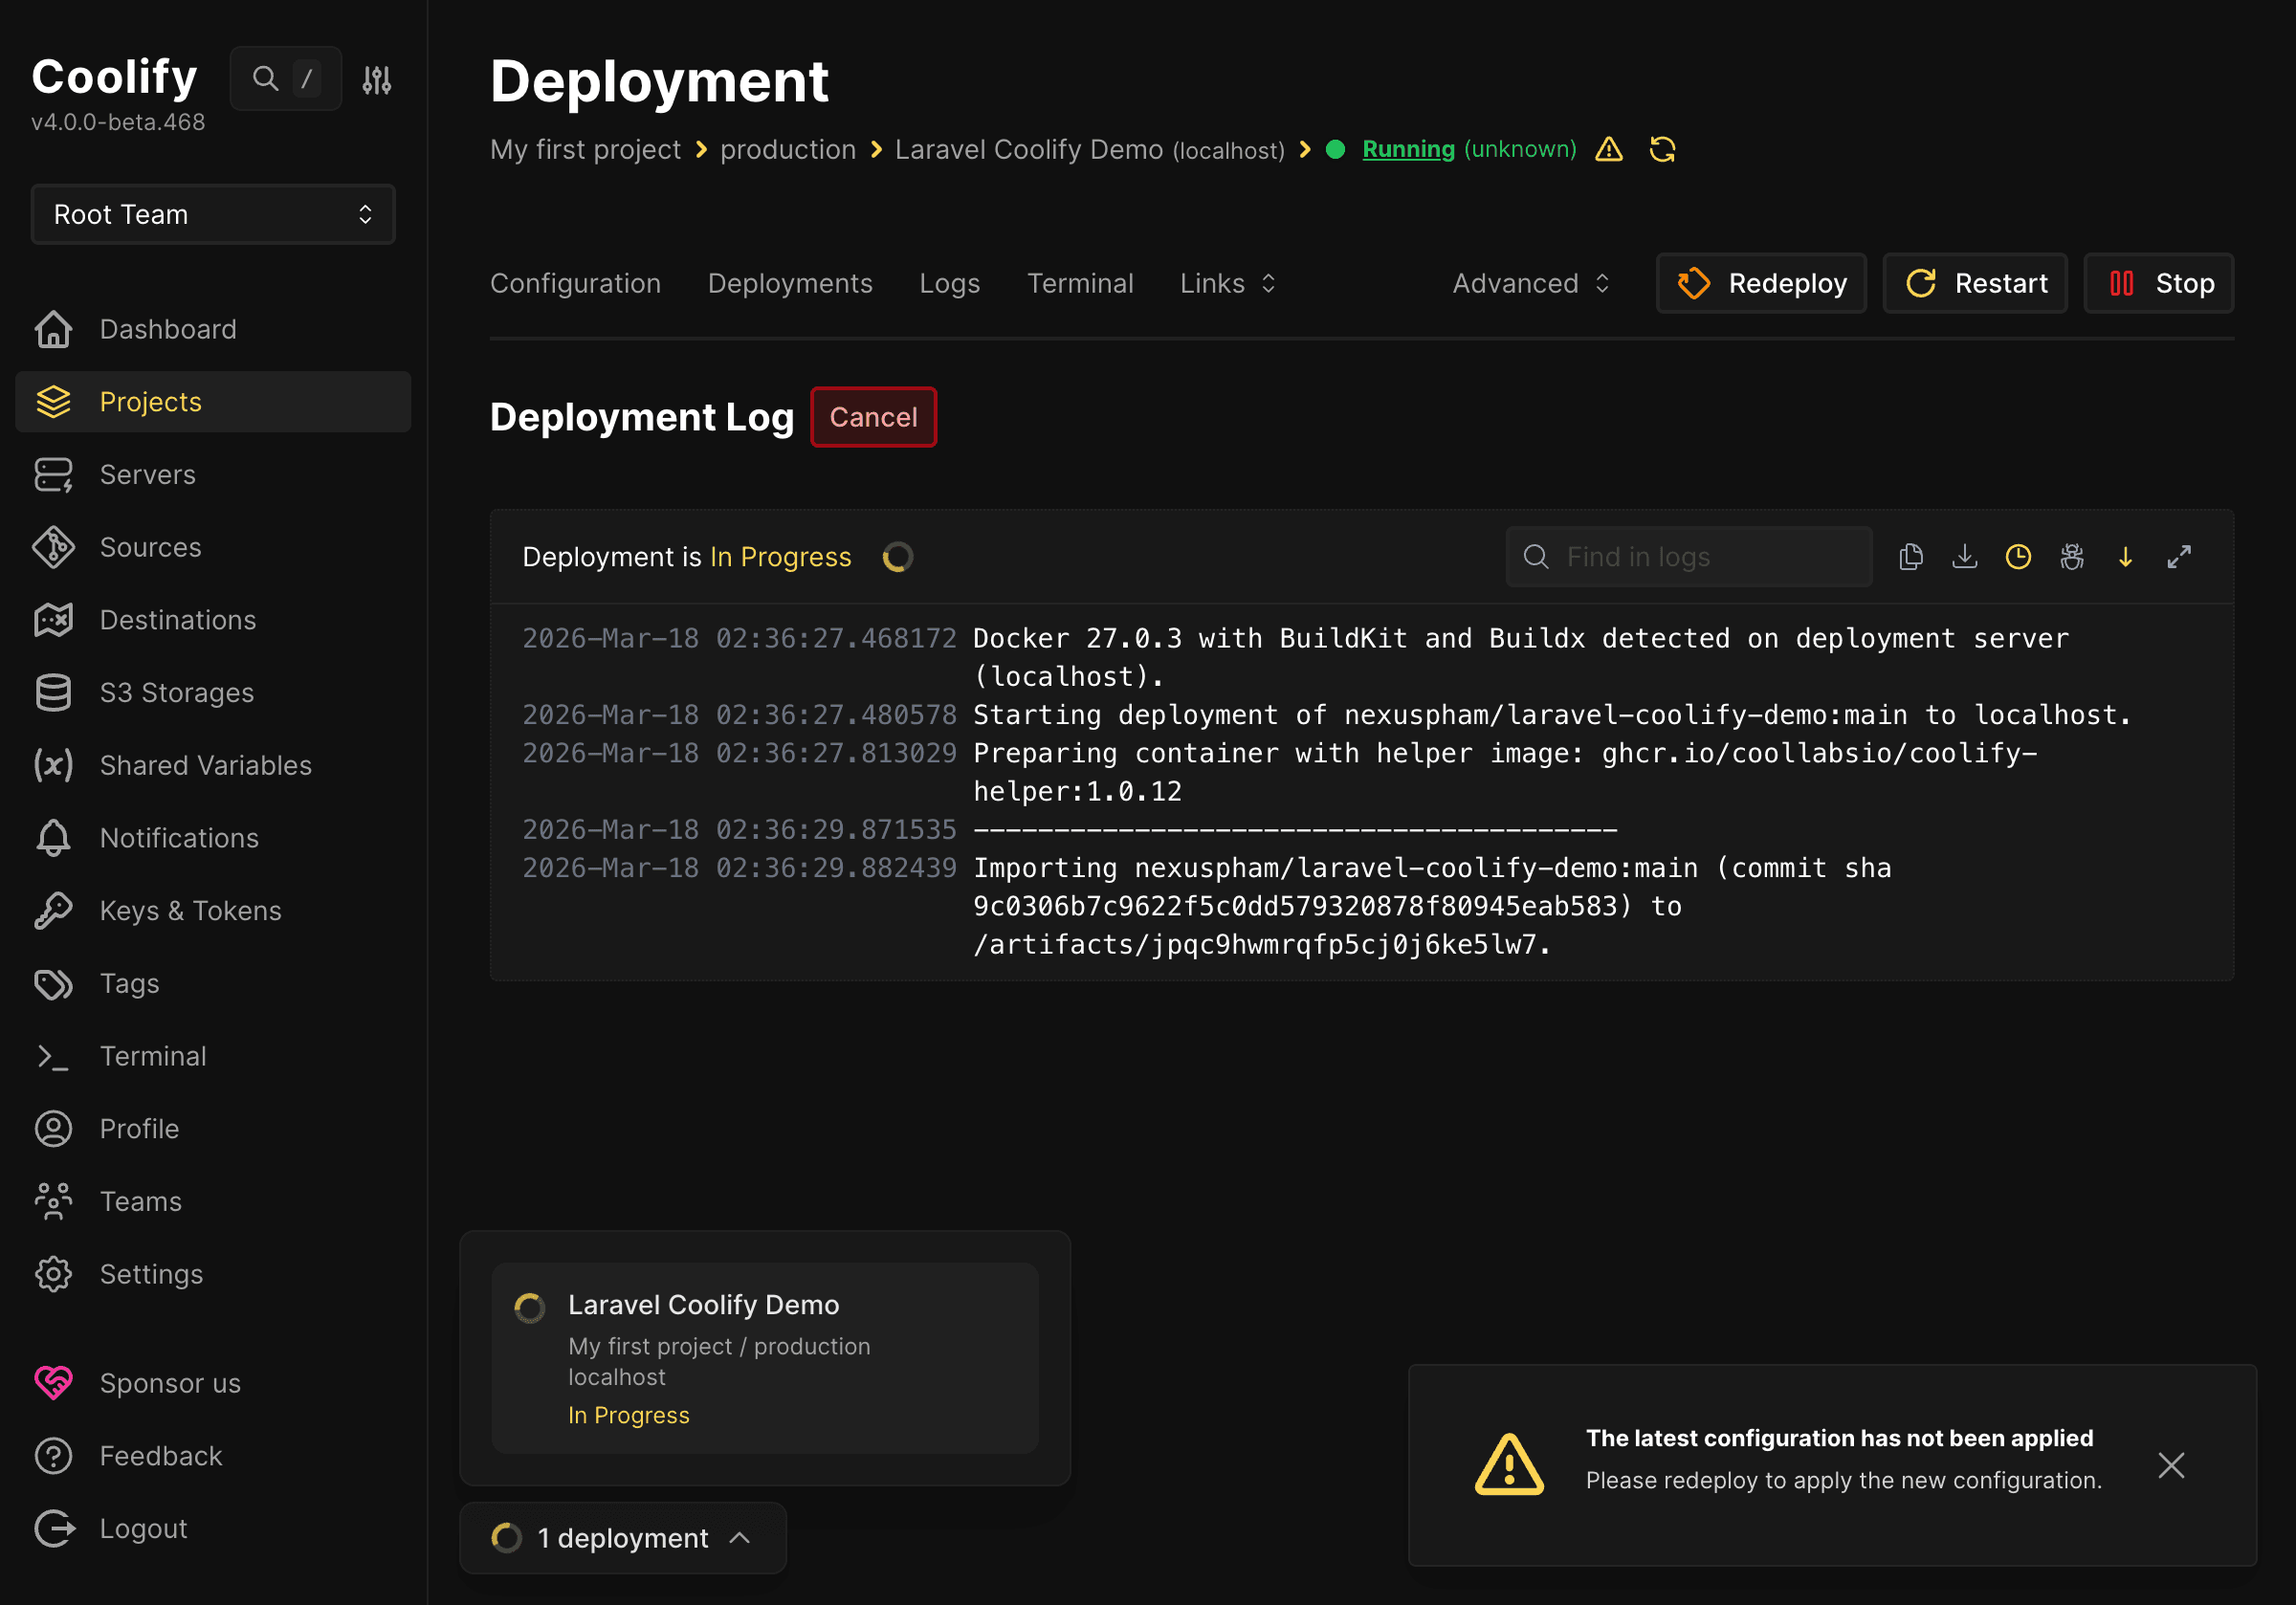
In the application interface, the Deployments tab helps track the history of deployments, knowing which ones succeeded, which failed, and from which commit or branch they were executed. When deeper checking is needed, the Logs tab will show build logs and runtime logs. This is the first place to look if the application doesn’t come up, reports PHP extension errors, missing Composer packages, wrong environment variables, or permission errors.
How Automatic CI/CD from GitHub to Coolify Works
After deploying manually successfully once, the next step should be understanding automation. In the simplest model, developers work locally, commit changes, then push to GitHub. When the repository has new commits on the declared branch, Coolify can receive signals and automatically re-run the deployment process. Thus, GitHub plays the role of source storage, while Coolify receives that source to build and publish new applications.
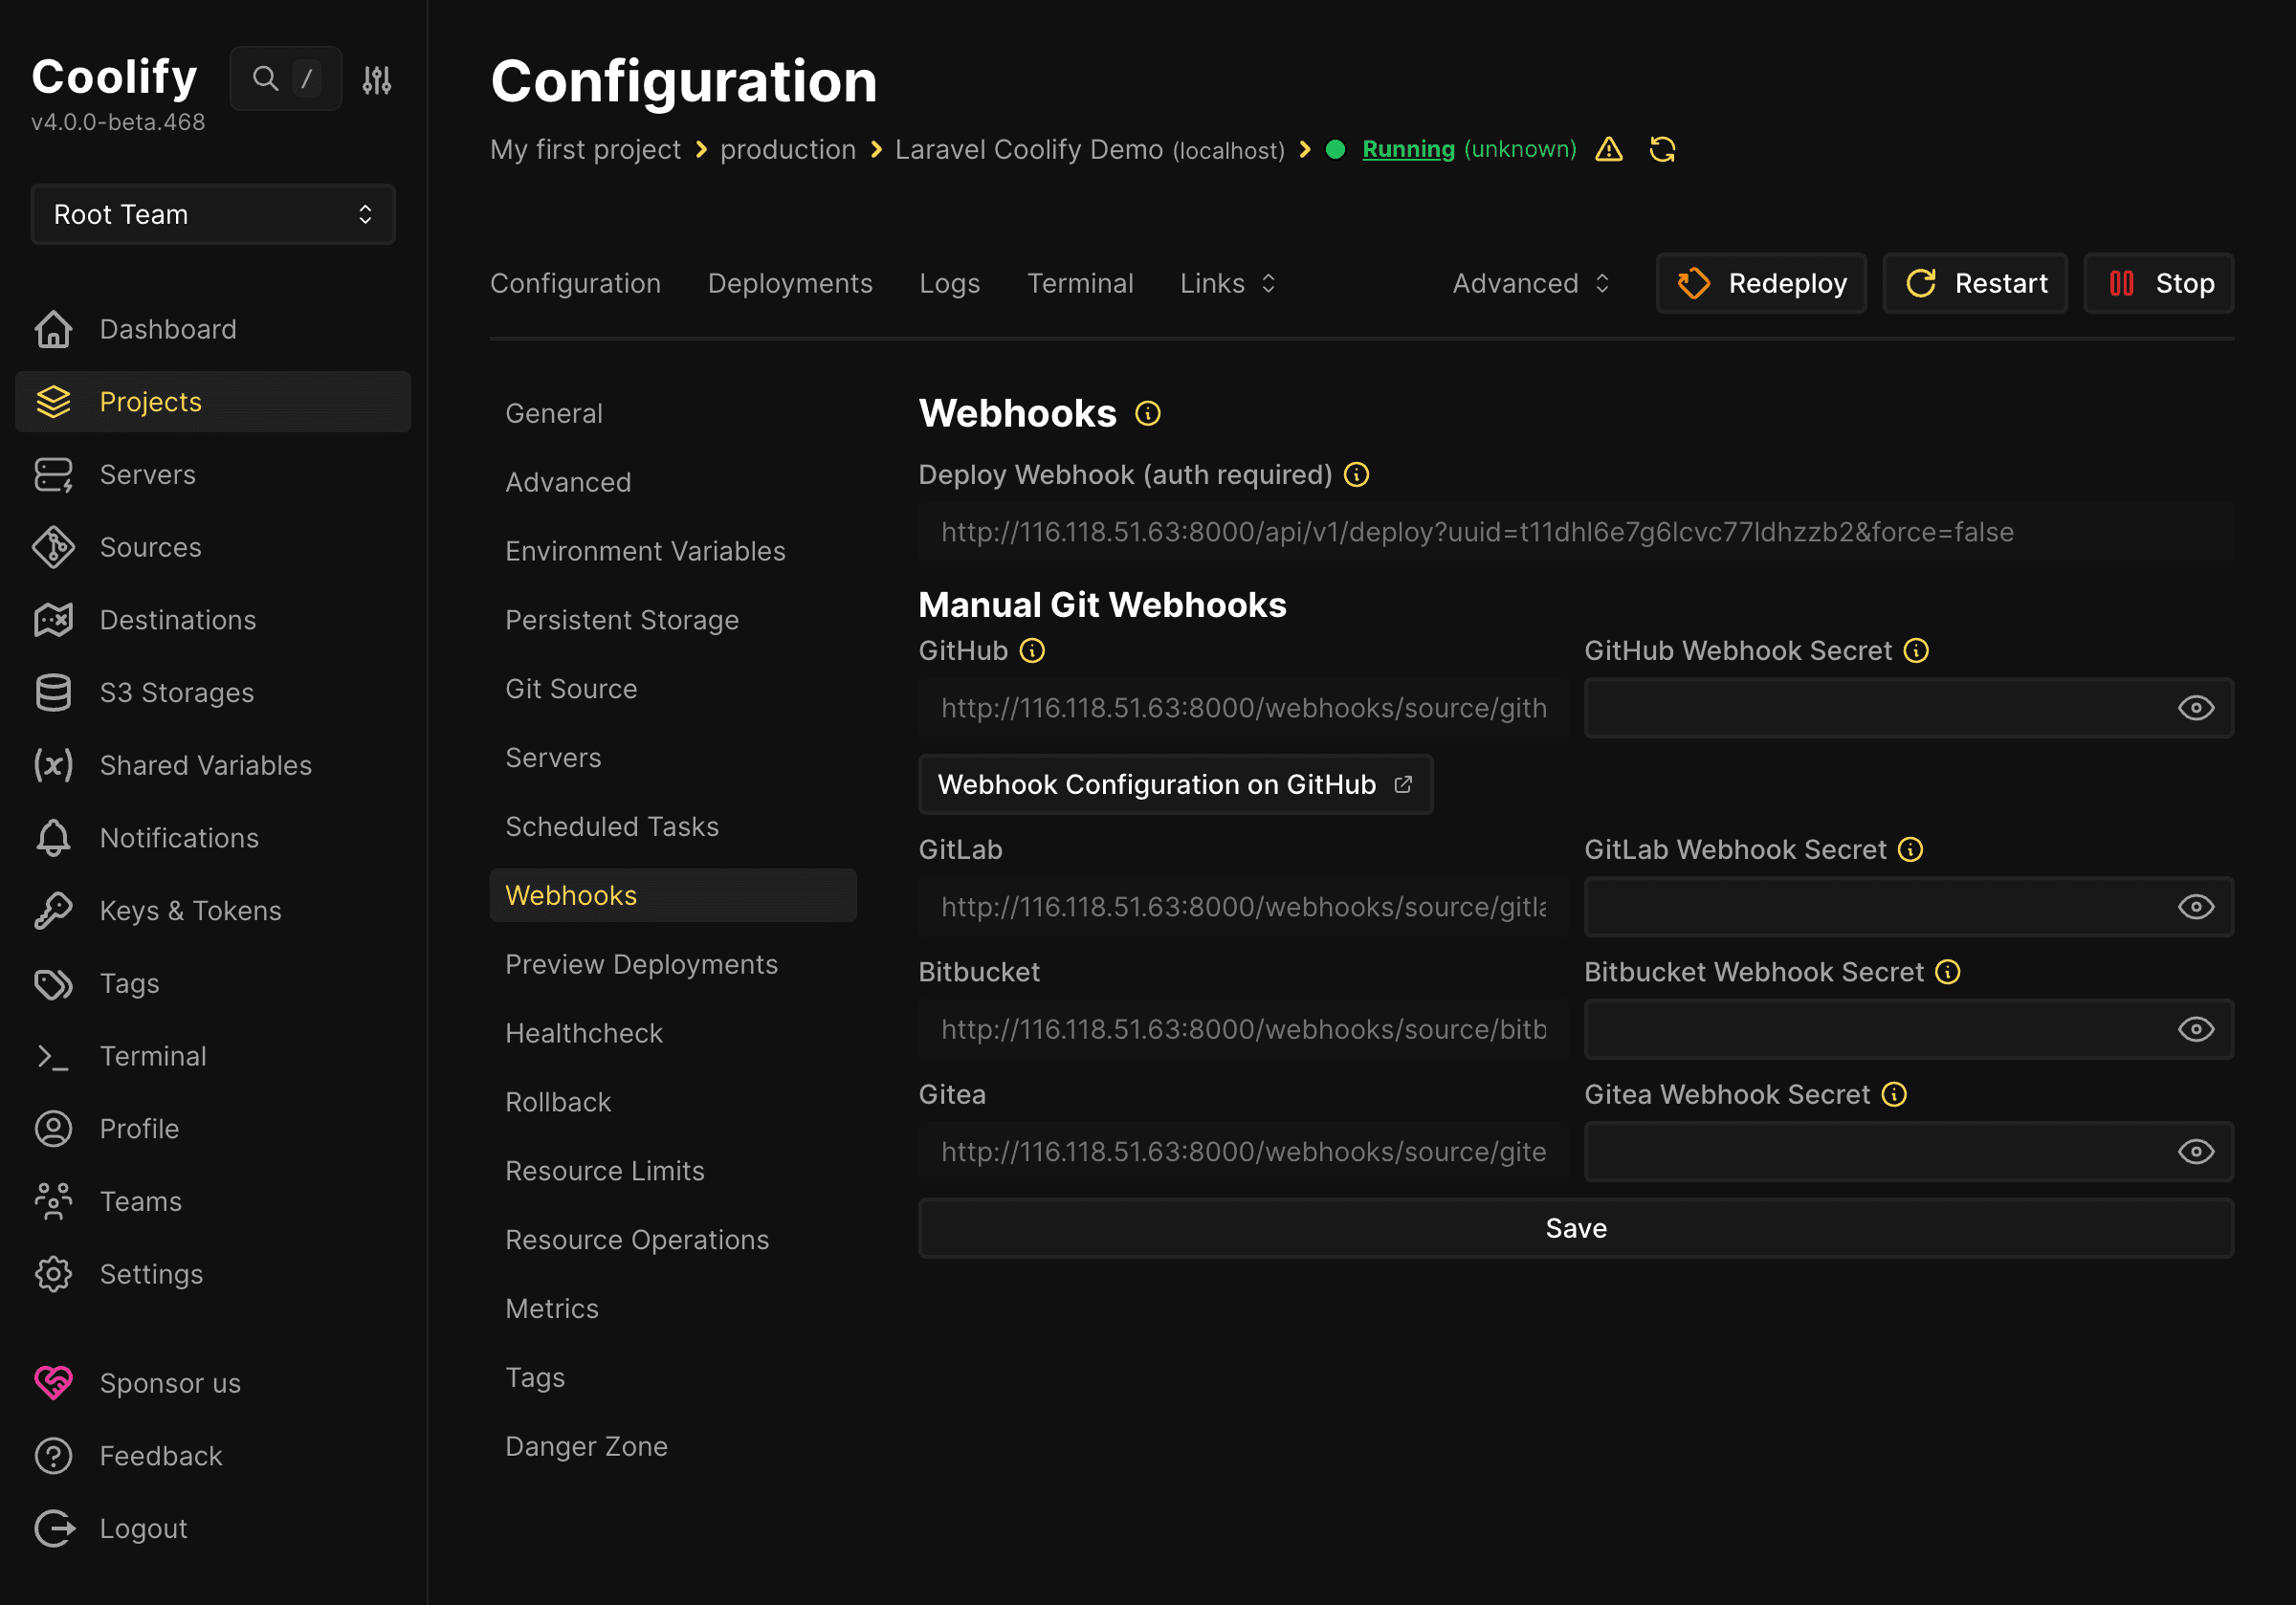
For this mechanism to run smoothly, pay attention to two parts. First, the application on Coolify must be configured with the correct repository and branch. Second, webhooks or auto deploy features must be enabled correctly so that every time there are changes, Coolify knows when to restart the build pipeline. In Coolify’s application interface, there is usually a Webhooks tab to provide endpoints for receiving notifications from GitHub or to check current setup status.
With a public repository like in the demo, the process is easy to visualize as follows: edit code locally, push to GitHub repository laravel-coolify-demo, GitHub sends signals via webhook or Coolify detects changes in the configured branch, then Coolify automatically clones the latest version and rebuilds using Dockerfile. If the build succeeds, the new version will replace the currently running version. This is exactly the basic level CI/CD model but very useful for small websites and applications or testing environments.
When more familiar, you can extend this workflow by dividing branches more clearly, for example only deploying the main branch for production, while other branches are used for staging. But at the beginner level, just understand that GitHub is where source and commit history are kept, while Coolify is where applications are built, run, and published. Every time source changes, deployment can also be automated instead of doing everything manually from scratch.
Domain Configuration
After the application runs successfully, Coolify can provide a temporary URL for quick checking. Here, the public URL currently working is http://t11dhl6xxxx.IP-SERVER.sslip.io. This is a very convenient way to verify the application is up before configuring the official domain.
If you need to use a separate domain for the project, change the configuration in the domain section and then point the domain to the IP address of the Coolify host server.
Conclusion
During the process of creating this article, we encountered a quite common real error with Laravel: the application returns HTTP 500 due to missing APP_KEY. With Coolify, you should double-check the Environment Variables section if the application builds but access still fails. This is also why this article dedicates a separate step to reviewing environment variables before and after the first deployment.
With the above process, the Laravel project from local has been pushed to GitHub, connected to Coolify, built with Dockerfile, and runs successfully on the server. The application can now be publicly accessed via the check URL, the application status on Coolify is running, deployment history and logs can all be monitored directly from the dashboard. This is quite a suitable process for starting to familiarize yourself with bringing Laravel from personal machines to real environments.
If you need a server to install Coolify and self-deploy Laravel applications, you can refer to Pro VPS, X-Platinum VPS, or AMD Cloud Server packages at AZDIGI. For learning, experimenting, or running small projects, VPS/Cloud packages in the lower segment are sufficient to start. When applications need more stable resources or run additional accompanying services, you can gradually upgrade according to actual needs.
If you want to go further, you can continue to perfect the process by separating the database into a separate service, configuring appropriate backups, using SSL for official domains, and adding a staging environment before deploying to production. But even at the basic level, deploying Laravel to Coolify using GitHub and Dockerfile is already a very practical step for transitioning from local environment to real running environment.
You might also like
- Coolify Interface - Detailed Dashboard Usage Guide
- Deploy Your First Application to Coolify - Static Site & React/Vue SPA
- Deploy Node.js, Python, PHP on Coolify
- CI/CD on Coolify - Integrating GitHub, GitLab, Bitbucket
- One-Click Services on Coolify — Deploy 294+ services with just 1 click
- Deploy Docker Compose on Coolify - Complex multi-container applications
About the author

Trần Thắng
Expert at AZDIGI with years of experience in web hosting and system administration.