After installing Coolify, the next step is getting familiar with the dashboard interface. This article provides a detailed guide to each section of Coolify, from creating Projects and managing Servers to understanding how applications are organized.
📖 Previous article: Part 2, Installing Coolify on VPS
I. Dashboard Overview
When you log into Coolify, you’ll see the main dashboard with 3 important sections:
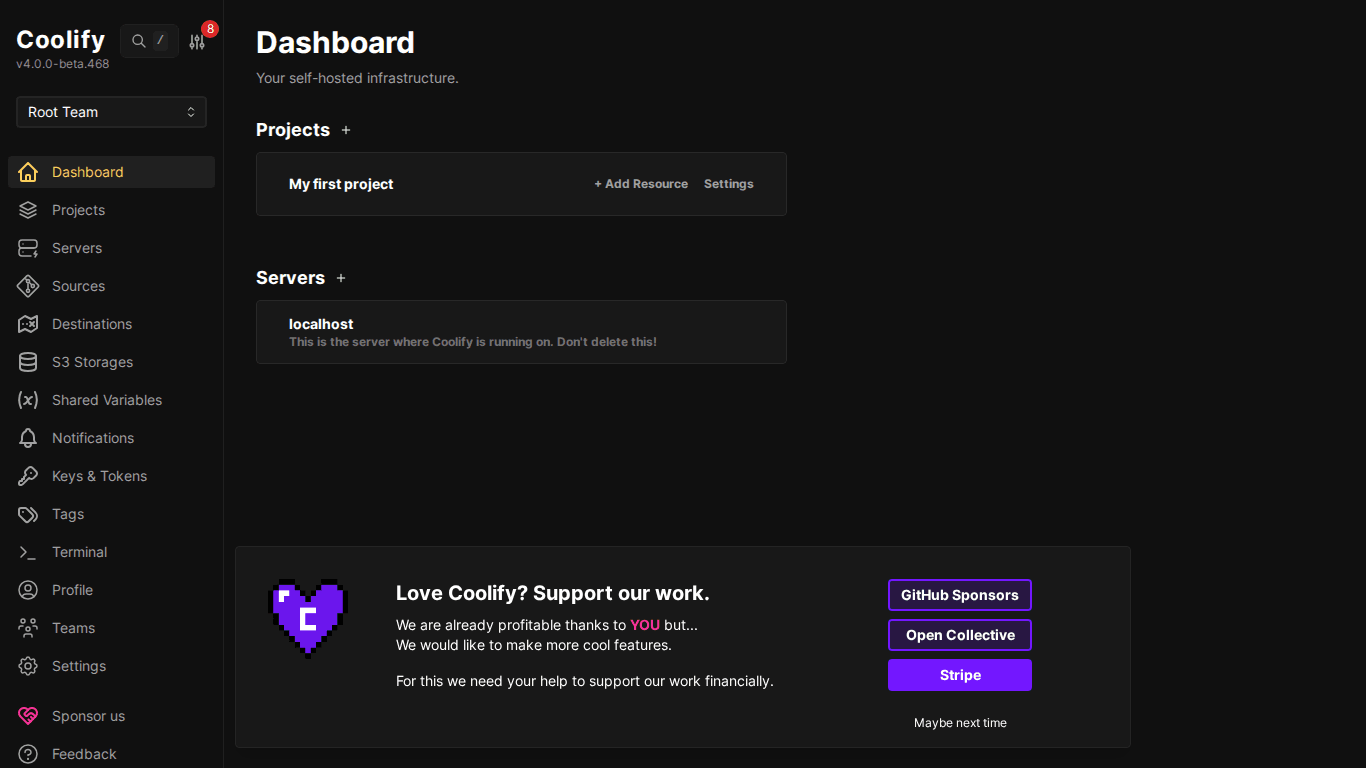
- Projects: List of projects with “+ Add Resource” button to deploy apps/databases/services
- Servers: Connected servers: displaying status and quick links
- Sidebar (left menu): Navigation to all sections: Dashboard, Projects, Servers, Sources, Settings…
II. Core Concepts
Before diving into each section, you need to understand how Coolify organizes everything:
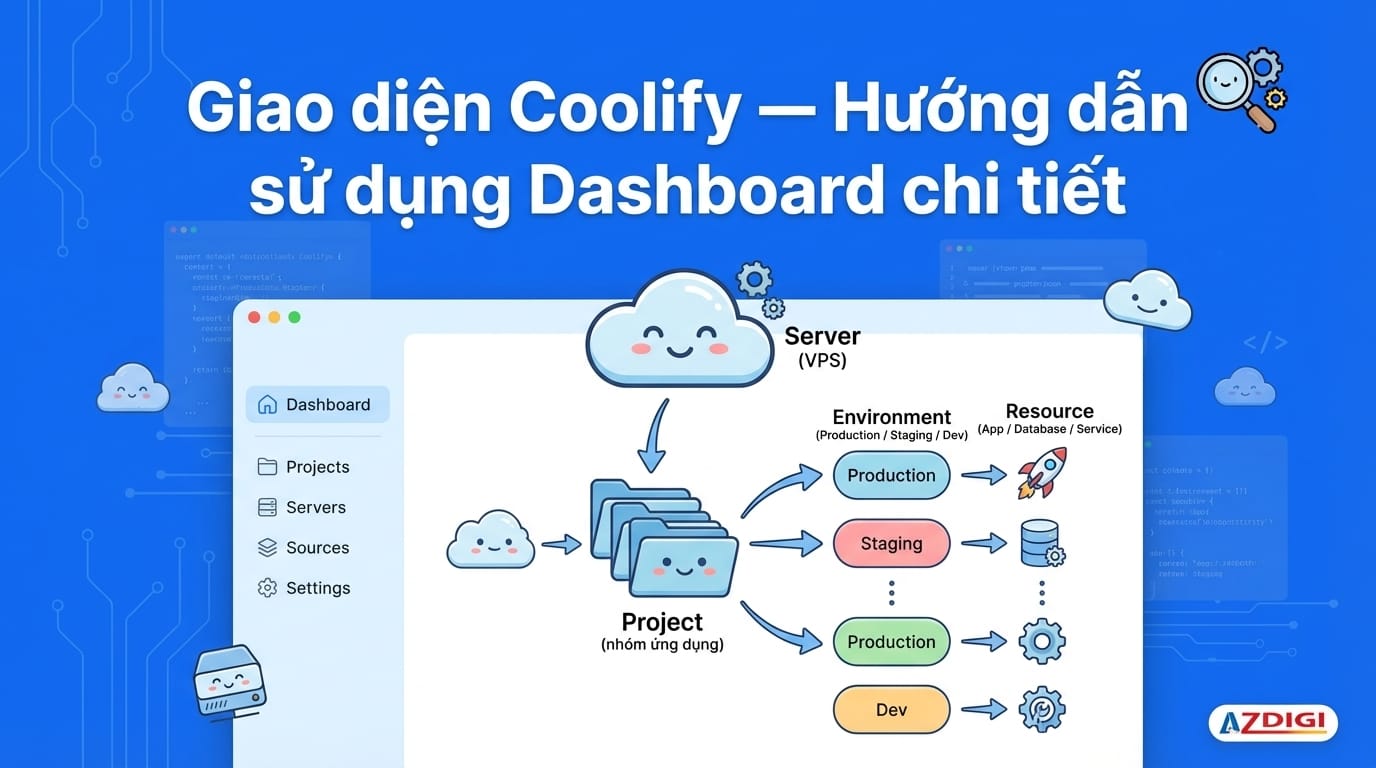
Hierarchical Structure
Server (VPS)
  └── Project (application group)
        └── Environment (Production / Staging / Dev)
└── Resource (App / Database / Service)- Server: Physical machine or VPS. Coolify connects via SSH to deploy containers
- Project: Highest level organizational group: e.g., “Personal Blog”, “E-commerce”, “Side Projects”
- Environment: Environment within project: helps separate Production, Staging, Development
- Resource: A specific application, database, or service you deploy
💡 Real-world example: You have Project “Personal Blog” → Environment “Production” containing: WordPress app + MySQL database + Redis cache. Everything grouped in 1 project, easy to manage.
III. Servers – Server Management
Go to Servers from the sidebar to view the list of connected servers:
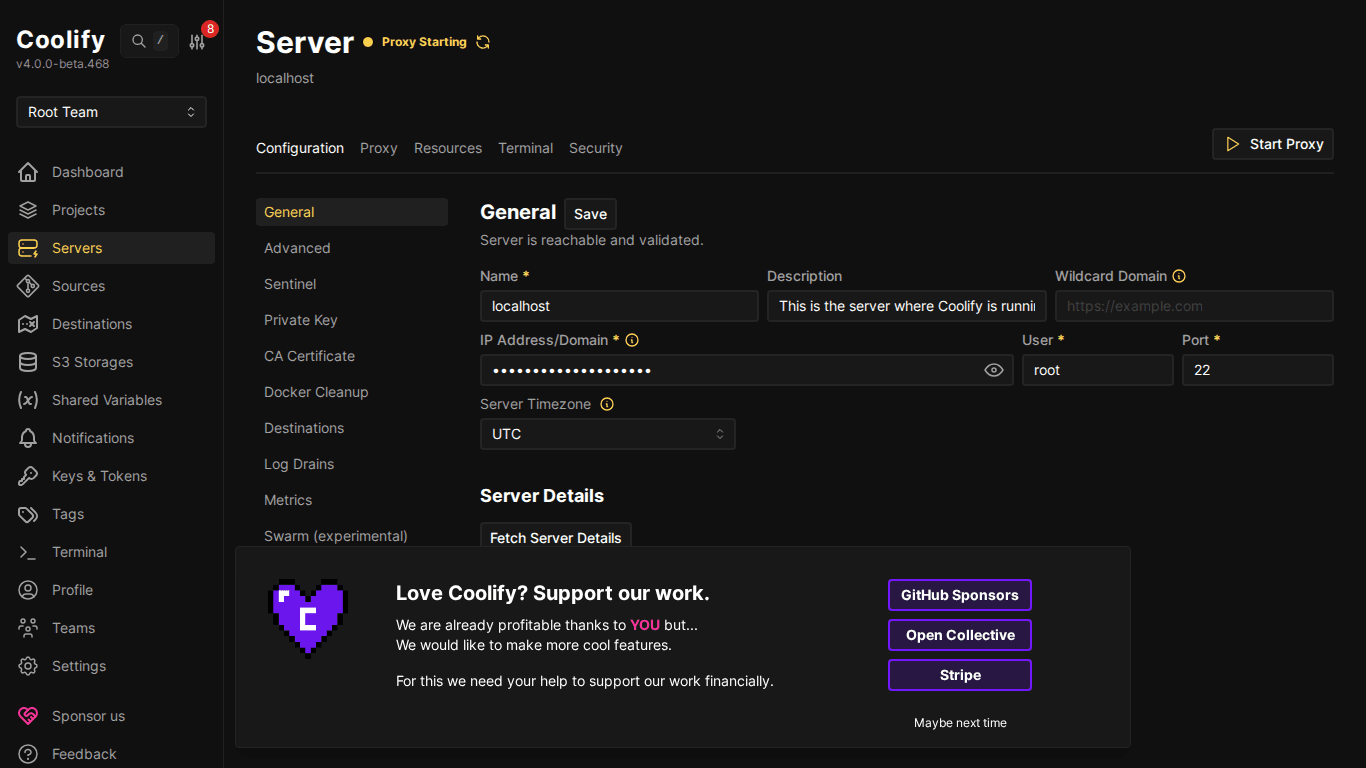
Each server has the following tabs:
- General: Basic information: IP, user, SSH key, Docker version
- Proxy: Reverse proxy management (Traefik/Caddy): route domains to containers
- Resources: List of all containers running on server
- Terminal: Direct SSH terminal in browser (no SSH client needed!)
- Security/Patches: Security management and updates
- Destinations: Docker networks on server
- Metrics: Monitor CPU, RAM, disk, network
- Docker Cleanup: Clean up old images/containers to free disk space
Reverse Proxy – Traefik
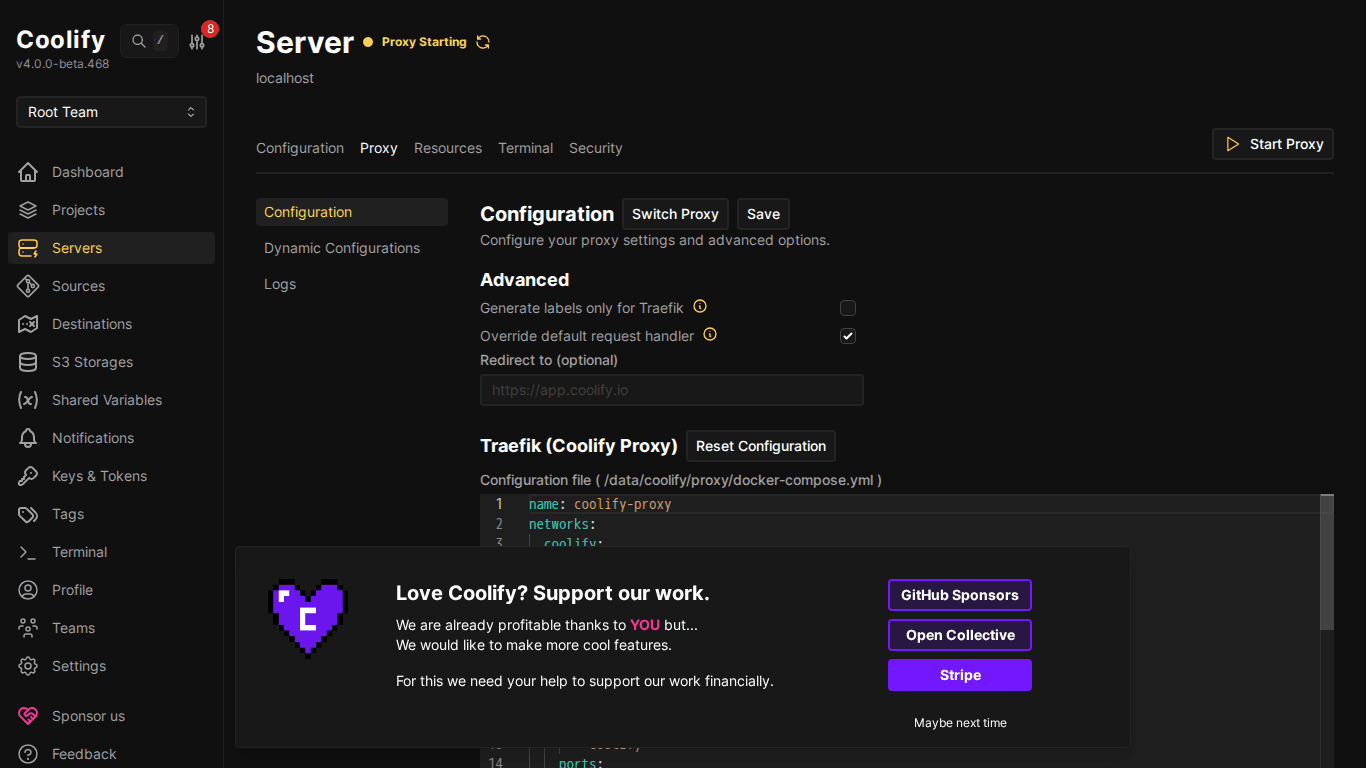
Coolify uses Traefik as the default reverse proxy (can switch to Caddy). Traefik automatically:
- Routes domains to the correct container
- Issues SSL certificates via Let’s Encrypt
- Load balancing when there are multiple instances
- Redirects HTTP → HTTPS
ℹ️ You don’t need to configure Traefik manually, Coolify handles everything when you set a domain for a resource. Just point DNS and you’re done.
IV. Projects – Application Organization
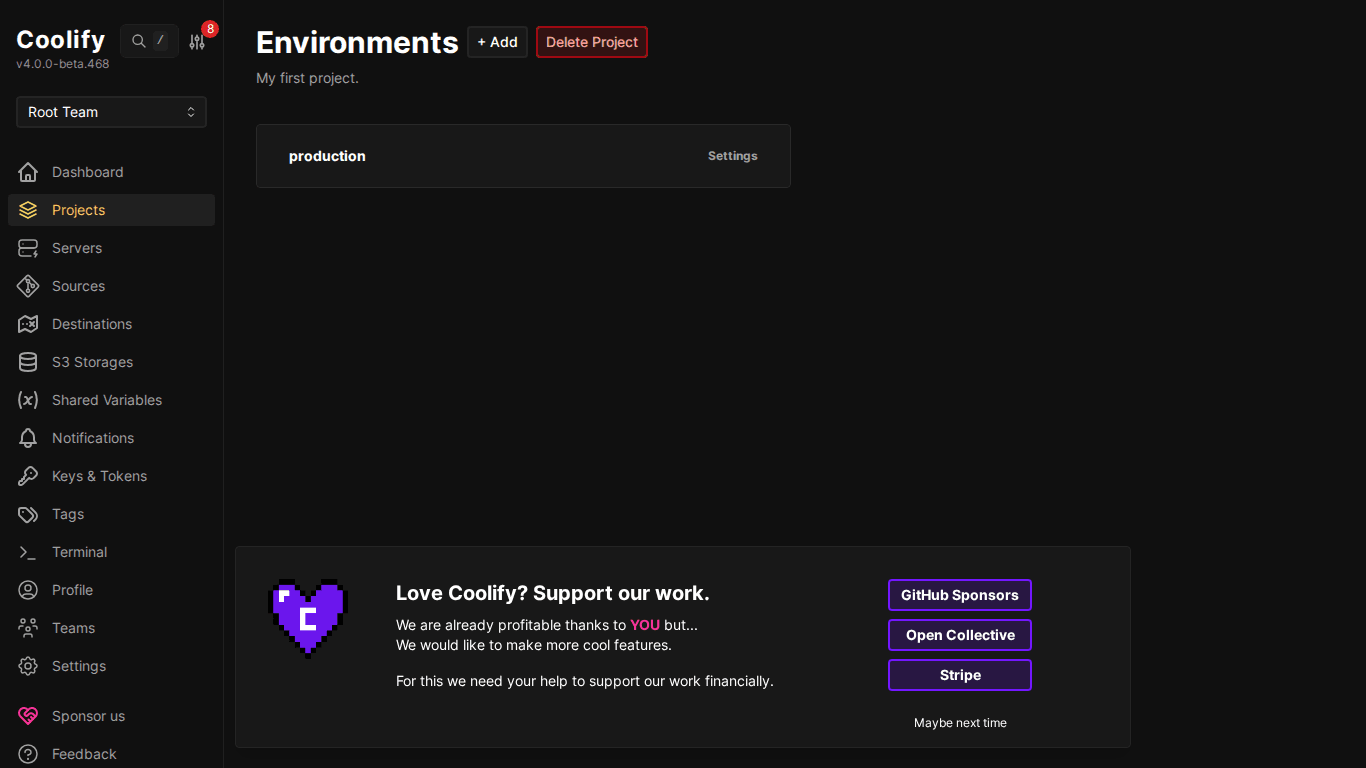
Each Project contains one or more Environments. By default, Coolify creates a “Production” environment.
Creating a New Project
- Go to Projects from sidebar
- Click “+ Add”
- Name the project (e.g., “E-commerce”, “Blog”, “Side Projects”)
- Add description (optional)
- Click Save
Environments – Environment Separation
Environments help separate different versions of your application:
- Production: Main version serving real users
- Staging: Testing before going to production
- Development: Dev environment, can be changed freely
💡 Each environment has its own set of environment variables. Example: Production uses main database, Staging uses test database, same code but different config.
V. Resources – Deploy Applications
Within each Environment, you add Resources: things you want to deploy:
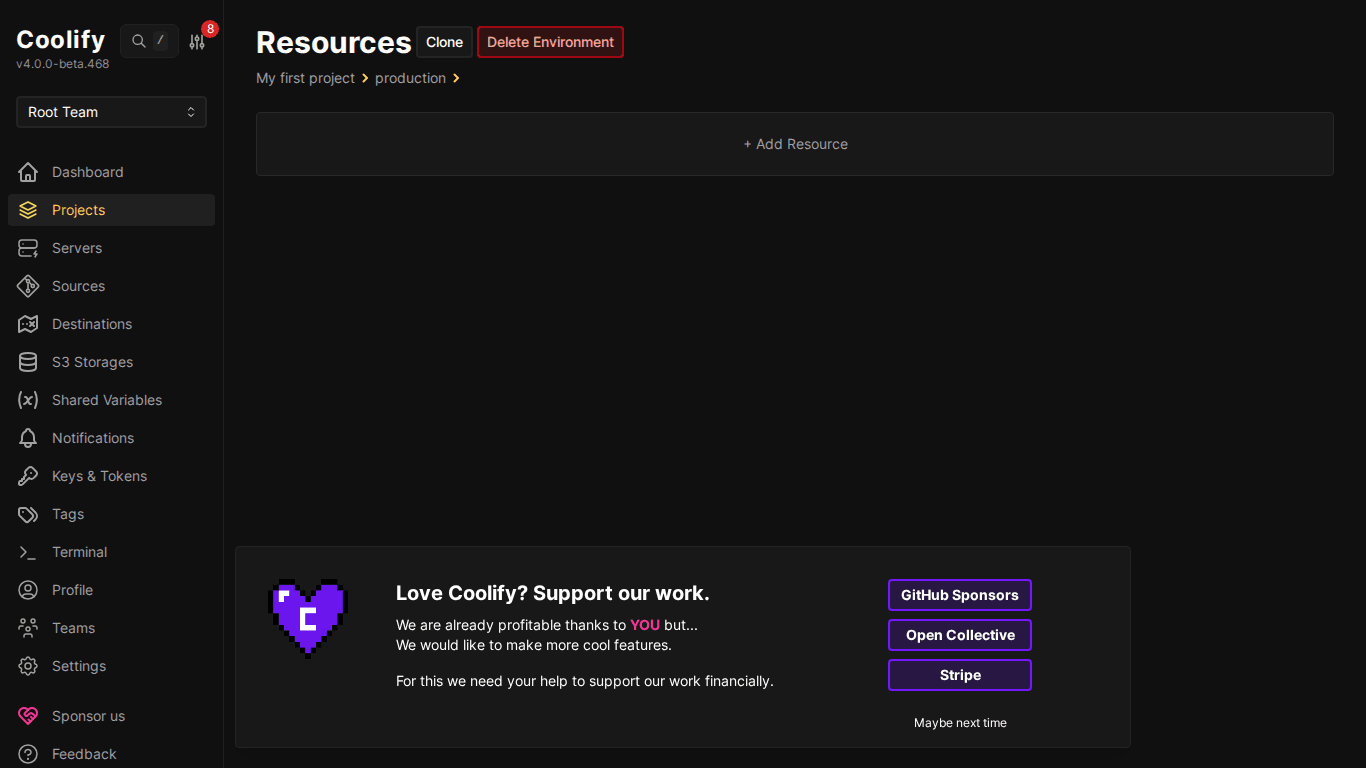
When you click “+ Add Resource”, Coolify shows the types of resources you can deploy:
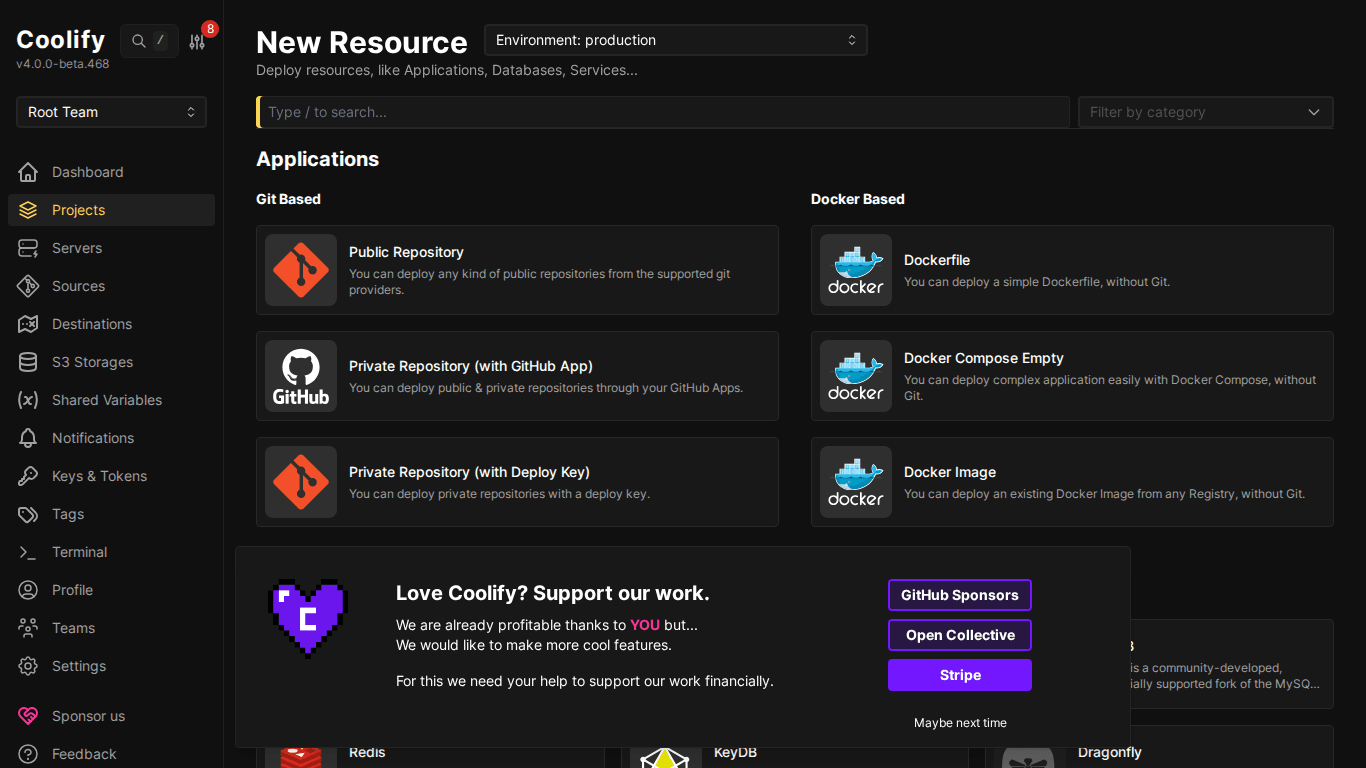
3 main resource types:
- Application: Deploy from Git repository (GitHub, GitLab, Bitbucket) or Docker image. Supports all languages: Node.js, Python, PHP, Go, Rust, Ruby…
- Database: PostgreSQL, MySQL, MariaDB, MongoDB, Redis, ClickHouse, DragonFly, KeyDB
- Service: 294+ ready-to-use services: one-click deploy: WordPress, n8n, Plausible, Supabase, Ghost, Uptime Kuma…
VI. Settings – System Configuration
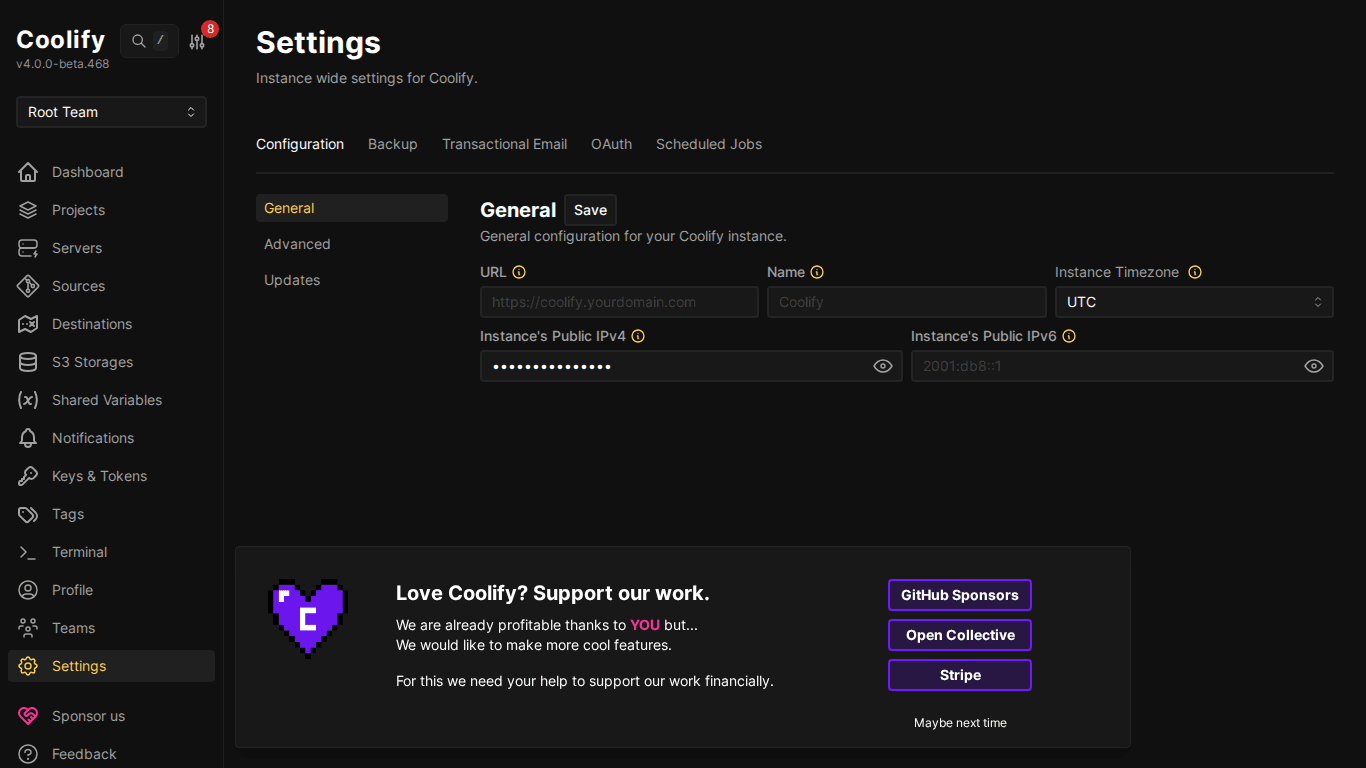
Important settings in Settings:
- Instance Domain: Set domain for Coolify dashboard (e.g.,
coolify.yourdomain.com) - Auto-update: Automatically update Coolify when new version is available
- API Tokens: Create tokens to call Coolify API from CI/CD
- Telemetry: Enable/disable sending anonymous usage data
VII. Other Dashboard Sections
Sources – Git Connection
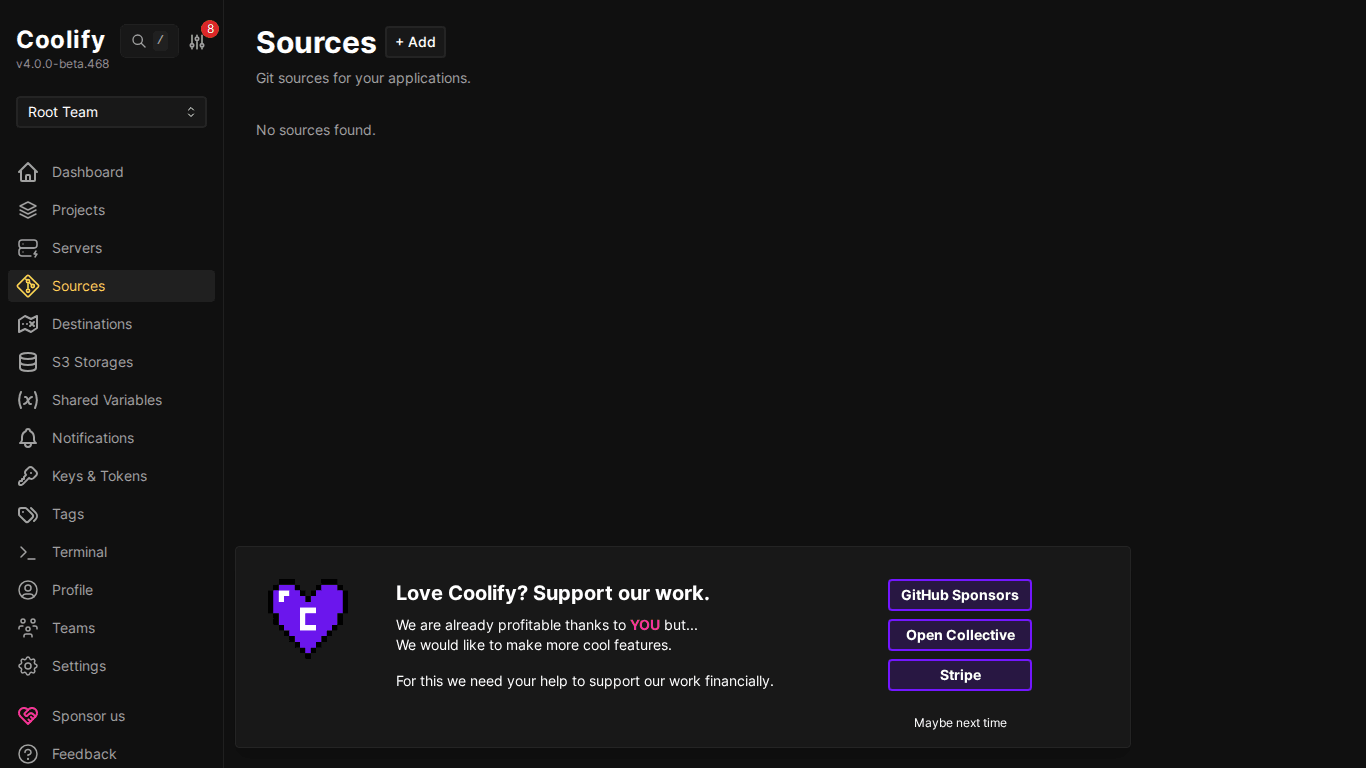
Sources allow connecting Coolify with Git providers:
- GitHub App: Best approach: create dedicated GitHub App, with repo access permissions, automatic webhooks
- GitLab: Connect via Personal Access Token
- Bitbucket: Connect via App Password
- Or use Public Repository: no connection needed, just URL
Notifications – Alerts
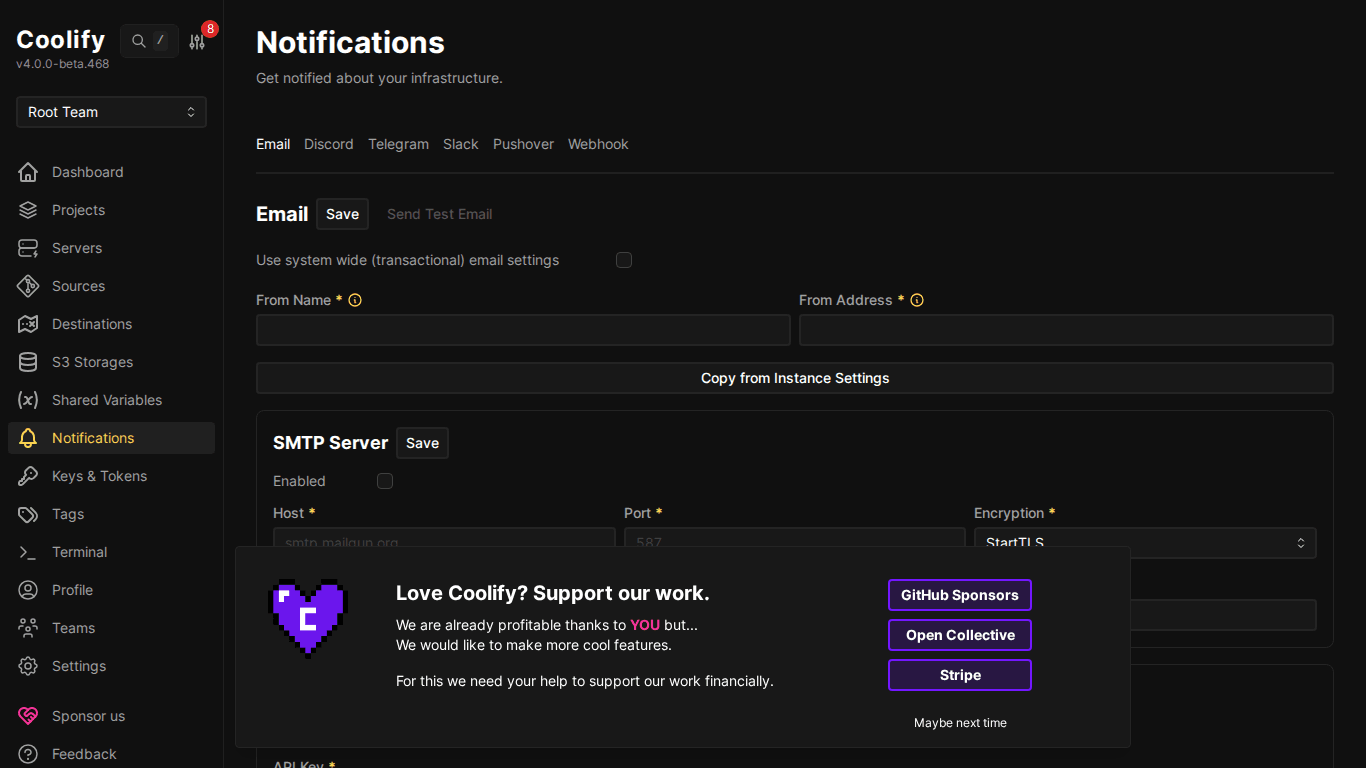
Coolify supports multiple notification channels:
- Email: SMTP or Resend
- Discord: Webhook URL
- Telegram: Bot token + chat ID
- Slack: Webhook URL
⚠️ You should enable at least 1 notification channel! Coolify will alert when deploy fails, server is down, SSL is about to expire, or disk is nearly full.
Other sidebar menu
- Destinations: Docker networks on each server: usually no need to change
- S3 Storages: Connect S3-compatible storage for database backup (AWS S3, Cloudflare R2, MinIO…)
- Shared Variables: Environment variables shared across multiple resources
- Keys & Tokens: Manage SSH keys and API tokens
- Tags: Tag resources for organization and filtering
- Terminal: SSH into server directly from browser
- Teams: Manage team members and permissions
VIII. Real-world Workflow
Below is a common workflow when using Coolify:
Deploy your first app (5 steps)
- Create Project (or use existing project)
- Go to Environment → click “+ Add Resource”
- Choose type: Application (from Git) / Database / Service
- Configure: Repo URL, branch, domain, environment variables
- Click Deploy → Coolify automatically builds and starts container
After deployment
- View build logs in real-time
- Configure domain + SSL (automatic certificate provisioning)
- Set environment variables
- Enable auto-deploy (push code → auto deploy)
- Rollback if new version has issues
IX. Summary
Coolify dashboard is simple yet feature-complete for both newcomers and experienced developers. The Server → Project → Environment → Resource structure helps organize everything clearly, making it easy to manage as the number of applications grows.
Next article: Domain, DNS and SSL configuration, pointing real domains and automatic HTTPS provisioning for applications on Coolify.
You might also like
- Installing Coolify on VPS - Detailed Step-by-Step Guide
- How to Deploy Laravel to Coolify from Local to Server with Basic CI/CD
- Databases on Coolify — MySQL, PostgreSQL, Redis, MongoDB
- What is Coolify? - Self-hosted alternative to Vercel, Heroku for free
- One-Click Services on Coolify — Deploy 294+ services with just 1 click
- Deploy Node.js, Python, PHP on Coolify
About the author

Trần Thắng
Expert at AZDIGI with years of experience in web hosting and system administration.