Most applications require databases. Coolify allows you to create databases with just 1 click — PostgreSQL, MySQL, Redis, MongoDB… — complete with automatic backup and direct management from the dashboard.
📖 Previous article: Part 8, CI/CD with GitHub/GitLab
I. Supported Database Types
| Database | Default Image | Use case |
|---|---|---|
| PostgreSQL | postgres:16-alpine | Primary database for most apps |
| MySQL | mysql:8.0 | WordPress, traditional PHP apps |
| MariaDB | mariadb:11 | Drop-in replacement for MySQL |
| MongoDB | mongo:7 | NoSQL, document-based apps |
| Redis | redis:7-alpine | Caching, session store, queue |
| KeyDB | eqalpha/keydb | Redis-compatible, multi-threaded |
| Dragonfly | docker.dragonflydb.io/dragonflydb/dragonfly | Redis alternative, high performance |
| ClickHouse | clickhouse/clickhouse-server | Analytics, time-series data |
II. Creating a Database
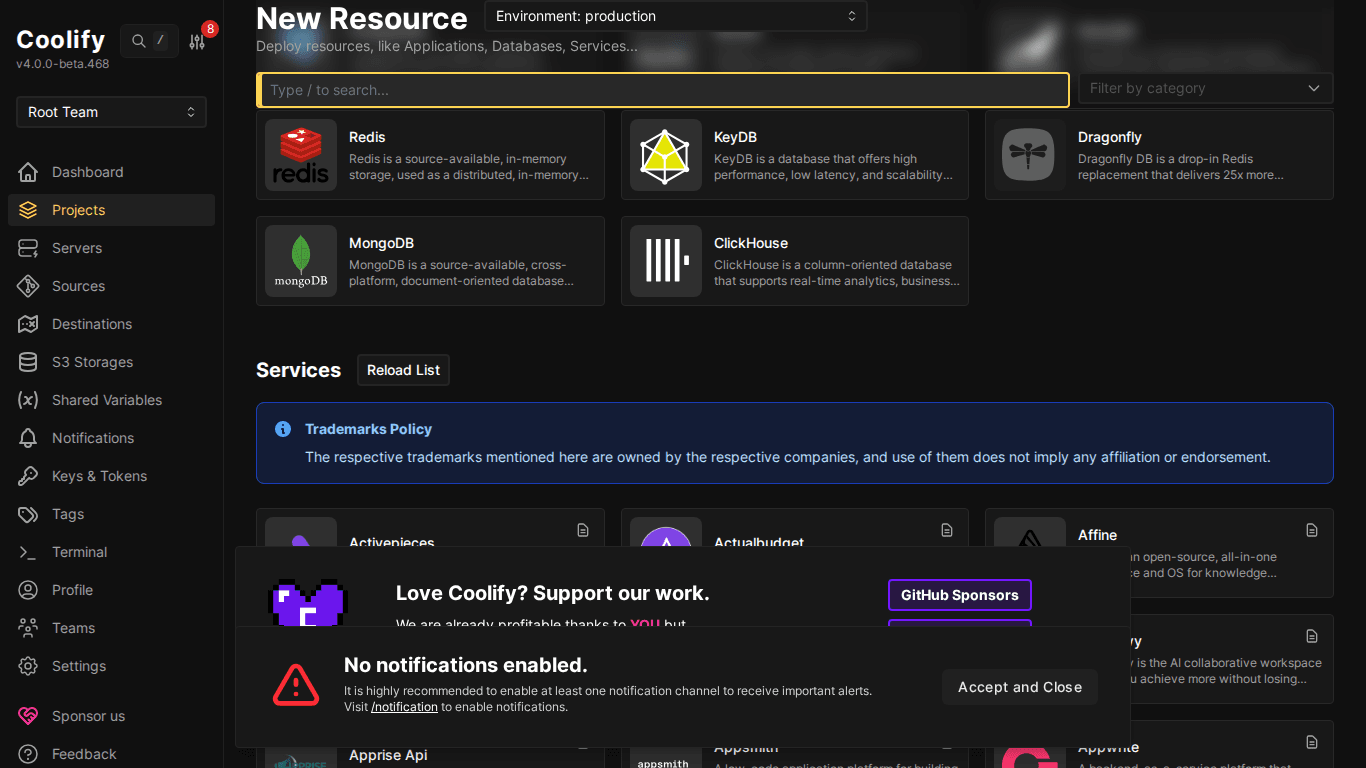
- Go to Project → Environment → “+ Add Resource”
- Select database type (e.g., PostgreSQL)
- Choose server to deploy (localhost)
- Coolify automatically creates container with random password
After creation, the database is ready to use immediately with no additional configuration required.
III. Connection Strings
Coolify displays connection strings for each database:
Internal (same server)
# PostgreSQL
postgresql://postgres:RANDOM_PASS@CONTAINER_NAME:5432/postgres
# MySQL
mysql://root:RANDOM_PASS@CONTAINER_NAME:3306/mysql
# Redis
redis://CONTAINER_NAME:6379
# MongoDB
mongodb://root:RANDOM_PASS@CONTAINER_NAME:27017
💡 Use internal connection string when app and database are on the same Coolify server. Traffic goes through Docker internal network, faster and more secure (no exposed ports to internet).
External (from outside)
If you need to access the database from outside (e.g., using DBeaver, pgAdmin from laptop):
- Go to database resource → enable “Publicly Accessible”
- Coolify maps port to host (e.g., 5432 → random port)
- Use connection string:
postgresql://user:pass@SERVER_IP:MAPPED_PORT/db
🚨 Only enable “Publicly Accessible” when truly needed, exposing database to internet is a major security risk. Remember to disable when done.
IV. Connecting App to Database
Most common workflow:
- Create database (e.g., PostgreSQL) in the same project/environment
- Copy internal connection string
- Go to app resource → Environment Variables tab
- Add:
DATABASE_URL = postgresql://postgres:xxx@container_name:5432/postgres - Redeploy app
V. Automatic Database Backup
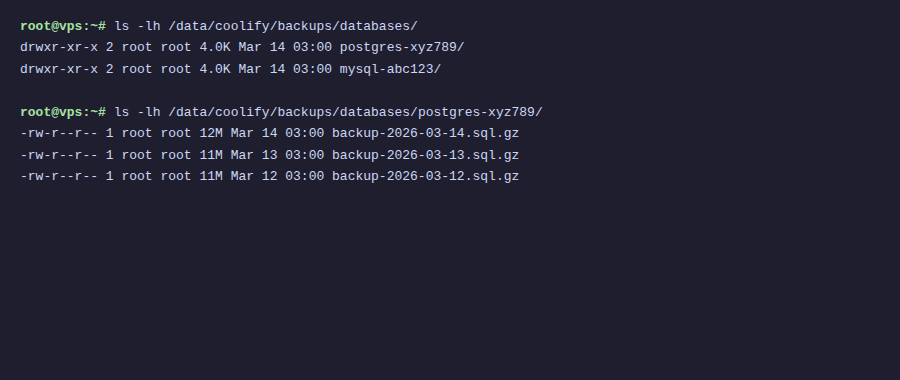
Coolify supports automatic database backup to S3-compatible storage:
Setup S3 Storage
- Go to S3 Storages → “+ Add”
- Fill credentials: Endpoint, Region, Bucket, Access Key, Secret Key
- Click “Validate Connection”
ℹ️ S3-compatible storage includes: AWS S3, Cloudflare R2 (has free tier), MinIO (self-hosted), DigitalOcean Spaces, Backblaze B2. Cloudflare R2 is a good choice due to its free 10GB tier.
Configure Backup Schedule
- Go to database resource → “Backups” tab
- Select the configured S3 storage
- Set schedule (cron format):
0 2 * * *= backup at 2 AM daily - Set retention: how many backups to keep
- Enable “Enabled”
Restore Backup
- Go to database → Backups tab
- Select the backup you want to restore
- Click “Restore”
- Coolify downloads backup from S3 and restores to database
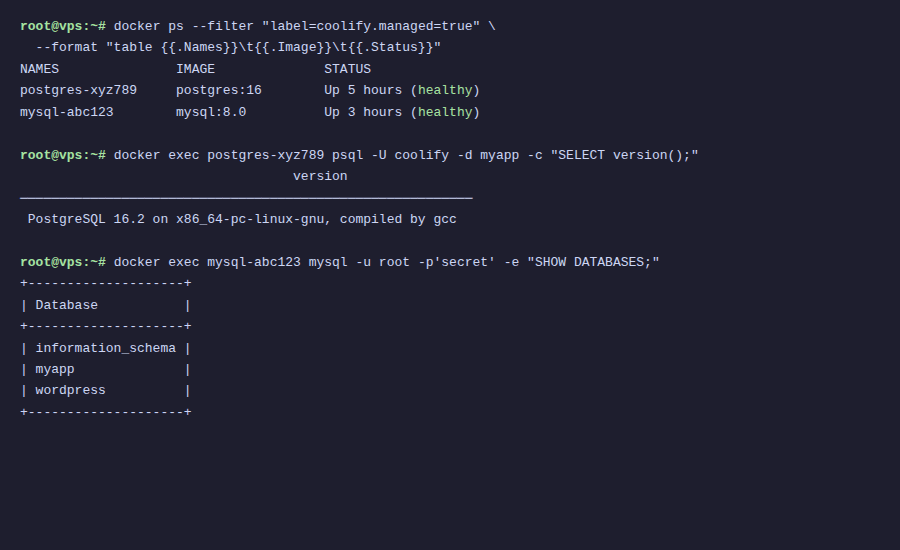
VI. Database Management
- Logs: View database logs real-time from dashboard
- Execute Command: Run commands in container (psql, mysql, redis-cli…)
- Restart: Restart database container
- Custom Config: Mount custom config file (e.g., postgresql.conf, my.cnf)
- Version: Change Docker image tag to upgrade/downgrade version
VII. Summary
Databases on Coolify are created with 1 click, connected via internal network (secure), with automatic backup to S3. No need to manage database servers, Coolify handles everything. Next article: One-Click Services, deploy 294+ services.
You might also like
- Coolify Interface - Detailed Dashboard Usage Guide
- Deploy Docker Compose on Coolify - Complex multi-container applications
- Deploy Node.js, Python, PHP on Coolify
- Multi-Server & Scaling on Coolify — Expanding Your System
- One-Click Services on Coolify — Deploy 294+ services with just 1 click
- Installing Coolify on VPS - Detailed Step-by-Step Guide
About the author

Trần Thắng
Expert at AZDIGI with years of experience in web hosting and system administration.