To truly automate your deployment process, you need to connect Coolify with a Git provider. Push code → auto deploy. Open PR → get preview URL. This guide shows how to integrate GitHub, GitLab and Bitbucket with Coolify.
📖 Previous post: Part 7, Docker Compose
I. Git Connection Methods
| Method | Auto-deploy | Preview PRs | Private repos | Complexity |
|---|---|---|---|---|
| Public Repository | Polling only | ❌ | ❌ | Simplest |
| Deploy Key | ✅ Webhook | ❌ | ✅ | Medium |
| GitHub App | ✅ Webhook | ✅ | ✅ | Setup once |
💡 GitHub App is the best choice: full support for auto-deploy, preview deployments, private repos, and granular permission management.
II. GitHub App Integration (Recommended)
Step 1: Create GitHub App
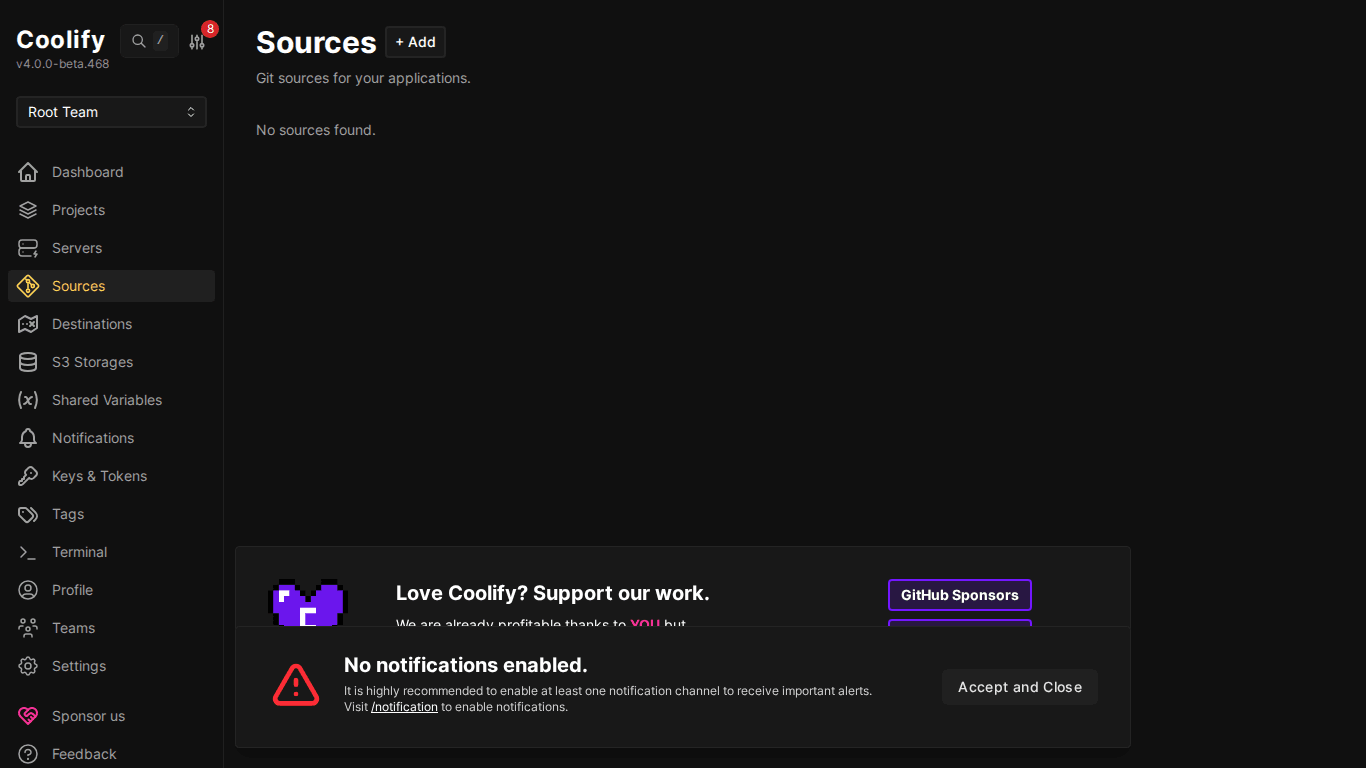
- In Coolify, go to Sources → click “+ Add”
- Choose “GitHub App”
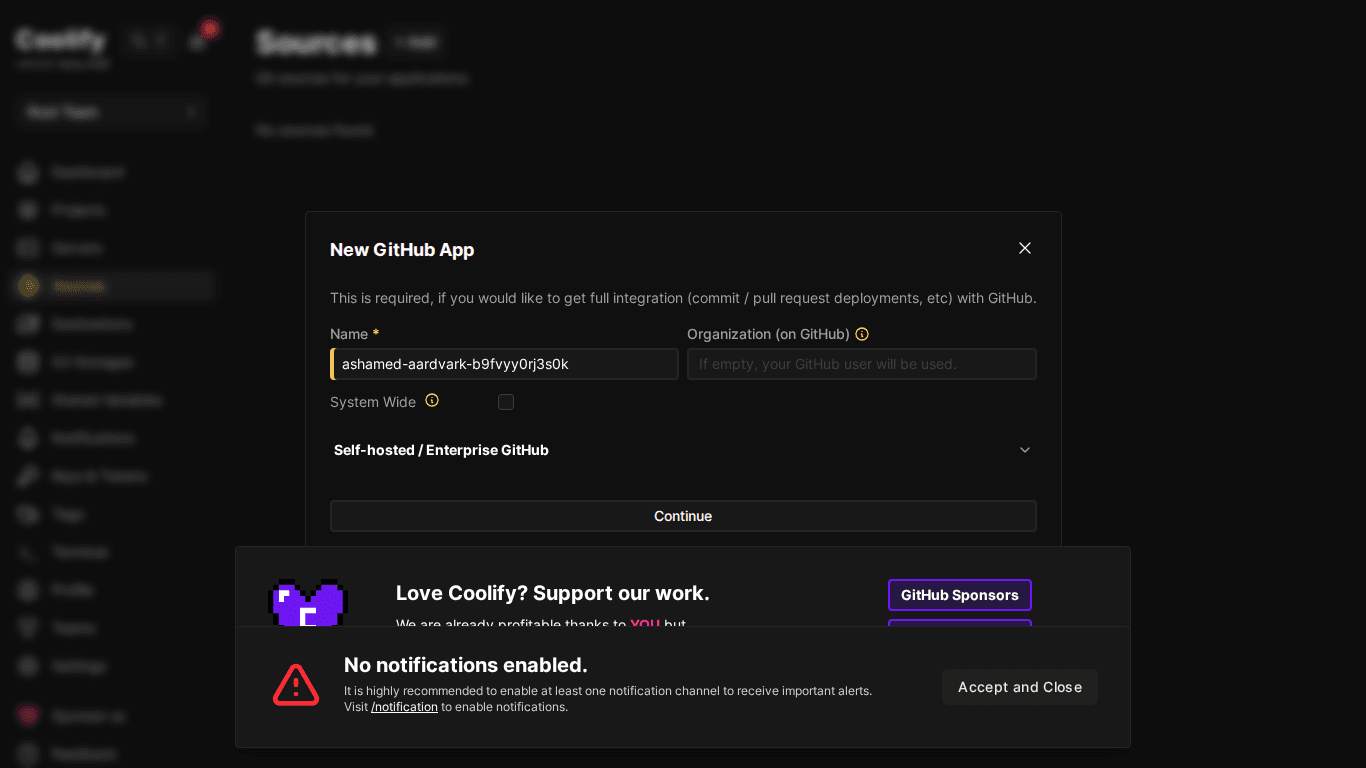
- Coolify redirects to GitHub → create new GitHub App
- Name your app (e.g. “Coolify Deploy”)
- Choose repositories to allow (all or specific selection)
- Click “Create GitHub App”
Step 2: Install GitHub App
After creation, GitHub asks to install app to your account/organization. Choose repos you want Coolify to access → Install.
Step 3: Deploy from Private Repo
- New Resource → “Private Repository (with GitHub App)”
- Select the GitHub App you just created
- Coolify displays repo list → choose repo to deploy
- Select branch → Configure → Deploy
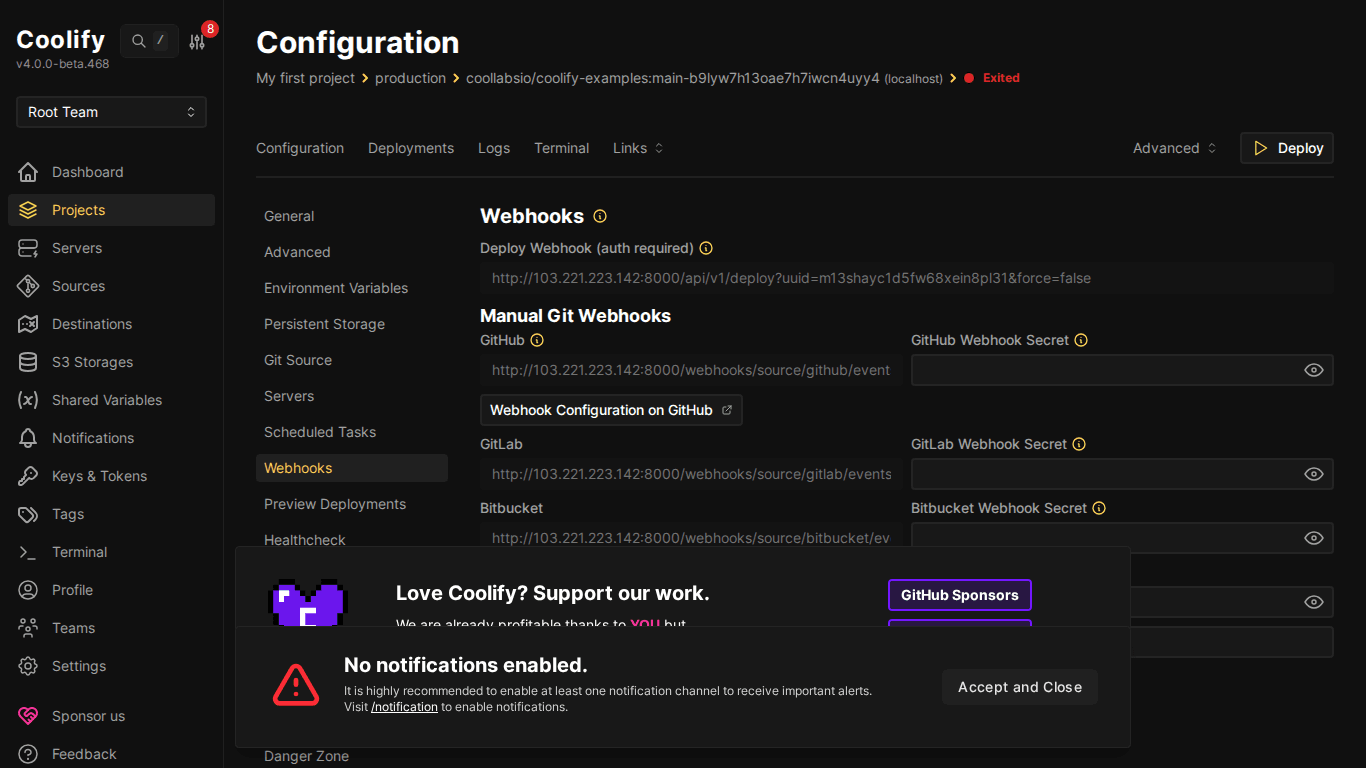
ℹ️ GitHub App automatically configures webhooks, every push to selected branch will trigger redeploy. No additional configuration needed.
III. Deploy Key Method
Deploy Key uses SSH key to access private repos. Simpler than GitHub App but no preview deployments.
- New Resource → “Private Repository (with Deploy Key)”
- Coolify generates SSH key and displays public key
- Copy public key → go to GitHub repo → Settings → Deploy Keys → Add
- Return to Coolify → paste repo URL (SSH format:
git@github.com:user/repo.git) - Check repository → select branch → Deploy
IV. GitLab & Bitbucket
GitLab
- Go to Sources → Add → GitLab
- Create Personal Access Token on GitLab (Settings → Access Tokens)
- Required scope:
api,read_repository - Paste token into Coolify → Save
- Deploy: choose GitLab source → select repo → deploy
Bitbucket
- Sources → Add → Bitbucket
- Create App Password on Bitbucket (Settings → App Passwords)
- Permissions: Repository read, Webhooks read/write
- Paste credentials into Coolify
V. GitHub Actions + Coolify API
If you already have CI/CD pipeline on GitHub Actions, you can trigger Coolify deploy via API:
# .github/workflows/deploy.yml
name: Deploy to Coolify
on:
  push:
    branches: [main]
jobs:
  deploy:
    runs-on: ubuntu-latest
    steps:
      - name: Trigger Coolify Deploy
        run: |
          curl -X POST \
            "${{ secrets.COOLIFY_URL }}/api/v1/deploy" \
            -H "Authorization: Bearer ${{ secrets.COOLIFY_TOKEN }}" \
            -H "Content-Type: application/json" \
            -d '{"uuid": "${{ secrets.COOLIFY_APP_UUID }}"}'
Create API token in Coolify: Security → API Tokens → Create.
VI. Preview Deployments Details
Preview Deployments automatically create URLs for each Pull Request, allowing team review before merge:
- Requirement: GitHub App integration (Deploy Key not supported)
- Enable in resource → “Previews” tab
- URL format:
pr-123.app.example.com(needs wildcard DNS) - Each PR creates separate container → complete isolation
- PR closed/merged → container auto-deleted, resources freed
VII. Rollback
Each deployment creates a record. If new version has issues:
- Go to resource → “Deployments” tab
- Find previous deployment (was working OK)
- Click “Redeploy” → Coolify rollback to that version
VIII. Summary
CI/CD on Coolify is not complex, connect GitHub App once, then push code for auto deploy. Preview deployments help team review safely, rollback with 1 click when issues occur. Next post: Database on Coolify, creation, management and backup.
You might also like
- Coolify Interface - Detailed Dashboard Usage Guide
- How to Deploy Laravel to Coolify from Local to Server with Basic CI/CD
- Deploy Your First Application to Coolify - Static Site & React/Vue SPA
- Databases on Coolify — MySQL, PostgreSQL, Redis, MongoDB
- What is Coolify? - Self-hosted alternative to Vercel, Heroku for free
- One-Click Services on Coolify — Deploy 294+ services with just 1 click
About the author

Trần Thắng
Expert at AZDIGI with years of experience in web hosting and system administration.