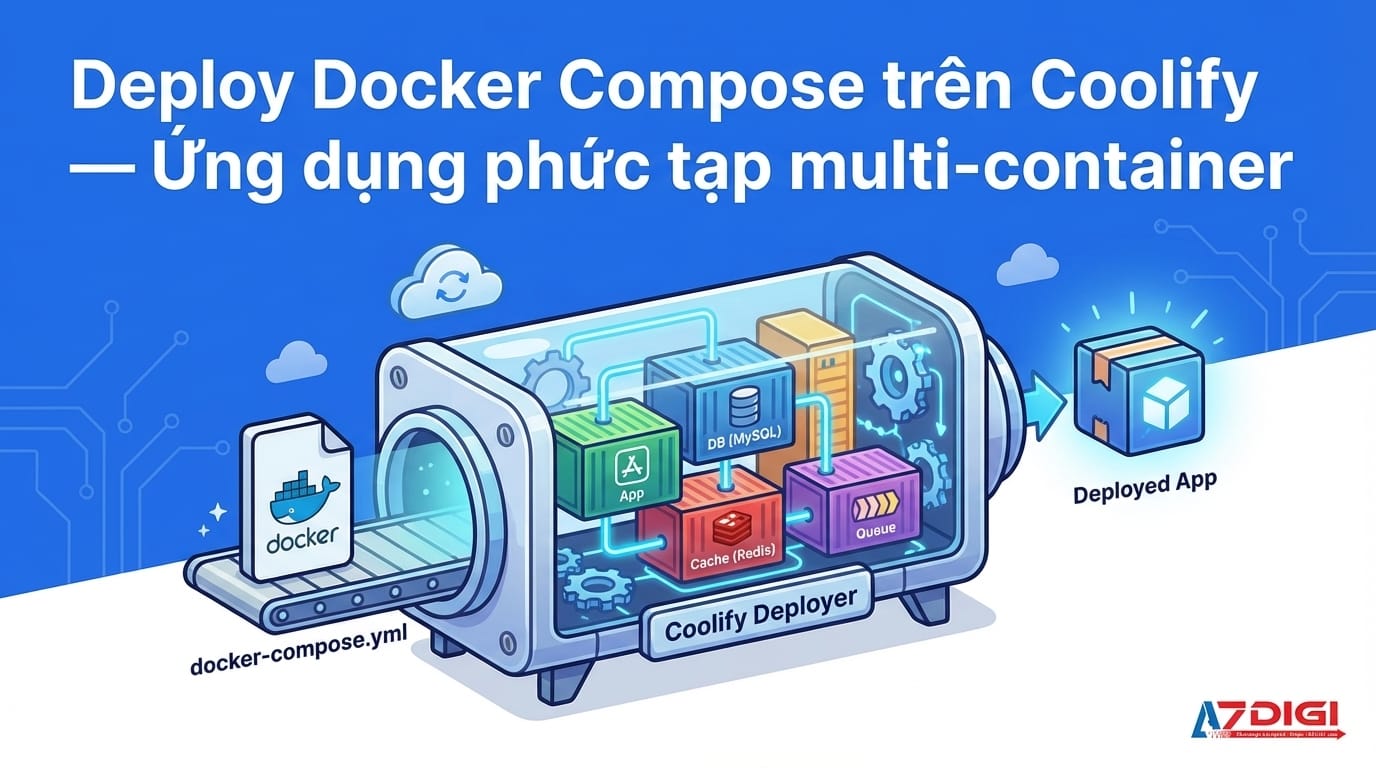
When applications need multiple services running together (app + database + cache + queue worker), Docker Compose is the solution. Coolify supports deploying Docker Compose directly, paste the docker-compose.yml file and deploy.
📖 Previous article: Part 6, Deploy Backend Apps
I. When do you need Docker Compose?
- Applications consisting of multiple containers: web app + database + Redis + worker
- Need to control networking between services
- Want to deploy ready-made stacks (WordPress + MySQL, GitLab, Supabase…)
- When Nixpacks/Dockerfile alone is not enough for multi-service apps
ℹ️ If you only need 1 app + 1 database, Docker Compose is not necessary, create each resource separately for easier management. Docker Compose is suitable when services are tightly dependent on each other.
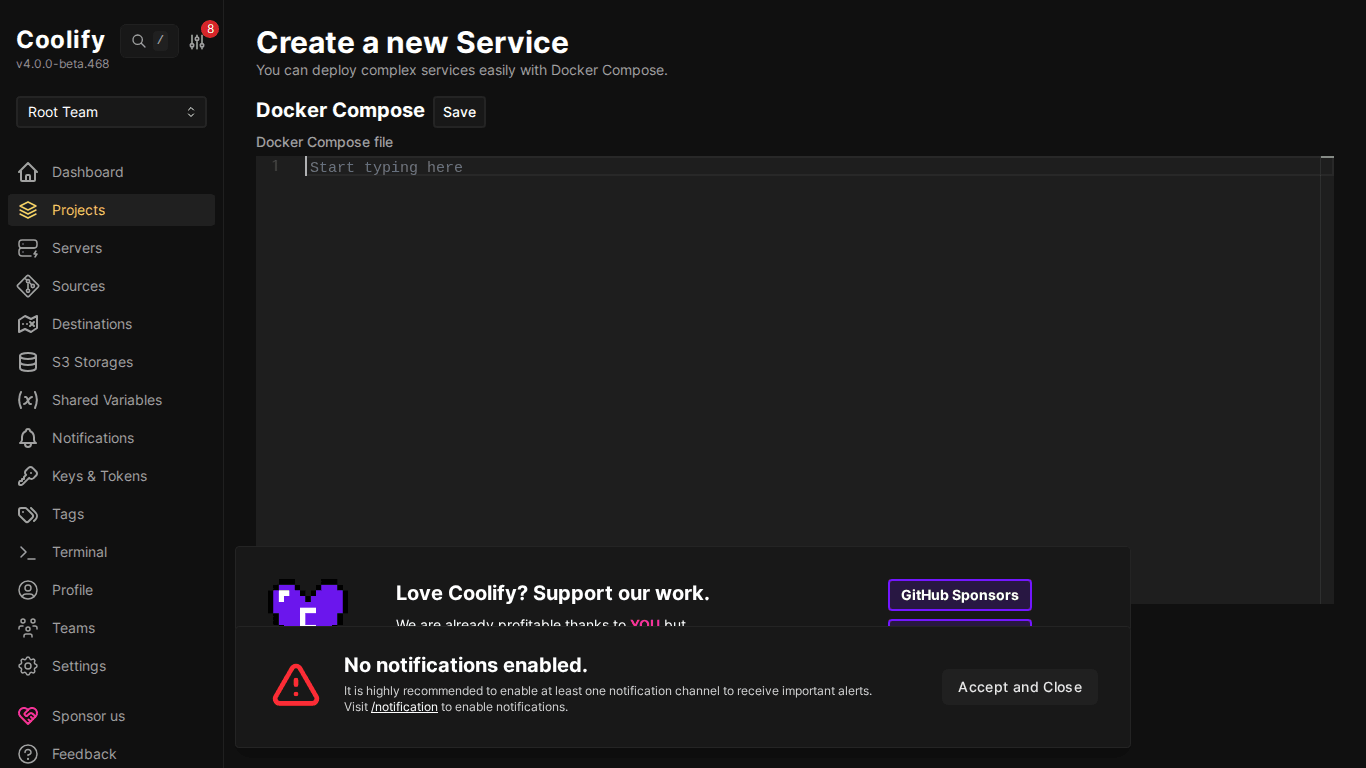
II. Create Docker Compose Resource
- Go to Project → Environment → “+ Add Resource”
- Choose “Docker Compose Empty” (write from scratch) or link repo containing docker-compose.yml file
- Paste or edit docker-compose.yml in the editor
- Click Deploy
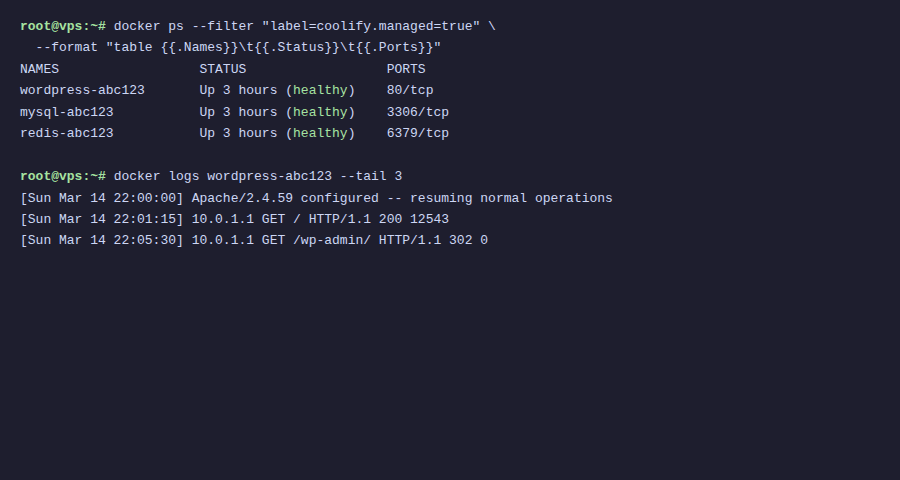
III. Example: WordPress + MySQL
services:
  wordpress:
    image: wordpress:latest
    environment:
      WORDPRESS_DB_HOST: mysql
      WORDPRESS_DB_USER: wp_user
      WORDPRESS_DB_PASSWORD: wp_password
      WORDPRESS_DB_NAME: wordpress
    volumes:
      - wordpress_data:/var/www/html
    ports:
      - "8080:80"
    depends_on:
      - mysql
mysql:
    image: mysql:8.0
    environment:
      MYSQL_ROOT_PASSWORD: root_password
      MYSQL_DATABASE: wordpress
      MYSQL_USER: wp_user
      MYSQL_PASSWORD: wp_password
    volumes:
      - mysql_data:/var/lib/mysql
volumes:
  wordpress_data:
  mysql_data:
⚠️ In Coolify Docker Compose, no need to declare networks: Coolify automatically creates a shared network for all services in the compose file. Services can see each other through the service name.
IV. Example: App + PostgreSQL + Redis
services:
  app:
    build: .
    environment:
      DATABASE_URL: postgresql://appuser:apppass@postgres:5432/myapp
      REDIS_URL: redis://redis:6379
    ports:
      - "3000:3000"
    depends_on:
      - postgres
      - redis
postgres:
    image: postgres:16-alpine
    environment:
      POSTGRES_USER: appuser
      POSTGRES_PASSWORD: apppass
      POSTGRES_DB: myapp
    volumes:
      - pg_data:/var/lib/postgresql/data
redis:
    image: redis:7-alpine
    volumes:
      - redis_data:/data
worker:
    build: .
    command: node worker.js
    environment:
      DATABASE_URL: postgresql://appuser:apppass@postgres:5432/myapp
      REDIS_URL: redis://redis:6379
    depends_on:
      - postgres
      - redis
volumes:
  pg_data:
  redis_data:
V. Domain for Docker Compose Services
By default only services with ports mapping are accessible from outside. To assign domain:
- Deploy compose stack
- Go to resource → find service that needs domain (e.g: wordpress)
- Set domain in FQDN field:
https://blog.example.com - Traefik automatically routes traffic to the correct container
VI. Persistent Volumes
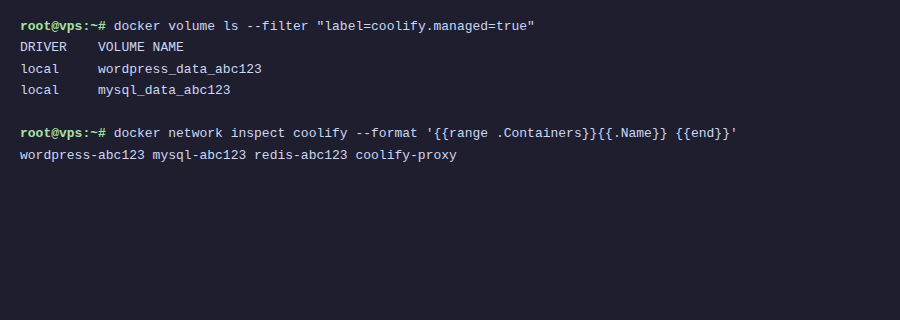
Volumes in Docker Compose are automatically managed by Coolify:
- Named volumes: Declared in
volumes:section → Coolify creates Docker volumes automatically - Bind mounts: Can map path on host:
./data:/app/data - Data persists through redeploy: only lost when manually deleting volume
🚨 When deleting Docker Compose resource, Coolify asks if you want to delete volumes. Choose “Keep Volumes” if you want to keep data!
VII. Environment Variables in Compose
There are 2 ways to set environment variables:
- Inline in compose file:
environment:section (visible in the file) - Through Coolify UI: Tab “Environment Variables”: more secure, not exposed in file
- Coolify UI variables override inline values: higher priority
VIII. Conclusion
Docker Compose on Coolify makes deploying multi-service stacks easy, paste compose file, deploy, assign domain. Coolify handles networking, volumes, and SSL automatically. Next article: CI/CD with GitHub, GitLab, Bitbucket.
You might also like
- Docker Compose in Practice - Sample Project Collection
- Databases on Coolify — MySQL, PostgreSQL, Redis, MongoDB
- Deploy Node.js, Python, PHP on Coolify
- Coolify Interface - Detailed Dashboard Usage Guide
- One-Click Services on Coolify — Deploy 294+ services with just 1 click
- Install Open WebUI + Ollama with Docker Compose - Create Your Own ChatGPT on VPS
About the author

Trần Thắng
Expert at AZDIGI with years of experience in web hosting and system administration.