Nội dung
To start your journey of exploring and implementing a modern and flexible business management system, Odoo is an indispensable choice. With the ability to integrate a variety of modules from sales management, warehouse, accounting to marketing and human resources, Odoo provides businesses with a comprehensive and powerful platform. However, installing and configuring Odoo can be a challenge for beginners. To solve this problem, Docker, a lightweight and convenient virtualization tool, will be the optimal solution.
In this article, we will explore the specific steps to install Odoo with Docker, helping you easily set up and operate the system efficiently and quickly.
Step 1: Install Docker and Docker Compose
First, you need to login to your VPS via SSH or access your VPS or server with root privileges first. If you don’t know how to SSH into your VPS/Server, you can refer to the following tutorial:
Once you log in to your VPS, you update the system packages and install Docker with the following commands:
sudo apt-get update -y
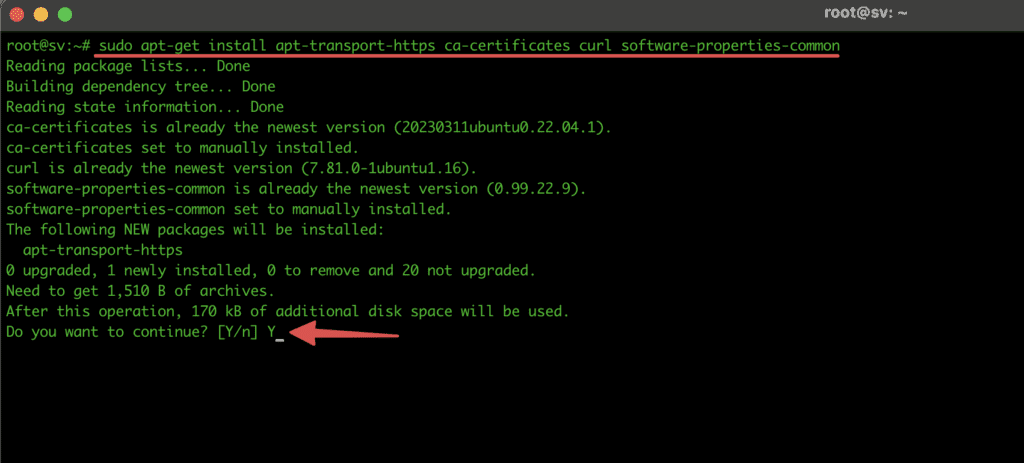
sudo apt-get install apt-transport-https ca-certificates curl software-properties-common
curl -fsSL https://download.docker.com/linux/ubuntu/gpg | sudo apt-key add -

sudo add-apt-repository "deb [arch=amd64] https://download.docker.com/linux/ubuntu $(lsb_release -cs) stable"

The process of updating system packages is complete, you proceed to install docker:
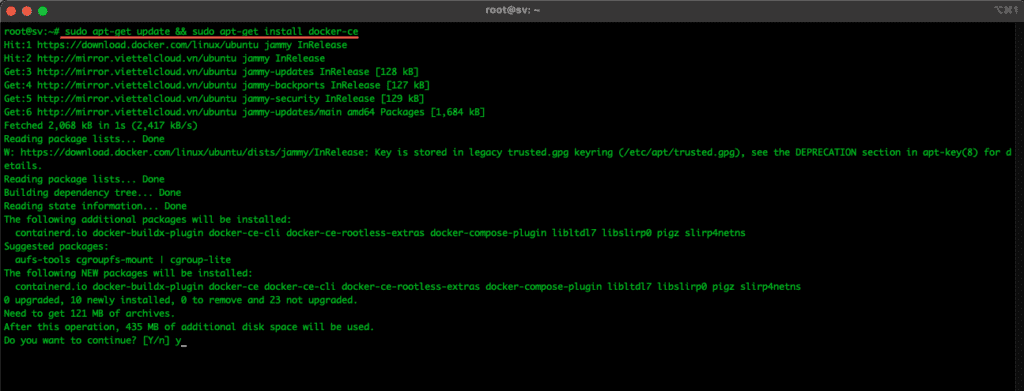
sudo apt-get update && sudo apt-get install docker-ce
Next, you install Docker Compose:
sudo curl -L "https://github.com/docker/compose/releases/download/1.29.2/docker-compose-$(uname -s)-$(uname -m)" -o /usr/local/bin/docker-compose
sudo chmod +x /usr/local/bin/docker-compose

Step 2: Create a Docker Compose file.
You create a folder for your Odoo project, here I will create a folder named odoo-docker and move into this folder.
mkdir /home/odoo-docker && cd /home/odoo-docker
Next you create a docker-compose.yml file in your project directory.
touch docker-compose.yml
Then you can use vi, nano command to edit docker-compose.yml file and add following configuration content and save the file:
version: '3.1'

services:
  web:
    image: odoo:14
    depends_on:
      - db
    ports:
      - "8069:8069"
    volumes:
      - odoo-web-data:/var/lib/odoo
      - ./config:/etc/odoo
      - ./addons:/mnt/extra-addons
    environment:
      - HOST=db
      - USER=odoo
      - PASSWORD=odoo

  db:
    image: postgres:13
    environment:
      - POSTGRES_DB=postgres
      - POSTGRES_PASSWORD=odoo
      - POSTGRES_USER=odoo
    volumes:
      - odoo-db-data:/var/lib/postgresql/data

volumes:
  odoo-web-data:
  odoo-db-data: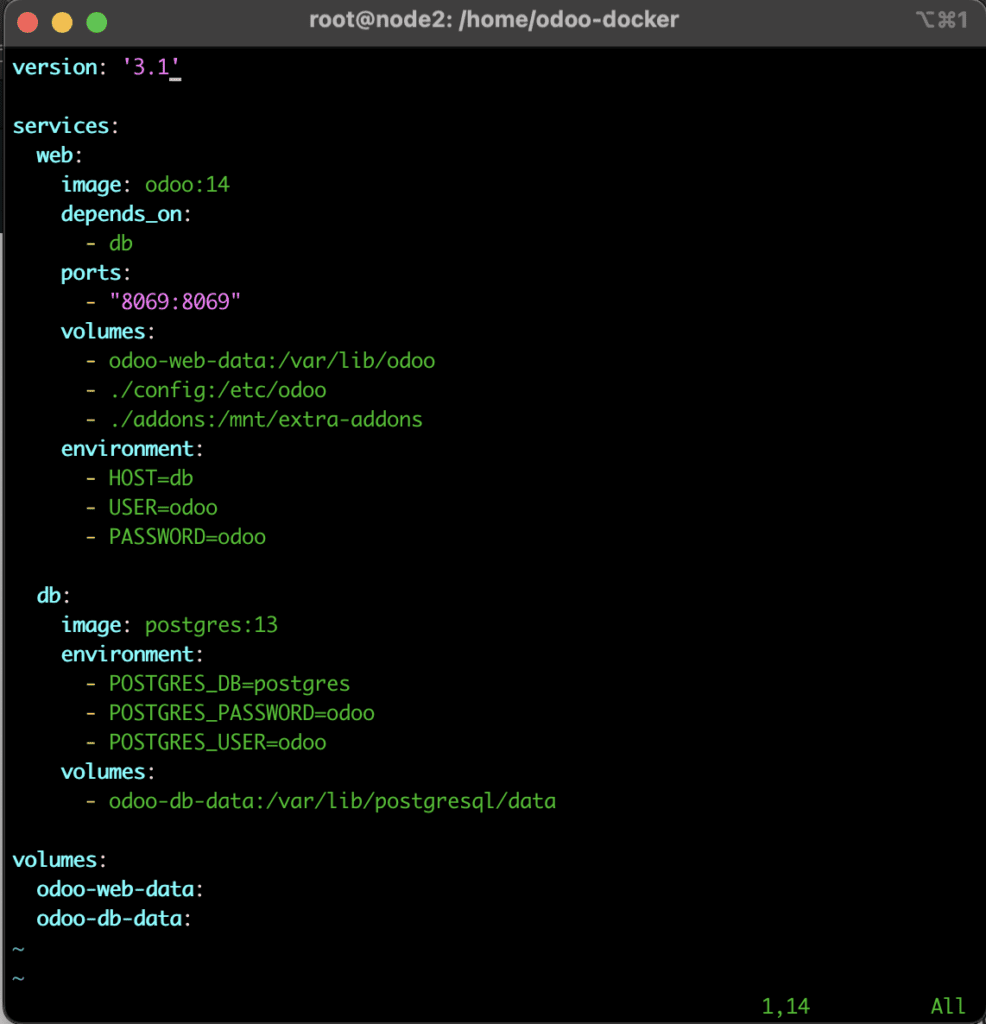
Step 3: Create the configuration and addon folders.
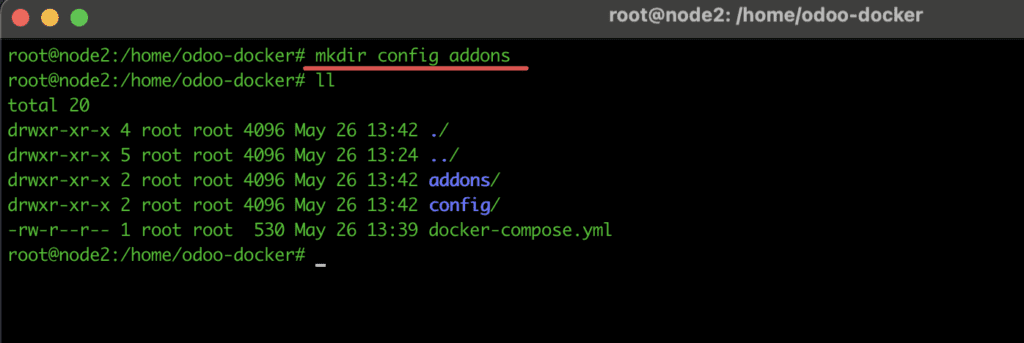
Create folders on your VPS to store Odoo data and configuration:
mkdir config addons
If you want to customize Odoo configuration, you can create a configuration file odoo.conf in the config folder:
vi config/odoo.conf
Here I have configured the basic content of the odoo.conf file as below, you can configure more according to your own needs.
[options]
; admin_passwd = admin
db_host = db
db_port = 5432
db_user = odoo
db_password = odoo
addons_path = /mnt/extra-addons
Step 4: Run Docker Compose.
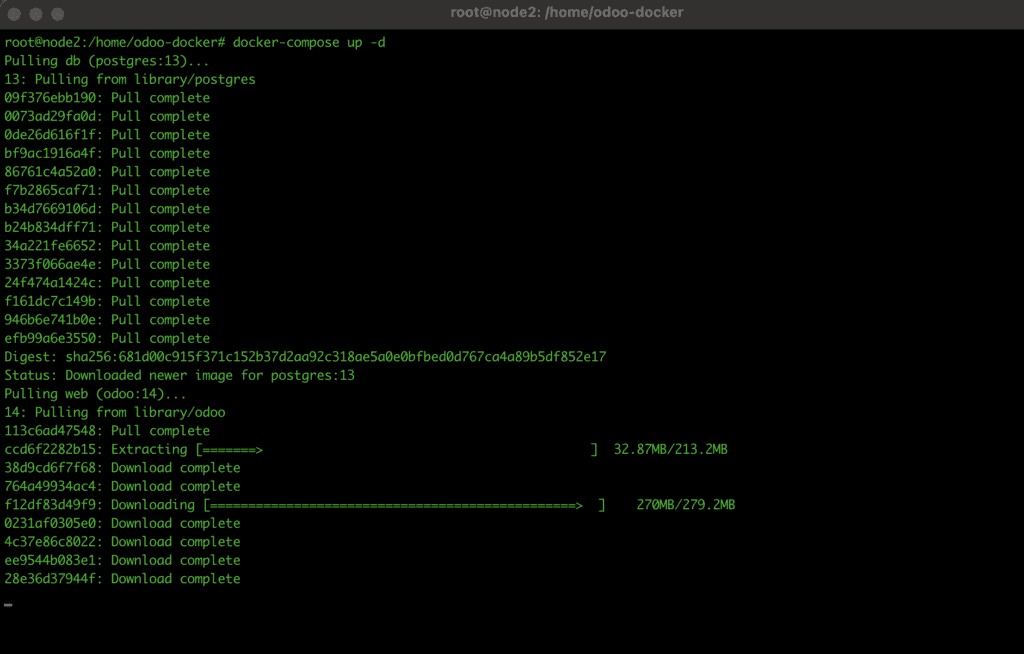
Now the configuration is complete and you start the services with Docker Compose:
docker-compose up -d
Step 5: Go to Odoo.
After the boot process is complete, open your web browser and access Odoo via the VPS IP address with port 8069.
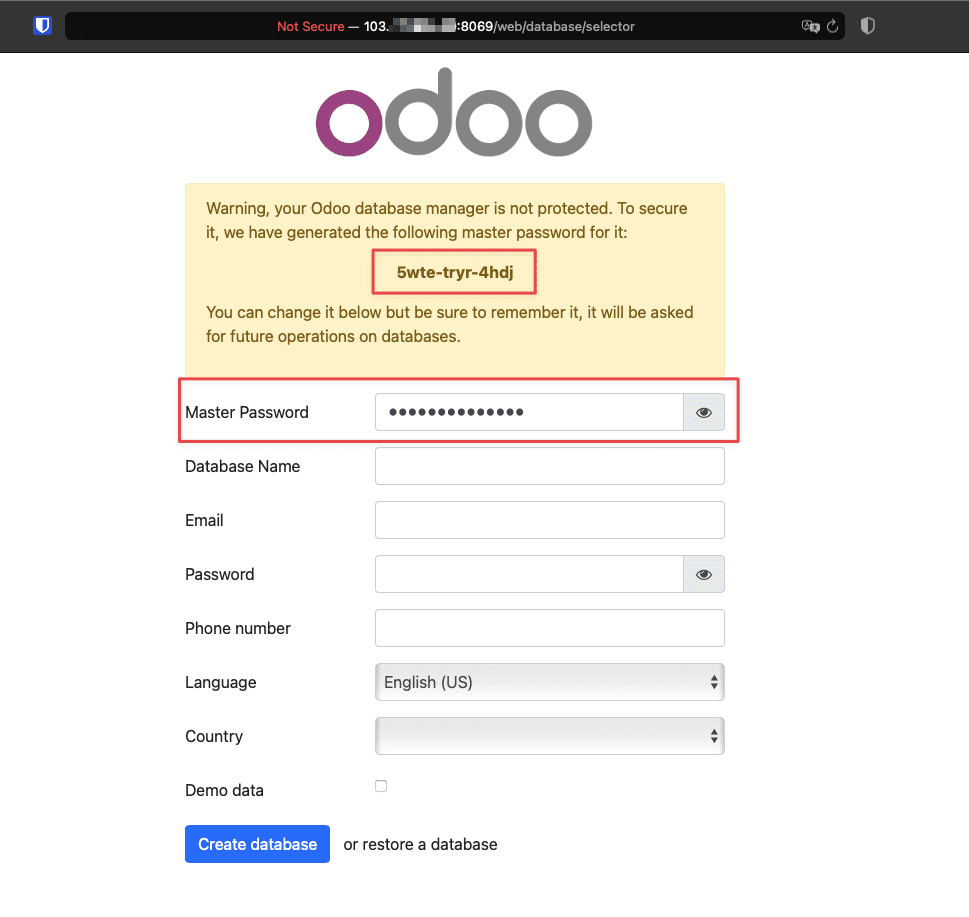
http://IP:8069When you access, the Database creation page will appear, you fill in the necessary information. With Master Password odoo will suggest you a randomly generated password. You can use this password or change it according to your needs.
