EasyEngine is a Python script that automates the installation of NGINX and PHP-FPM webservers specifically for WordPress. EasyEngine will work on servers using Ubuntu or Debian.
- Note:
EEv3 will use the NGiNX installer, PHP, MySQL/MariaDB, and related services. In v4, everything in EasyEngine will be split into docker containers.
This is a script, so there will be no control panel or management interface, which requires basic knowledge of manipulation on VPS using Linux.
Install
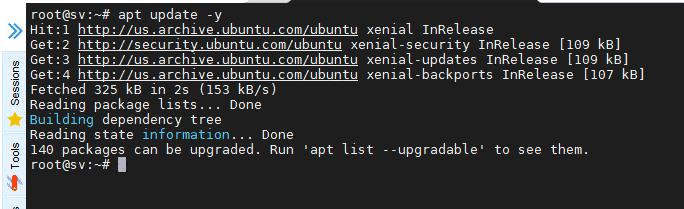
Update packages installed on the system
apt update -y

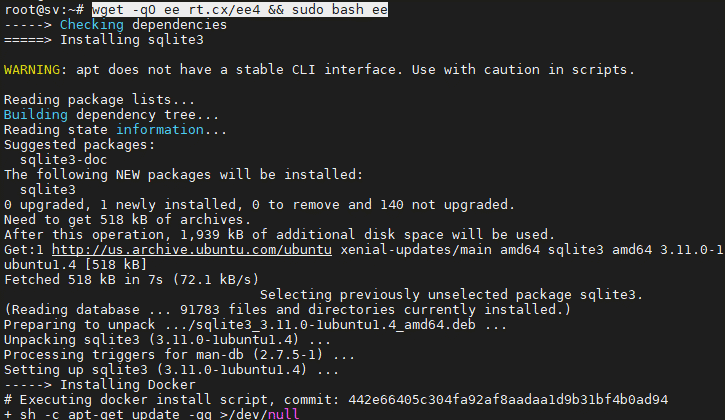
Install EasyEngine by executing the following command, the system will automatically install the included packages and launch EasyEngine
wget -qO ee rt.cx/ee4 && sudo bash ee
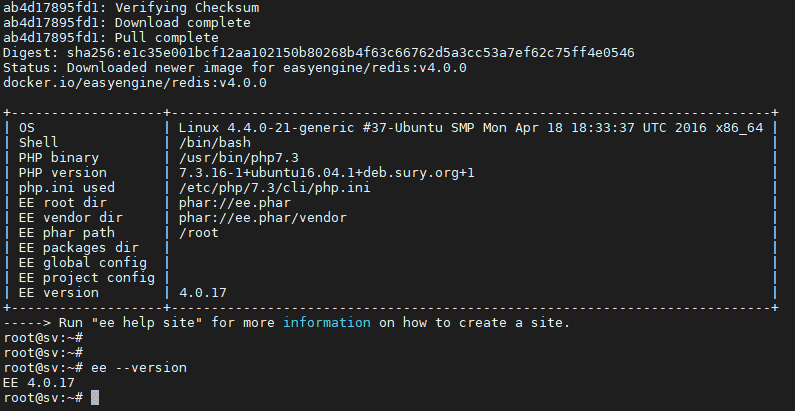
After successful installation, you can check the version with the command
ee --version
Refer to some common commands via EasyEngine’s –help option
ee --help site
- clean: clears the object and page cache.
- create: create a new site.
- delete: delete a web.
- disable: deactivate a site, stop and remove the docker container containing any website.
- enable: re-enable the website if it was stopped before.
- info: Displays relevant information of the website.
- list: list of websites that have been created.
- reload: re-initialize the specific service at the container without interfering with the container.
- restart: re-initializes the container.
- ssl: authenticate SSL or create a new SSL.
- ssl-renew: create a new SSL certificate.
- update: update, upgrade the site.
Basic EEv4 configuration files/directories:
Nginx:
Nginx Configuration
- EasyEngine Nginx configuration: /opt/easyengine/services/nginx-proxy/conf.d/
- Configure nginx for site domain.com: /opt/easyengine/sites/domain.com /config/nginx/nginx.conf
Logs:
- Directory containing all NGINX log files: /opt/easyengine/services/nginx-proxy/logs/
- nginx access log file: /opt/easyengine/services/nginx-proxy/logs/access.log
- nginx error log file: /opt/easyengine/services/nginx-proxy/logs/error.log
- The directory containing the access log and error log files of the domain.com site: /opt/easyengine/sites/schromy.tk/logs/nginx/
- PHP:
PHP Configuration
- Configure PHP for the entire EasyEngine server: /etc/php/7.3/cli/php.ini
- PHP configuration for domain.com site: /opt/easyengine/sites/domain.com/config/php/php/php.ini
Logs:
- PHP log of domain.com: /opt/easyengine/sites/domain.com/logs/php/
- MariaDB:
MariaDB Configuration:
- Main configuration for MariaDB: /opt/easyengine/services/mariadb/conf/my.cnf
Logs:
- General MariaDB log: /opt/easyengine/services/mariadb/logs/
- Web source code directory: /opt/easyengine/sites/domain.com/app/htdocs/
- Individual services for each website: /opt/easyengine/sites/domain.com/config/
So you have successfully installed Easy Engine, please follow AZDIGI’s Blog to update useful articles!
About the author

Thạch Phạm
Đồng sáng lập và Giám đốc điều hành của AZDIGI. Có hơn 15 năm kinh nghiệm trong phổ biến kiến thức liên quan đến WordPress tại thachpham.com, phát triển website và phát triển hệ thống.