
How to install the available source code to Webinoly for newbie
I. OVERVIEW
Welcome back to the AZDIGI documentation channel, continuing an article about the Webinoly series, in this article, AZDIGI will guide you through uploading the available source code to Webinoly. Unlike other scripts and control panels, Webinoly has a completely different way of doing it and to do it, please follow along with AZDIGI.
II. IMPLEMENTATION GUIDE
To install the available source code on Webinoly, follow these steps.
Terms used on the website
- Source code
- Database
- Download
- Upload
- webmau.dotrungquan.info (please replace it with your website name)
Step 1: Prepare the data
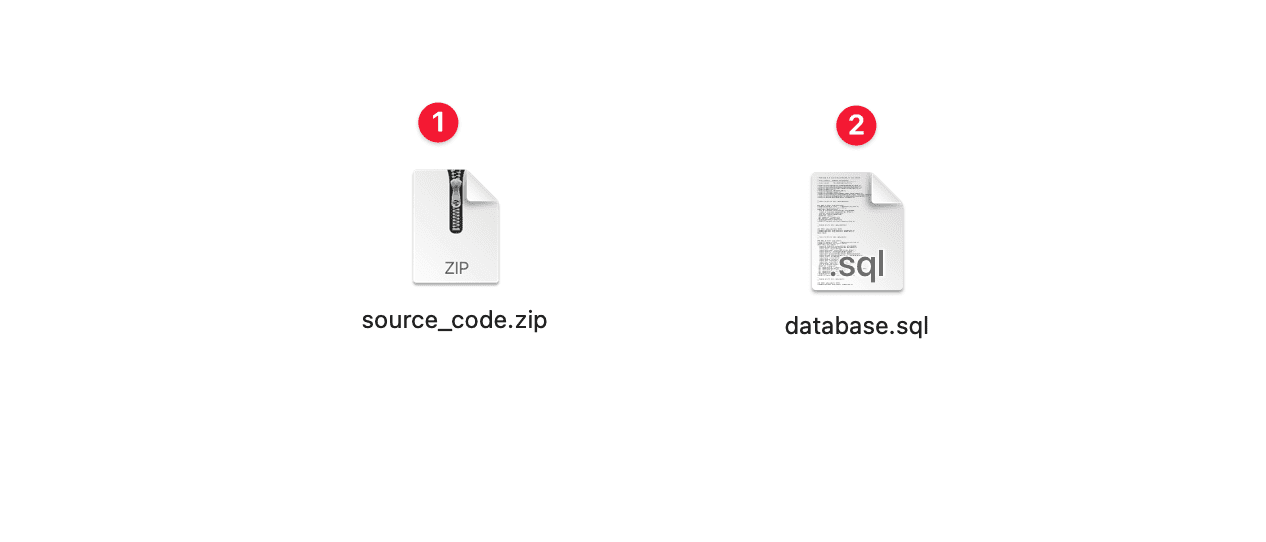
To upload an existing website to Webinoly, you need to prepare the following data, including Source Code and Database. As below, I already have 2 files available:
- Source code
- Database
After you have prepared the data, please follow the next steps to upload it to Webinoly.
Step 2: Create a website and upload the source code
Please determine if your website is a static html website, or a pure php site or a WordPress site. In this article, I will do it with the WordPress source code, so the syntax for creating a website will be different in the options.
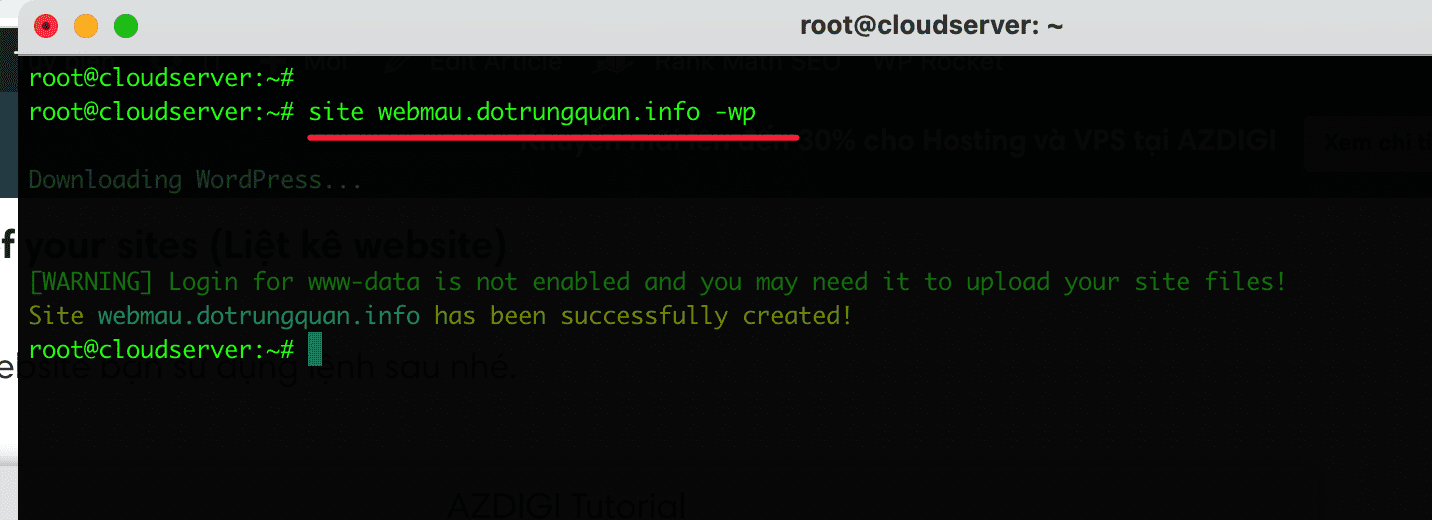
Create a WordPress website
First, create a WordPress website. With this command, you will create a new website and the system will automatically download the default WordPress source code, and you will delete it to upload your source code.
sudo site webmau.dotrungquan.info -wp
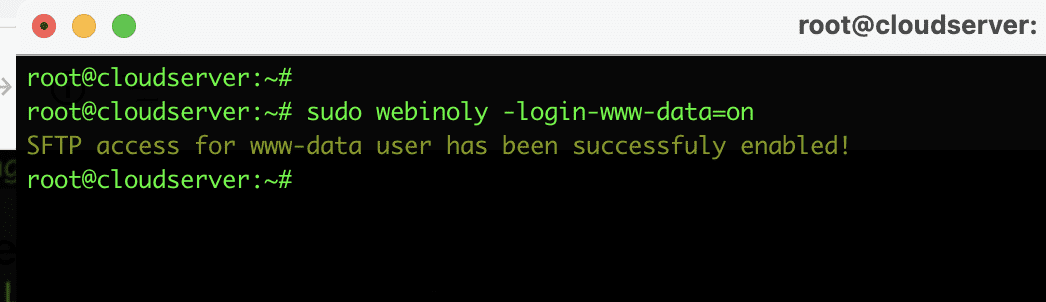
Enable SFTP
After creating the website, please enable SFTP for the www-data user with the command below. If you do not enable activation, you will not be able to use it.
sudo webinoly -login-www-data=on
Once activated, you can access the server via the SFTP protocol using FileZilla or another software, depending on your needs and usage habits for your convenience. I will use the most popular software, FileZilla.
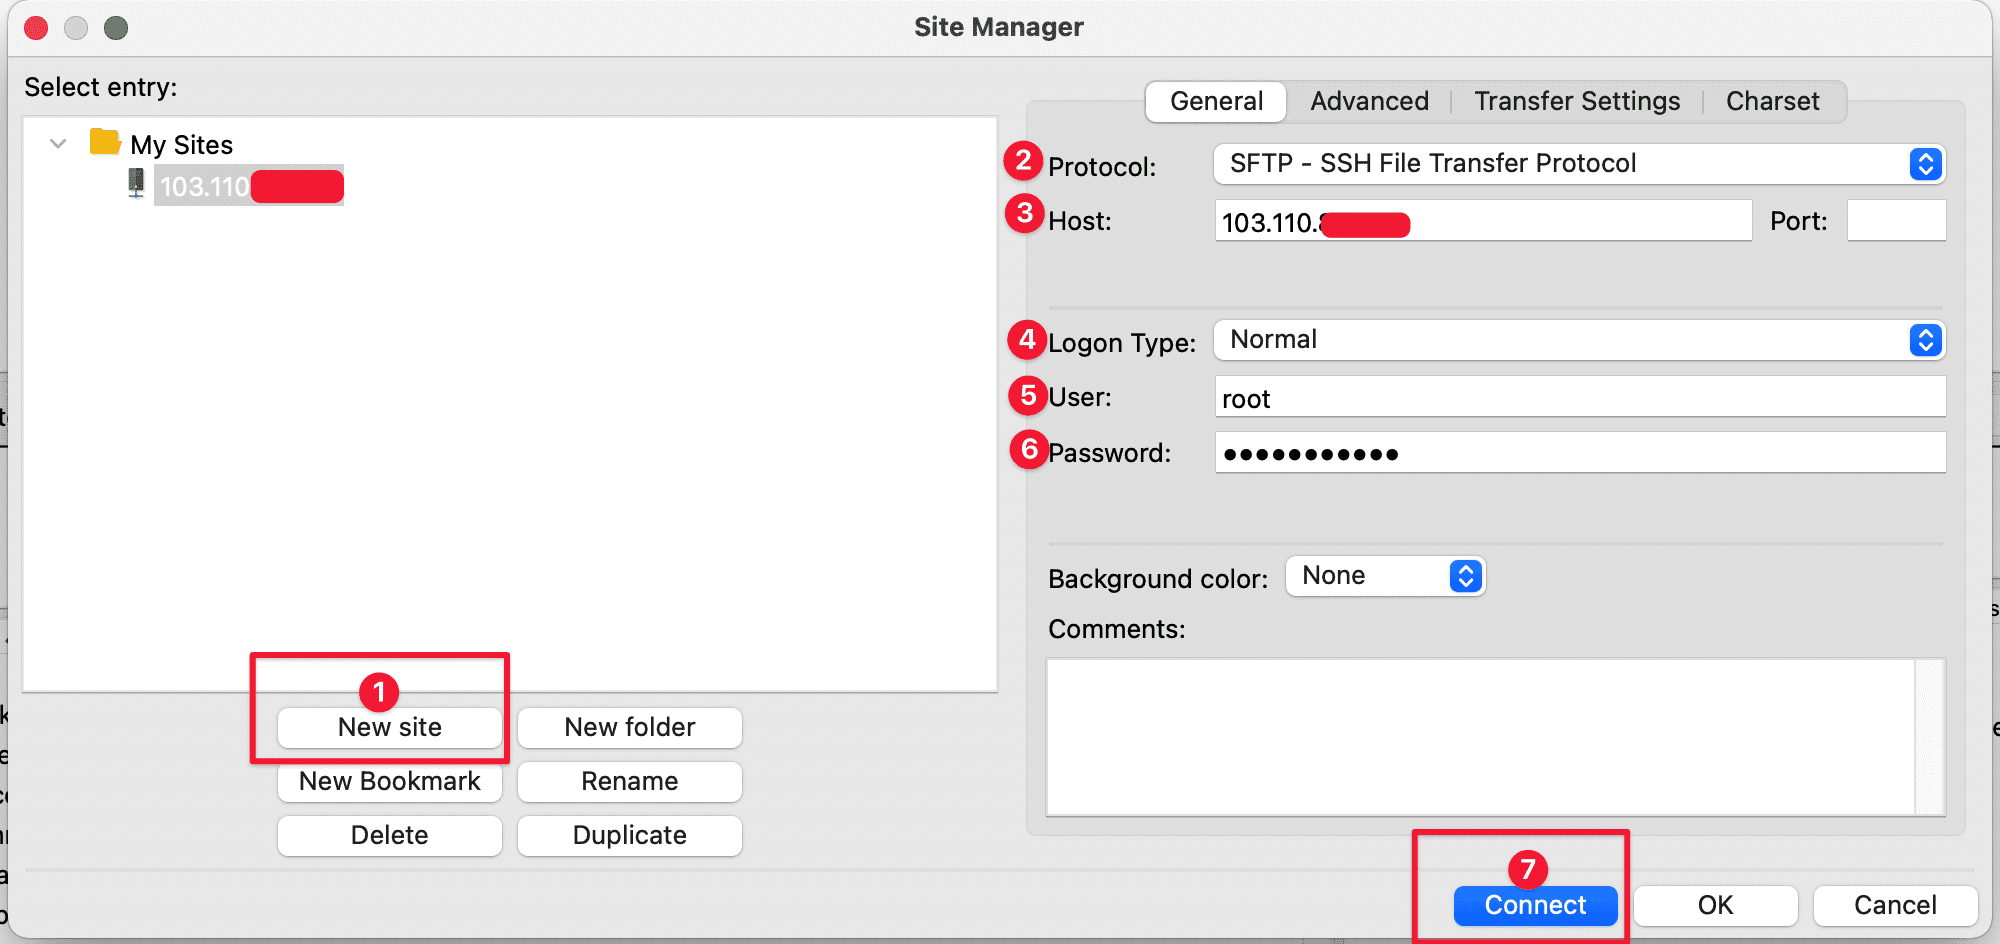
You open the FileZilla application => select File => Site Manager and create a new site as shown below:
- New site: Create a new site with a single session
- Protocol: Please select SFTP – SSH File Transfer Protocol.
- Host: Enter the server’s IP.
- Logon Type: Choose Normal
- User: Enter user as
root - Password: Enter the server’s password (SSH Password)
- Connect: Click to connect
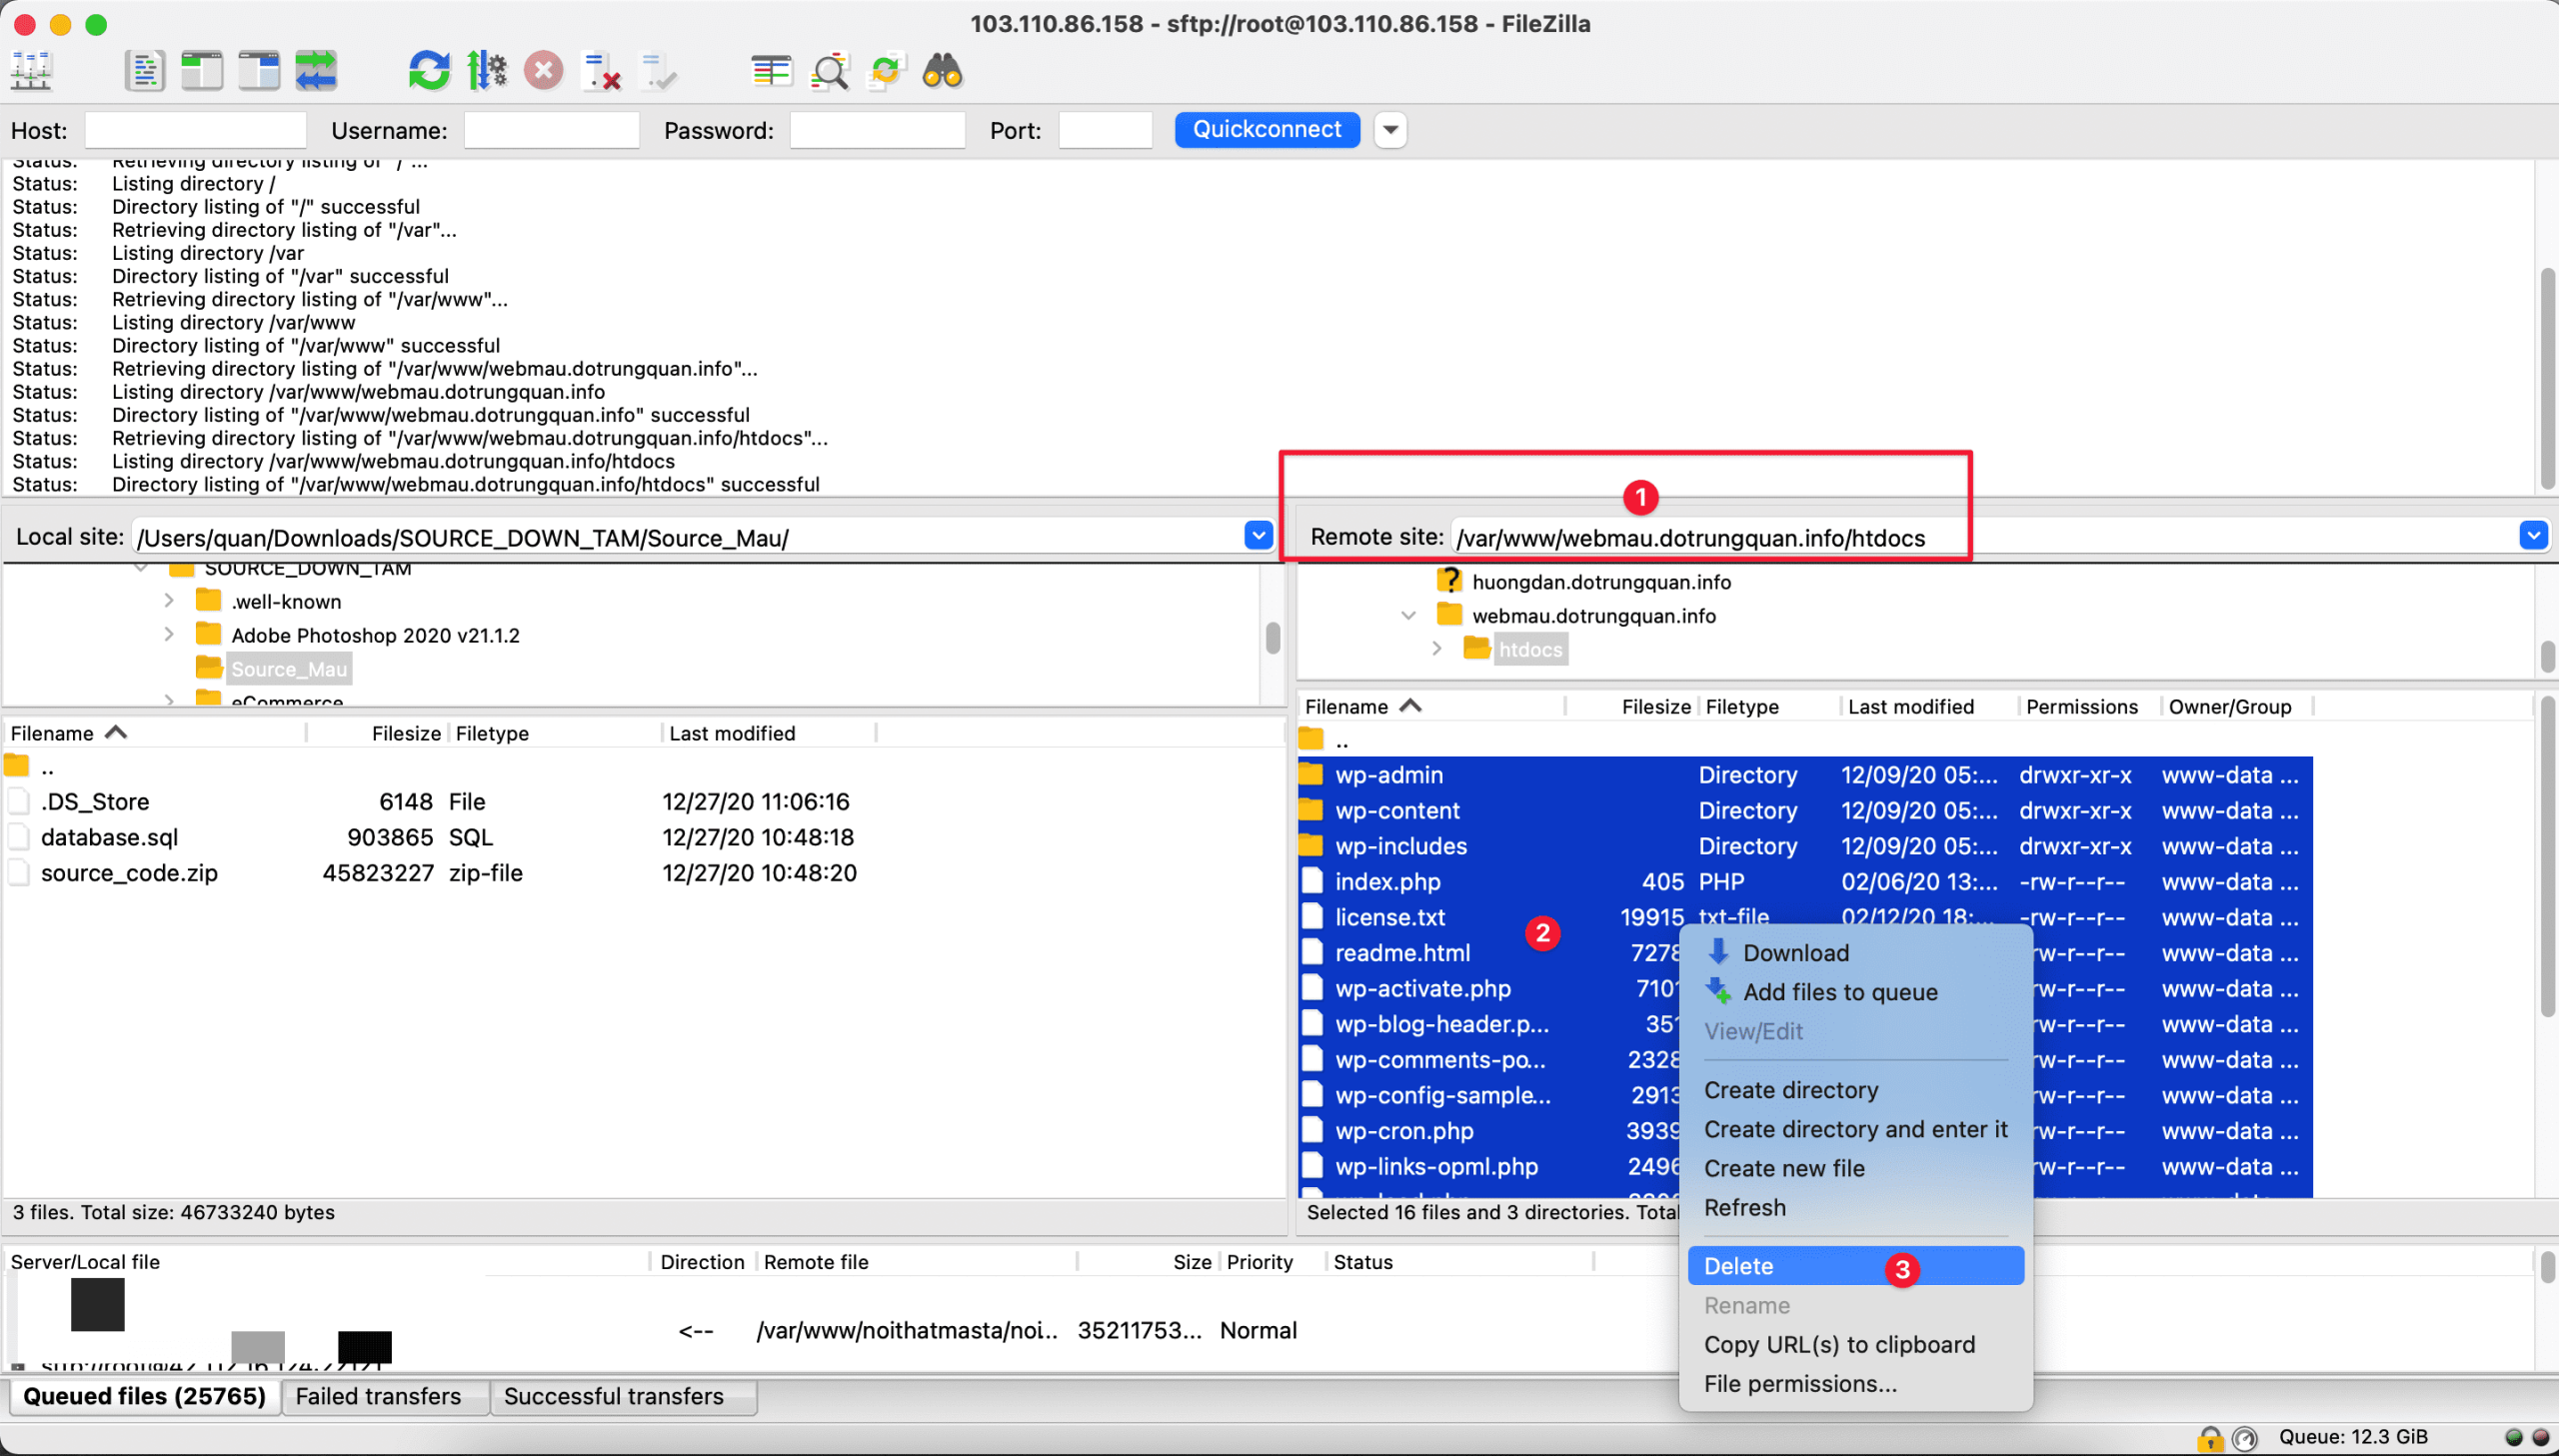
After a successful connection, go to the default source code path of var/www/my-domain/htdocs and delete the original WordPress source code downloaded.
- Remote site: The default source code path is
var/www/my-domain/htdocs - You select all by pressing
Ctrl+Ato select all. - Then right-click on the frame and select Delete to delete. Deleting will take about 2-3 minutes.
Once you have deleted all the sample source codes, please upload your source code. In the Local site section, you find the source code stored on your personal computer, then select all and drag and drop to the Filename frame in the Remote Site. The GIF below is an example of my illustration:
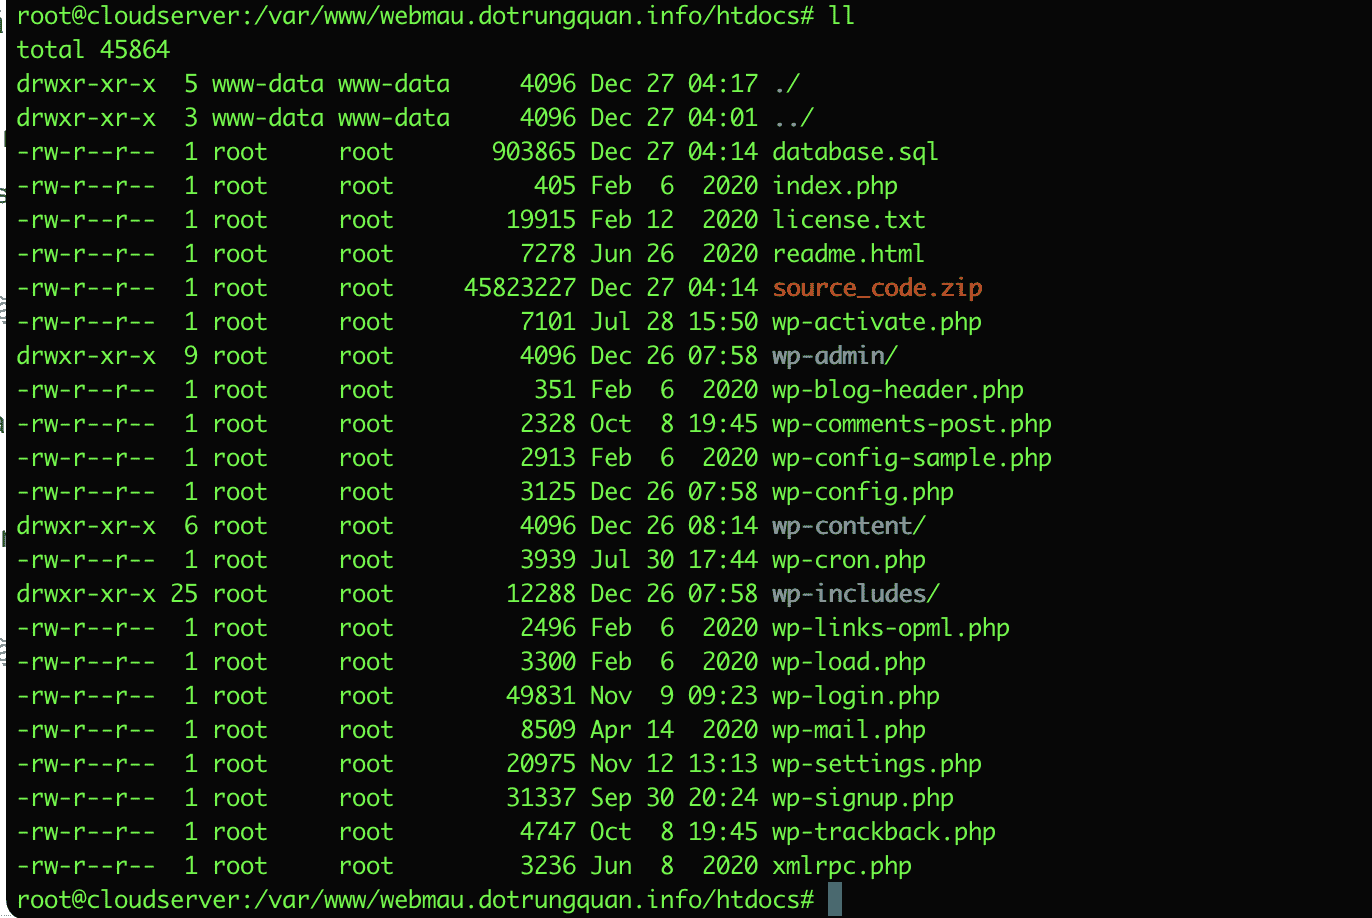
After uploading, I go back to the command line interface and move to the folder containing the source code, I have successfully uploaded it and please follow the next step to unzip it.

Unzip the source file and decentralize it
To unzip the source code file in the *.zip format, you use the unzip file_name.zip command. For example, my current file is named source_code.zip, I will use the unzip the command to extract it unzip source_code.zip
After extracting, these files will be owned by root and you need to change user/group to www-data:www-data
unzip ten_file.zip
chown -R www-data:www-data *
Here is a GIF image for you to easily visualize. And once it’s done, let’s move on to creating and importing the database.
Step 3: Create database and import data
Create a database
To create an empty database on Webinoly, use the following command:
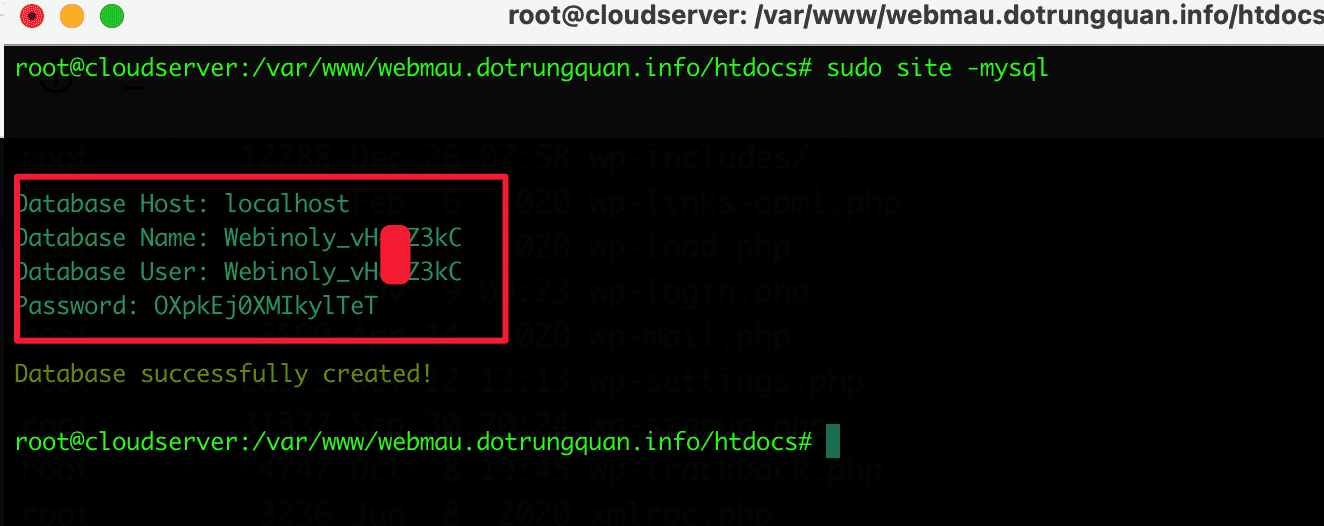
sudo site -mysql
Once created, save this information to use when connecting to the file wp-config.php
- Database Host: localhost
- Database Name
- Database User
- Password
Import the database
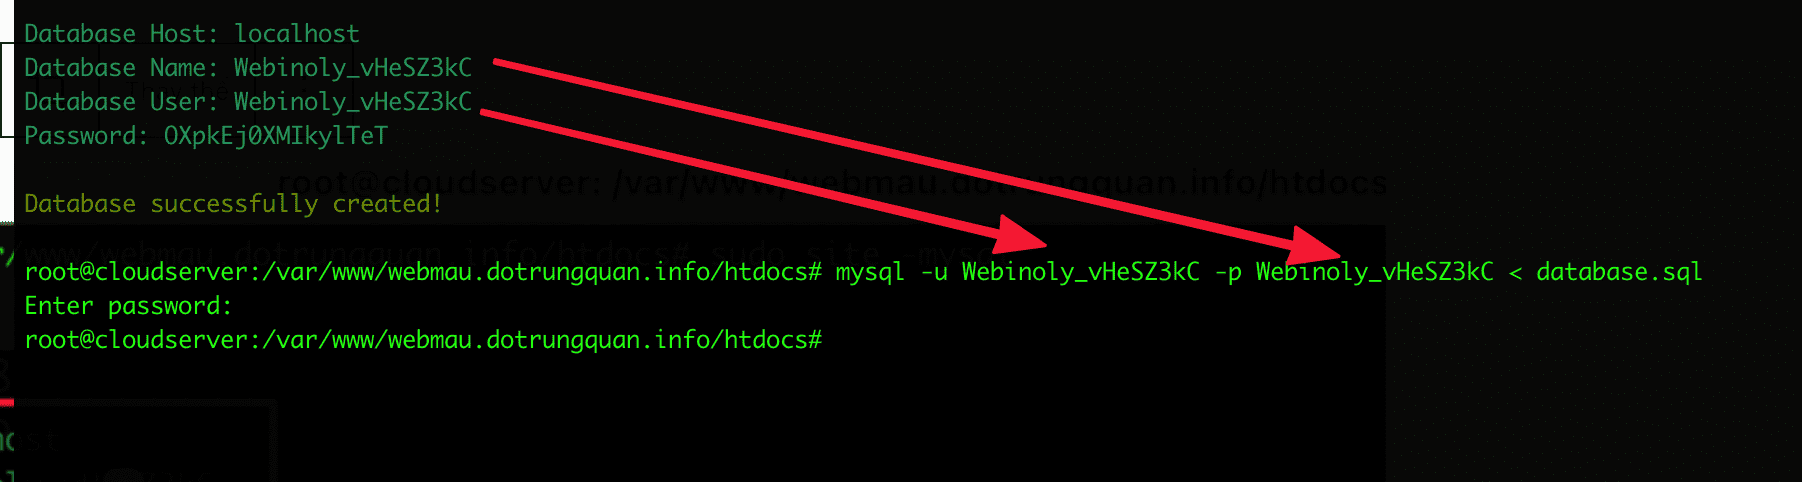
To import the database, you use the following syntax:
unzip ten_file.zip
mysql -u Database_User -p Database_Name
In there:
- mysql: is the implementation syntax
- -u: enter the database user name
- -p: enter the database name
- <: d="" n="" c="" ngh="" s="" nh="" v="">
- database.sql: is my database file. Please enter the correct name for your database.
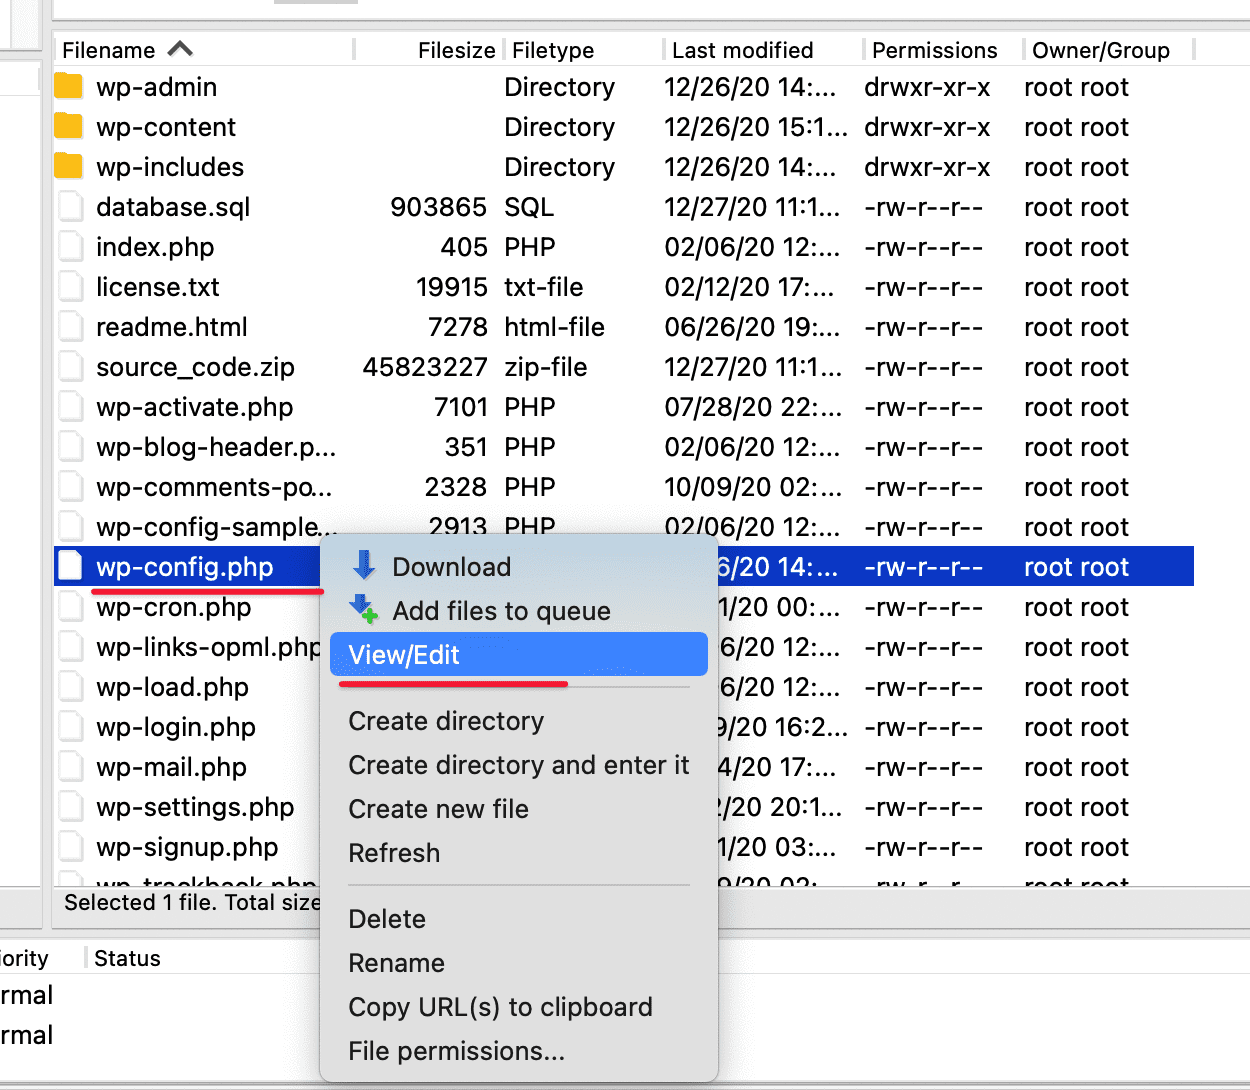
Step 4: Configure the database connection
This is the step to make the database connection created in Step 3 to the wp-config.php file. If you are familiar with the command line, you can open the wp-config.php file directly from the command line window. But if you’re not familiar with this, go back to FileZilla and right-click on the wp-config.php file => View/Edit
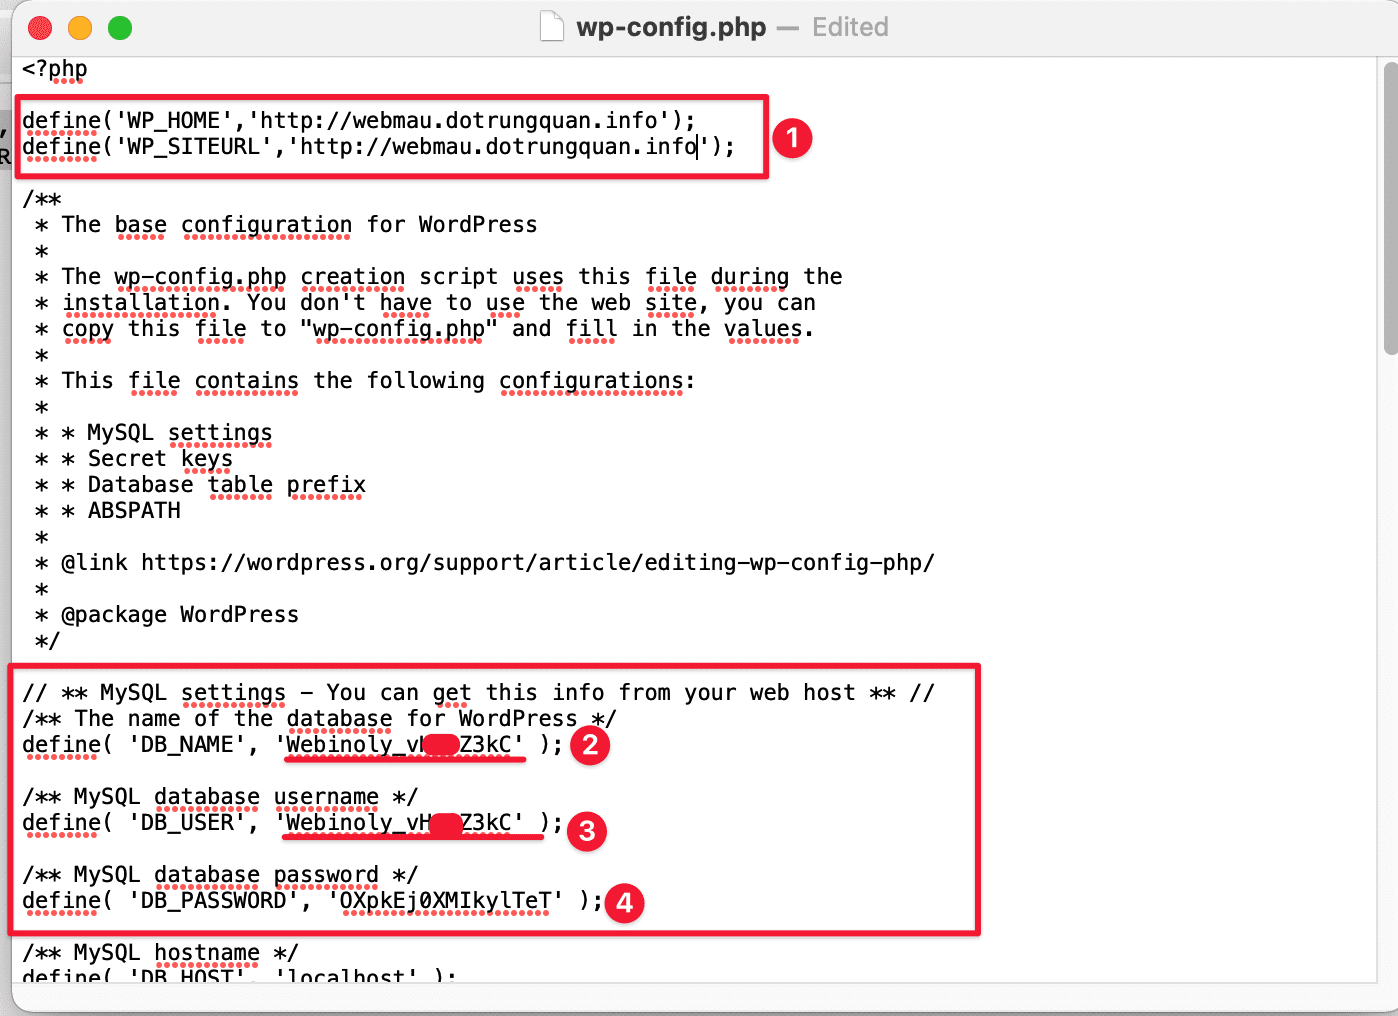
After opening the file is complete, you make the following adjustments:
- Frame 1: Enter as below (replace example.com with your domain name)
define('WP_HOME','http://example.com');
define('WP_SITEURL','http://example.com');
- Frame 2: DB_Name: Enter the Database Name created in Step 3
- Frame 3: DB_User: Enter the Database User created in Step 3
- Frame 4: DB_Password: Enter the Password created in Step 3
After entering, save it (File > Save).
After adjusting, please save and visit the website to check.
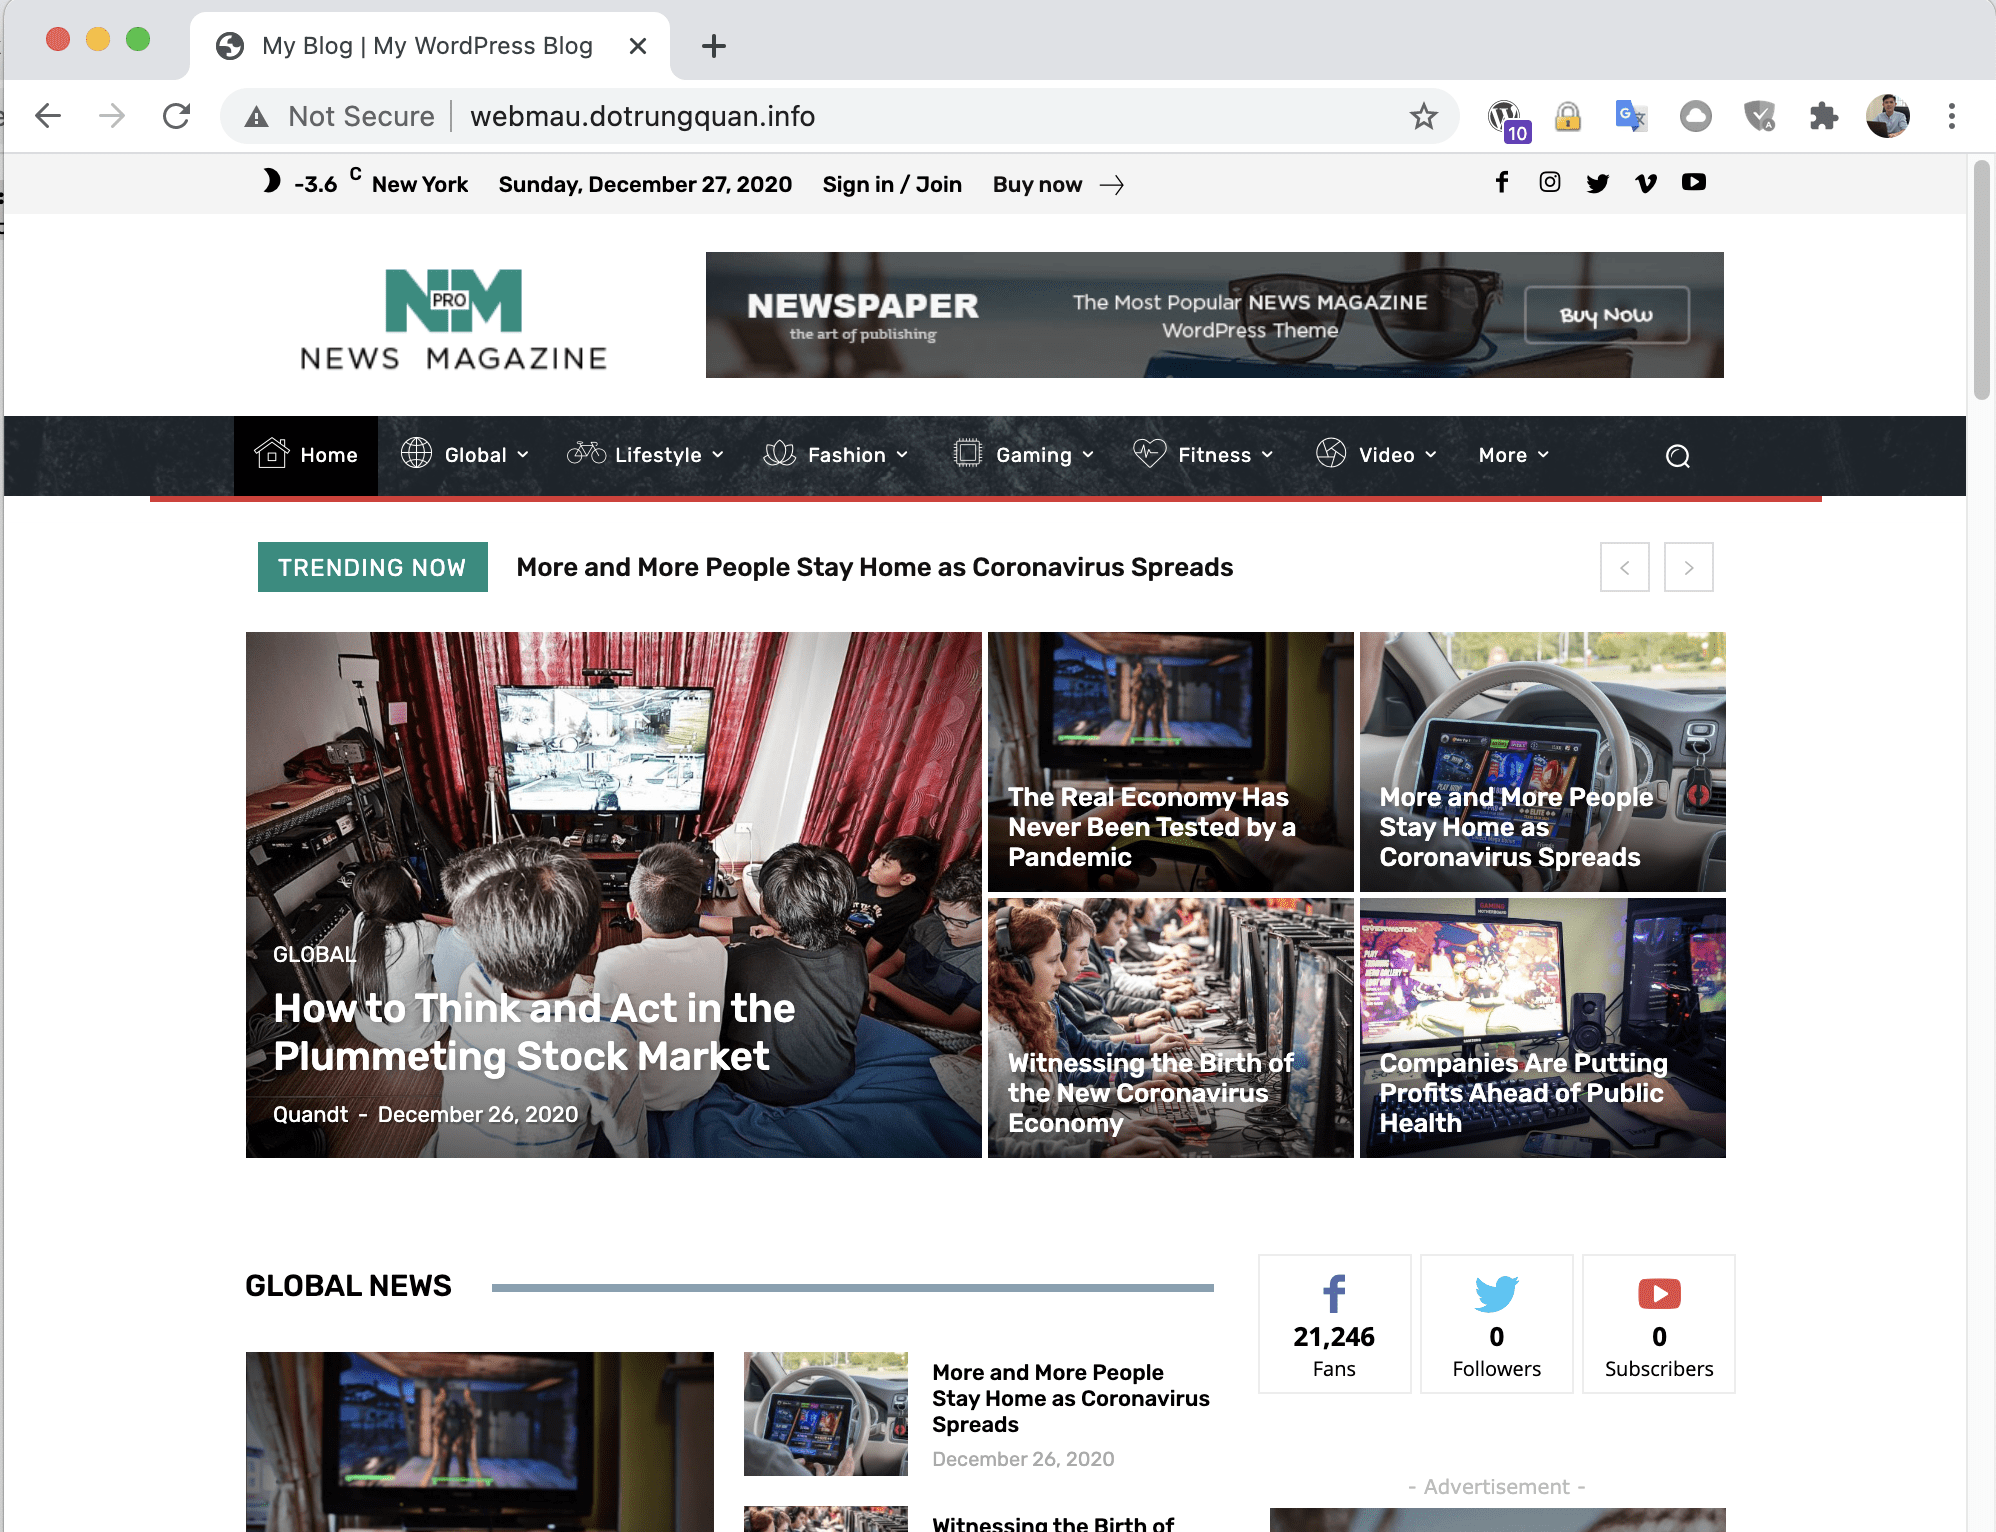
With the above steps, you have completed a website. But this website has not installed SSL and Cache configuration, so please continue if you need to install SSL and Cache. For WordPress websites, I recommend using SSL and configuring Cache.
Step 5: Install SSL for the website
To install SSL, you use the following syntax: (replace webmau.dotrungquan.info with your domain name)
site webmau.dotrungquan.info -ssl=on
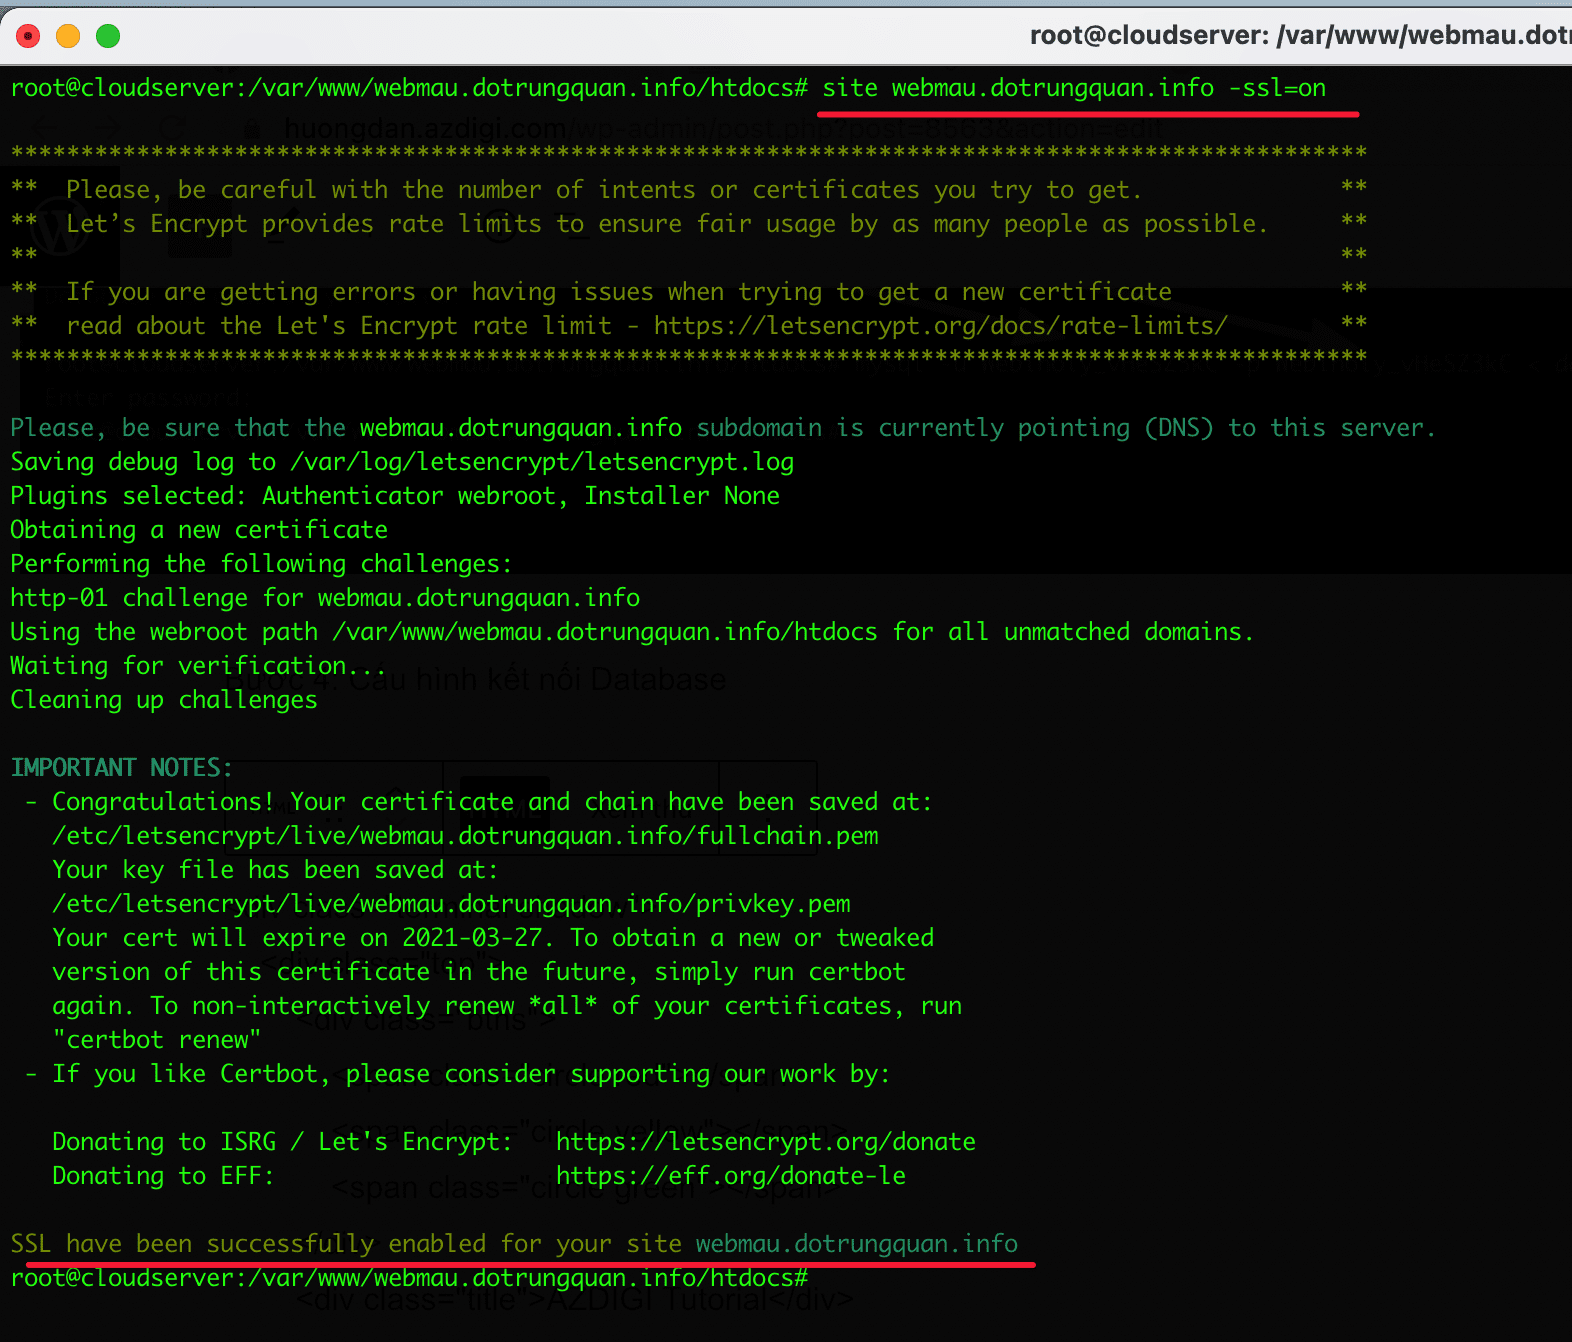
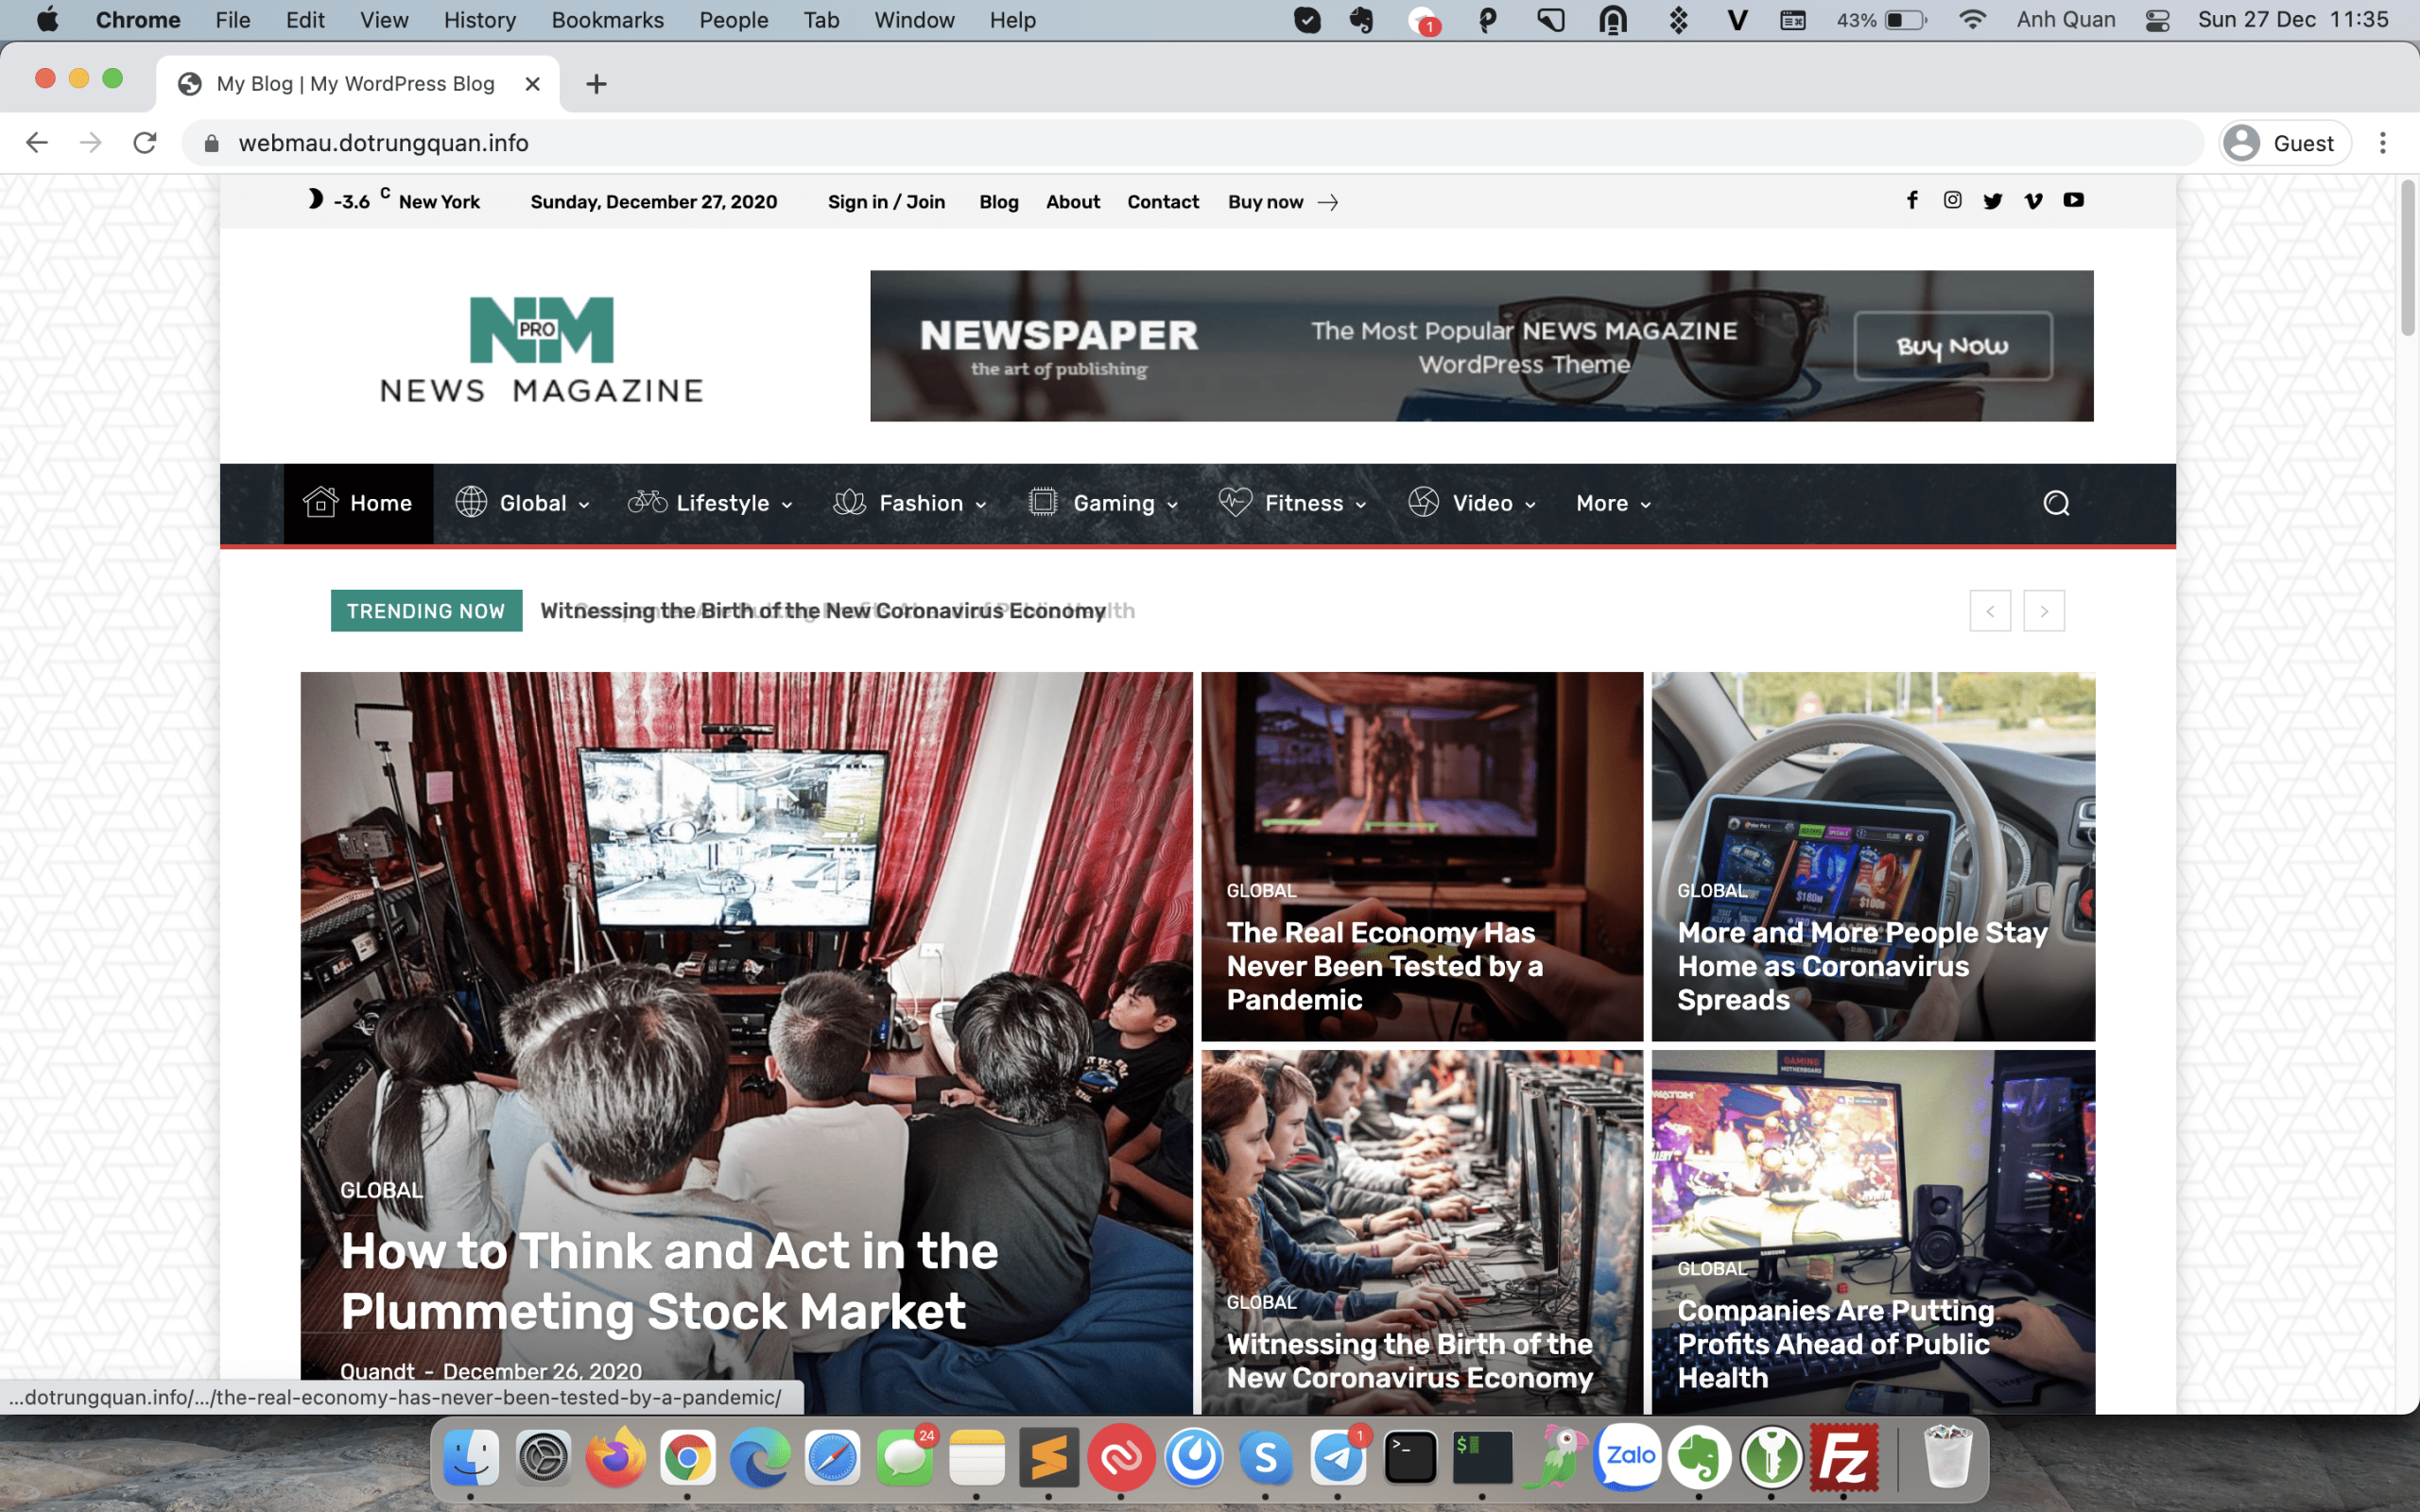
After successfully installing SSL, visit the website on your browser to check. If displaying the padlock icon as shown in the image below, it was successful.
Step 6: Enable Cache Configuration
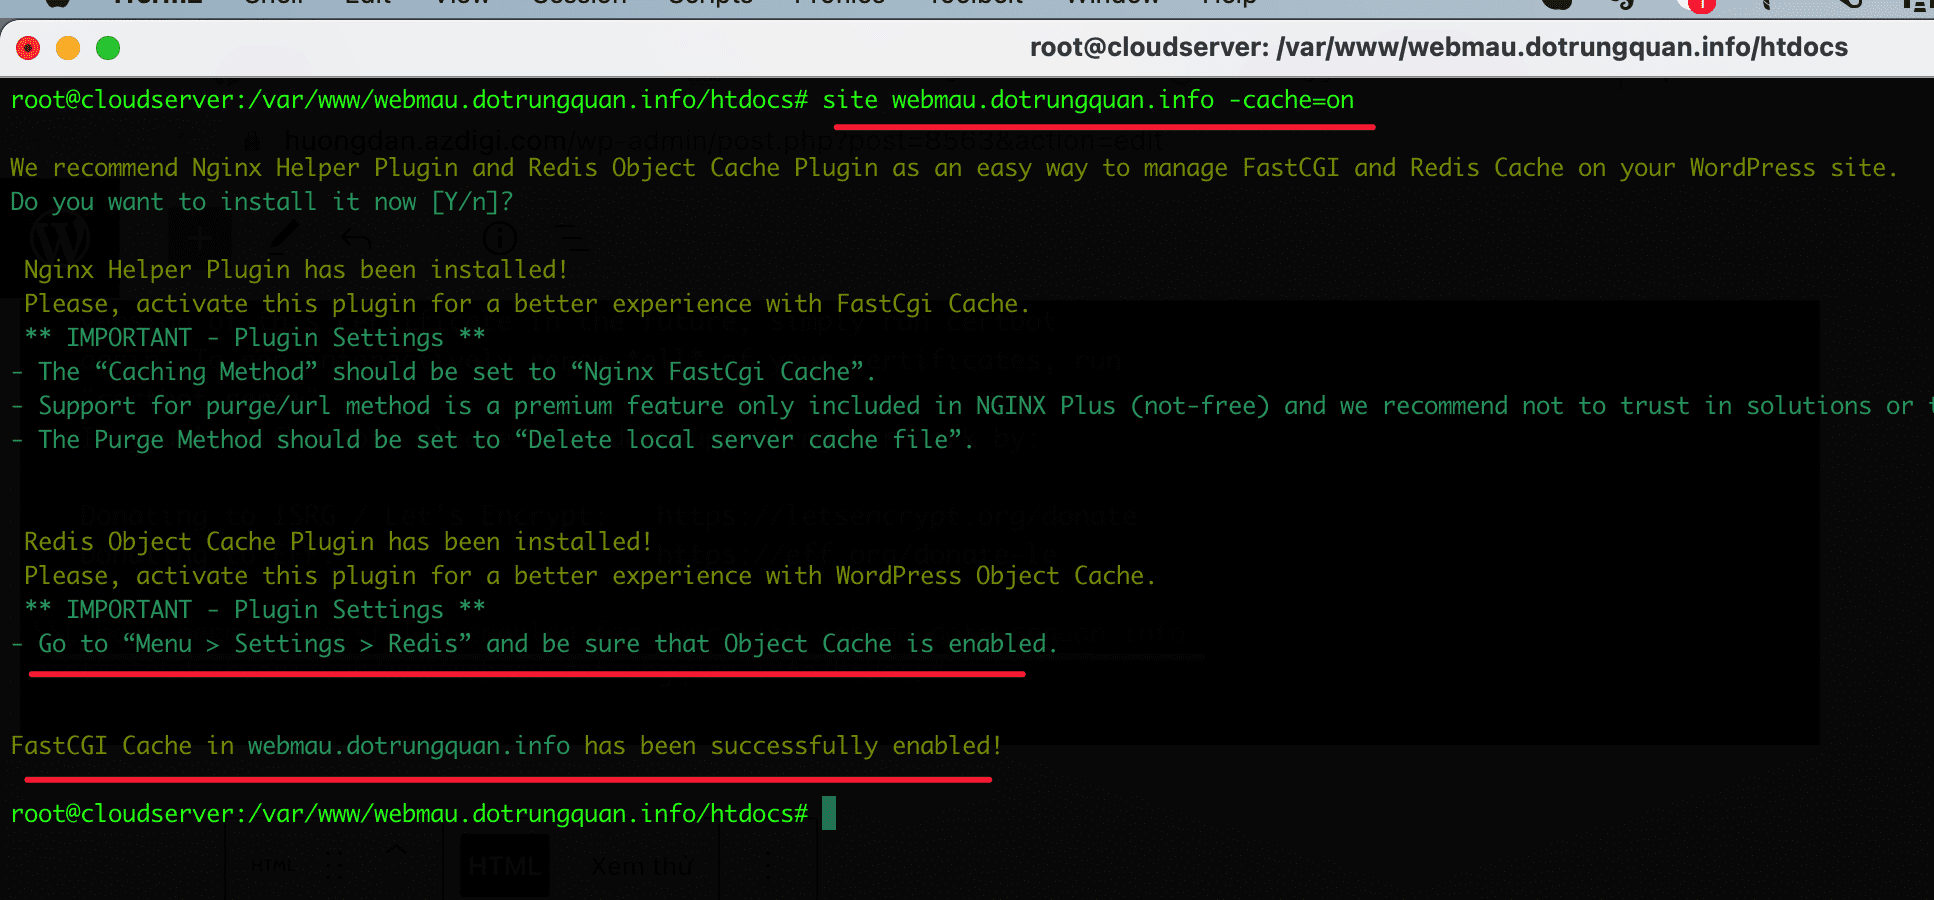
To enable Cache configuration, execute the following syntax. With this syntax, the system will enable FastCGI and install Object Cache for you.
site webmau.dotrungquan.info -cache=on
You can now access your website’s admin to set it up and customize it. But if you encounter a message that appears to enter user/password, you can turn it off with the following command: (this is not an error, but this is a protective feature that I mentioned in the introduction to Webinoly)
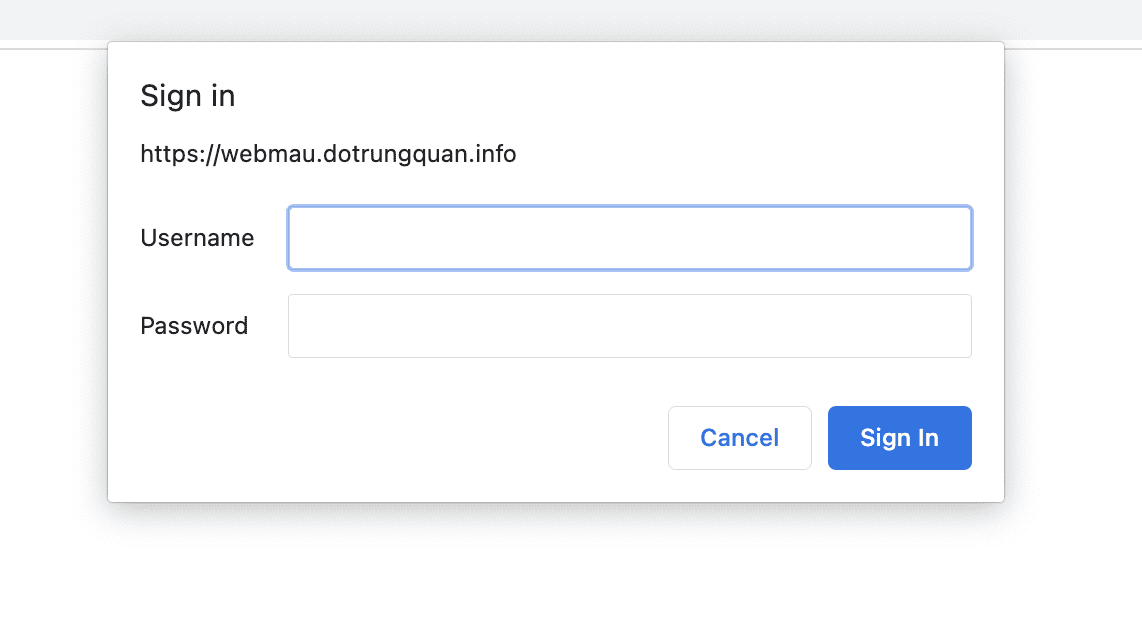
unzip ten_file.zip
sudo httpauth webmau.dotrungquan.info -wp-admin=off
After turning off HTTP verification, you can log in to the website admin.
III. Summary
Thus, AZDIGI has completed the tutorial on uploading the available source code to Webinoly. Hope this article is helpful to you, wish you success!
- How to install the Plugin on the WordPress website.
- How to install the Theme on the WordPress website.
Wishing you success!
If you need assistance, you can contact support in the ways below:
- Hotline 247: 028 888 24768 (Ext 0)
- Ticket/Email: You use the email to register for the service and send it directly to: support@azdigi.com .
About the author

Thạch Phạm
Đồng sáng lập và Giám đốc điều hành của AZDIGI. Có hơn 15 năm kinh nghiệm trong phổ biến kiến thức liên quan đến WordPress tại thachpham.com, phát triển website và phát triển hệ thống.