Installing Let’s Encrypt SSL on Zabbix with 3 simple steps.
Introduction
To continue the Series about Zabbix, AZDIGI will show you how to install Let’s Encrypt SSL for ServerName on Zabbix in today’s article. When accessing the Zabbix admin page, we receive a warning from the browser that the site is not secure, which somewhat makes the admin page look unprofessional and unsightly.
Therefore, AZDIGI will guide you in detail on installing Let’s Encrypt SSL for your ServerName Zabbix to look more professional. And the tool to support the installation of SSL Let’s Encrypt that I will use is Cerbot.
Implementation Guide
Step 1: Install snapd
- Install snapd
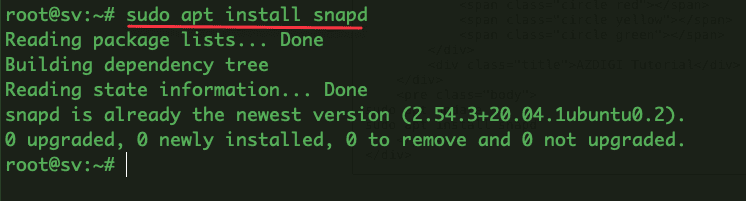
To install snapd, use the command below:
sudo apt update
sudo apt install snapd

- Check snapd operation
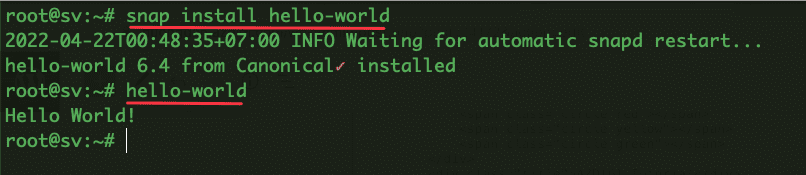
To check snapd is working, you can use the commands:
snap install hello-world
hello-world
- Check for snapd updates
To check snapd is working, you can use the commands:
sudo snap install core; sudo snap refresh core
Step 2: Install Cerbot
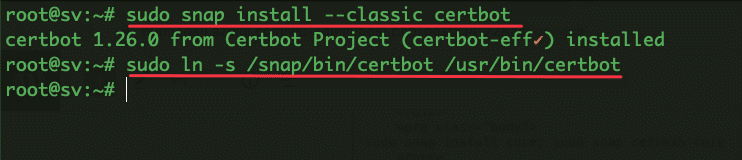
You can install Cerbot with the command below:
sudo snap install --classic certbot
sudo ln -s /snap/bin/certbot /usr/bin/certbot
Step 3: Install SSL certificate
To install SSL for ServerName Zabbix, you need to make sure that the Domain/Subdomain has been pointed to the server IP. After successfully pointing, you install SSL with the following command:
sudo certbot --apache
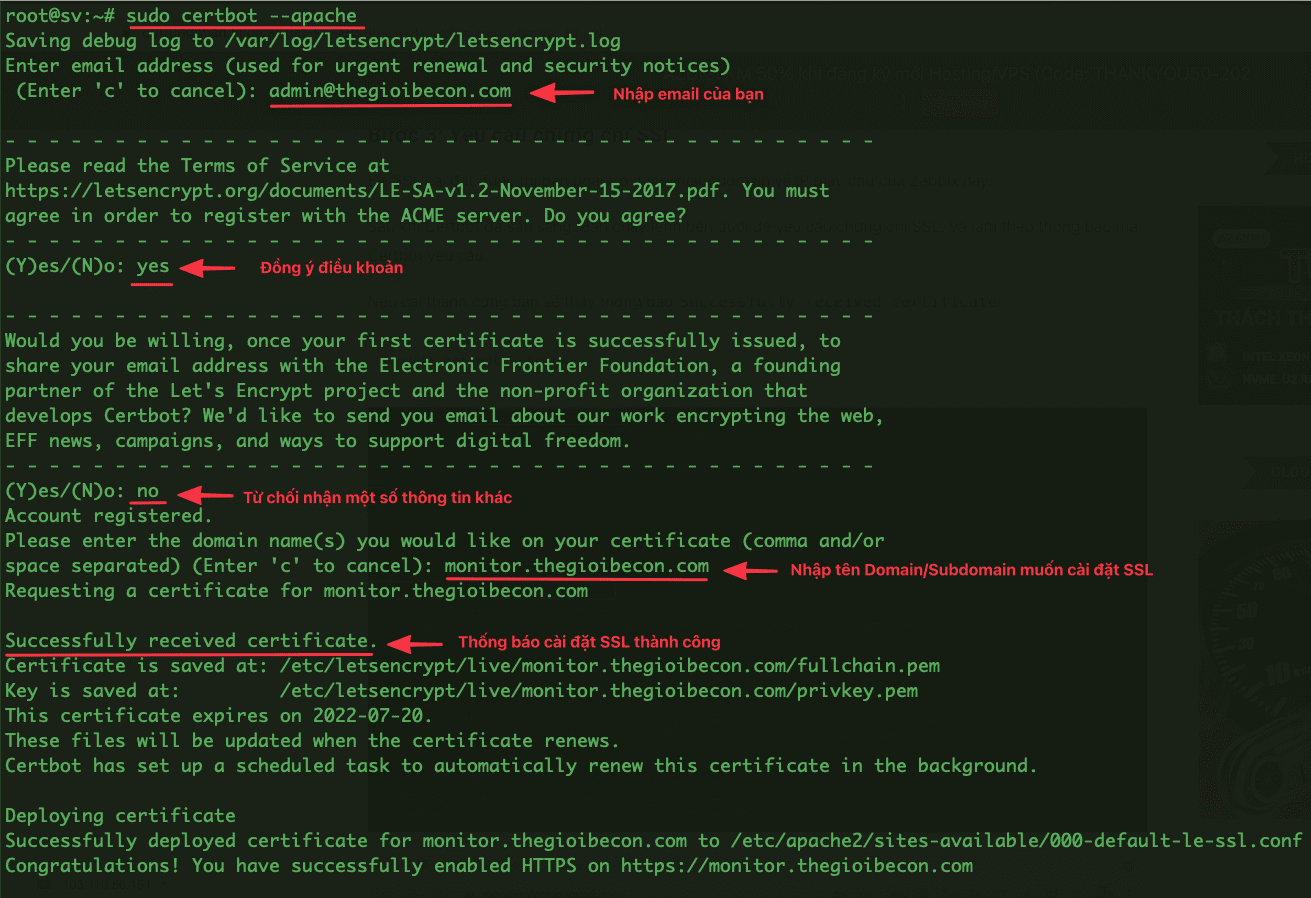
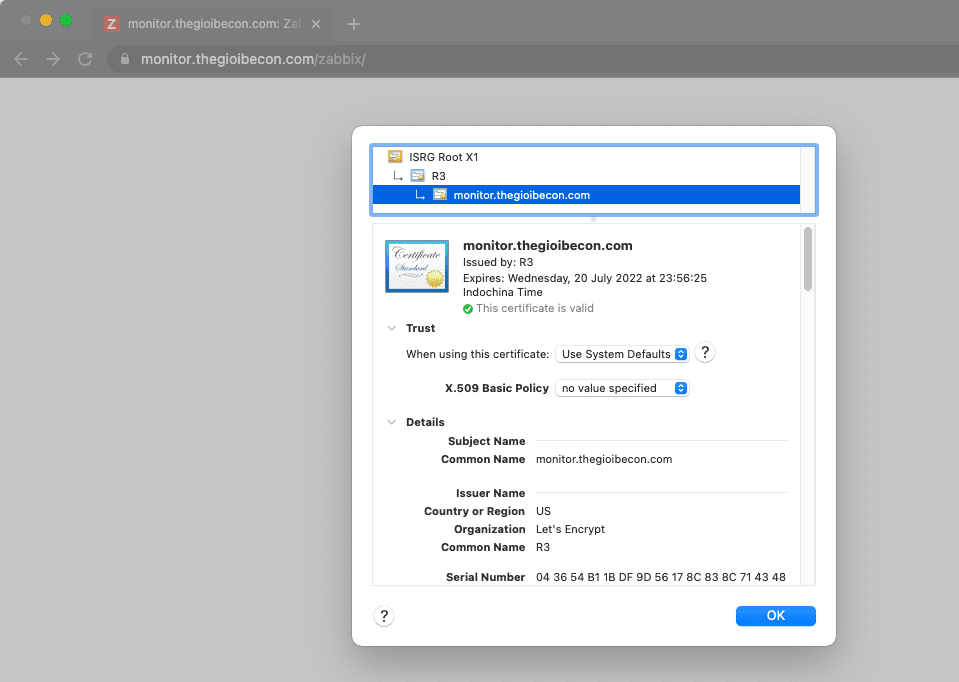
Now you access the browser to check the results.
Above are all the steps to install SSL Let’s Encrypt for ServerName on Zabbix. Hopefully, this article is helpful and helps you to install it successfully.
You can refer to other instructions at the link below:
If you need assistance, you can contact support in the ways below:
- Hotline 247: 028 888 24768 (Ext 0)
- Ticket/Email: You use the email to register for the service and send it directly to: support@azdigi.com .
You might also like
About the author

Thạch Phạm
Đồng sáng lập và Giám đốc điều hành của AZDIGI. Có hơn 15 năm kinh nghiệm trong phổ biến kiến thức liên quan đến WordPress tại thachpham.com, phát triển website và phát triển hệ thống.