
Duplicator – WordPress Migration Plugin is a powerful plugin that is widely used by the user community for website data transfer. In this article, AZDIGI will guide you to transfer data using this plugin.
Step 1: Install Duplicator Plugin and set it up

After installing, click Duplicator => Create New to create a new copy
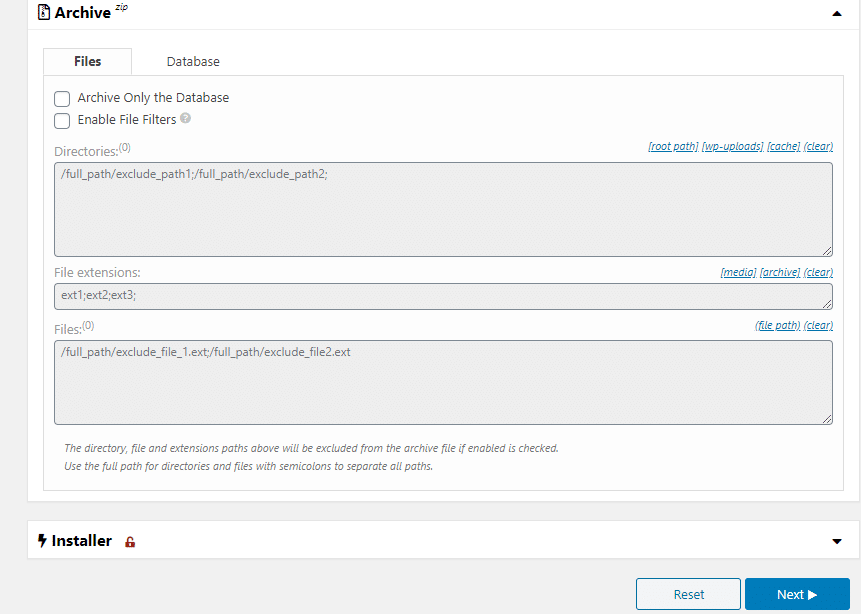
You leave the default and click Next to continue to the next step
After clicking Next, the plugin will scan your site
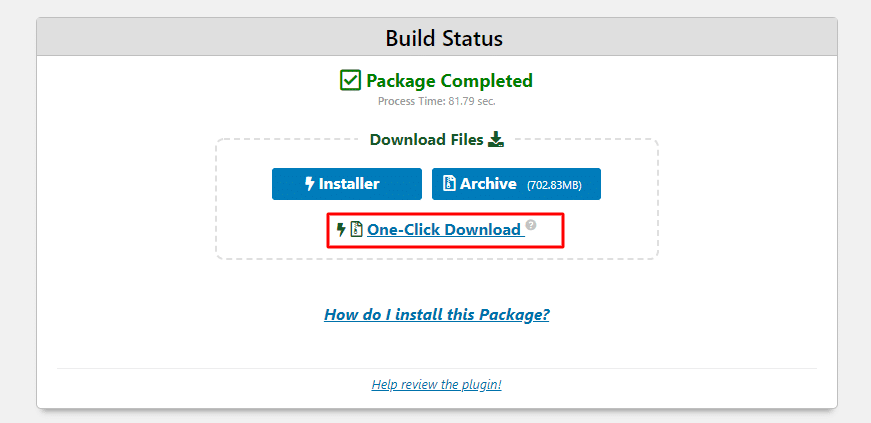
The plugin will notify Scan is complete and list out the list as below => click Build to start creating a copy

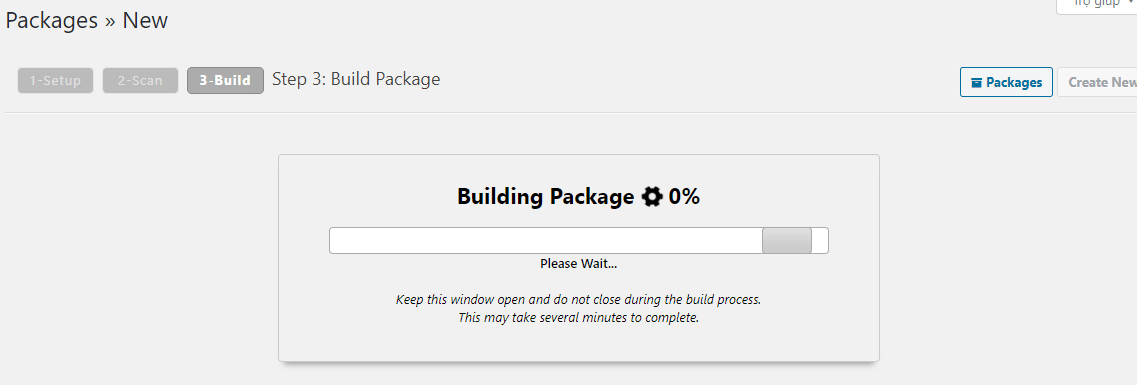
Depending on the size will determine the time to create a copy fast or slow.
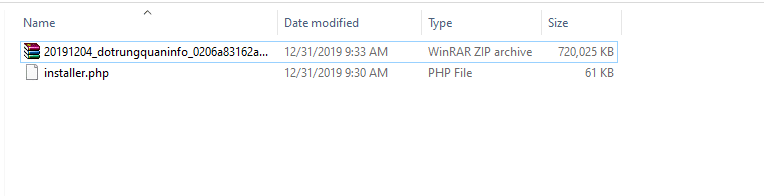
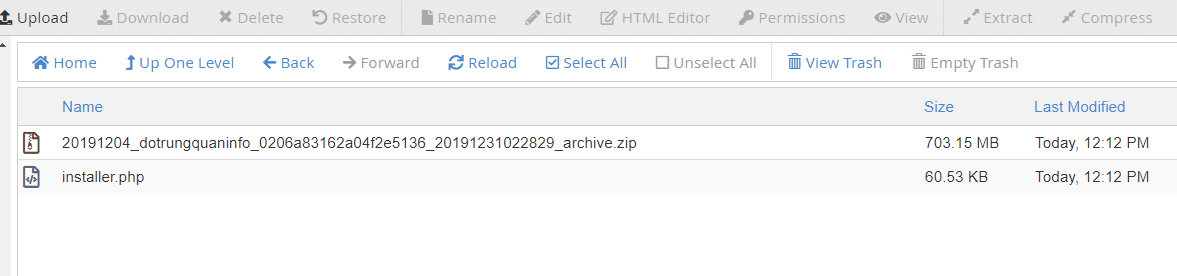
After creating, there will be 2 files below, including:
- The installer.php file
- The copy file has the format date_sitename_..zip
You download it to your computer to proceed to step 2.
Step 2: Restore the file
- Note: You need to correctly point the domain to the Hosting/VPS server IP to restore it!
In this step, you will extract the file that you created in step 1. First, you need to upload this file 2 to your hosting and put it on the website you need to do.
Next, you create a completely new database
Once created, you can access your website. Here I will install it on the website new.dotrungquan.info, I will access the installer.php file to make calls to the file.
new.dotrungquan.info/installer.php
Next, you tick the box I have read and accept all terms & notices and click Next

In the Setup section, you choose as follows:
- Action: Connect and Remove All Data
- Hosts: localhost
- Database: Enter the empty database name created earlier
- User: Enter the username created earlier
- Password: Enter the database password created earlier
The system will display a message board and you just click OK
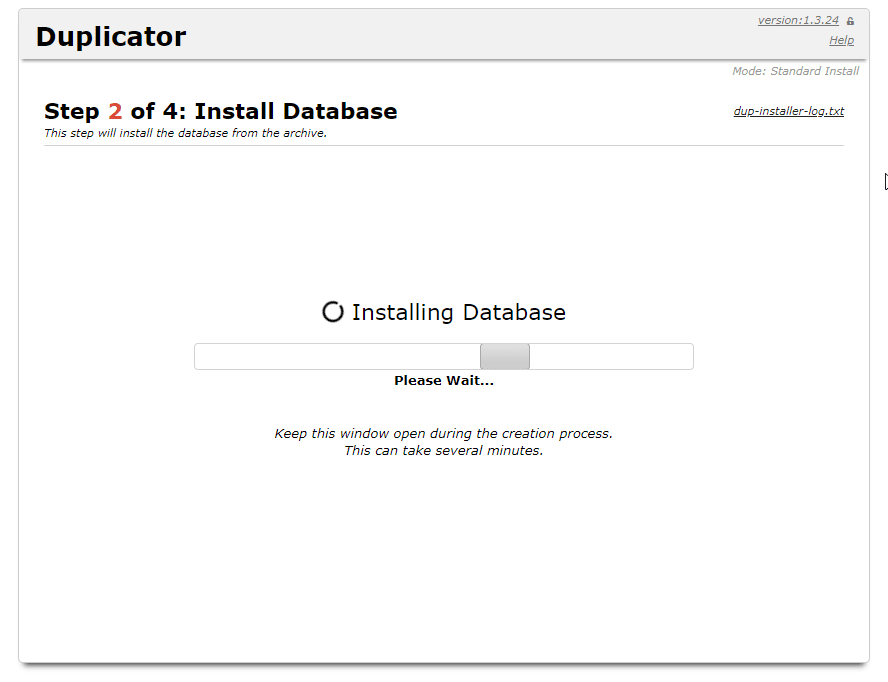
The system is starting to import the database
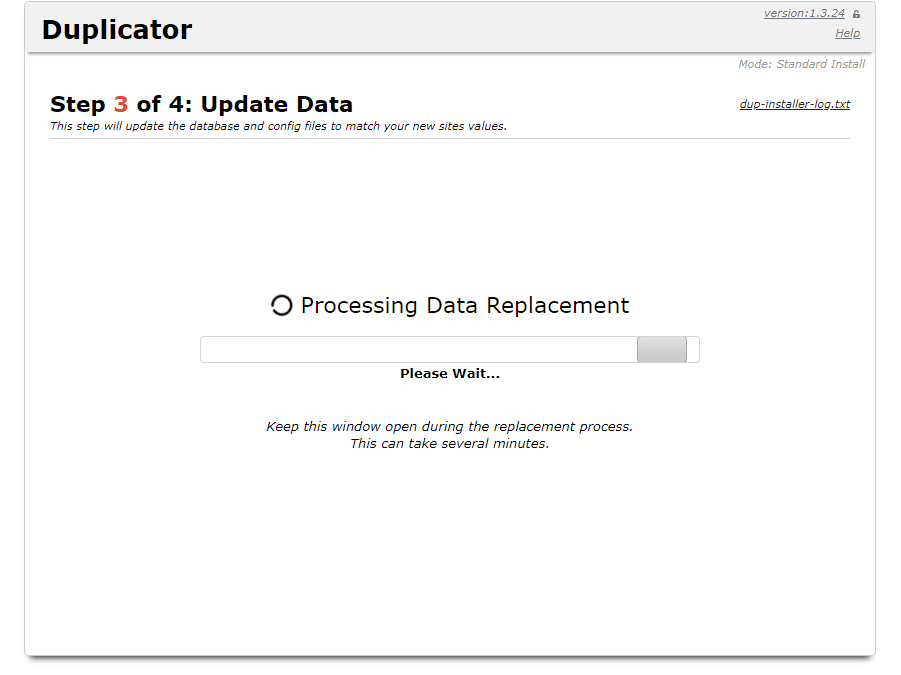
As shown below, you can customize Title and URL. If you do not want to change, you can click Next.

It will take a few minutes to complete
After receiving the message below, it is successful.
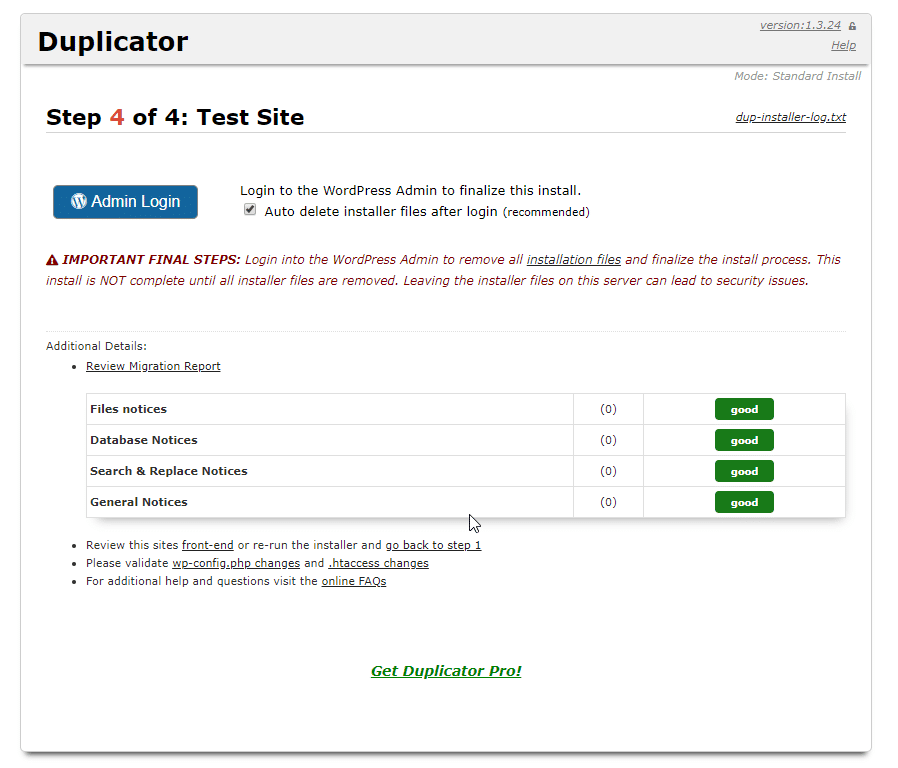
Now that you can access your website, all WordPress user/password information is still yours and has not changed at all.
You might also like
- How to transfer website data to HestiaCP
- How to transfer data from the UpdraftPlus Backup file
- Migrate WordPress website hosting with All in One WP Migration plugin
- Secure WordPress website with Wordfence plugin
- Backup/Restore website data with UpdraftPlus
- Top Best WordPress Website Security Plugins
About the author

Thạch Phạm
Đồng sáng lập và Giám đốc điều hành của AZDIGI. Có hơn 15 năm kinh nghiệm trong phổ biến kiến thức liên quan đến WordPress tại thachpham.com, phát triển website và phát triển hệ thống.