Nội dung
What is XML-RPC?
XML-RPC is to use WebService (soap) protocol that uses XML to encode and exchange data (Remote Procedure Call XML) and can support APIs of CMSs such as WordPress API, Blogger API, ..XML feature -RPC has been enabled by default in WordPress since WordPress version 3.5, and the main reason for this is to allow the WordPress mobile app to communicate with your WordPress website.
So why disable XML-RPC?
In general, XML-RPC has more disadvantages than advantages, enabling XML-RPC can lead to exposure of vulnerabilities inside your WordPress website, and thereby can become the target of hacker attacks through some basic attacks such as DDoS using XML-RPC pingback, Brute force using XML-RPC. Therefore, you should disable XML-RPC to increase the security of your website. By default, AZDIGI Hosting will disable XML-RPC, but some providers will not disable this feature, so you need to disable it manually in a few ways below.
How to disable XML-RPC on WordPress
Method 1: Disable XML-RPC with the plugin
To disable XML-RPC on your website, you just need to install the plugin that supports disabling XML-RPC, I will make an example with iThemes Security Plugin, this is a popular WordPress security plugin and the most used.
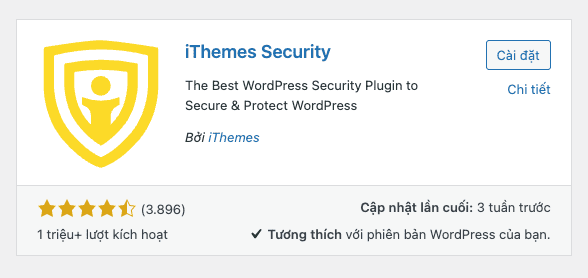
After installing the plugin, you activate it and access Security => Setting => Advanced => WORDPRESS TWEAKS. Next, choose the customization you need and click Save.
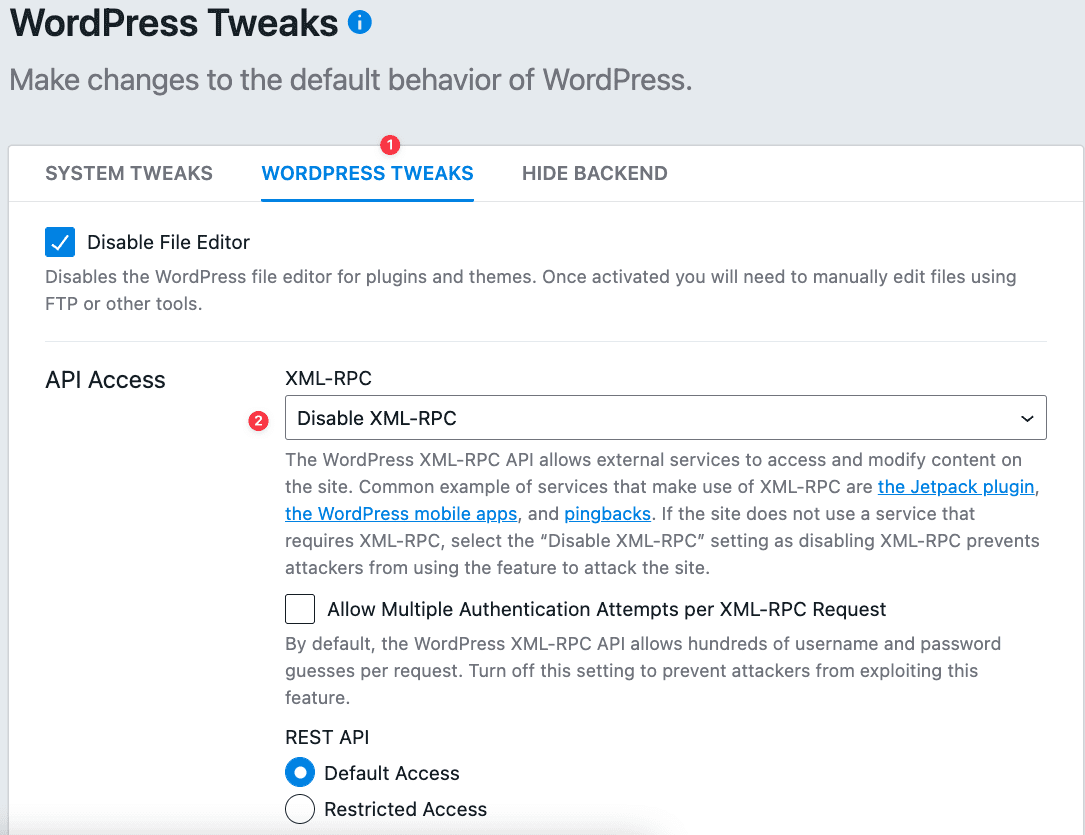
- Disable XML-RPC: XML-RPC is disabled, this option is recommended. If using Jetpack, WordPress Mobile apps, Pingback, and other services that use XML-RPC will not work.
- Disable Pingbacks: disable Pingback only. XML-RPC features are still working properly. This option enables Jetpack features or the WordPress Mobile app to work.
- Enable XML-RPC: XML-RPC is enabled. Only use this option if the website is forced to use XML-RPC.
Method 2: Disable XML-RPC with .htaccess file
To disable XML-RPC with the .htaccess file, you need to access the Host/VPS containing your website, then you access the root directory of the website, and choose to edit the .htaccess file.
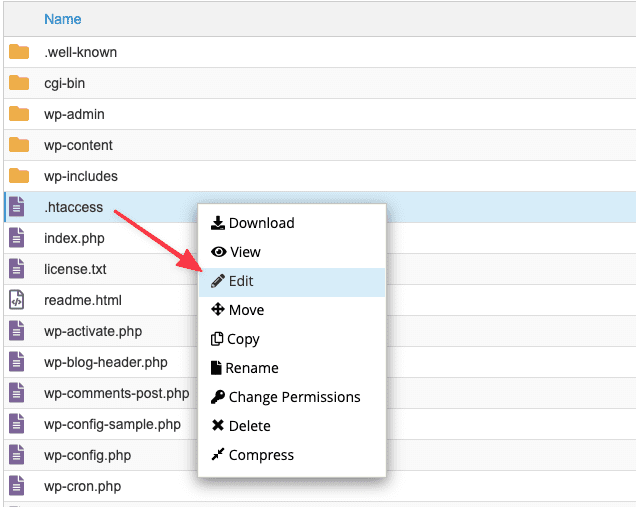
Next, you need to add the code below:
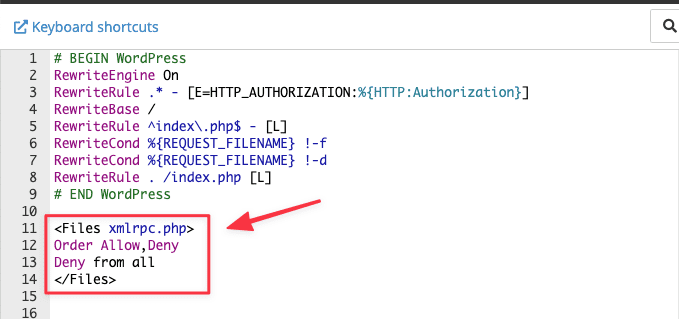
<Files xmlrpc.php>
Order Allow,Deny
Deny from all
</Files>
The structure when inserted will be as shown, click Save to apply the configuration.
Check the results
After you have configured ways 1 or 2, you can quickly check whether XML-RPC on the website has been successfully disabled by accessing the following syntax: https://yourdomain.com/xmlrpc .php, and the results you can distinguish according to the image below:
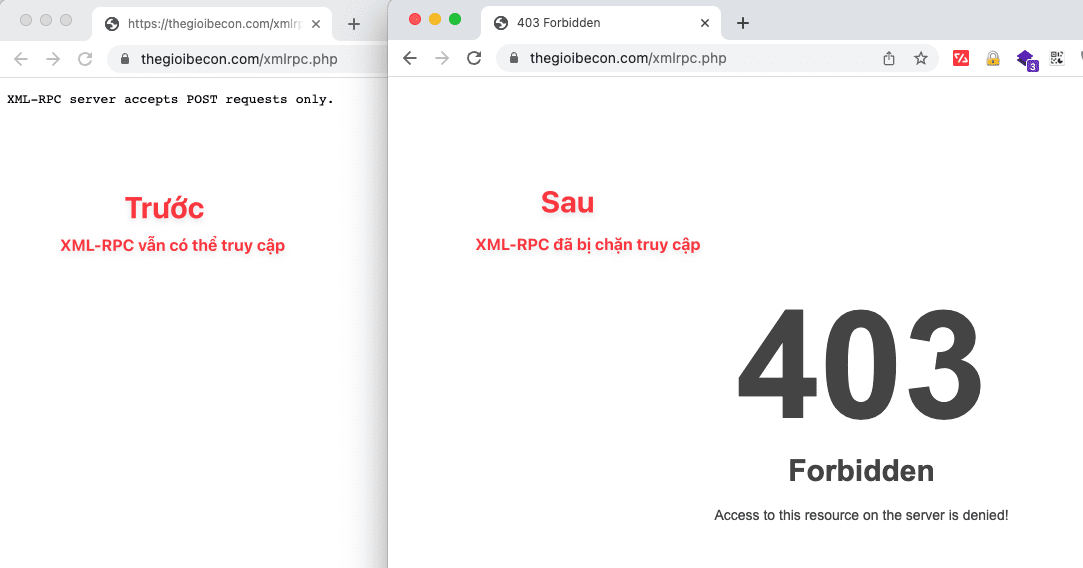
Above are some methods of disabling XML-RPC on the WordPress website that you can refer to and follow. Hope the article will help increase the security of your website.

