Step 1: Login to Zimbra Mail Server admin
You access the following information to access the mail administration
- https://mail.tenmiencuarban:7071/
- https://you-ip-server:7071/
Step 2: Create an account
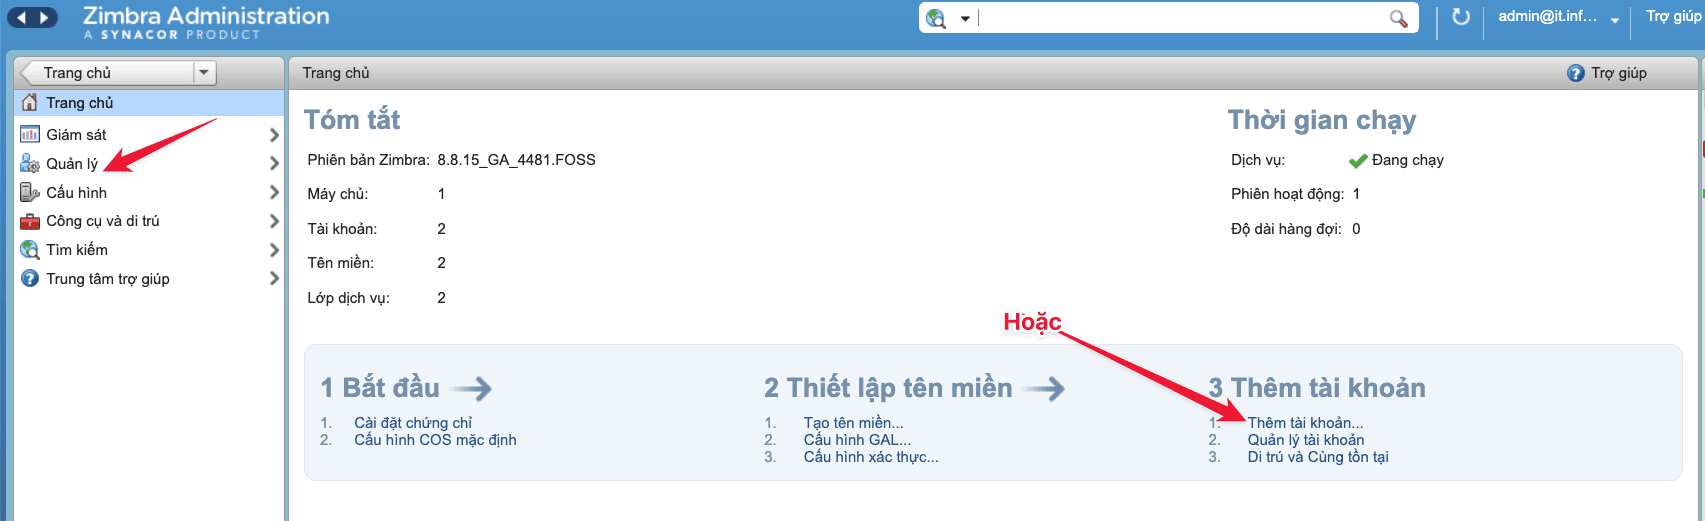
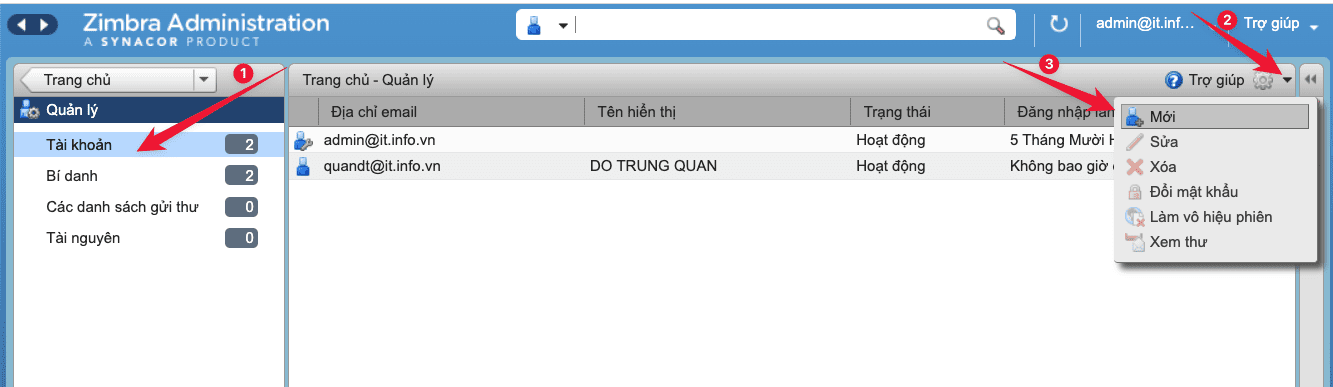
You select the item Manage (Manage) to start creating a new account

Then select Account (Account) => New (New)
In this section, the following lists will be set up, you do the following respectively
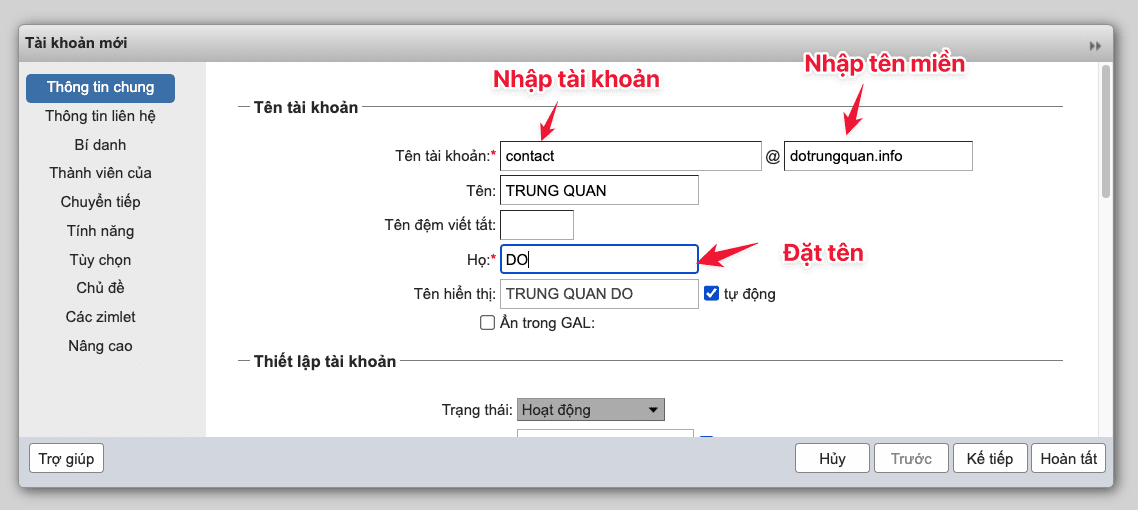
1. General Information tab (General Information)
Note: Fields marked ( * ) are required fields
Here you enter the information for the account including
- Account name: The email account you want to create
- After @: Enter the domain name to create for the account
Then you scroll down and enter the following information:
- Status (Status): Active
- Password: Enter the password for the email account
- Must change password: If you want users to change their password after logging in, check this option.
Note: The generated password needs to be difficult (over 10 characters, with lowercase letters, uppercase letters, numbers, special characters). Using a password that is too easy will cause an error message and is also less secure.

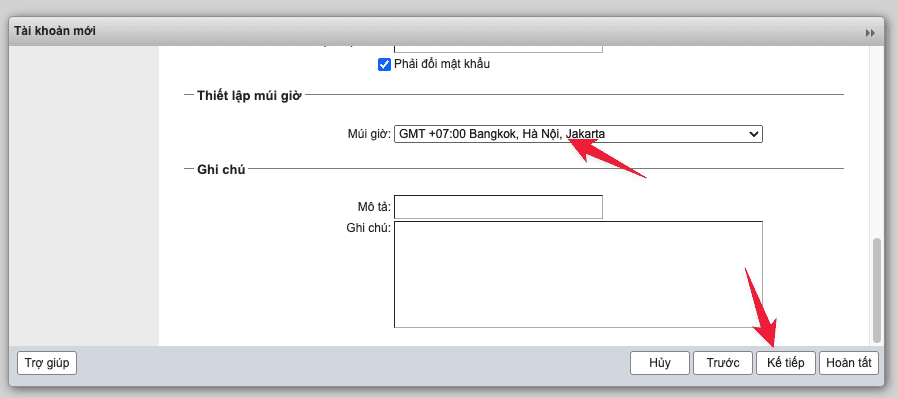
Scroll down, select the time zone for your account and select Next.
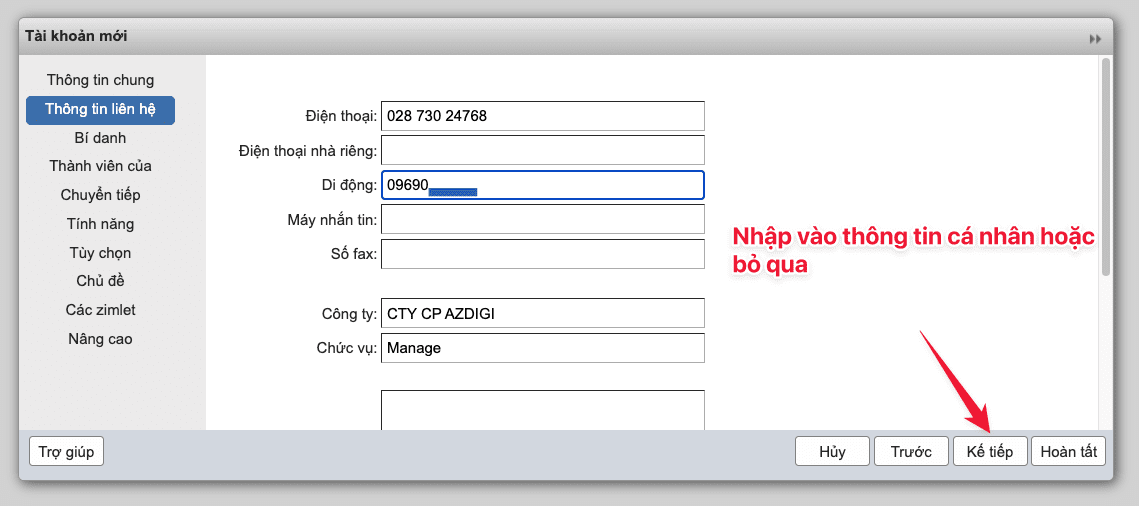
2. Tab Contact Information (Contact Information)
At this tab, you put in your personal information for the account, you can choose Next to skip
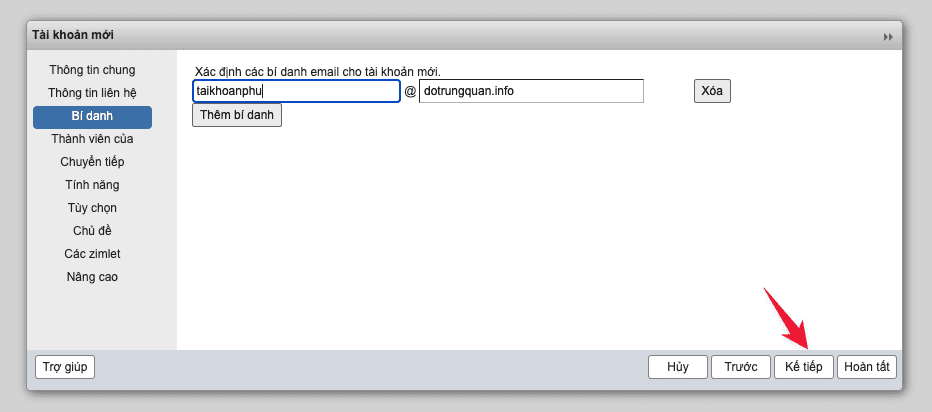
3. Aliases Tab
Alias is an alias account, which can simply be understood as a sub-account for the main account. Email alias uses the same mail storage folder with the main email address, so mail sent from outside to the alias email address will also go to the mailbox of the main email address. And you can choose Next to skip
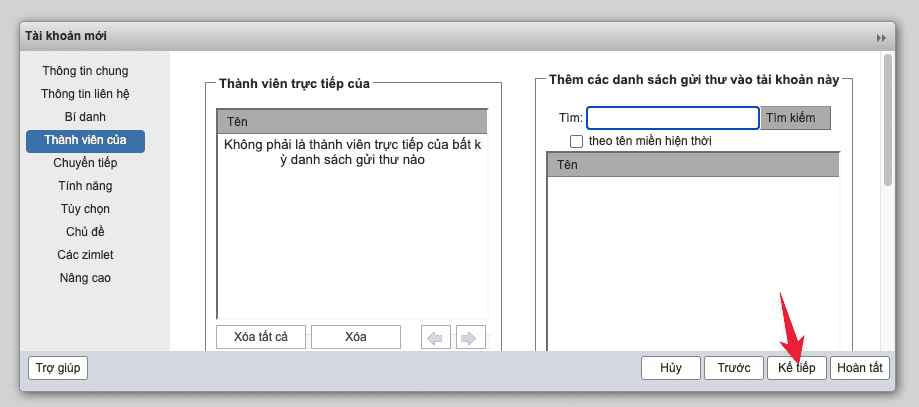
4. Tab Members of (Member Of)
You can select Next to skip
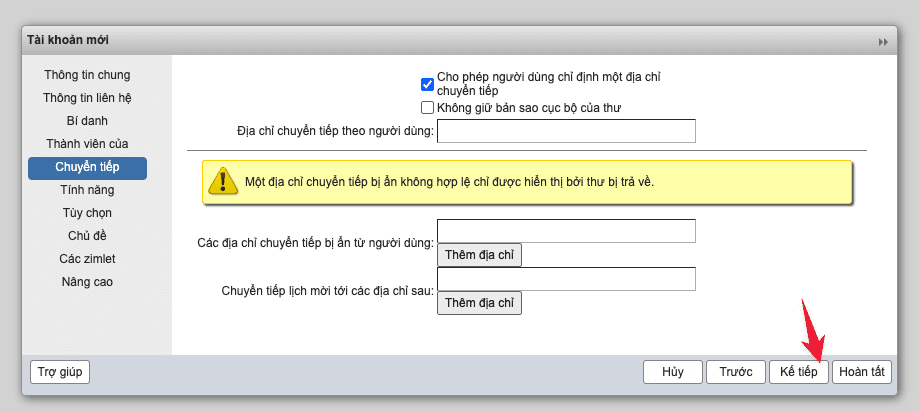
5. Forwarding Tab
You can select Next to skip
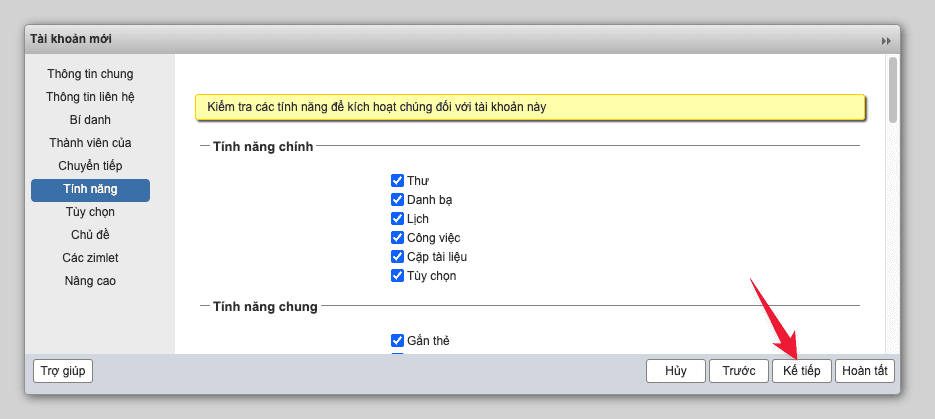
6. Tab Features (Features)
You choose to limit the features to the account. You can choose Next to default
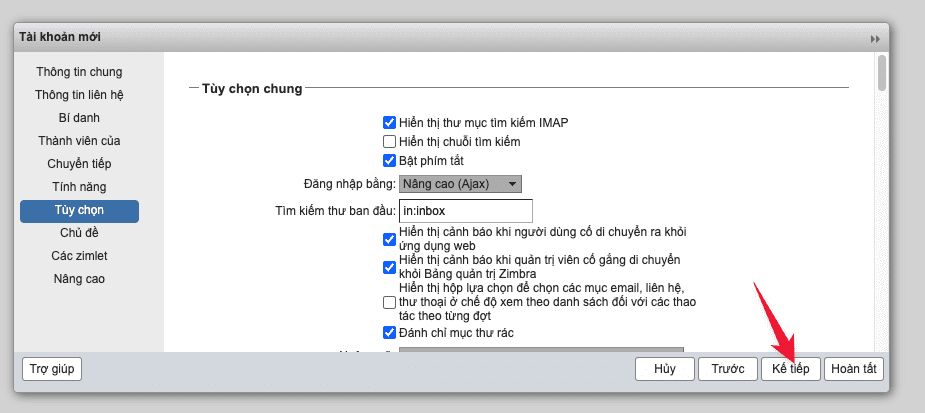
7. Preferences tab (Preferences)
You can choose Next to default
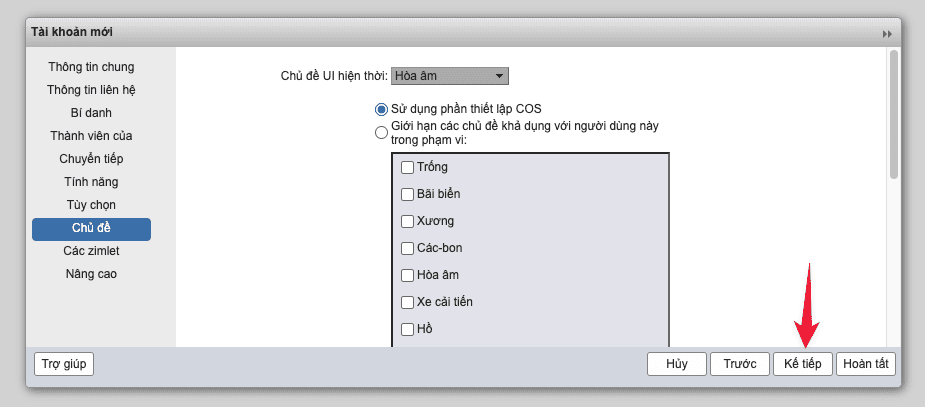
8. Themes Tab (Themes)
You can choose Next to default
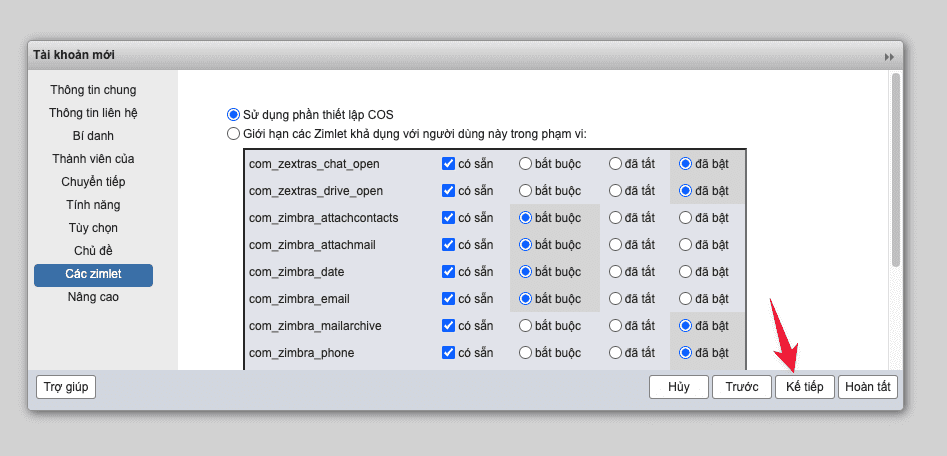
9.Zimlets Tab
You can choose Next to default
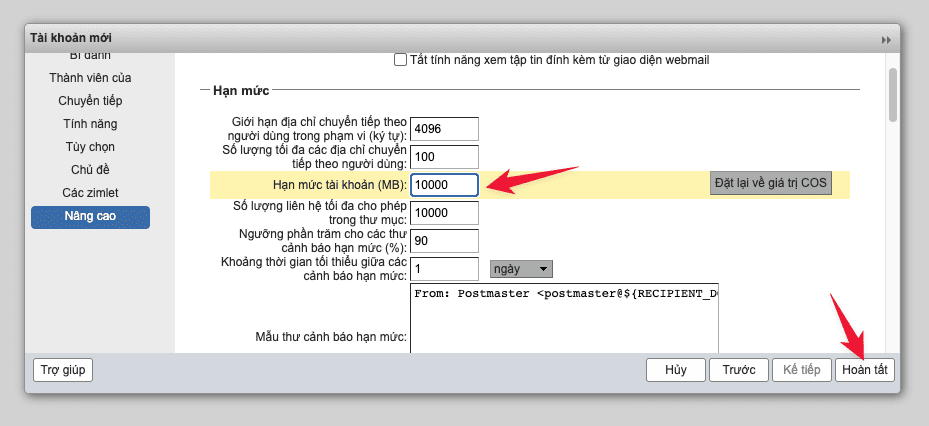
10. Advanced Tab (Advanced)
In this tab, you note the line Account Limit (MB), ie the capacity limit for the mail account. By default, it will be unlimited, and you set the limit for the account. And finally, select Done.
After creating, you will see the newly created account in the picture.

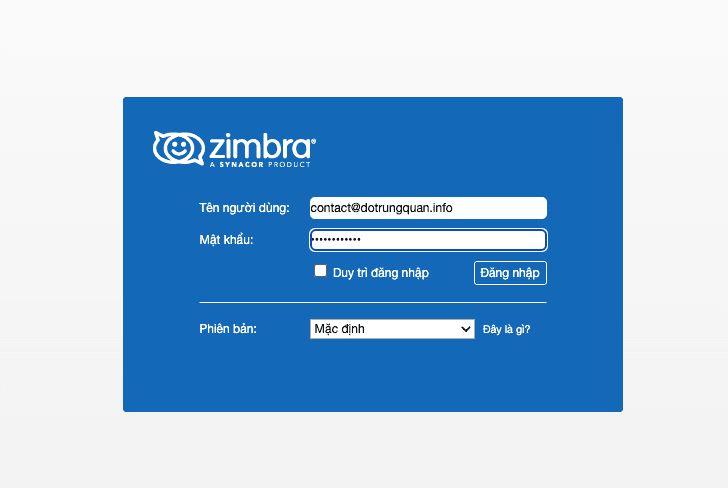
Step 3: Log in to your email account
You access the following link to login to the user page
- https://mail.domain/
- https://your-ip-server:8443/
Then enter your account .
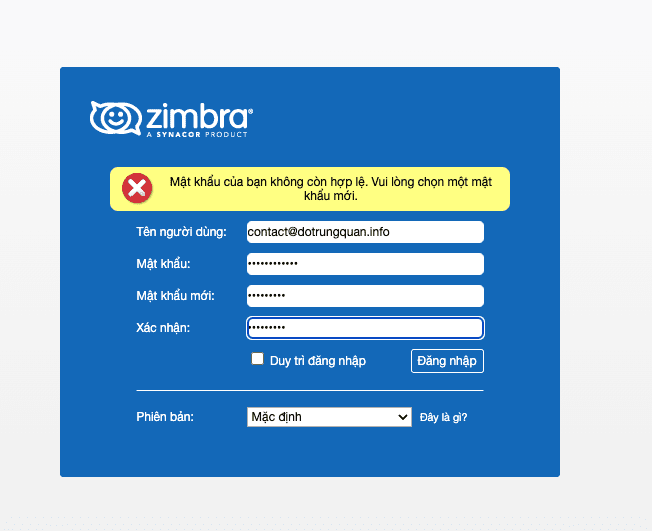
A message is asking to change the new password. You enter the old password and the password you need to change
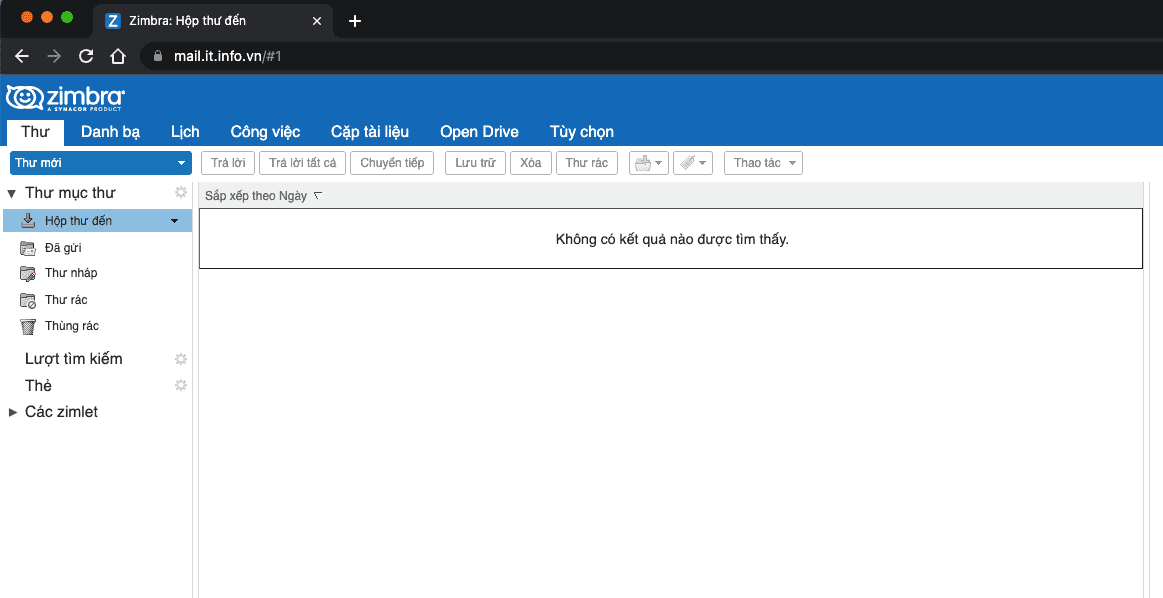
And then login to use mail.
If you have questions or need technical support. Please contact the Technical Department using the information below.
Technical Department contact information
- Hotline 247: 028 888 24768 (Ext 0)
- Ticket/Email: You use the email to register for the service and send it directly to: support@azdigi.com .
You might also like
About the author

Thạch Phạm
Đồng sáng lập và Giám đốc điều hành của AZDIGI. Có hơn 15 năm kinh nghiệm trong phổ biến kiến thức liên quan đến WordPress tại thachpham.com, phát triển website và phát triển hệ thống.