Today AZDIGI will guide you to install DirectAdmin on your VPS/Server. In my personal opinion, I find DirectAdmin to be a perfect Control Panel with low maintenance costs, an operation that does not take up a lot of resources and is suitable for running small and medium systems.
What is DirectAdmin?
DirectAdmin is one of many control panels (also known as Control Panels) for Web Hosting administrators with a lot of features from basic to advanced that you need to use. DirectAdmin (DA) is a copyrighted Web Hosting administration tool and there is no free version and is released by JBMC Software. Well compatible with the following operating systems:
- CloudLinux
- RedHat Enterprise / CentOS
- Debian
- FreeBSD
- Ubuntu (Using the 64-bit version of Ubuntu)
System requirements and license
Although DirectAdmin uses very few resources, DirectAdmin also recommends that we use a processor of at least 500 Mhz and as many cores as possible. Minimum 1GB RAM required (Preferably 2GB RAM or more), at least 2GB SWAP. Only systems using CentOS 8 operating system will need at least 2GB of RAM (It is best to use 4GB of RAM or more).
Hard drive with at least 2 Gigabytes of free space after the operating system is installed. In case your traffic is high, you may need to upgrade more CPU and RAM accordingly. All Intel and AMD CPU series will work fine, but Solaris/Sparc CPU will not work.
And most importantly, you need to have DirectAdmin license before installing. You can buy a DirectAdmin license at AZDIGI and can use it immediately after payment.
Note: Please do not install services like Apache, PHP, MySQL, Ftp, Sendmail, etc., because during installation Directadmin will do this for you. All DirectAdmin needs is a VPS/Server with a fresh install of the operating system.
DirectAdmin should not be installed on the currently running system, DirectAdmin will not preserve data if you overwrite it.
How to install DirectAdmin on the server
In this article, I will use a VPS running CentOS 7 and have a 5-core CPU and 8GB of RAM.
To install DirectAdmin you need the root information of the VPS/Server and the SSH service must be active to be able to use the installation commands. By default, VPS at AZDIGI can SSH be installed after installation. You can refer to the following guide if you do not know how to SSH:
Note: To install you need to register a DirectAdmin license for IP to be able to install. Otherwise, you will get the following error when installing: Image link
In case you want to reinstall your VPS to use DirectAdmin, you can refer to the following instructions to restore VPS to a state like the newly registered one:
Step 1: Update the OS version to the latest version
First, before installing DirectAdmin, you need to update the operating system to the latest version so that everything works smoothly during the installation.
To update CentOS 7, you use the following command:
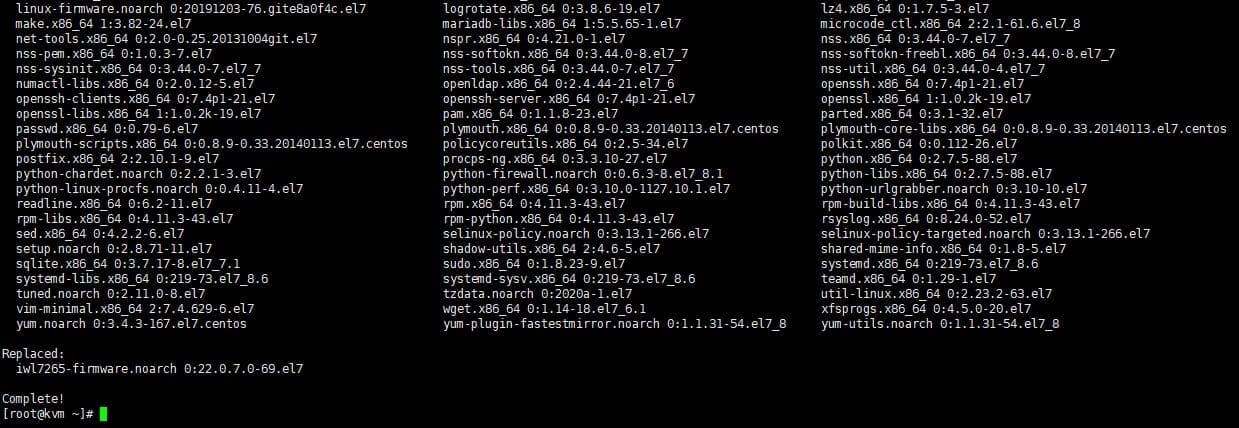
yum update -y
After the update process is complete and displayed as shown below, we use the reboot command to restart the VPS/Server and start the installation process in step 2.
Step 2: Start Installing DirectAdmin
At this step, we use the following commands to make the installation process take place:
wget -O setup.sh https://www.directadmin.com/setup.sh
chmod 755 setup.sh
./setup.sh auto
Explanation of the above commands:
- Download the installation file
- Authorize the downloaded installation file
- Execute the installation file
The installation process takes fast or slow depending on the international connection and the performance of your VPS/Server. Usually, the fastest will be 30 minutes.
After the installation is successful, you will receive the following important information:
- Admin username: admin
- Admin password: ●●●●●●●●●
- Admin email: admin@ hostname
- To log in now, follow this link: http://IP:2222
Below is an illustration:
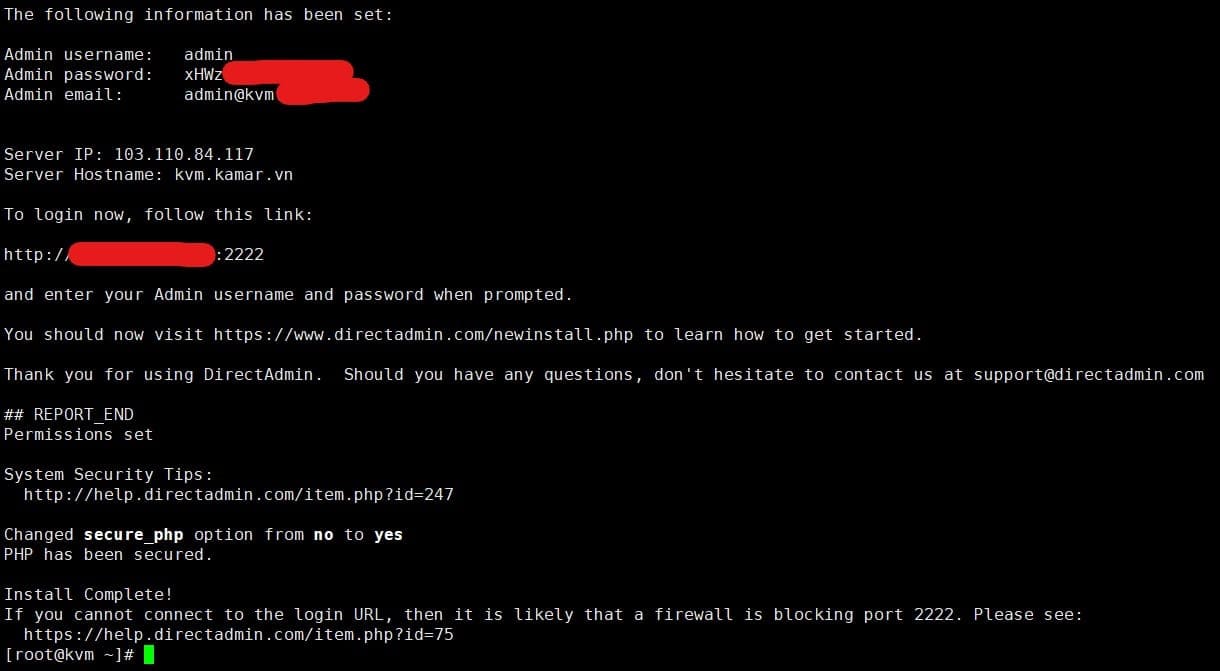
So the DirectAdmin installation is complete, you can access your DirectAdmin admin path: http://IP:2222. However, you need to activate your DirectAdmin license in step 3.
Step 3: Activate DirectAdmin
To activate DirectAdmin you just need to have this UID, LID and license match your VPS/Server IP. To enable we use the following 3 commands:
cd /usr/local/directadmin/scripts
./getLicense.sh UID LID
service directadmin restart
You need to change the UID and LID to the number that matches your DirectAdmin license.
Summary
So you have completed the installation of DirectAdmin on your VPS/Server with just 3 simple steps. In the process of using it, you may encounter some problems or want to add new features, you can refer to the following DirectAdmin category:
If you find this DirectAdmin installation guide useful, please send it to others for reference.
Reference article: DirectAdmin Installation Guide
- Hotline 247: 028 888 24768 (Ext 0)
- Ticket/Email: You can use your email to register for the service and send it directly to: support@azdigi.com
About the author

Thạch Phạm
Đồng sáng lập và Giám đốc điều hành của AZDIGI. Có hơn 15 năm kinh nghiệm trong phổ biến kiến thức liên quan đến WordPress tại thachpham.com, phát triển website và phát triển hệ thống.