Configuring SSH Two Factor Authentication on Ubuntu 22.04 with 3 steps.
Introduction
With SSH Two Factor Authentication, users can increase the security of their servers from the risk of attacks via SSH protocol. And in this article, AZDIGI will guide you on how to install Google Authenticator and configure Two Factor Authentication when SSH into a system using Ubuntu 22.04.
Implementation Guide
Step 1: Install and Configure Google Authenticator
- To install Google Authenticator, go to your Ubuntu 22.04 server and run the command:
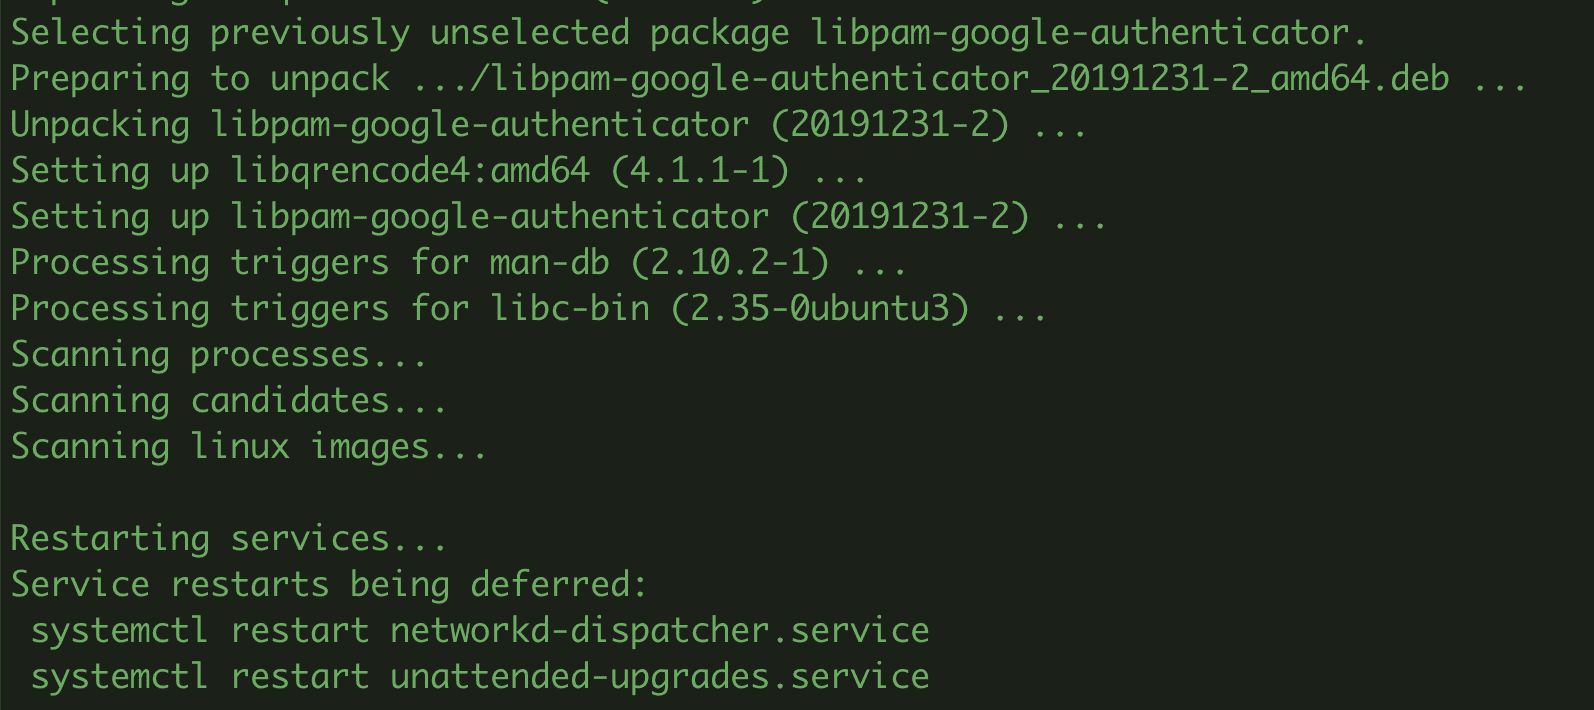
sudo apt install libpam-google-authenticator -y

- Generate security code
To generate a security key, you enter the following command:
google-authenticator
After running the above command, the system will display a link and QR code as shown below:
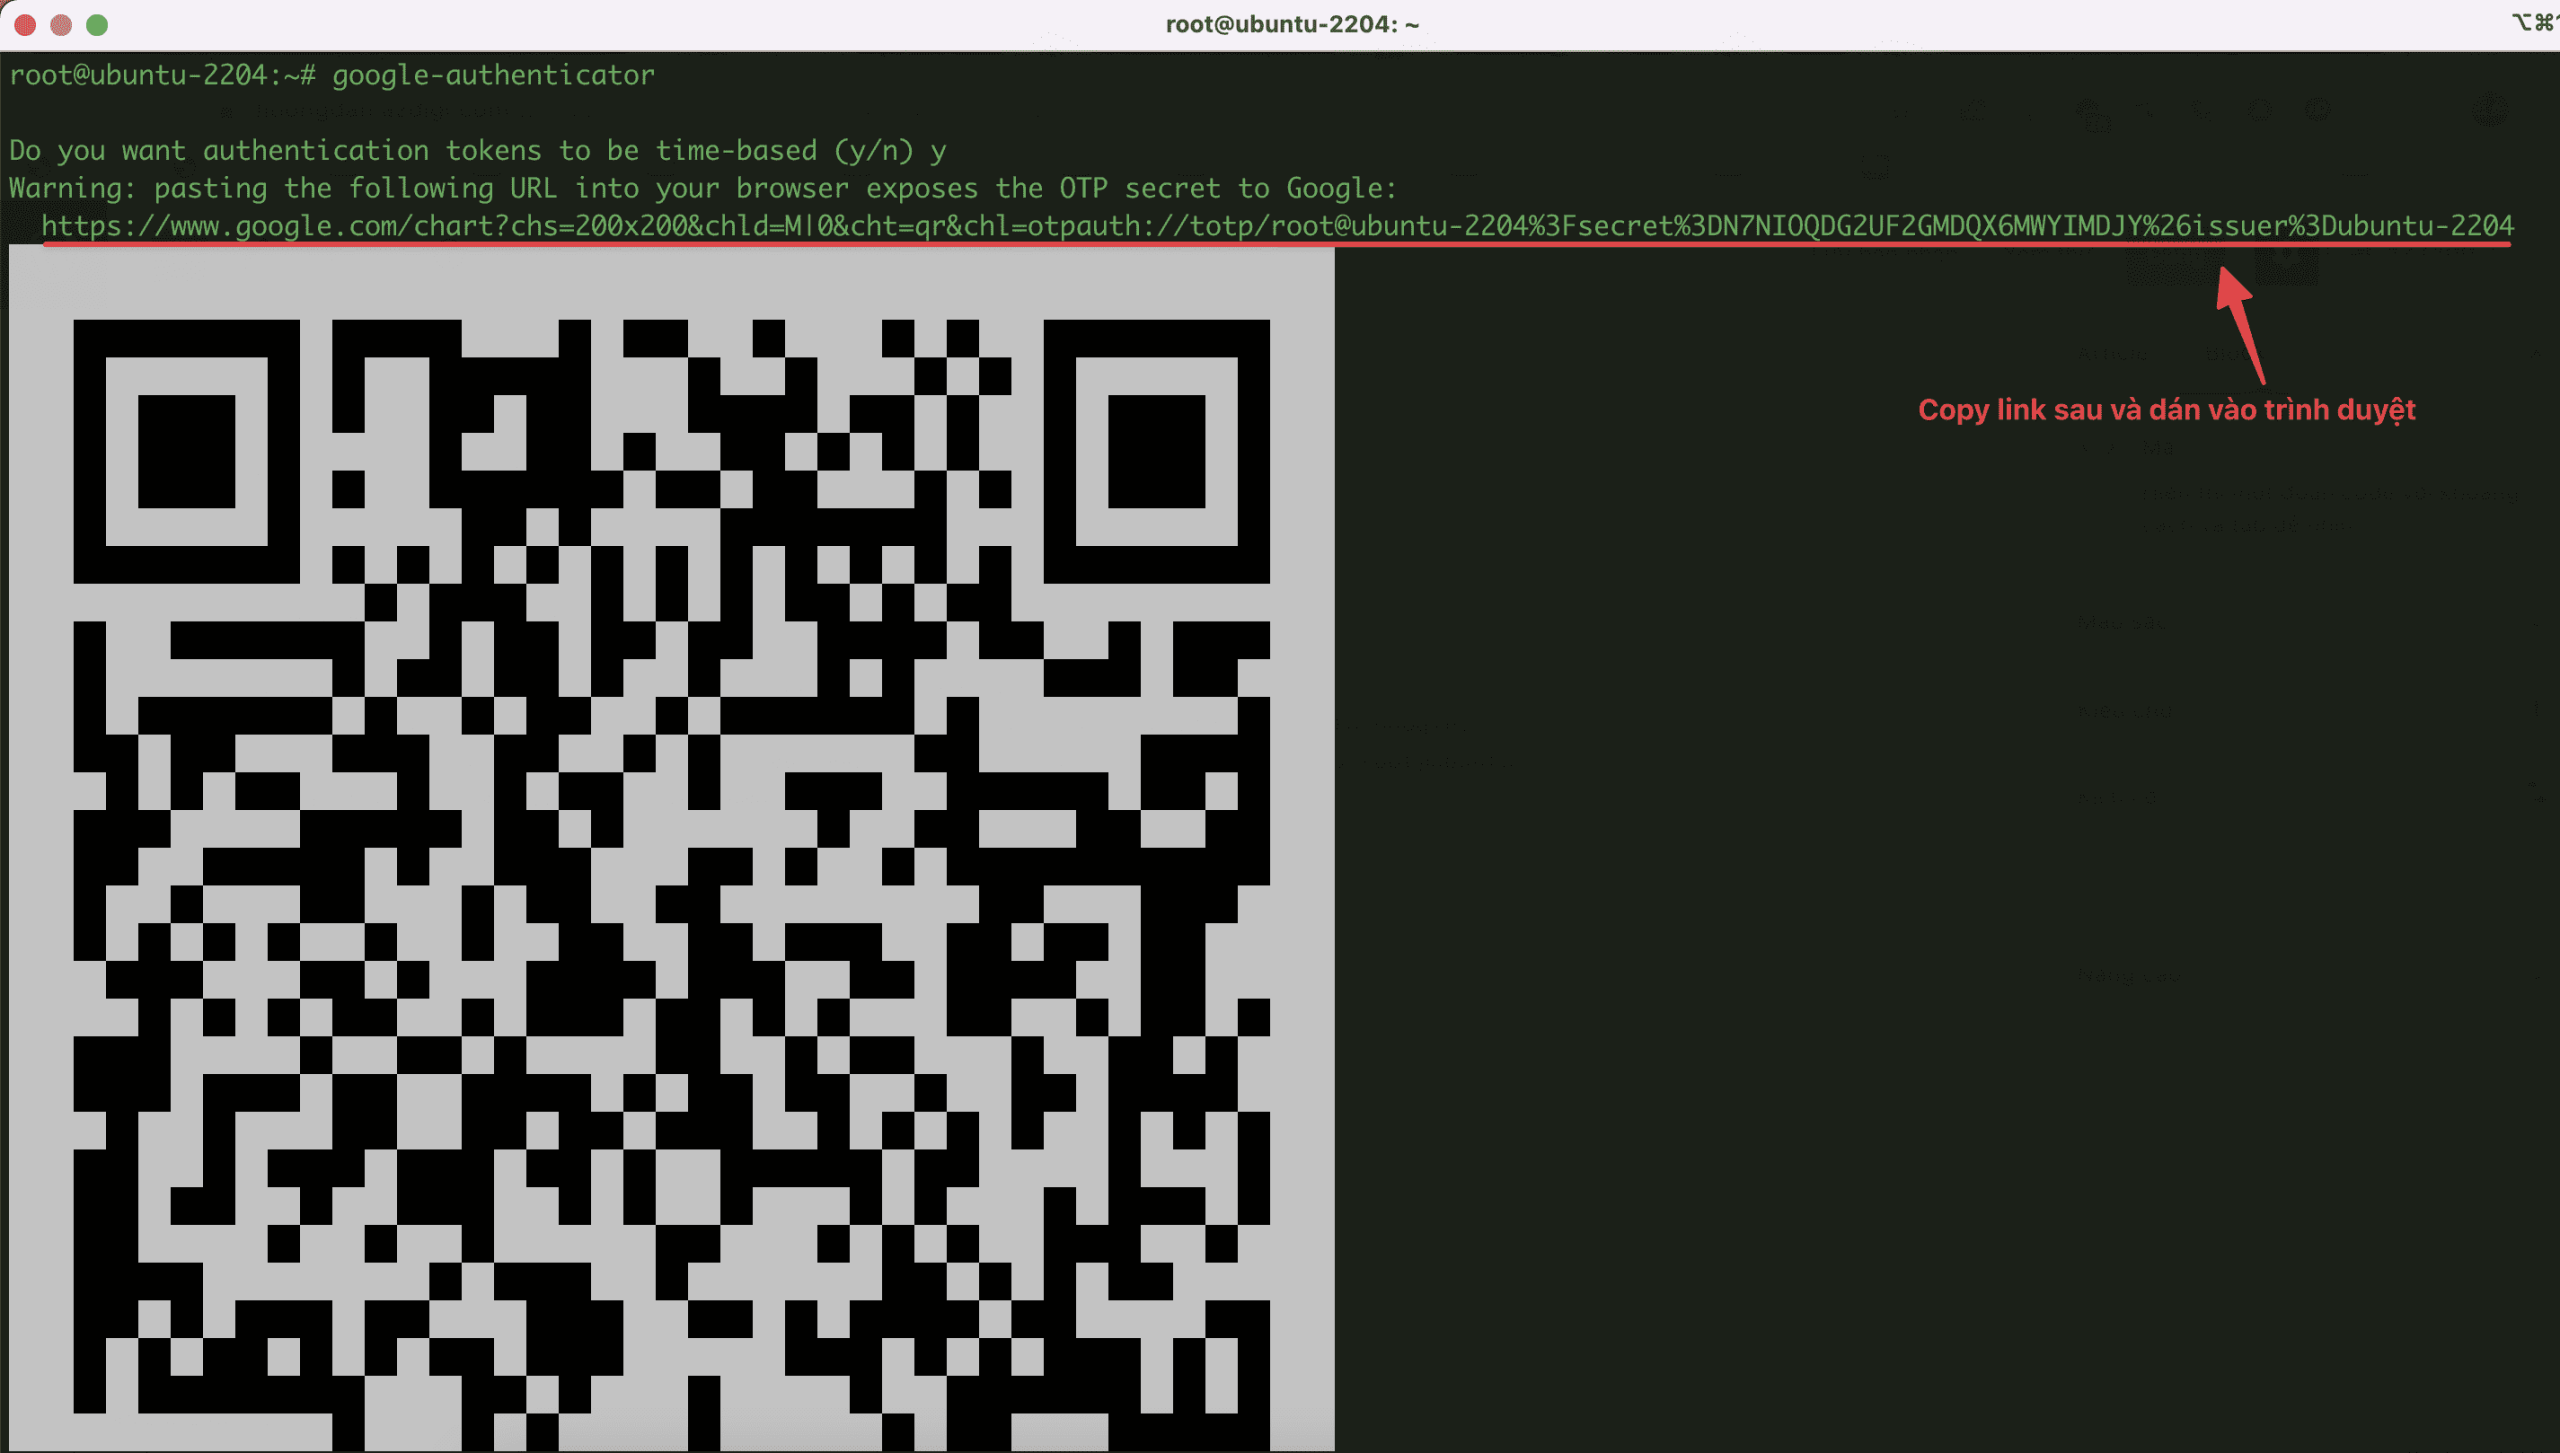
If the QR code image is too large, you can copy the link and paste it into the browser to show the QR code easier to see as below:

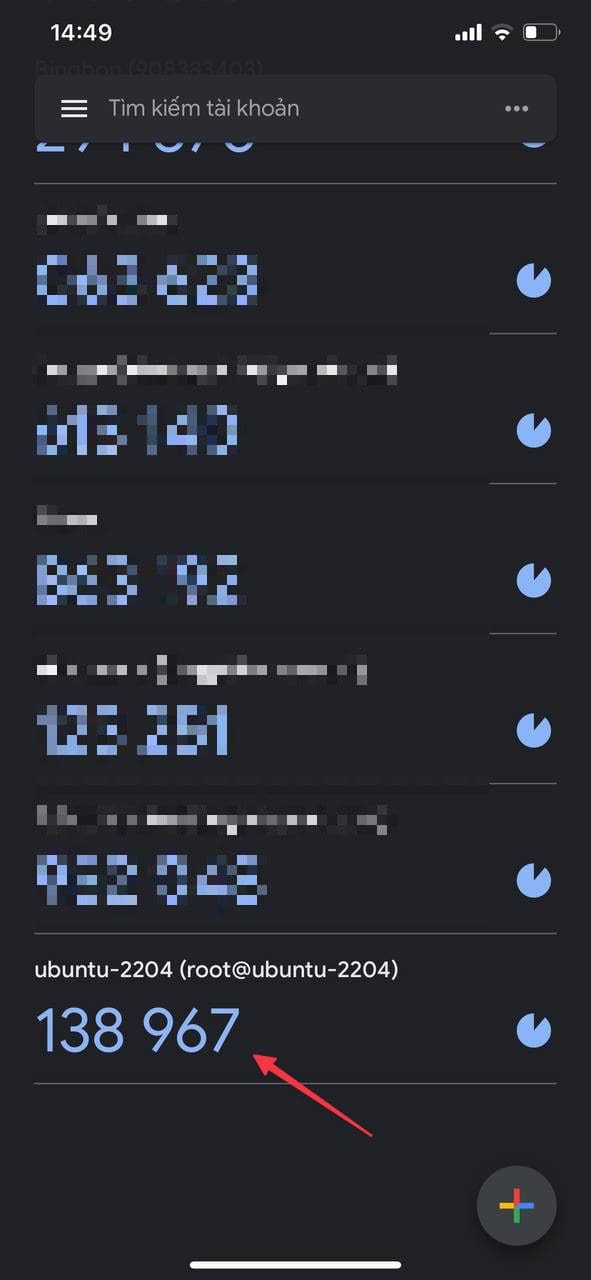
Take your phone or device with the Google Authenticator app pre-installed and scan the above QR code. After scanning, you will receive a 6-digit code, and these 6 numbers will be continuously changed every 30 seconds. And the number is only valid when it is blue. Otherwise, if it is red, it will have no effect.
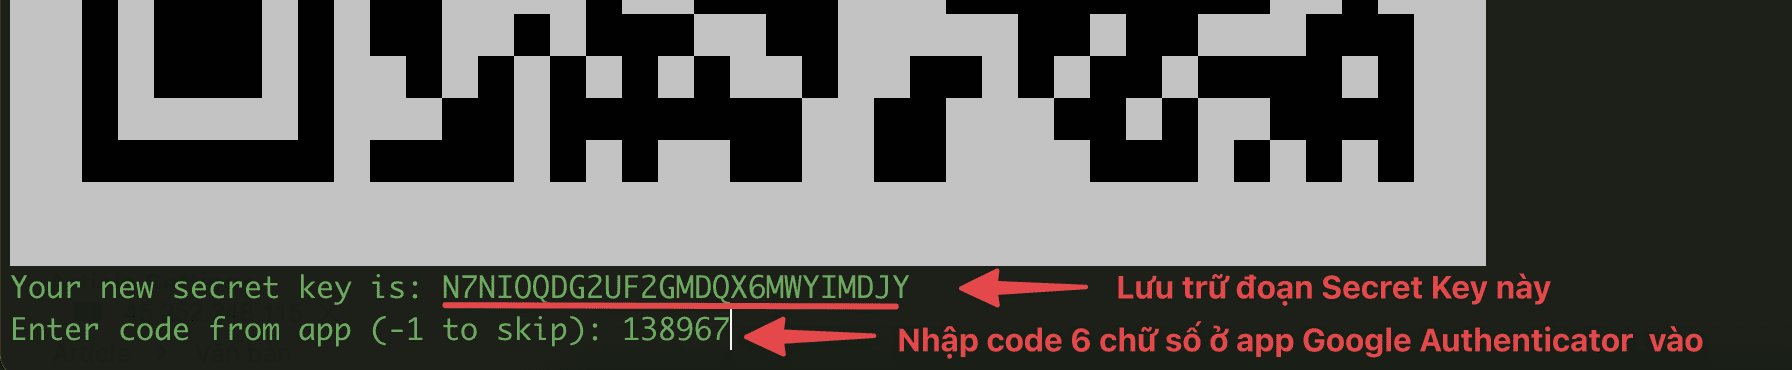
After having the above 6 numbers, you proceed to enter those 6 numbers into the server setup to complete the installation.
After successfully entering the code, you will receive an emergency code and need to verify some of the information below:
Code confirmed
Your emergency scratch codes are:
  32788307
  11480031
  78992160
  60171886
  58985147
Do you want me to update your "/root/.google_authenticator" file? (y/n) y
Do you want to disallow multiple uses of the same authentication
token? This restricts you to one login about every 30s, but it increases
your chances to notice or even prevent man-in-the-middle attacks (y/n) y
By default, a new token is generated every 30 seconds by the mobile app.
In order to compensate for possible time-skew between the client and the server,
we allow an extra token before and after the current time. This allows for a
time skew of up to 30 seconds between authentication server and client. If you
experience problems with poor time synchronization, you can increase the window
from its default size of 3 permitted codes (one previous code, the current
code, the next code) to 17 permitted codes (the 8 previous codes, the current
code, and the 8 next codes). This will permit for a time skew of up to 4 minutes
between client and server.
Do you want to do so? (y/n) y
If the computer that you are logging into isn't hardened against brute-force
login attempts, you can enable rate-limiting for the authentication module.
By default, this limits attackers to no more than 3 login attempts every 30s.
Do you want to enable rate-limiting? (y/n) y
Step 2: Configure OpenSSH to use 2FA
- Edit the configuration file at /etc/pam.d/sshd
First, backup the file with the command:
sudo cp /etc/pam.d/sshd /etc/pam.d/sshd.bak
Next, you edit the file with the command:
sudo nano /etc/pam.d/sshd
Add the content below at the end of the file and save it.
auth required pam_google_authenticator.so nullok
auth required pam_permit.so
- Edit the configuration file at /etc/ssh/sshd_config
First, backup the file with the command:
sudo cp /etc/ssh/sshd_config /etc/ssh/sshd_config.bak
Next, you edit the file with the command:
sudo nano /etc/ssh/sshd_config
Then you find the ChallengeResponseAuthentication value and set it to yes; if not, you can add it manually.
Restart the service
sudo systemctl restart sshd.service
Step 3: SSH into the server to check
After the configuration completes the steps, you now proceed to SSH into your Ubuntu 22.04 server to check the results. And as shown below, you can see that after you enter the VPS root password, the system will ask you to enter the 2-factor authentication code. So now you just need to go to the Google Authenticator app to get the code and enter it to be able to SSH successfully.

You can refer to other instructions at the link below:
If you need support, you can contact support in the ways below:
- Hotline 247: 028 888 24768 (Ext 0)
- Ticket/Email: You use the email to register for the service and send it directly to: support@azdigi.com .
You might also like
About the author

Thạch Phạm
Đồng sáng lập và Giám đốc điều hành của AZDIGI. Có hơn 15 năm kinh nghiệm trong phổ biến kiến thức liên quan đến WordPress tại thachpham.com, phát triển website và phát triển hệ thống.