Install Redis 6 on CentOS 7 to improve the performance of Cache objects, the content generated by PHP and the database.
I. Overview
Before going into the installation article, let’s learn about Redis 6.
This version of Redis 6 can be divided into several different categories such as security, performance, ease of use and even some completely new functions such as:
- SSL
- ACL
- RESP3
- Client side caching
- Threaded I/O
- Cluster support in Redis-benchmark and improved redis-cli cluster
- Supports multiple redis modules
- Redis Cluster Proxy
- RDB deletes itself when no longer in use
- Psync2 optimized replication protocol
- Support timeout setting
- RDB loading is 20-30% faster
See more about Redis 6 here and redislabs.com
II. Steps to install Redis 6 on CentOS 7
Step 1: SSH into the Linux server
To install Redis 6.2 on a CentOS 7 server, you need to SSH into the server. If you don’t know how to SSH, please refer to the following article:
Because the installation steps will take a long time, so to be safe, you should create a screen and run it on a backup screen when suddenly shutting down or losing an internet connection.
Step 2: Update the system
First, update the system with the following command:
yum update -y
yum install gcc make wget tcl
Step 3: Install Redis 6 on CentOS 7
To install, you need to download redis source from the homepage and extract the installation.
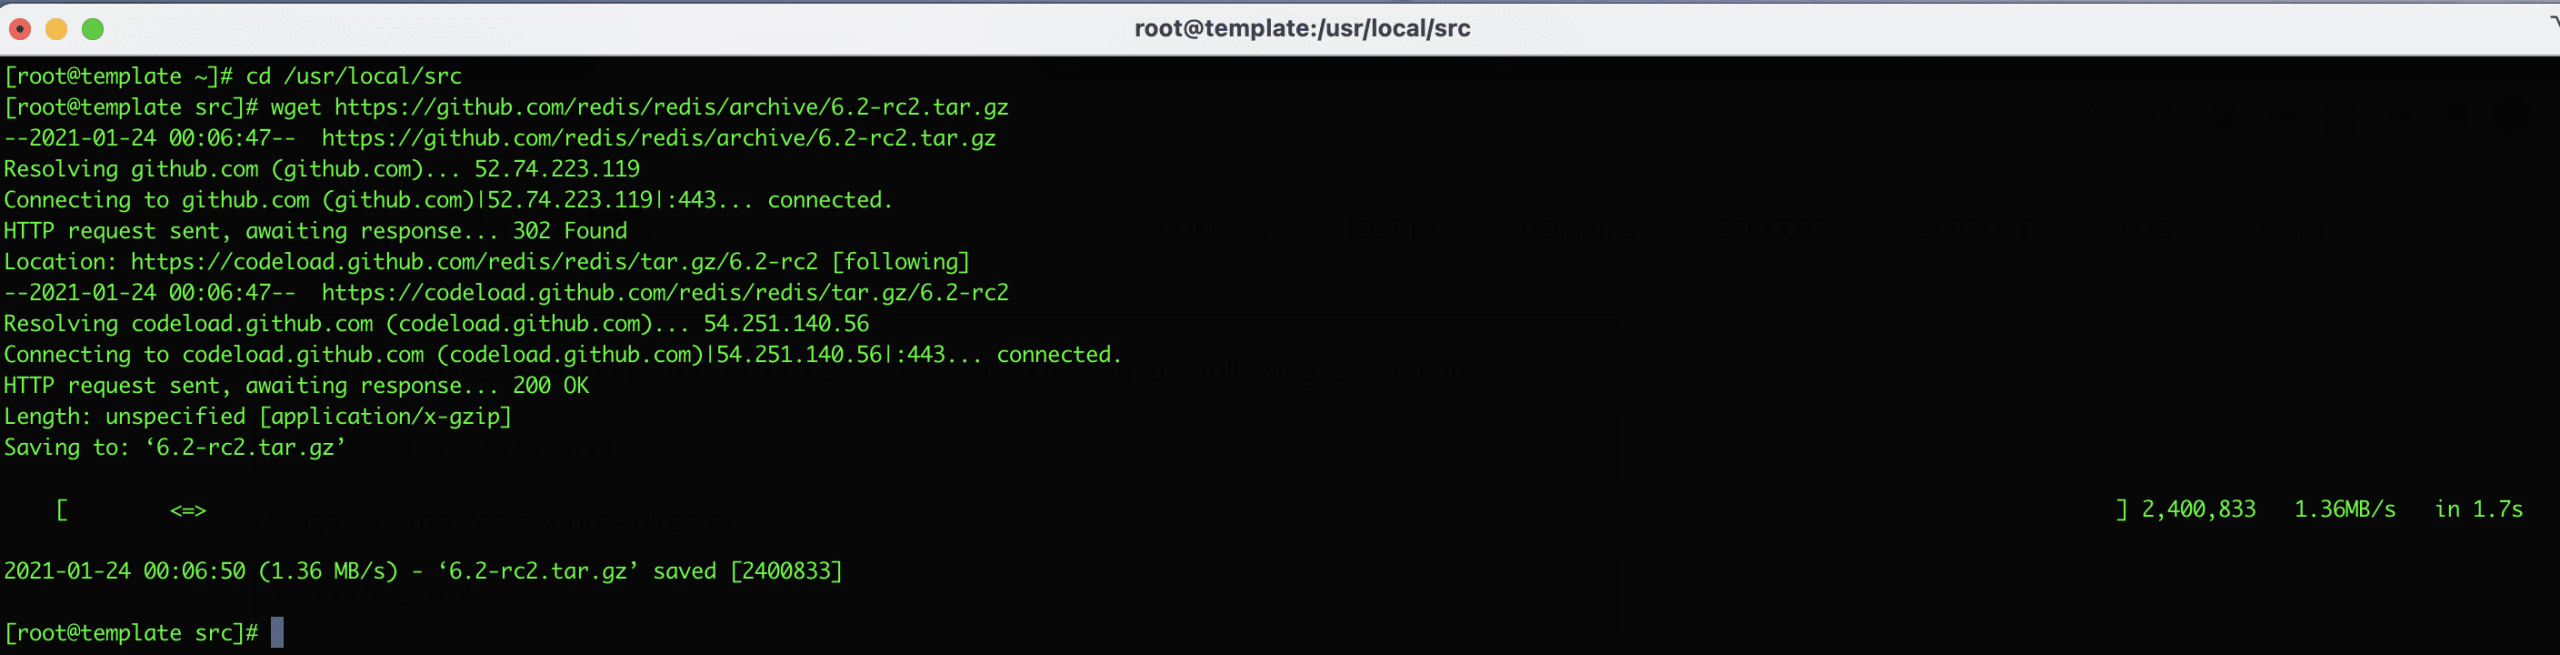
cd /usr/local/src
wget https://github.com/redis/redis/archive/6.2-rc2.tar.gz
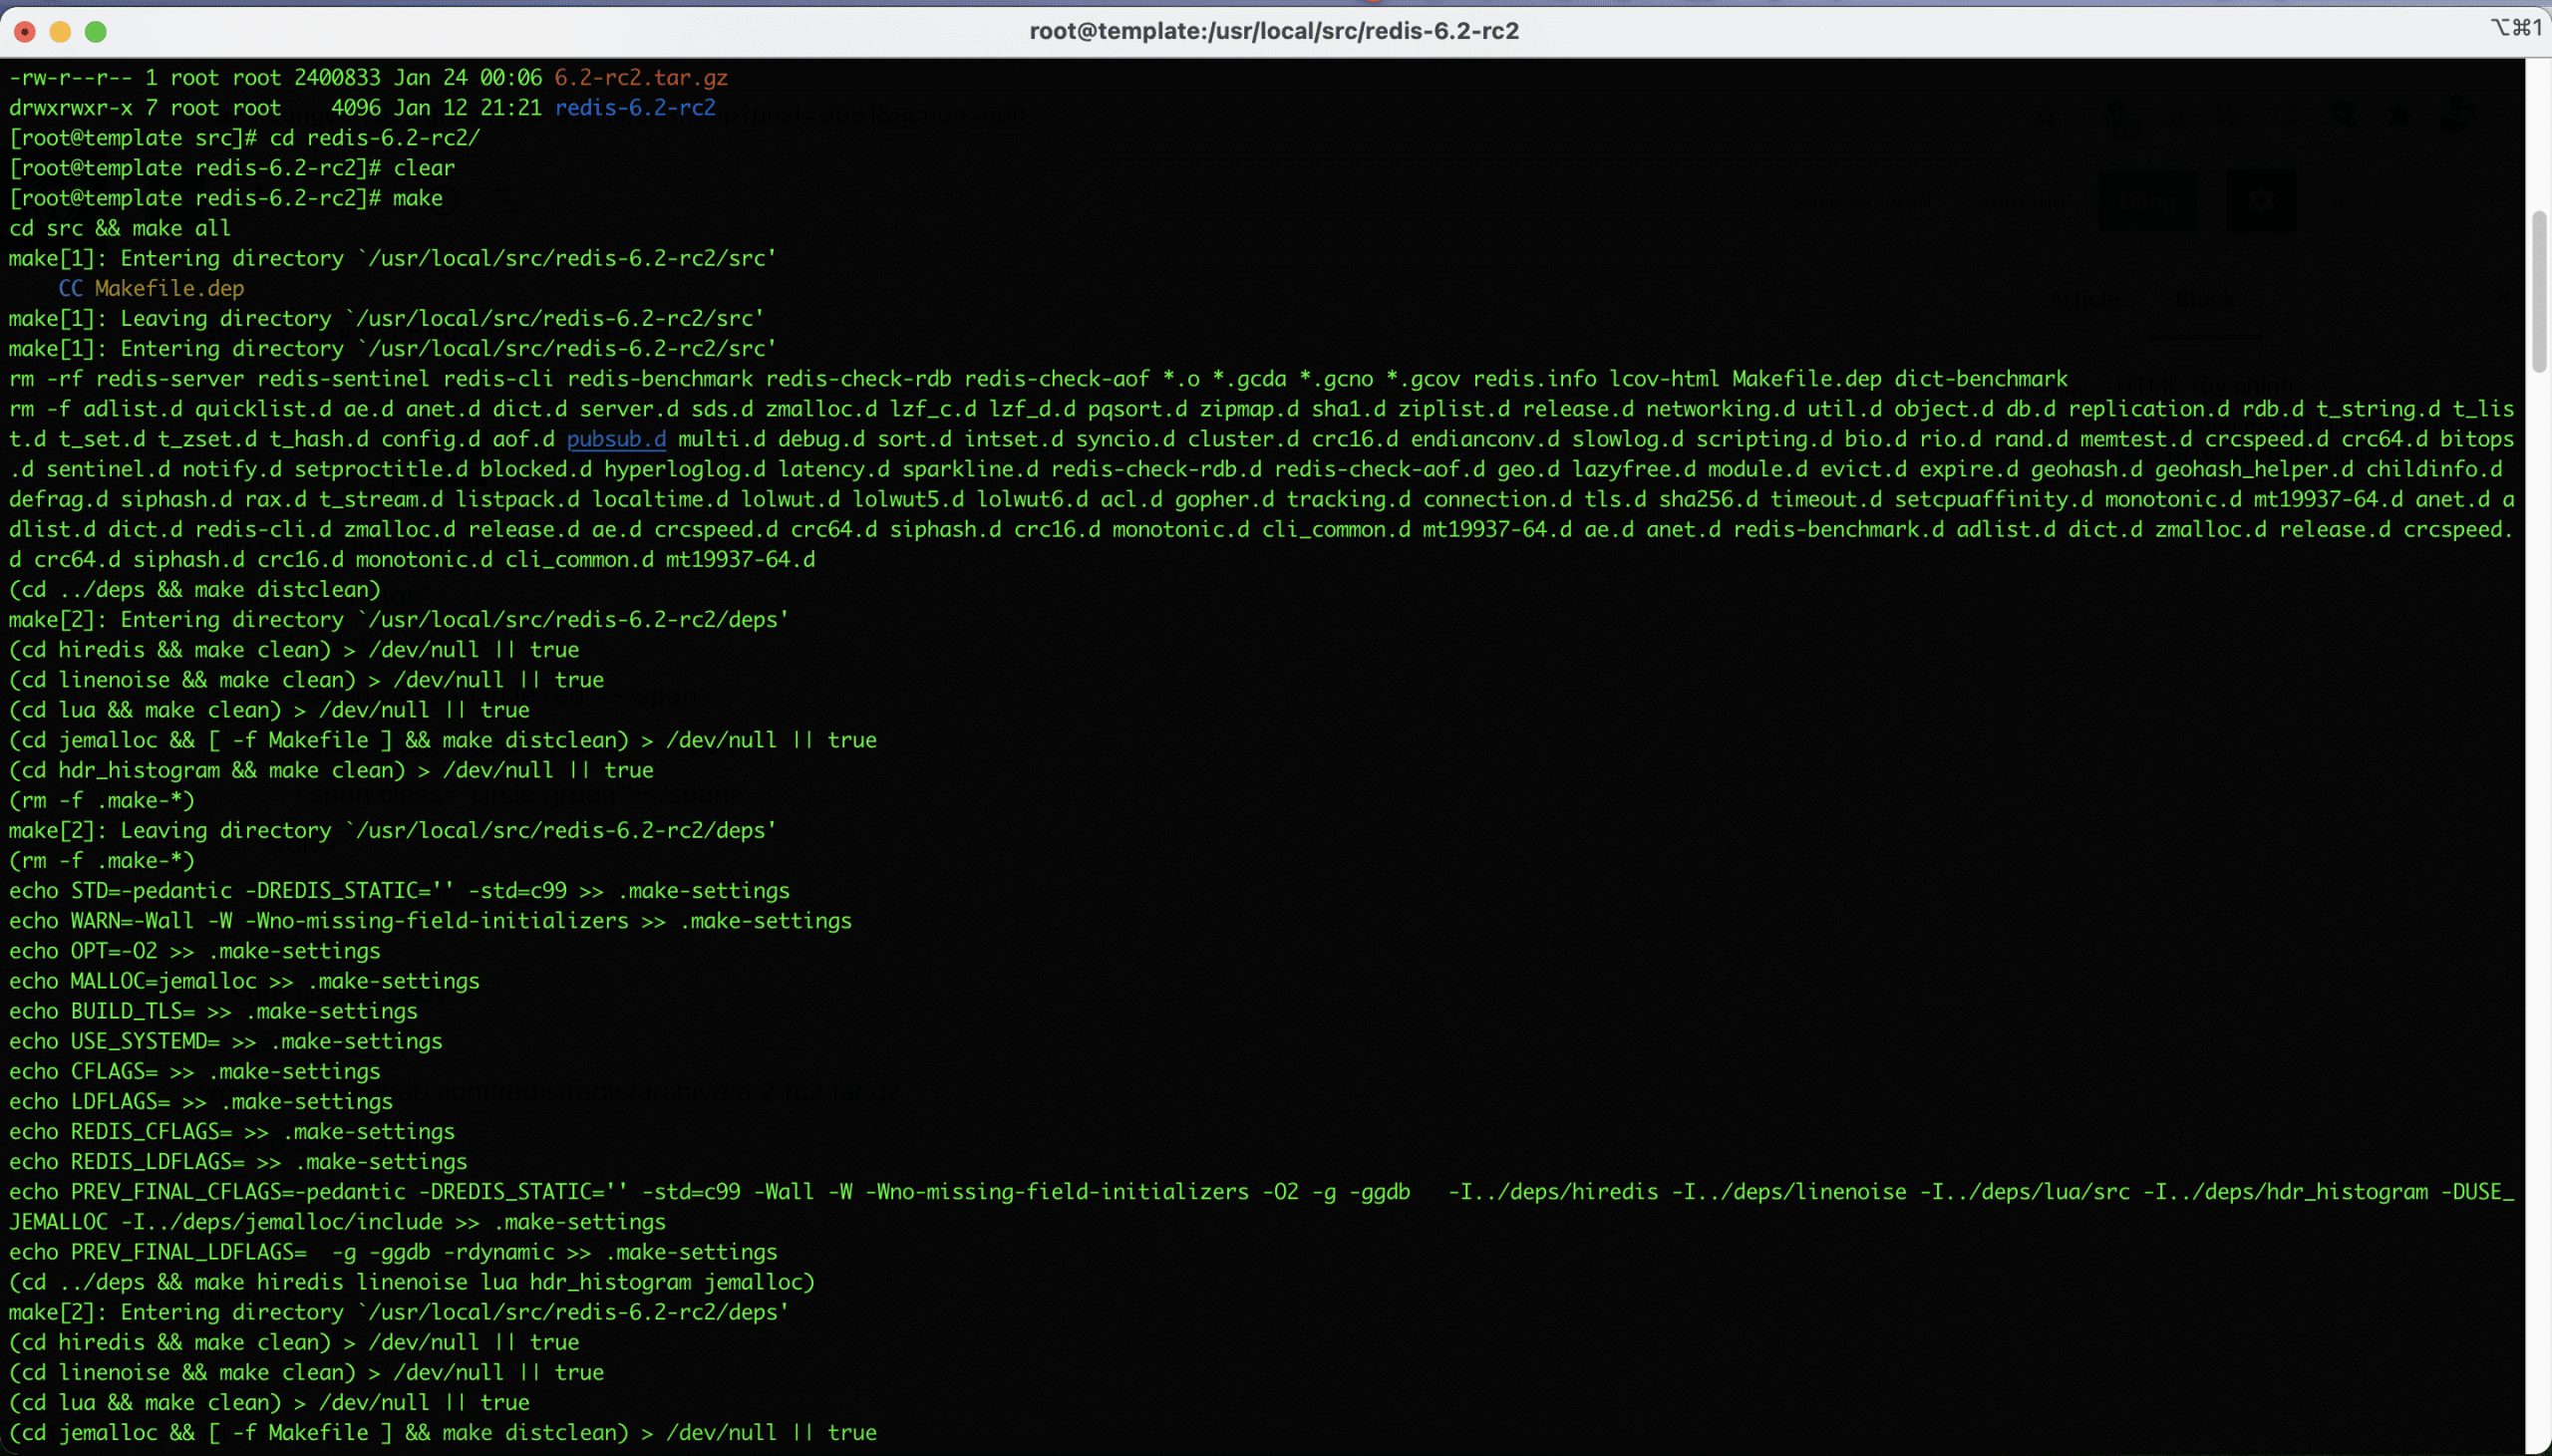
tar xf 6.2-rc2.tar.gz
cd redis-6.2-rc2

After you have extracted and moved into the directory, start compiling with the make command:
make
The build may take some time, depending on your server resources. Once completed, you will receive a message as follows:
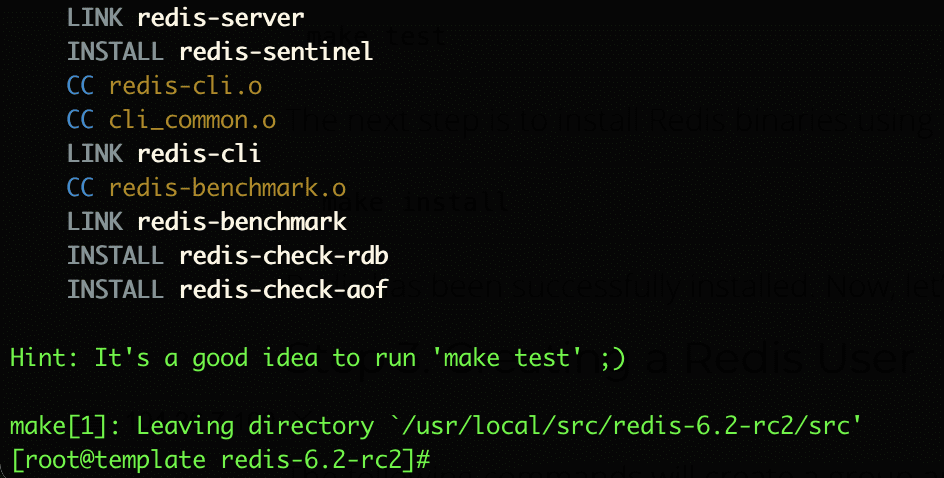
Now run the make test command to make sure the build is correct.
make test

Next, install Redis binaries with the make install command: make install
make install
Step 4: Create Redis User
groupadd redis
adduser --system -g redis --no-create-home redis
Create a directory to store the database for redis.
mkdir -p /var/lib/redis
chown redis: /var/lib/redis
chmod 770 /var/lib/redis
Step 5: Create a Redis configuration file
After installing Redis, you need to configure Redis.
mkdir /etc/redis
cp /usr/local/src/redis-6.2-rc2/redis.conf /etc/redis/
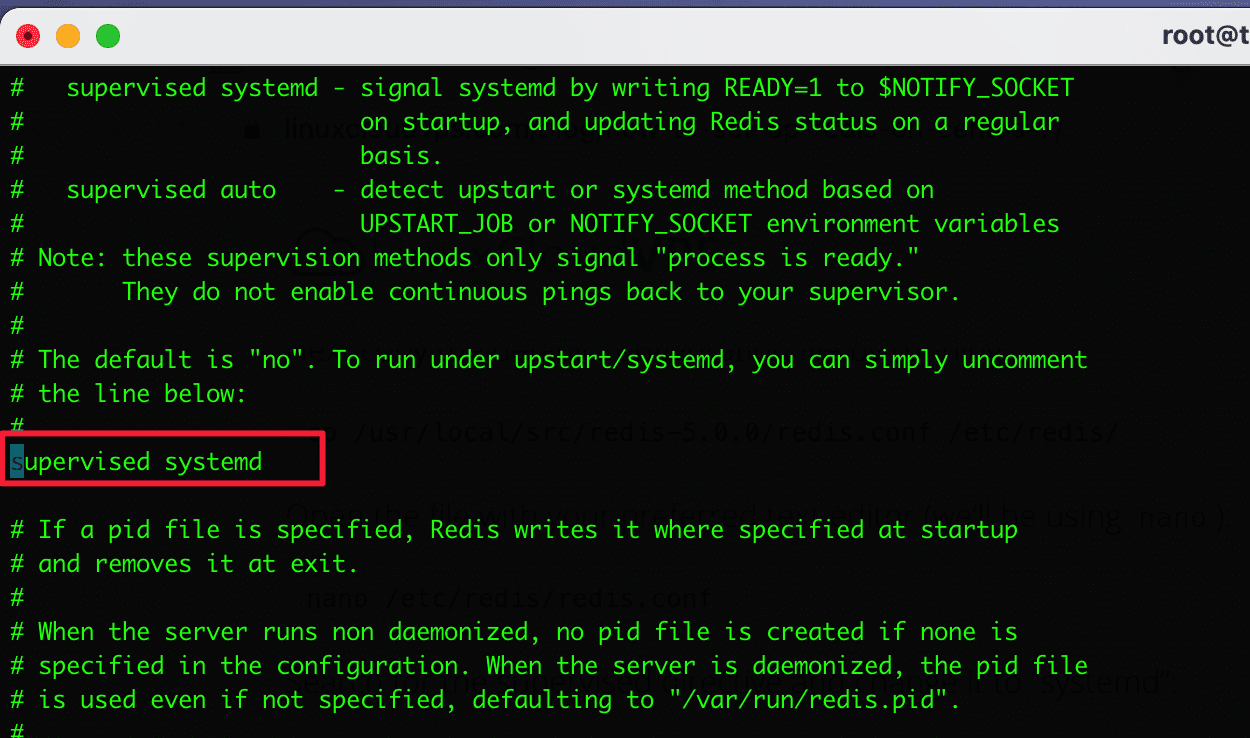
Then you find the supervised line and change it to supervised systemd as shown below:
vi /etc/redis/redis.conf
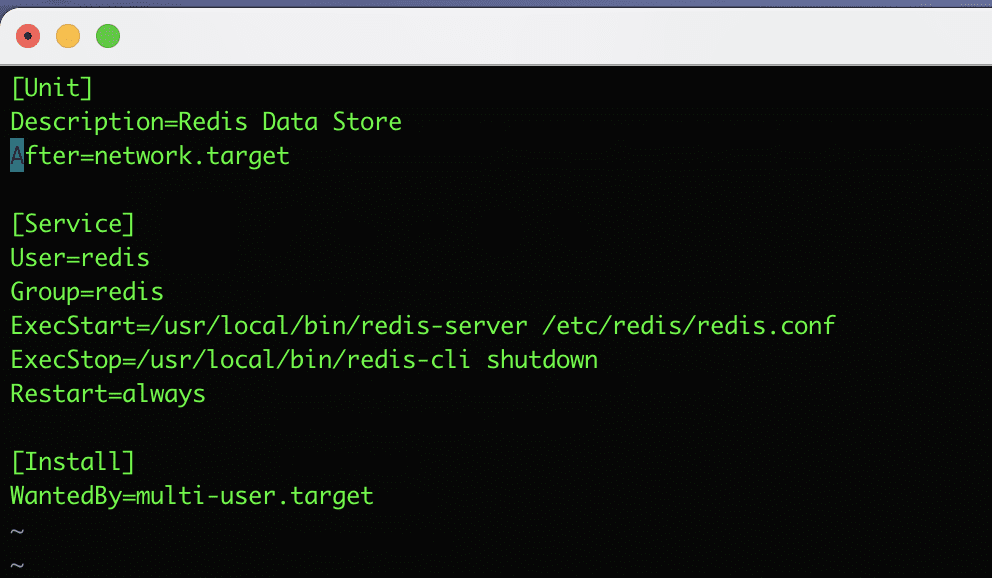
Step 6: Create the Redis system file
Now that Redis is installed and configured, the final step is to create a systemd unit file so you can manage Redis services like a regular systemd service.
vi /etc/systemd/system/redis.service
[Unit]
 [Unit]
 Description=Redis Data Store
 After=network.target
 [Service]
 User=redis
 Group=redis
 ExecStart=/usr/local/bin/redis-server /etc/redis/redis.conf
 ExecStop=/usr/local/bin/redis-cli shutdown
 Restart=always
 [Install]
 WantedBy=multi-user.target
Enable Redis
#Kích hoạt cùng hệ thống
systemctl enable redis
#Khởi động Redis
systemctl start redis
#Kiểm tra trạng thái
systemctl status redis

To verify Redis is up and running, run the following command:
[root@template redis-6.2-rc2]# redis-cli PINGOutput:
PONG [root@template redis-6.2-rc2]#
[root@template ~]# redis-cli monitor OK
Step 7: Check the Redis version
To check the Redis version, use the command redis-server --version in the Terminal window.
redis-server --version
As the picture below, I tested on 2 servers. One server uses Redis server v=3.2.12 and the other server uses Redis server v=6.1.241

III. Install Redis PHP Extension
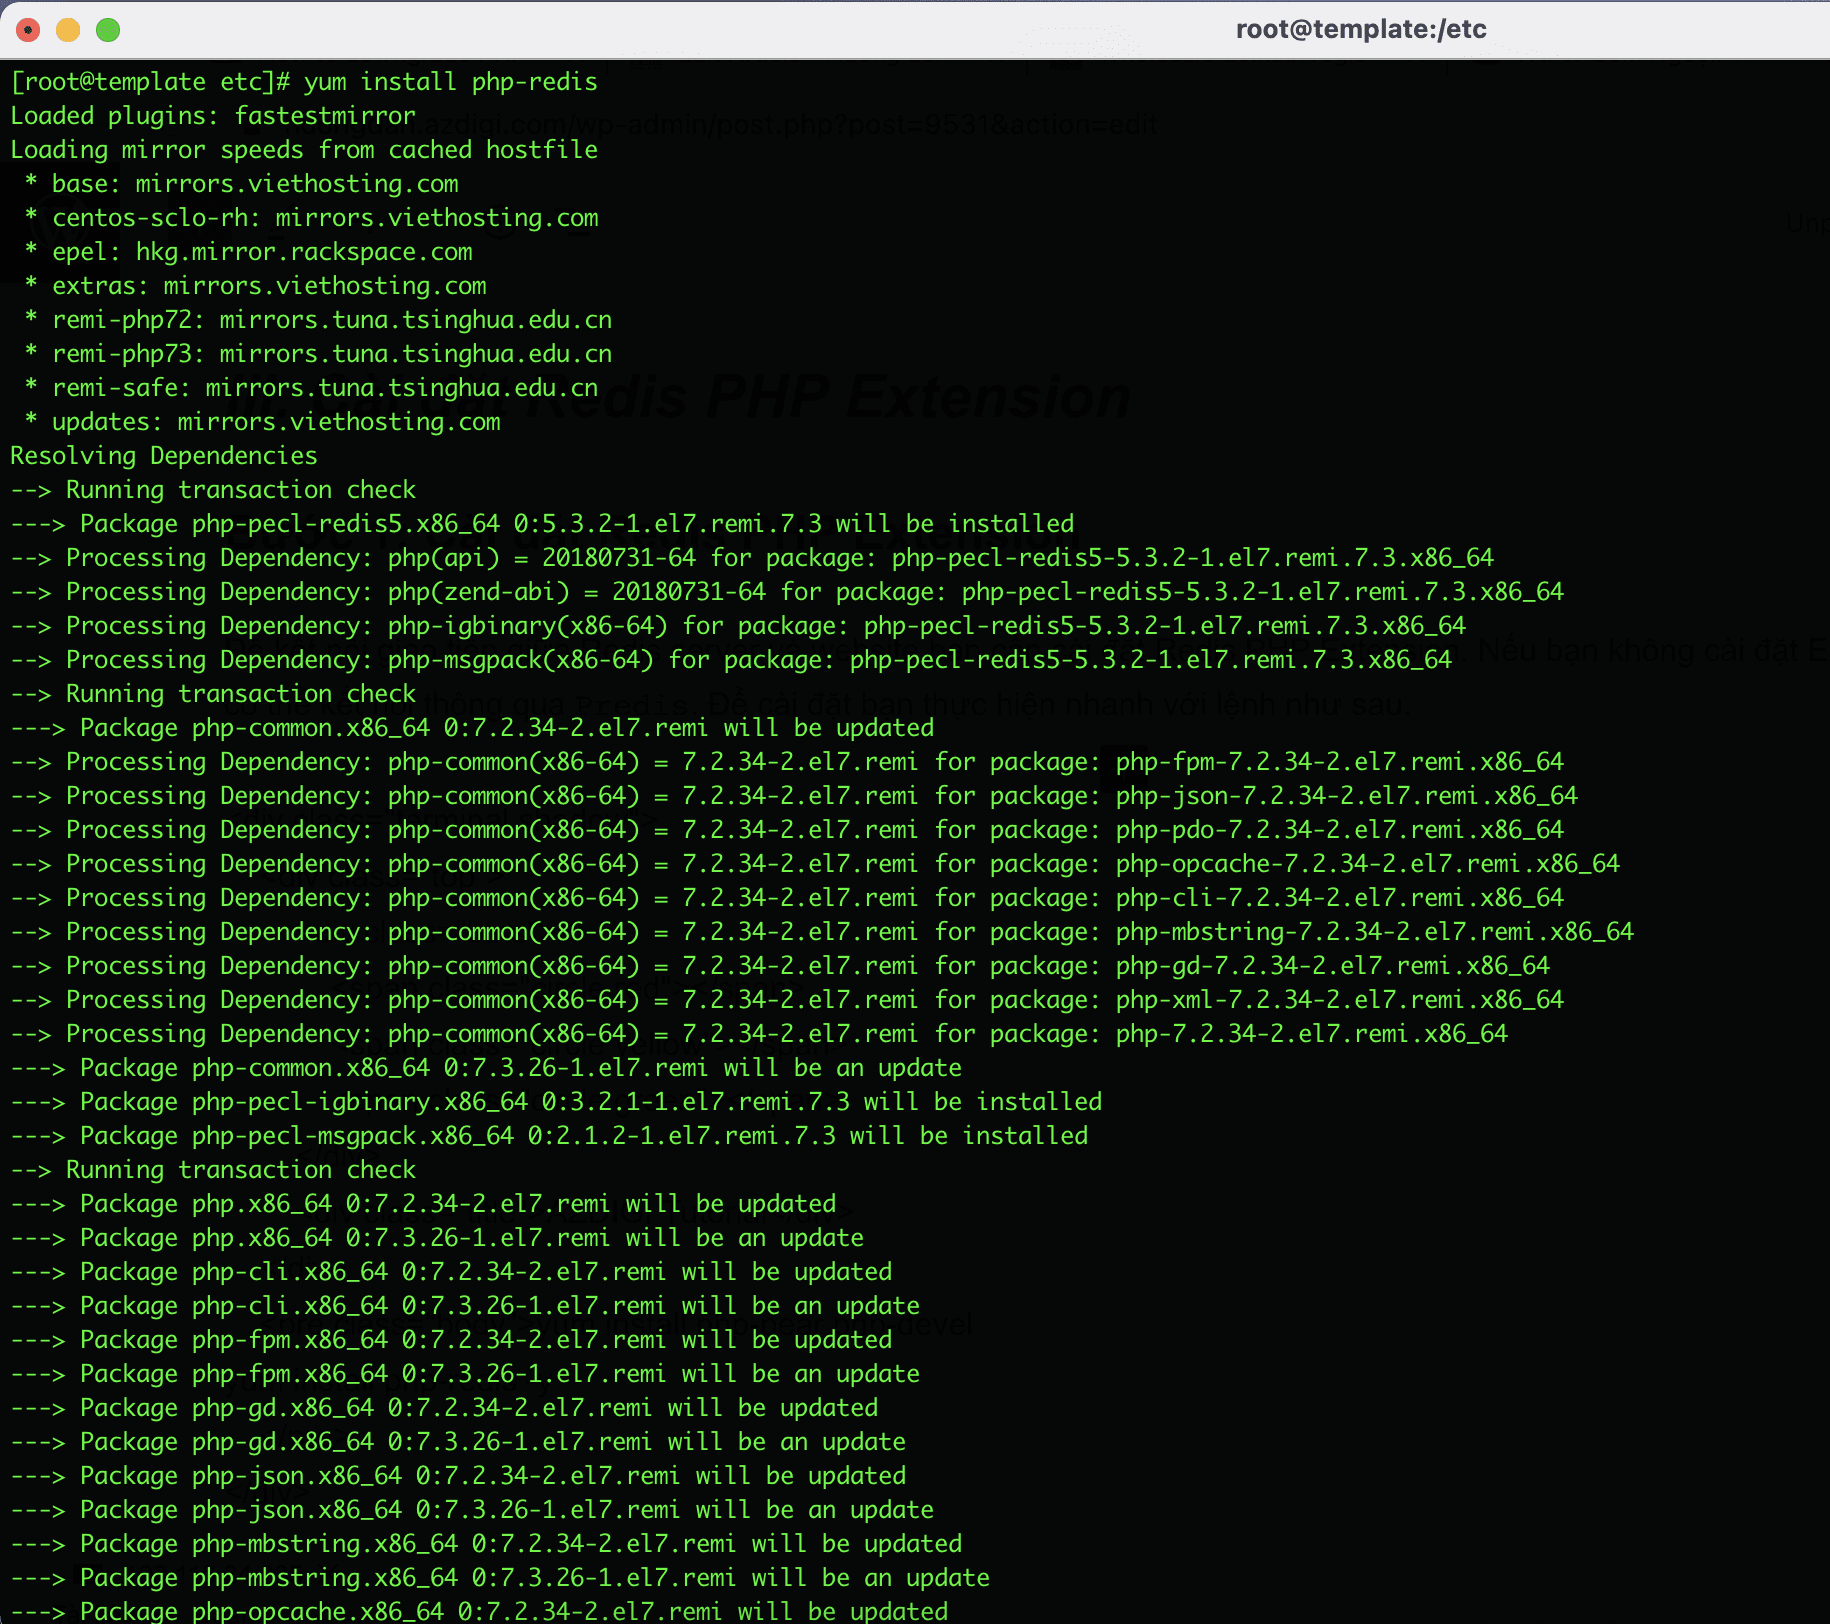
Step 1: Install Redis PHP Extension
To connect the communication between the Redis server and the website, you need to install the Redis PHP Extension. If you do not install the Extension, you can still connect through Predis. To install, you do it quickly with the following command:
yum install php-pear php-devel
yum install php-redis -y
Step 2: Configure Redis as Cache Server
vi /etc/redis/redis.conf
Please find and edit the following:
maxmemory 256mb
maxmemory-policy allkeys-lru
Step 3: Install Redis cache on WordPress
After installing Redis, you can configure Redis on your website to work. Each source code will have a different configuration. In this article, I will guide you to configure it on WordPress using the Redis developer’s dedicated plugin.
I will use the Redis Object Cache Plugin to configure it.
Before installing, open wp-config.php file and add the following code to authenticate the key:
define('WP_CACHE_KEY_SALT', 'string');
define('WP_CACHE', true);
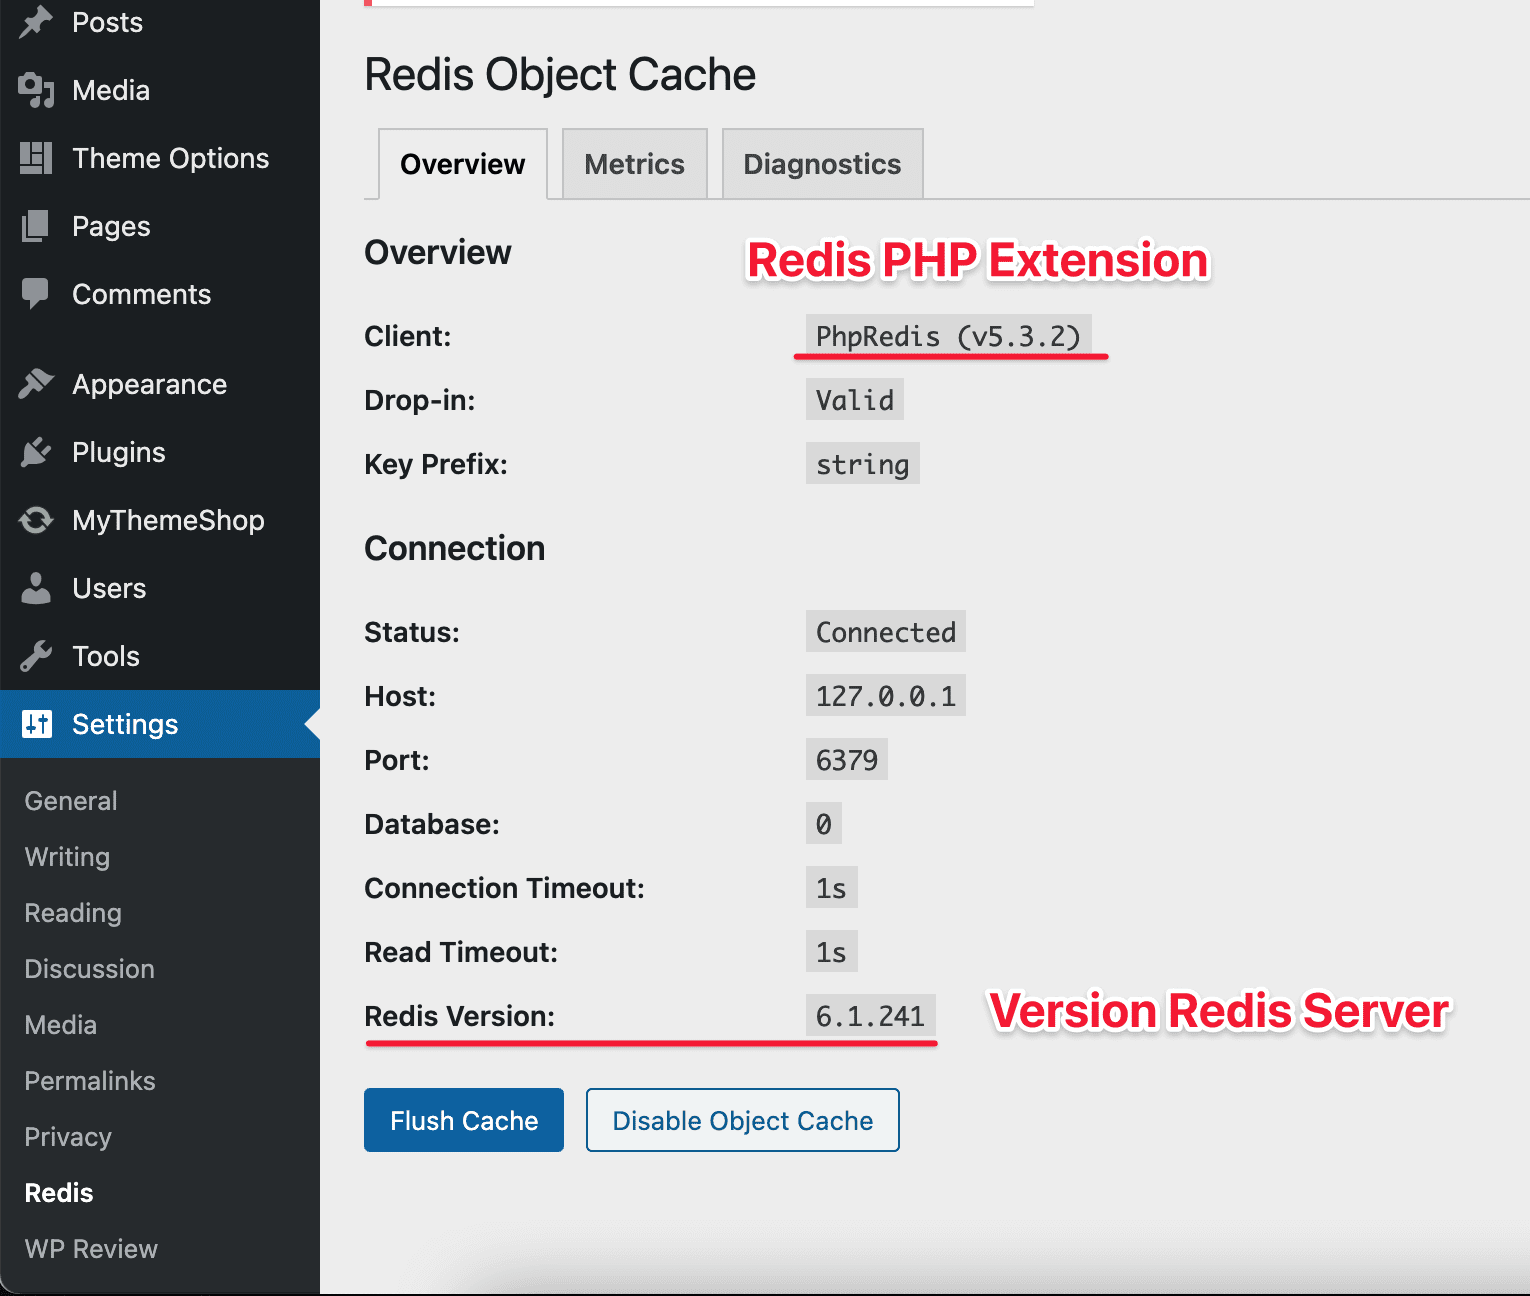
Next, install the Redis Object Cache plugin. It installs a PHP script that helps WordPress communicate with Redis
After installing the plugin, you need to enable it by navigating to Cài đặt => Redis => click “Enable Object Cache” and the Status show “Connected”. If not, ensure you have added the configuration to the wp-config.php file as above.
IV. Redis comparison table
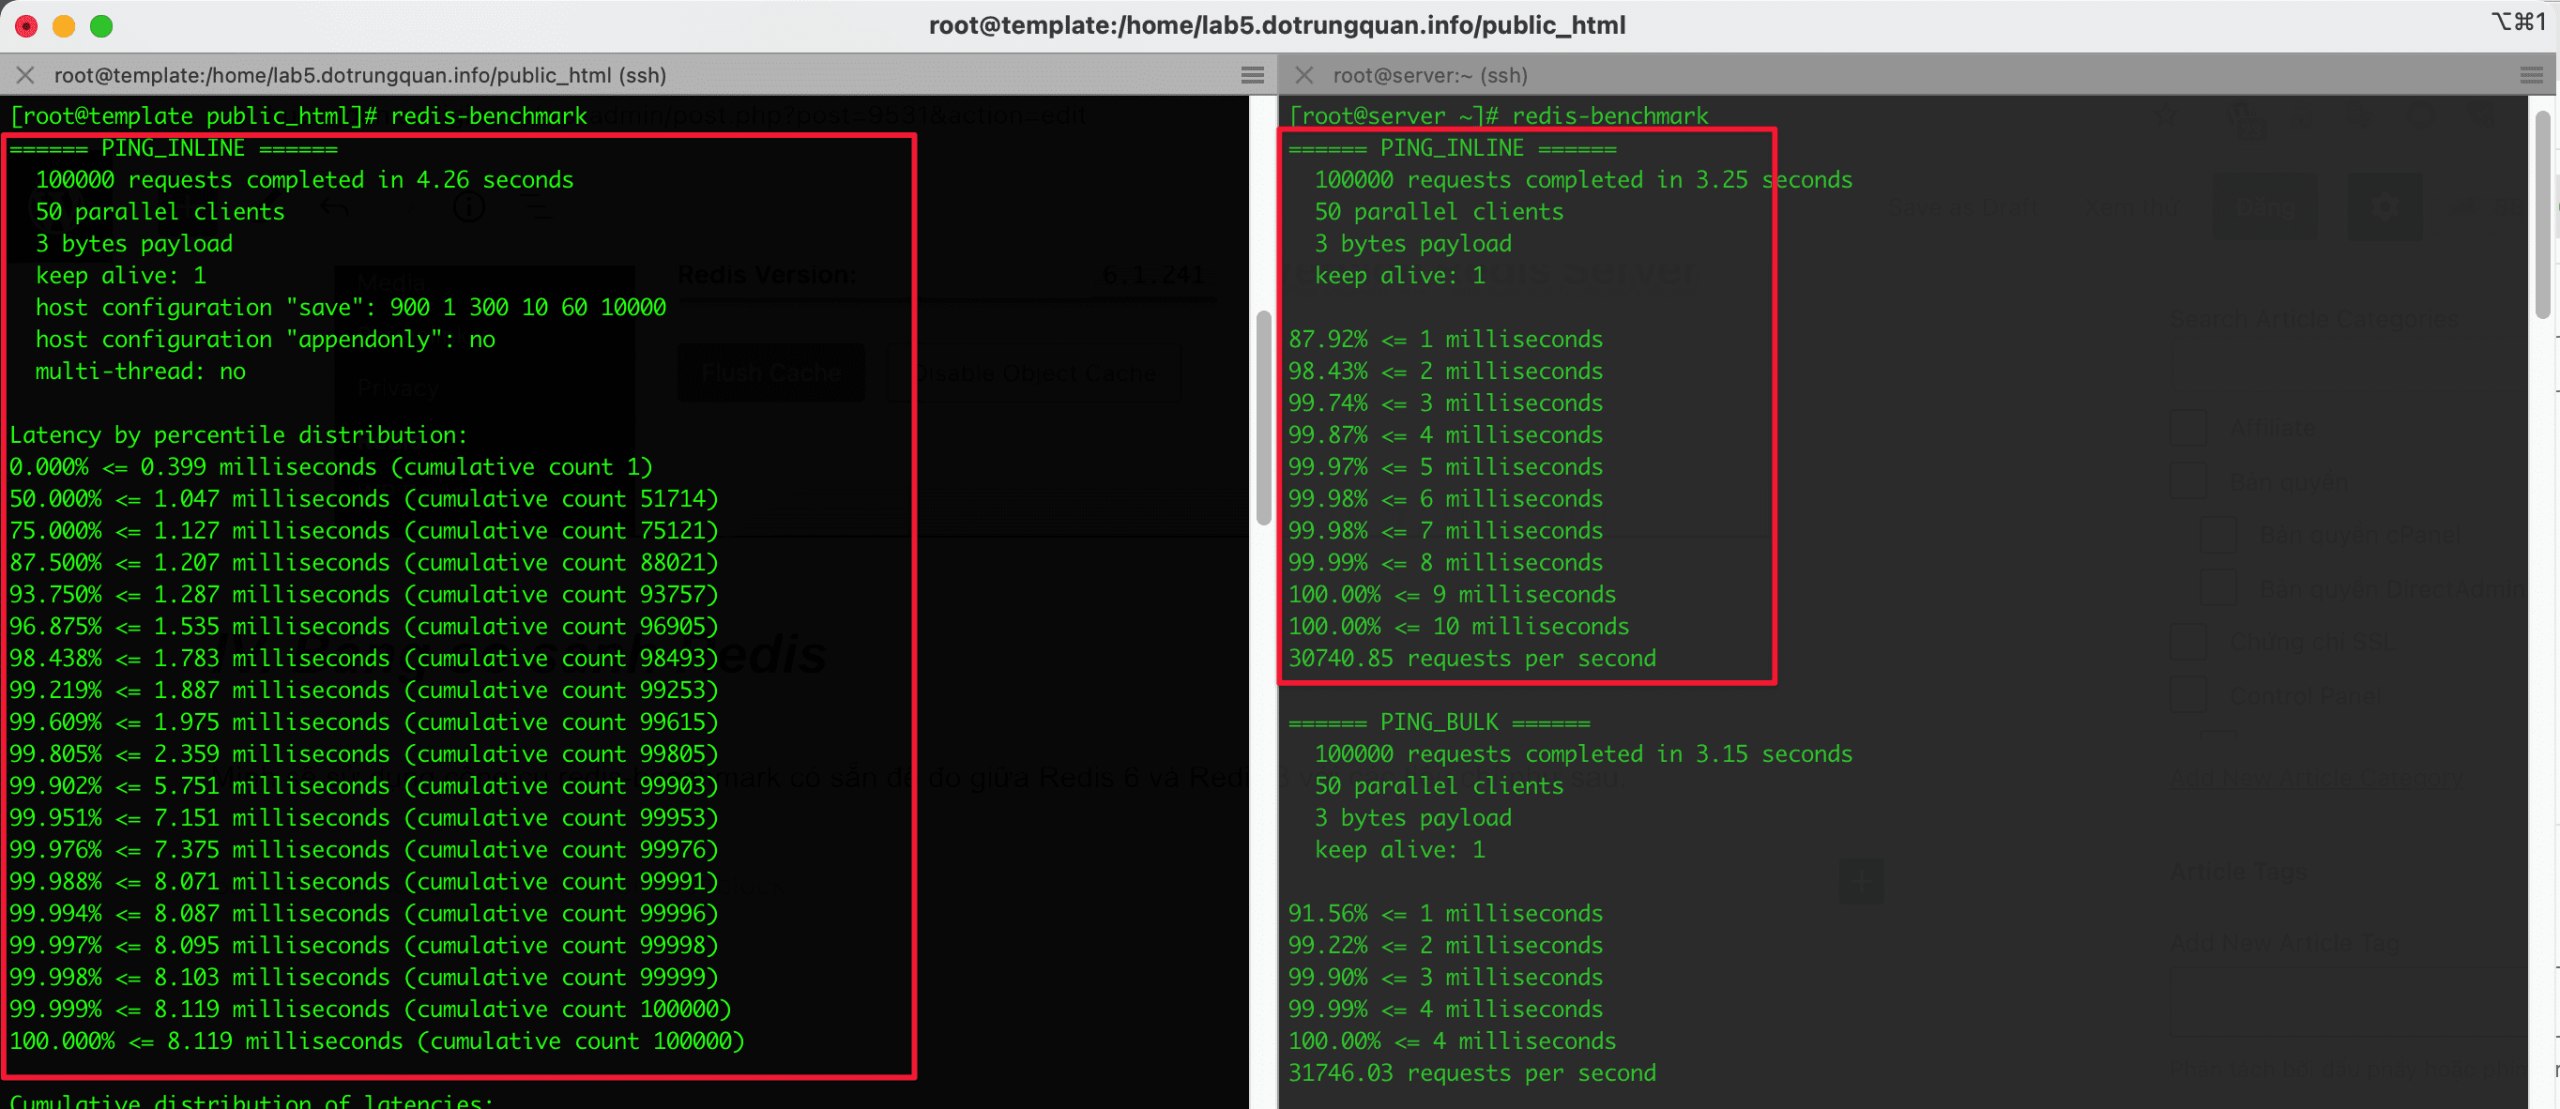
I will use the available redis-benchmark tool to measure between Redis 6 and Redis 3 with the following criteria.
First, I will ping online to check the latency. Here frame 1 is Redis 6 and frame 2 is Redis you will see send 100000 requests and complete them in 4.26s and 3.25s, but in terms of latency (time out), Redis 6 lower than Redis 3.
See more comparisons at the following link:
V. Summary
So AZDIGI has completed the guide to install Redis 6 on CentOS 7. Hope this article will be helpful to you and can help you set up to improve the performance of your server and website.
If you need assistance, you can contact support in the ways below:
- Hotline 247: 028 888 24768 (Ext 0)
- Ticket/Email: You use the email to register for the service and send it directly to: support@azdigi.com .
About the author

Thạch Phạm
Đồng sáng lập và Giám đốc điều hành của AZDIGI. Có hơn 15 năm kinh nghiệm trong phổ biến kiến thức liên quan đến WordPress tại thachpham.com, phát triển website và phát triển hệ thống.