
In this tutorial, AZDIGI will show you how to use Screen on Linux, an extremely useful software that every administrator needs to know.
I. Introduction
You are administering a remote Linux system via SSH, in some cases, your system is running a process and it takes a lot of time but you have to leave the office and still want to keep track of that progress at home. At this point, you will need to use a software called Screen, a software that most Linux admins use and find very useful. So what is Screen software?
Screen, also known as GNU Screen, is a terminal multiplexer. In other words, it means you can start a connected session and then open any number of windows (virtual terminals) inside that session. Processes running in that session will continue to run even if our window is disconnected. And you can completely name these connections so that you can reconnect at any time.
To know how to use Screen on Linux, please see the next part of the article.
II. How to use Screen on Linux
To use Screen on Linux, follow these 3 steps.
Step 1: SSH into your Linux system
To use Screen on Linux, we first need to SSH into your VPS/server. If you don’t know how to SSH into your VPS/Server, you can refer to the following tutorial:
After successfully SSH, we continue with step 2 to perform test commands and install Screen.
Step 2: Check if there is a Screen on your Linux server
First, you need to determine if the screen software is installed on your system. Currently, in most Linux operating systems such as Redhat and CentOS, the Screen program is usually pre-installed in the directory: /usr/bin/screen. To determine if Screen is installed on your system, use the following command:
which screen
If the returned result looks as below, the system already has Screen:
/usr/bin/screen
Otherwise, if not installed, it will be as follows and we must continue to run the installation command:
/usr/bin/which: no screen in (/root/exec -l /usr/local/sbin:/usr/local/bin:/usr/sbin:/usr/bin:/root/bin)
Step 3: Install Screen on Linux
If you using CentOS or Fedora, you can use the following command to install:
sudo yum install -y screen
If you are using Ubuntu or Debian, you can use the following command:
sudo apt update
sudo apt install screen
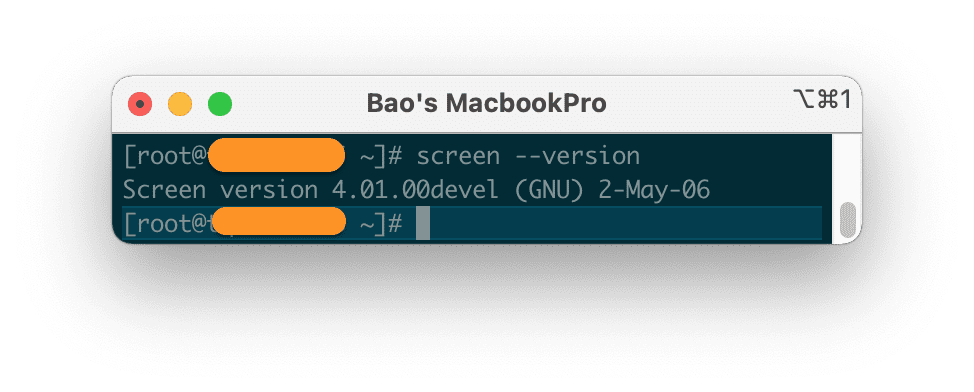
Once installed, we can use the following command to check the installed version of the Screen.
screen --version
Here is my result.
Step 4: Use Screen on Linux
Once installed on the system, use the following command to create a Screen window inside a terminal as follows:
screen
If you want to name the Screen window for easy management, use the following command:
screen -S name
You can change “name” to the name you want.
You will now have a new window inside the terminal window. The interface of these two windows is the same, the difference is that Screen allows you to use some commands from shortcut keys.
You can refer to how to use these shortcuts at the following link:
Exit Screen:
To exit the screen, you just need to turn off the SSH software or turn off the Terminal. This is the great advantage of Screen, you can exit the screen and access it again anywhere, while the commands in Screen continue to work on the server. In the event of a sudden connection loss, Screen will automatically exit to keep your program safely running on the server.
Screen List:
After exiting Screen, want to know how many screen windows are running, from a terminal window, use the following command:
screen -ls
Continue using the previously created Screen:
In case you only have 1 Screen, you can quickly use the following command:
screen -r
In case there are multiple Screens running, use the command below:
screen -ls
screen -x name
With the first command to view the list, and command 2 to continue to the Screen named “name”, this part will change if you have created a Screen with a different name.
Turn off Screen:
To turn off a Screen, we use the command:
screen -S name -X quit
Remember to change name to the Screen name you want to turn off.
So you already know how to basic use Screen on Linux.
III. Summary
So AZDIGI has completed the basic use of Screen on Linux. More information if you don’t know, all hosting packages at AZDIGI open SSH and the SSH port will be 2210. With SSH we can completely use Screen comfortably.
Hope this article will be of help to you. Wishing you success! See more useful articles about VPS at the following link:
If you need assistance, you can contact support in the ways below:
- Hotline 247: 028 888 24768 (Ext 0)
- Ticket/Email: You use the email to register for the service and send it directly to: support@azdigi.com
About the author

Thạch Phạm
Đồng sáng lập và Giám đốc điều hành của AZDIGI. Có hơn 15 năm kinh nghiệm trong phổ biến kiến thức liên quan đến WordPress tại thachpham.com, phát triển website và phát triển hệ thống.