Installing Elasticsearch on Ubuntu 22.04 with 4 steps.
Introduction
Elasticsearch is a search engine based on Lucene software. It provides a full-featured, distributed search engine with an HTTP web interface that supports JSON data. Elasticsearch is developed in Java and is released as open source under the Apache license. Elasticsearch is the most popular search engine, followed by Apache Solr, which is also based on Lucene.
Requirements
- Ubuntu Server 22.04.
- Recommended configuration: 2GB RAM/2 CPU
Implementation Guide
Step 1: Install Elasticsearch
Elasticsearch is not available in the default Ubuntu repositories. However, we can use the apt command to install directly from Elastic’s source.
First, use cURL to enter the GPG public Elasticsearch key into apt. This command will convert the key into a format that apt can use to verify downloaded packages.
- Convert key format
curl -fsSL https://artifacts.elastic.co/GPG-KEY-elasticsearch | sudo gpg --dearmor -o /usr/share/keyrings/elastic.gpg
- Next, add the Elastic source to the sources.list.d directory, where apt will search for the latest sources.
echo "deb [signed-by=/usr/share/keyrings/elastic.gpg] https://artifacts.elastic.co/packages/7.x/apt stable main" | sudo tee -a /etc/apt/sources.list.d/elastic-7.x.list
- Update the package list so that apt will use the new Elastic source.
sudo apt update
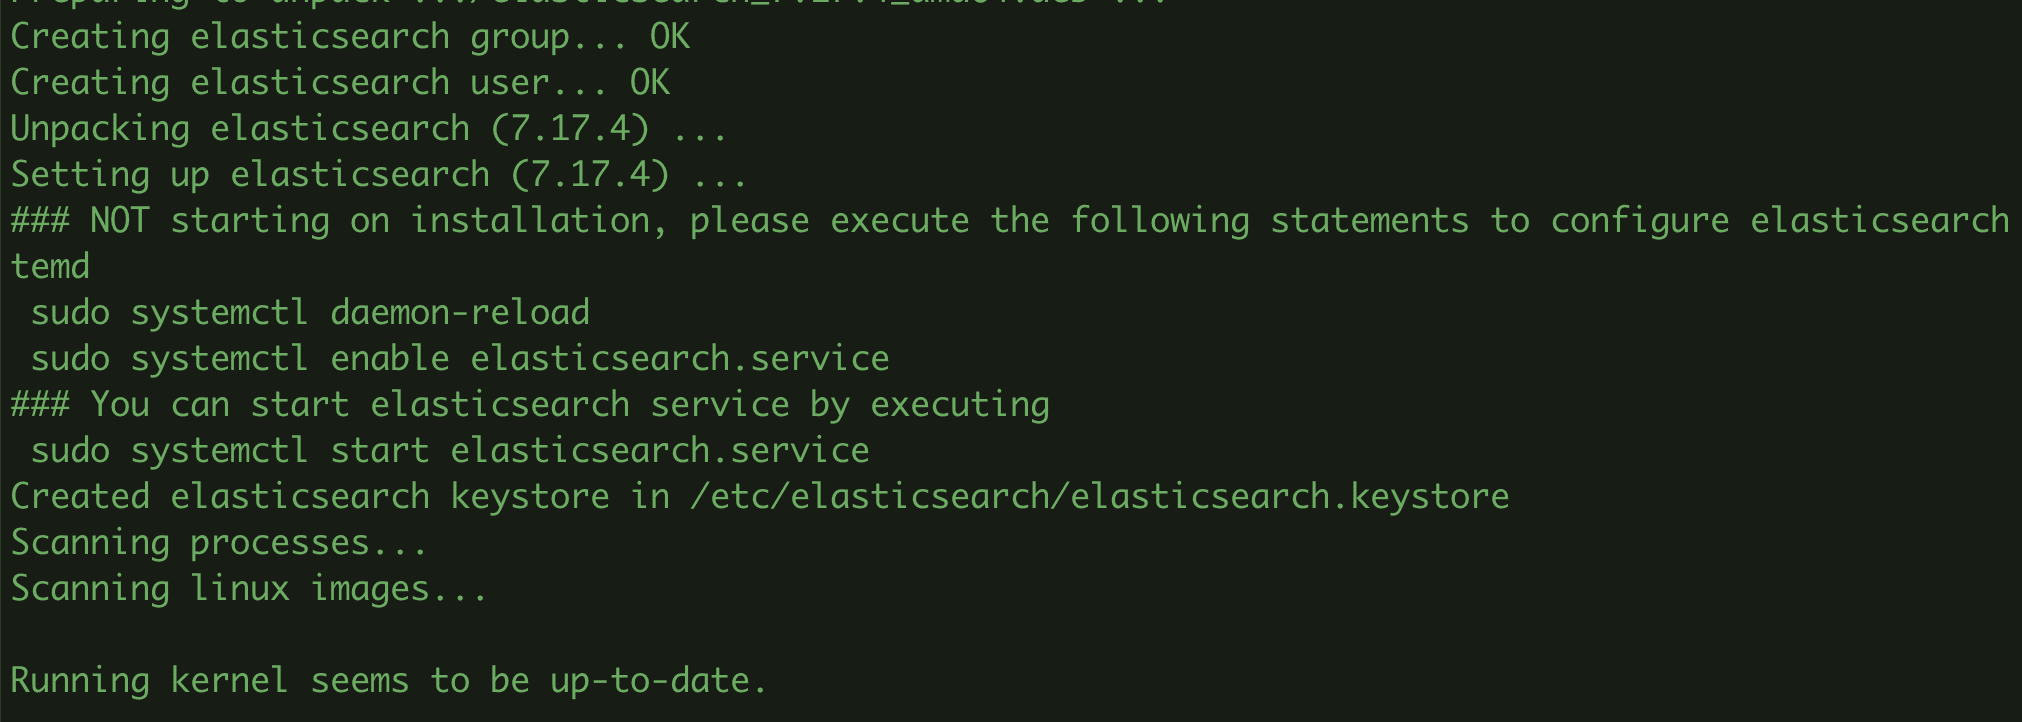
- Install Elasticsearch
sudo apt install elasticsearch

Step 2: Configure Elasticsearch
After installing Elasticsearch, the configuration file will be named elasticsearch.yml and located at the path: /etc/elasticsearch/. In the above configuration file, you will make all the edits related to cluster, node, paths, memory, network, discovery and gateway.
By default, Elasticsearch will use Port 9200. If you want to ban all external access to Elasticsearch to prevent outsiders from reading your data, or shut down your Elasticsearch cluster via the [API REST], edit the content in the elasticsearch.yml file.
sudo nano /etc/elasticsearch/elasticsearch.yml
Find and edit the content below to:
#network.host: 192.168.0.1 => network.host: localhost
Conversely, if you need to configure an external user to connect to Elasticsearch, replace localhost with the IP you specify.
- Start the service and enable system startup.
sudo systemctl start elasticsearch
sudo systemctl enable elasticsearch
sudo systemctl status elasticsearch
Step 3: Configure Security for Elasticsearch
By default, everyone can connect to Elasticsearch via the HTTP API. So if you still want to allow specific users to connect to Elasticsearch via the HTTP API, you can use Ubuntu’s UFW firewall to limit and only allow certain users to connect to Elasticsearch.
- For example, I have another server with IP 45.252.249.193, now I want to allow this IP to connect to Elasticsearch via HTTP API with the default port of TCP 9200, so I will configure it with the following command:
sudo ufw allow from 45.252.249.193 to any port 9200
- Once done, enable and view the UFW status with the command:
sudo ufw enable
sudo ufw status
Step 4: Test Elasticsearch
Currently, Elasticsearch will run with Port 9200 on your VPS. You can do a quick test using cURL and a GET request.
curl -X GET 'http://localhost:9200'
If the installation is successful, you will get the following output:
Above are the complete steps to install Elasticsearch on Ubuntu 22.04. Hopefully, this article will be helpful to you. Wishing you success!
You can refer to other instructions at the link below:
If you need support, you can contact support in the ways below:
- Hotline 247: 028 888 24768 (Ext 0)
- Ticket/Email: You use the email to register for the service and send it directly to: support@azdigi.com .
About the author

Thạch Phạm
Đồng sáng lập và Giám đốc điều hành của AZDIGI. Có hơn 15 năm kinh nghiệm trong phổ biến kiến thức liên quan đến WordPress tại thachpham.com, phát triển website và phát triển hệ thống.