

After completing the Cloudron installation, we can install any supported application. However, before we proceed with the instructions for installing applications and transferring data, AZDIGI will guide you on adding a domain to Cloudron first if you plan to use multiple domains on the server. Alternatively, if you want to use a domain declared during the setup, you can skip this step.
Adding a Domain to Cloudron
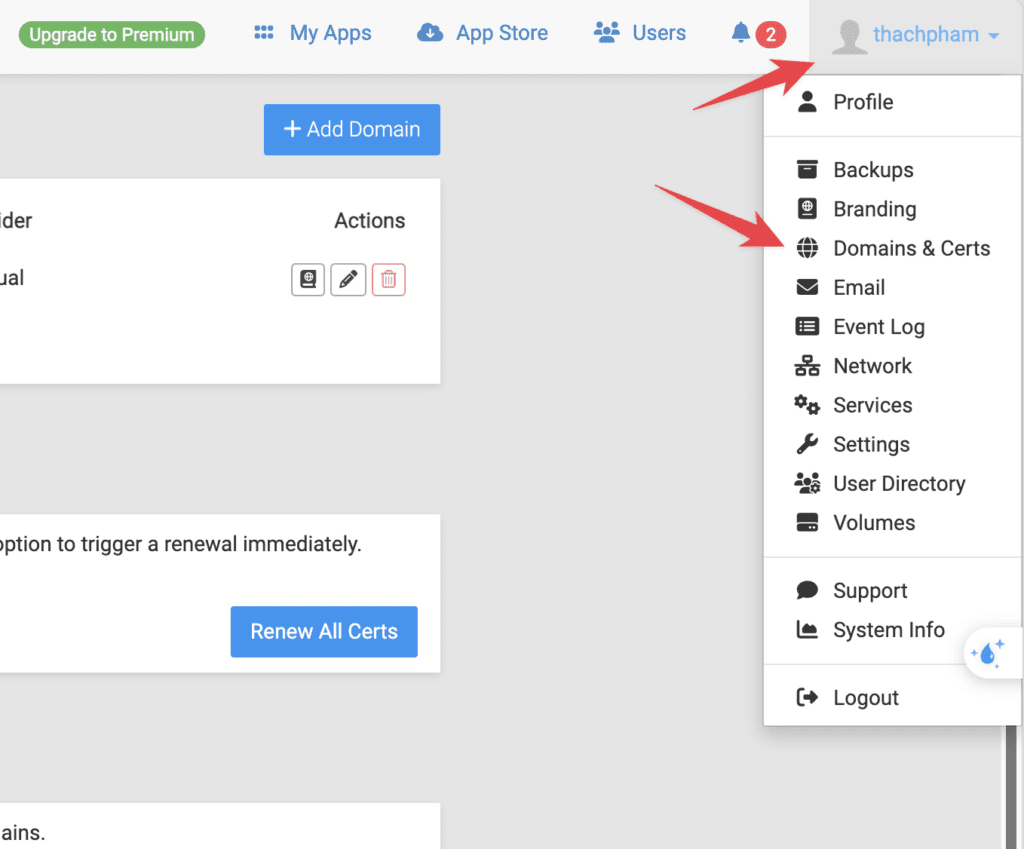
Click on the username in the upper-right corner and select Domain & Certs.
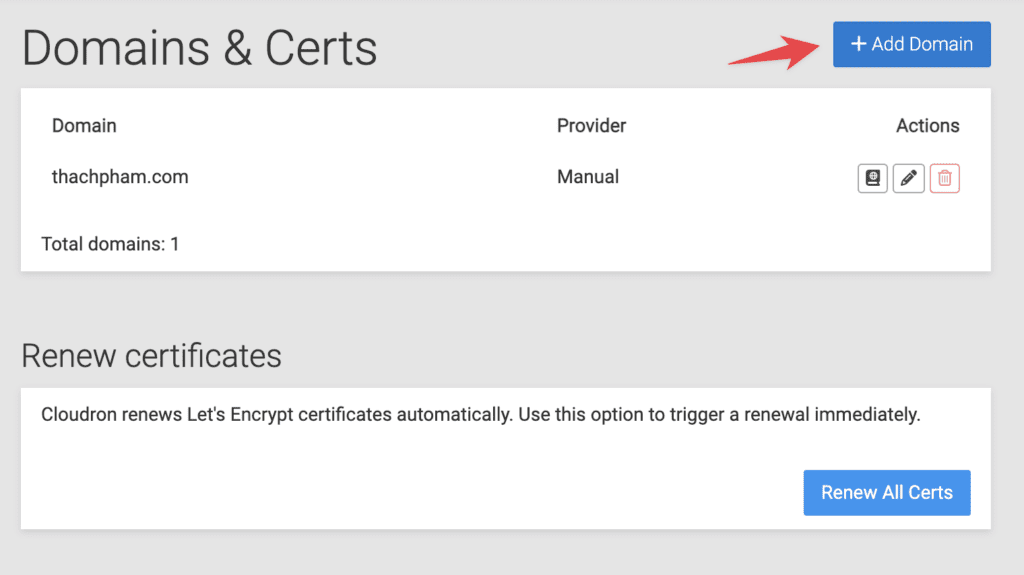
Click the “Add Domain” button.
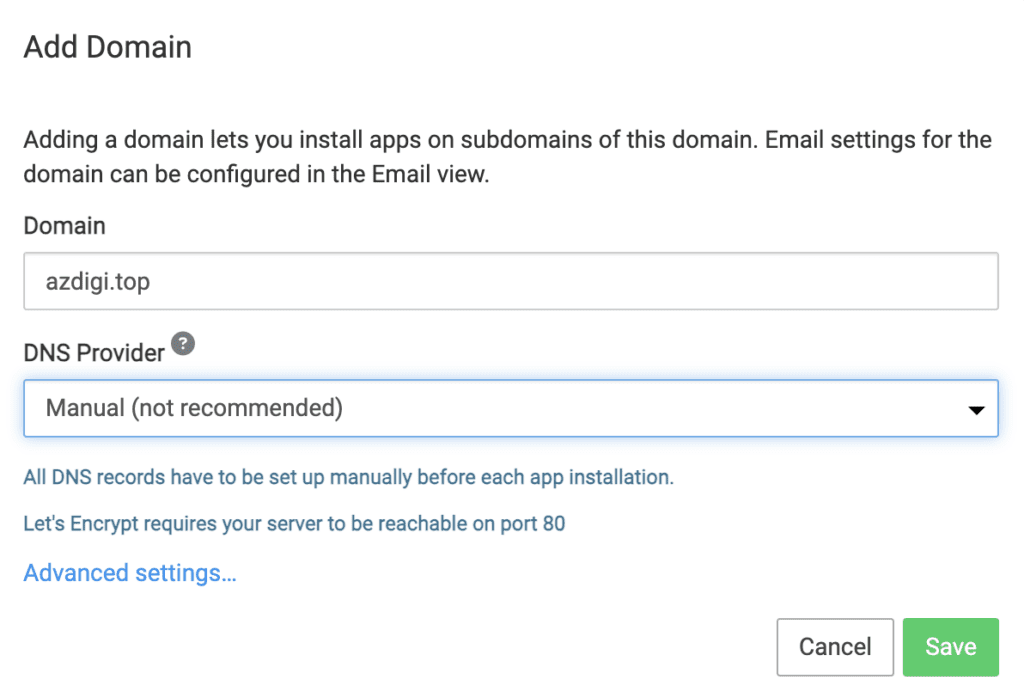
Enter the domain you want to add, choose Manual as the DNS Provider, and click Save. Note: you should point the domain to the server before performing this action to enable the automatic installation of a free SSL certificate from Let’s Encrypt.
Once added, you can start using this domain on Cloudron by installing applications and configuring the domain for those applications.
In the next part (Part 3), AZDIGI will continue guiding you on how to install a WordPress website on Cloudron and how to transfer an existing WordPress website from another server.
