
Introduction
Laravel is a powerful and popular web application framework, while Nginx is an open-source web server with high performance. On CentOS 7, a popular Linux operating system, we can combine Laravel and Nginx to deploy the best possible web applications. In this article, we will learn how to install and configure Laravel with Nginx on CentOS 7 (LEMP).
Steps to Install Laravel with Nginx on CentOS 7
Step 1: Install LEMP Stack
First, you need to install LEMP on the server. You can proceed with the installation:
Step 2: Install PHP Extensions
After installing LEMP Stack in Step 1, we will proceed to install and configure Laravel on CentOS 7. After installing LEMP Stack in Step 1, we will proceed to install and configure Laravel on CentOS 7.
In this guide, I use additional sudo due to the specific nature of some VPS services that require sudo privileges.
sudo yum install php php-fpm php-mbstring php-xml php-zip
sudo systemctl restart php-fpm
Step 3: Install Composer
Before installing Laravel, let’s install Composer first. Use the following command to install Composer:
sudo yum install composer -yStep 4: Install Git
Next, install Git, an essential tool for developers:
sudo yum install git -yStep 5: Download and Configure Laravel
If you are installing Laravel version 8.x or later, it requires PHP 8.1 or later. Use the following command to clone Laravel:
sudo git clone -b 8.x https://github.com/laravel/laravel.git
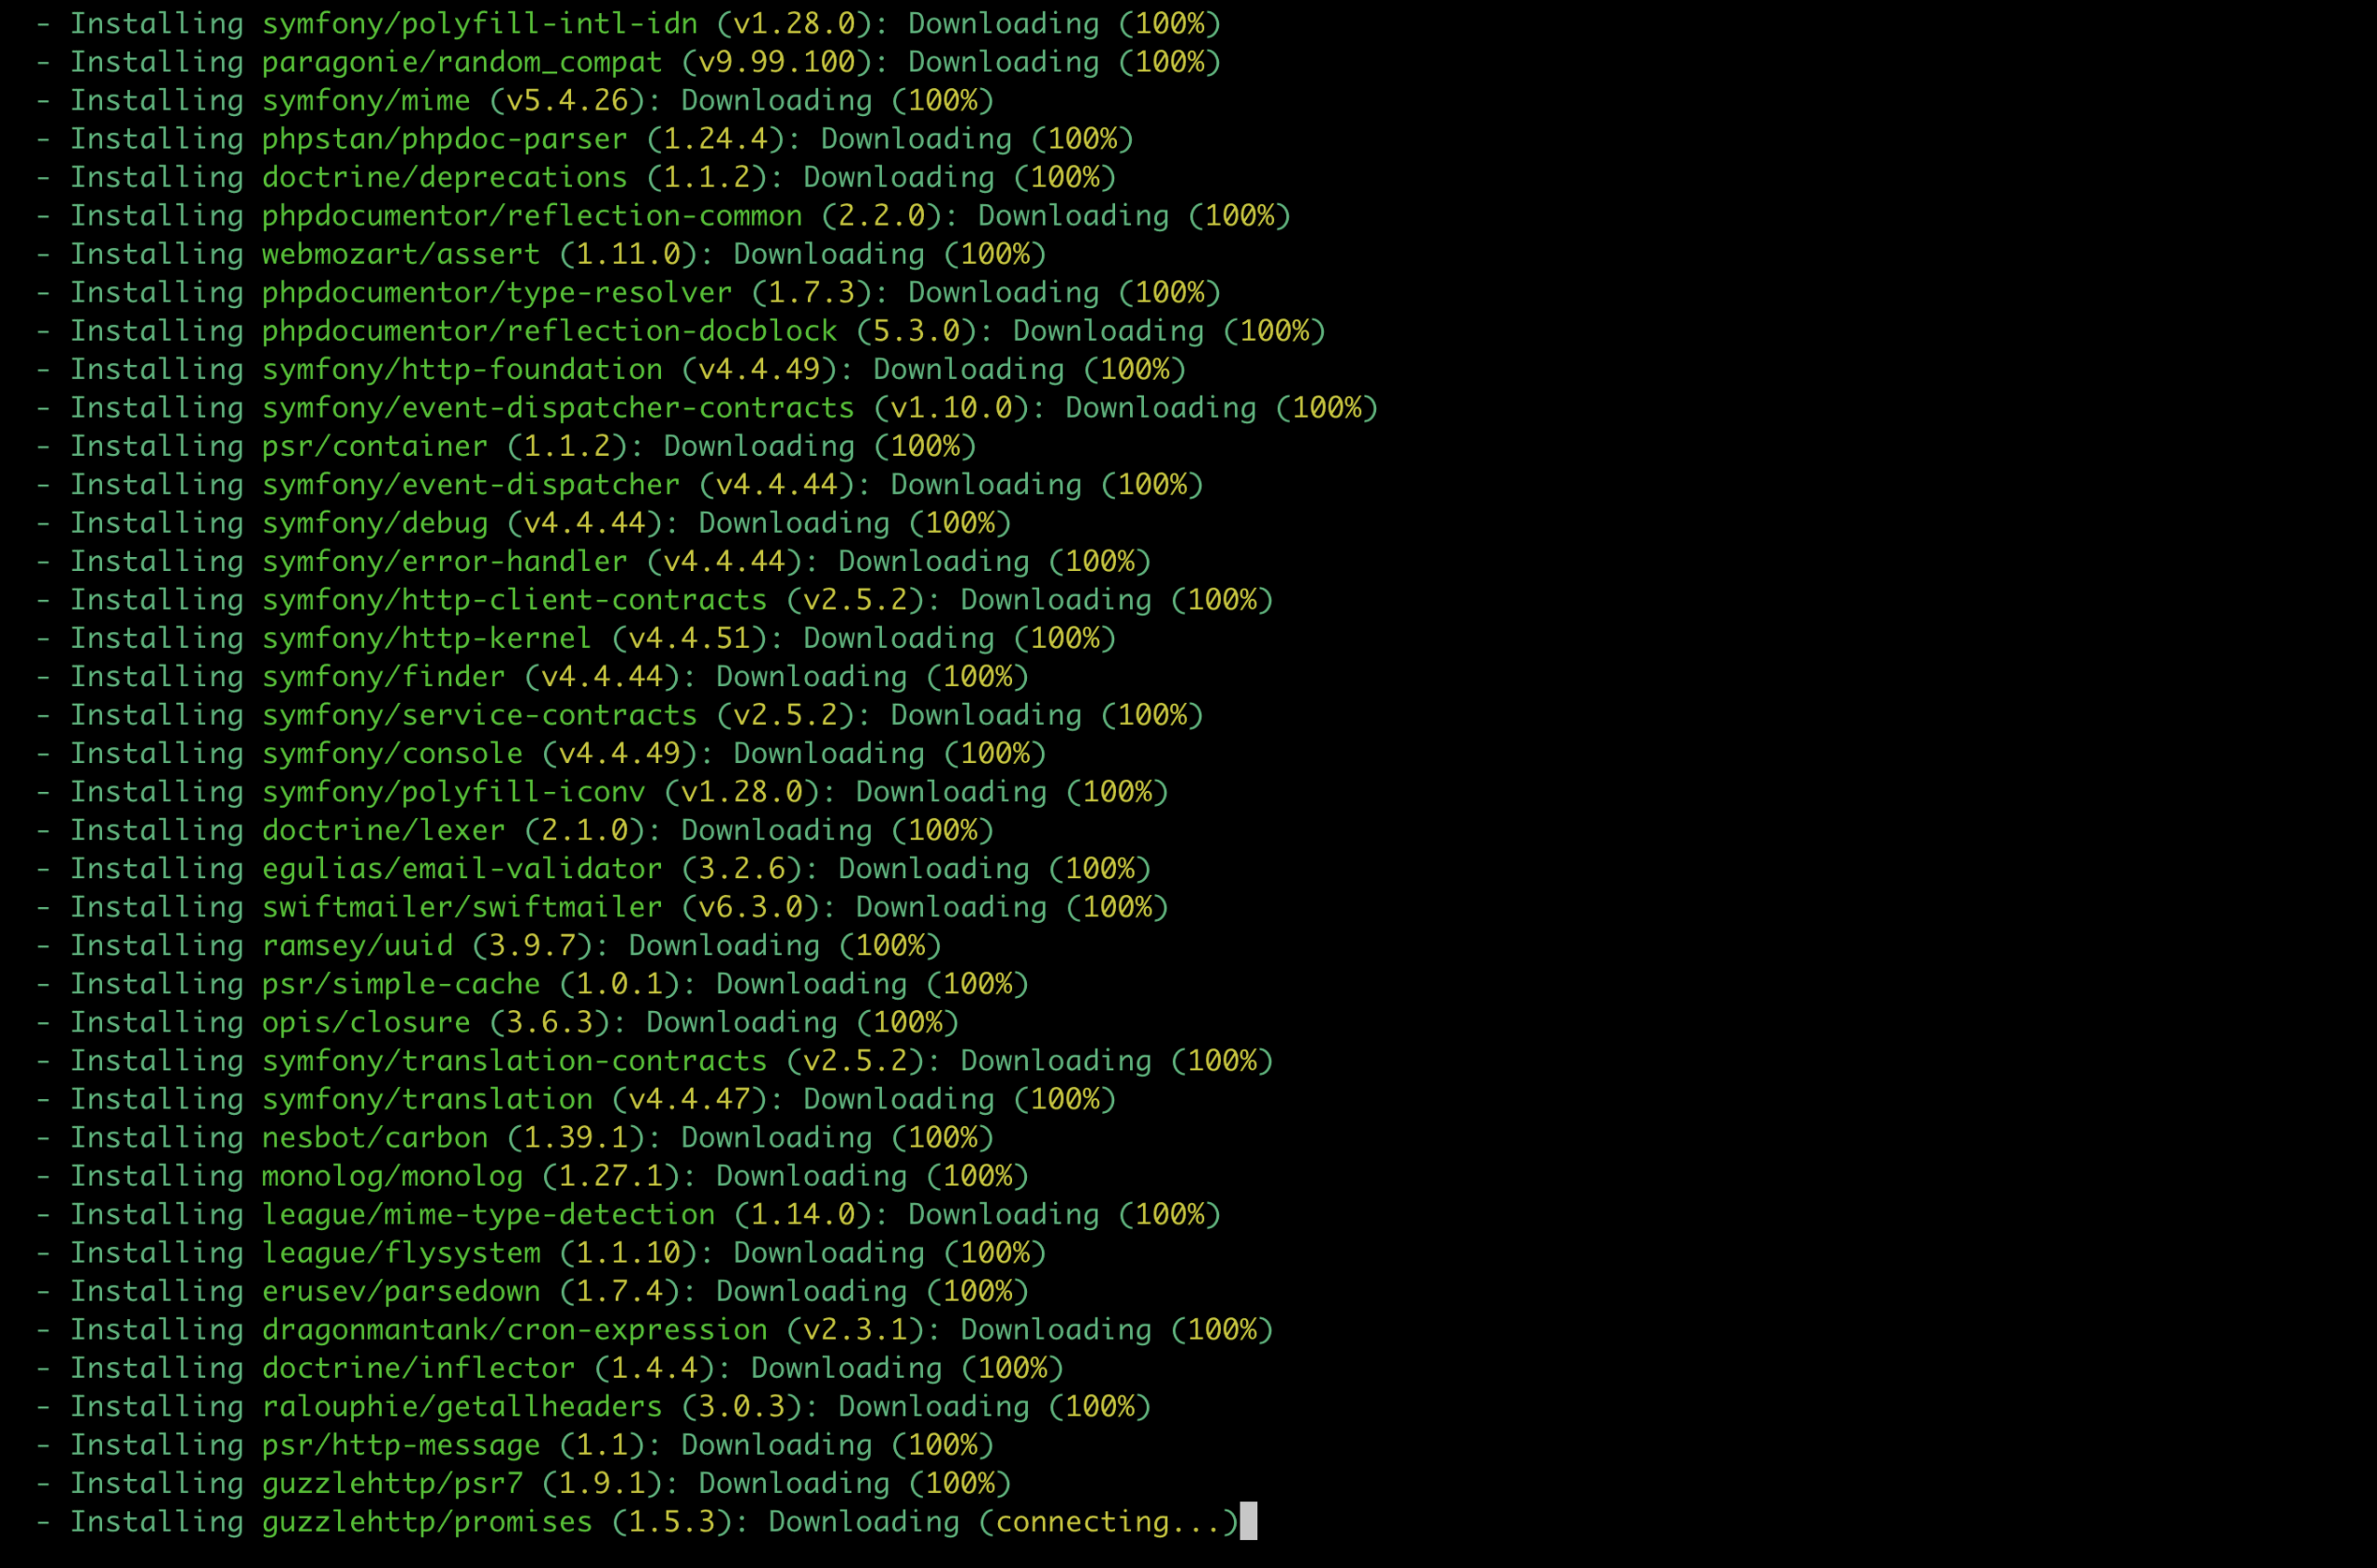
After downloading Laravel, navigate to the Laravel directory and install the necessary dependencies:
cd laravel
composer.phar install
Wait for the installation process to complete!
copy the .env.example file to .env:
sudo cp .env.example .envGenerate the application key:
sudo php artisan key:generate
Step 6: Configure Virtual Host
Use the vi command to create a new configuration file:
vi /etc/nginx/conf.d/default.confInsert the following configuration, making sure to note that the document root is the public folder of Laravel. Save and exit the vi editor.
server {
    listen  80;
    server_name laravel.quyenlt.com;
root   /var/www/html/laravel/public;
    index index.php index.html index.htm;
location / {
        try_files $uri $uri/ =404;
    }
    error_page 404 /404.html;
    error_page 500 502 503 504 /50x.html;
location = /50x.html {
        root /usr/share/nginx/html;
    }
location ~ .php$ {
        try_files $uri =404;
        fastcgi_pass unix:/var/run/php_fpm.sock;
        fastcgi_index index.php;
        fastcgi_param SCRIPT_FILENAME $document_root$fastcgi_script_name;
        include fastcgi_params;
    }
}
Step 7: Restart Nginx
Next, check if the Nginx configuration has any errors using the commandnginx -t. If there are no errors, restart NGINX to apply the new configurations.
systemctl restart nginxAfterward, we need to change the ownership of the Laravel project directory to the nginx user.
chown -R nginx:nginx /var/www/html/laravelAnd change the permissions of the storage directory to 755.
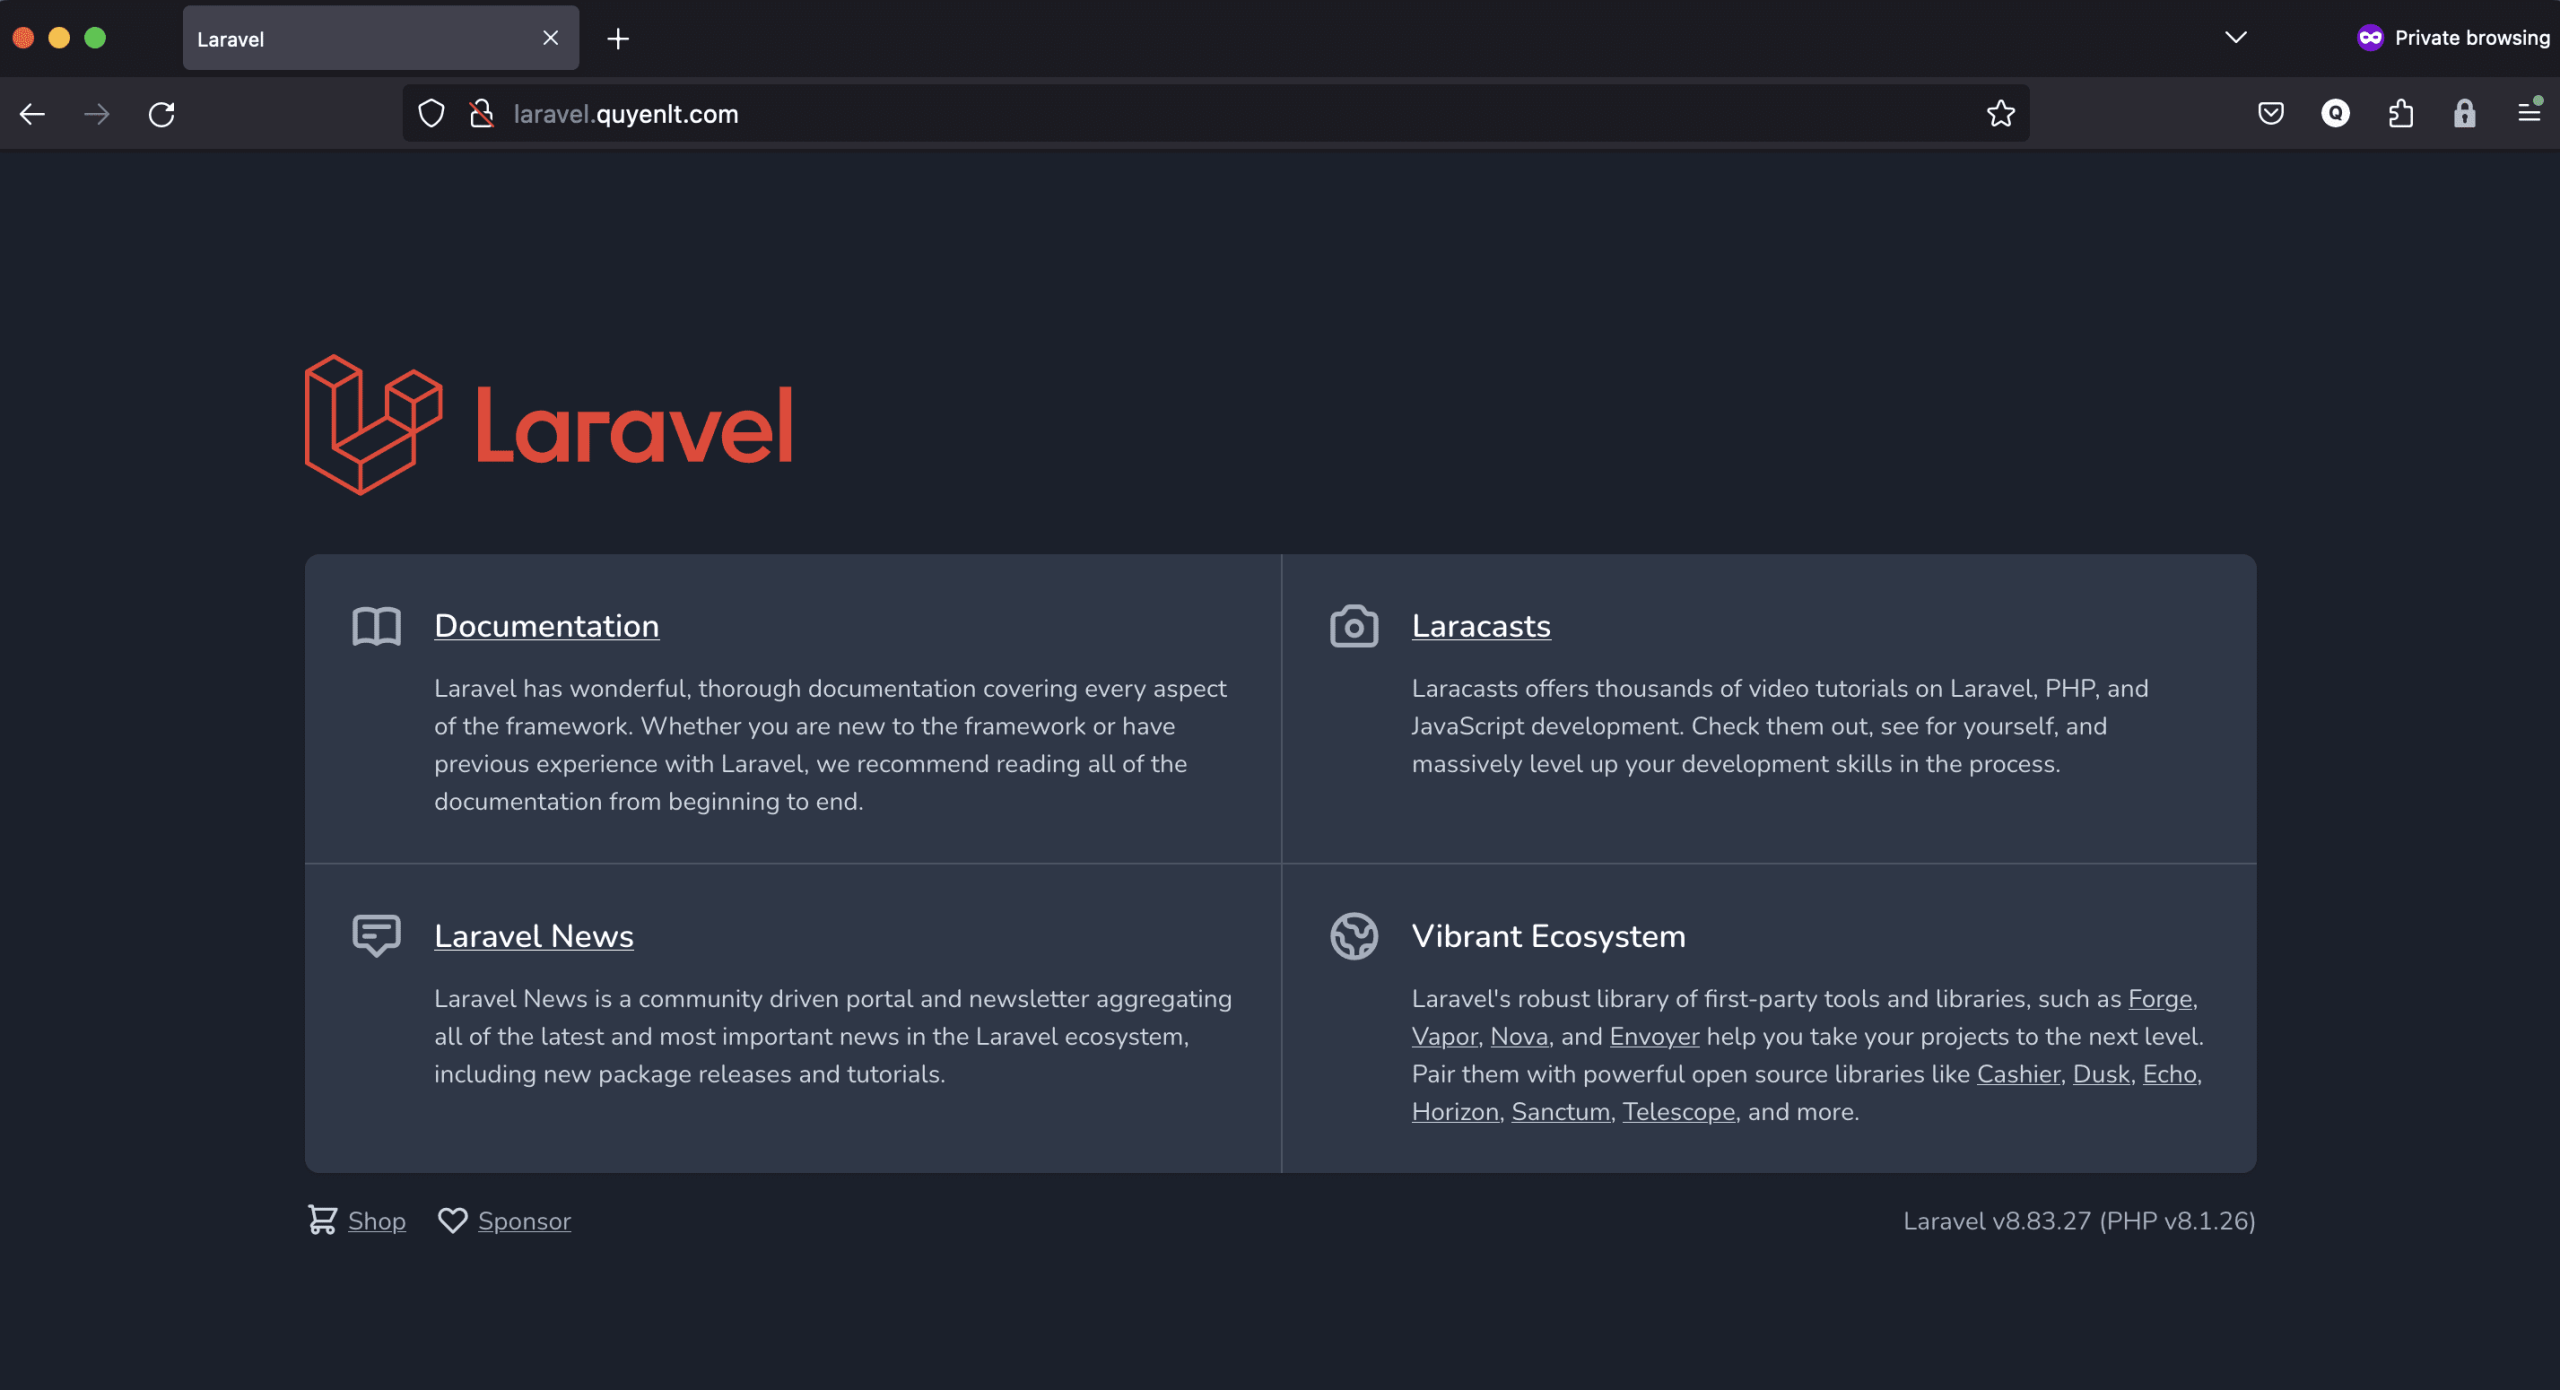
sudo chmod 755 /var/www/html/laravel/storageStep 8: Check the installation result
Now, open your web browser and enter http://IP or http://domain.com to see the results.
Conclusion
On Centos 7, we can install and configure Laravel with Nginx to deploy powerful web applications. In this blog post, we learned how to install Nginx and Laravel on Centos 7, as well as how to configure Nginx to serve Laravel applications. Hopefully, this information will help you successfully deploy your Laravel application on Centos 7.
If you need assistance, you can contact support in the ways below:
- Hotline 247: 028 888 24768 (Ext 0)
- Ticket/Email: You use the email to register for the service and send it directly to: support@azdigi.com.
About the author

Thạch Phạm
Đồng sáng lập và Giám đốc điều hành của AZDIGI. Có hơn 15 năm kinh nghiệm trong phổ biến kiến thức liên quan đến WordPress tại thachpham.com, phát triển website và phát triển hệ thống.